


Freezeman
-
Posts
30 -
Joined
-
Last visited
-
Days Won
1
Content Type
Profiles
Forum
Gallery
ATV Magazine
Events Calendar
Downloads
Store
Community Map
Posts posted by Freezeman
-
-
Any progress? I have an 80 Moto4 with the same type problem. I bake the CDI in the oven which makes it spark for a while yet it would be nice to find a new one or a real fix for it.
-
I have a 1985 Moto 4 that I am not finding any info about. The ID on the frame is JY455X000FC012090 It is red, It is a 80cc four stroke. I do find references to Badger 80s yet they seem to have a different Frame ID.
I need a new CDI that has part numbers on it as 55x-M1 50124 The badgers CDI shows up as 55X 85540-M2-00 I am guessing that would work yet for $300.00 I hate to take a chance that it may not.
My CDI works for a few days if I heat it up with a heat gun before trying to start and I have also cooked it @ 225 degrees for 20 minutes in the oven which made it work for a while too.
I might just wrap it with a 12v coffee cup heater so that the customer I am selling it to has an easy start system. LOL
Is this a Badger?
-
On your feeler gauge the .020 is the Inch measurement which is equal to .508 mm
Frank is correct that it is the right gauge, yet he is mistaken to say .020 is 20mm
Try to remember that 1 mm is = to .03937 inch
-
"Another" was just in reference to the ever growing number of people that are looking for others to pay for the problems they own.,
-
What part of "your property your retaining wall" do you not understand? You could always sue Mother Nature or start another go fund me web page.
-
 1
1
-
-
I don't care if the carb is brand new. You have a leaking needle seat like I and the previous poster mentioned. Your compression tests are extremely high because the motor is flooded with fuel and almost to the point of liquid lock, further cranking of a liquid locked motor can also cause rod bearing damage and failure.
The needle and seat will be where it's supposed to be yet it is not stopping fuel from flowing from the back side of the seat where the o-ring that is suppose to seal and hold the seat in place. If you take the needle and float off and the seat is easily pulled from the carbs body it is leaking.
Even a good sparking spark plug will not spark when the carb is delivering too much fuel.
-
 1
1
-
-
Does the oil level still show overfull from fuel flooding, have you drained the crank case?
-
A leaking valve isn't going to fill the oil with gas. Plus you can check valve leakage with a leak down test with the head on.
I would be looking at the carb. The needle and seat is not working right and I bet the seat of the needle is leaking. I posted about this problem recently on here in the Polaris forum. Booth units I had that problem with were Polaris 500's.
Be sure to pull the oil drain plug on the bottom side of the crankcase to drain the oil from the crank case. Just draining the oil from the bottom plug of the oil tank will not empty the crank case that is full of fuel.
-
yes, Booth were Mikuni's with the plastic rack for the floats that set on the rim of the needles seat and the seat is just plugged into the carbs body with an o-ring. The seat is loose because the o-ring has shrunk or is too small to begin with. I didn't order a new OEM o-ring as the same problem would probably happen again, I just use a o-ring from a Metric Harbor freight o-ring set that is a bit larger which requires the seat to be pressed in hard and stays put with out the plastic float cage holding it up in the carb body.
-
I got another 2013 sportsman 500 with 960 miles on it with the air filter box and motor full of fuel. The same leak from behind the needle and seat. This poor design has to be causing lots of grief to Polaris owners. The owner had found the air box full of fuel and leaking all over his garage floor the next morning after a ride, he was lucky that it didn't kill anyone with a house fire.
He cleaned it up and then tried to start it. It would not crank as it was liquid locked so he thought he needed a new starter after he replaced the battery.
-
Thought i would share a fix that I came across. I was working on a 99 scambler 500, The customer complaint was that even with the fuel shut off the tank would slowly drain out onto the ground. First I found the fuel shut off was bad/ leaking/ dripping so I installed a new one thinking that would fix it. Then I ran it and and seen that the overflow was flowing fuel out from the bowl. So I cleaned the needle and seat and changed the float height to lower the fuel level in the bowl. Well... It still overflowed and flooded. So I bench tested the needle and seat with a pop off tester. I found that these newer style needle and seats just utilize an o-ring to install the brass seat into the carb.
The o-ring for the seat had hardened up allowing fuel into the float bowl from under the seat. New o-ring and problems solved.
-
1
-
-
On 3/2/2019 at 9:12 AM, wanrep said:
I think you pulled the wrong black wire. Find the reverse limiter and follow that black wire and disconnect.
Here's what you're looking for.

Thank you Wanrep. I have a 99 500 scrambler that would die when put into reverse unless the reverse button was held down. I just unplugged that black wire and now it works great. Mine didn't even need a diode installed to make the indicator lights work properly.
-
good tip. I will be trying that out with this one.
-
I came across an odd temporary fix for a 1985 yamaha 80 ATV. It has no spark, yet if I warm the CDI unit up a bit with a heat gun or hair dryer then it fires right up and runs fine until shut off then it returns to no spark until warmed up again. Partzilla shows $217 for a new CDI
It's sort of nuts how I found out the fix to warm it up. My old shop TV requires my heat gun warm up around the transformer area every day before it will turn on too.
-
1
-
-
Some of these fill plug holes are hard to get to and fill, so I like filling through the vent tube with the fill plug out and watch for a trickle of fluid out the fill plug when full.
-
1
-
-
you might also try a front end alignment, stringing the rear end square to the front end with 1/8" toe out for the LF and RF.
-
I hope today. But hay the owner is getting old, if I keep it in the shop long enough it could become my ATV. LOL
-
Ok, with that logic I should edit my post above to say that I need to fix my bikes brakes on her car.
I have been racing- "riding" go karts for 35 years and think it is always odd when people call them cars too.
I can't seem to locate this web site when I type bikecrazy.com
-
I do wounder why you always refer ATV's as being bikes all the time on here? No spokes of this thing.
-
It went good only because I had a PDF service file to refer to. I feel sorry for the people that have to write them service manuals. The worst part about it is waiting for the brown truck to show up and the unit taking up my work space in the shop. My wife's car needs the brakes worked on before she wrecks it.
-
well it has been fun. Finally got the parts here and installed and was ready to make it come alive but then I started filling the radiator when the coolant flowed out the water pumps seep hole. ARRR I thought that seal was odd while reassembling it.
Back off with the alternator cover pulled the seals and now waiting again for some parts. One other weird thing that was a blessing I guess is that when pulling the recoil mounting plate as recommended with two screws threaded in to pull it off. The screws push against the crank seal in the cover and damages it. So I ordered a new seal too for that. I think the end of the crank gets mushroomed on the end from the high torque setting of the cups bolt which made the mounting plate and the bearing behind it too hard to slide on and off the crank. The tinny key way was split in half and replaced the first time I tore it down.
-
Yes The owner did dodge a bullet. If you look closely at my facebook pic you will see the sprocket and broken chain that is on the end of the drive shaft that turns the two cam chain sprockets above the flywheel. There is 3 chains and three tensioners that operate the 2 OHC's there is also a 4th chain and tensioner in this area operating the oil pump.
I am replacing all 3 cam chains while I have it torn down this far.
-
Does Quadcrazy have some parts dealers support/advertisers to take care of our needs?
-
I am wondering about pulling the heads. With the rockers off the valves both cylinders are equal and have just 10% leak down at BDC which isn't too bad with my cheap gauge. I have tested new motors at 8%. So no hole in piston and if a valve is damaged it's not really noticeable.
I got my flywheel puller ordered now I need to order the clutch puller bolt,
Moto 4 80 parts search question
in Yamaha ATV Forum
Posted
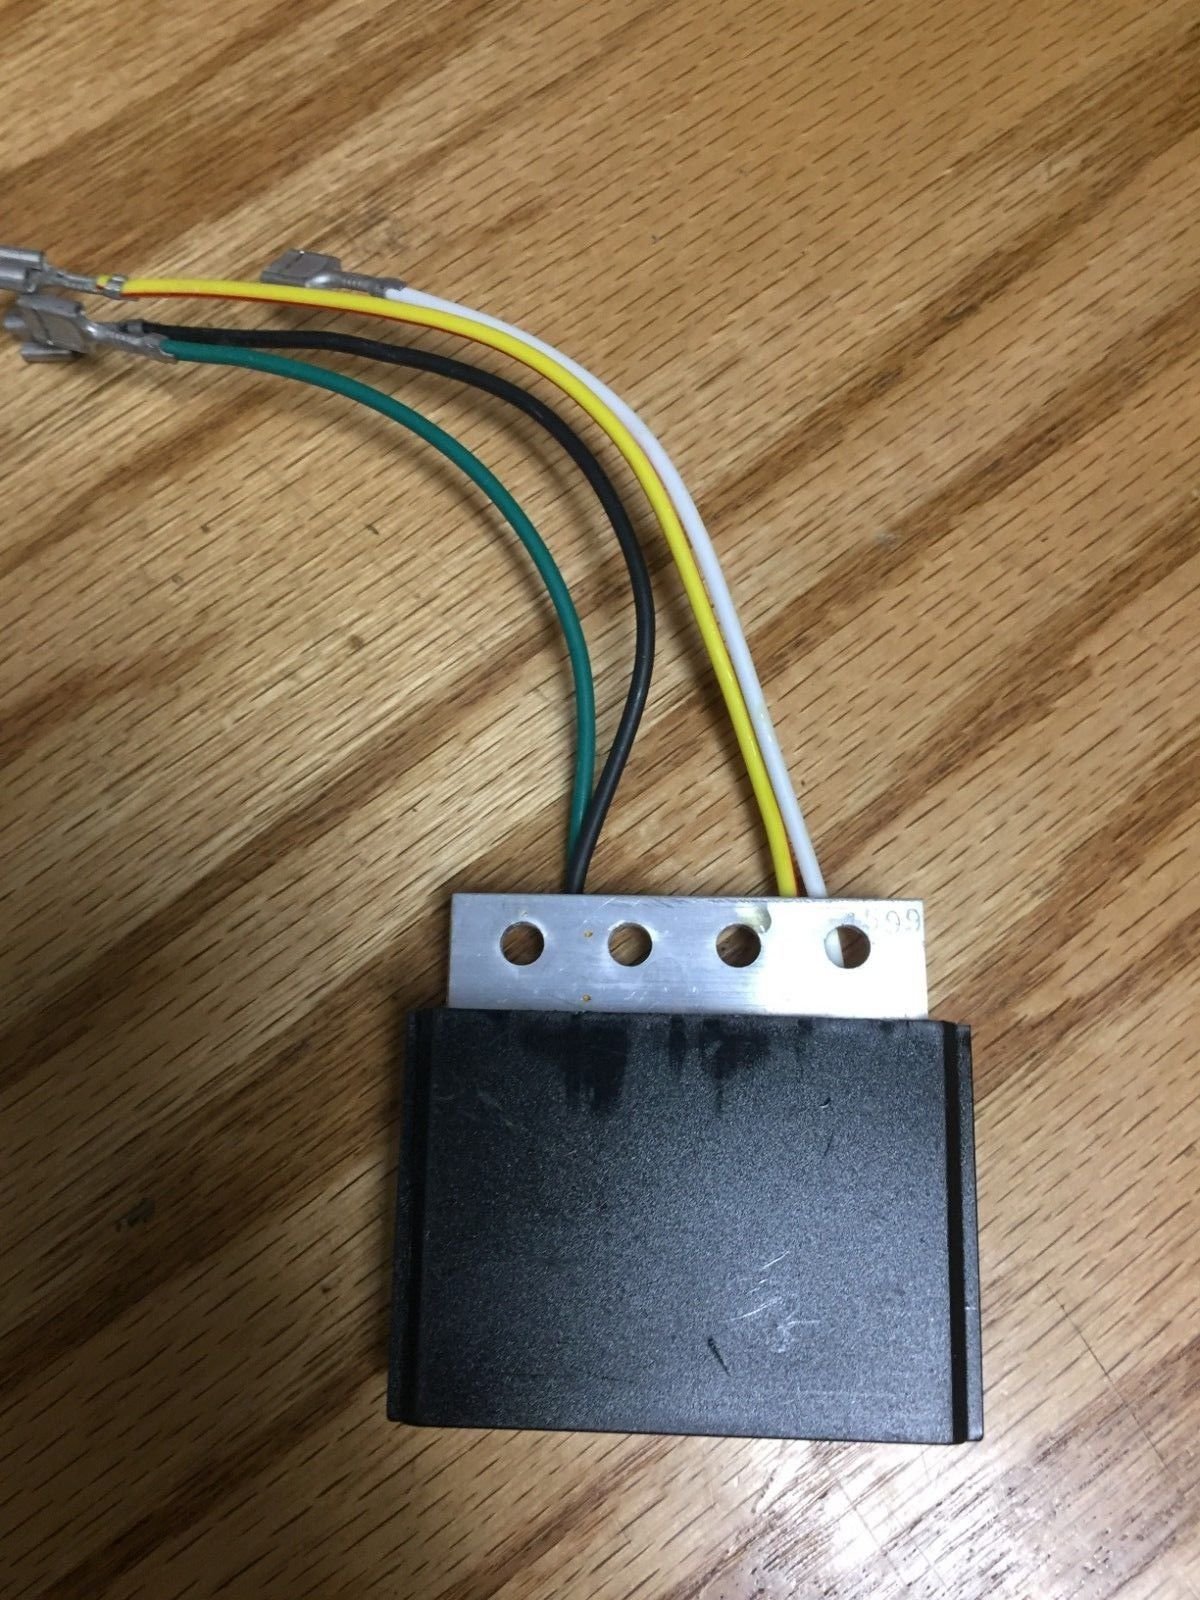
well it's been fun, I am going the rout of hopefully fitting a $7.00 China CDI box to my YFM80 moto4. I have learned a bit about CDI's reading and watching people doing this on You tube. I had no problem finding the cheap CDI's on Ebay and got one. I then ran into the problem of finding the proper male connector so I could hook it up. After hours of searching through ebays 200 & some thousand electronic parts for ATV's I got one coming, it cost the same as the entire CDI box itself. LOL
Thank you all for all the help I have gotten on here.