-
ATV Forum Leaderboard & Trending ATV Discussions
Welcome to the QUADCRAZY ATV community leaderboard featuring the most active ATV forum members, trending ATV discussions, popular repair topics, and top-rated ATV content from across the community.
Explore ATV troubleshooting, maintenance tips, Polaris repair discussions, Honda ATV topics, Can-Am forums, Yamaha ATV discussions, ATV accessories, mud riding setups, trail riding advice, and more from fellow riders.
🔥 Trending ATV Discussions
🛠 Popular ATV Topics & Tags
Browse popular ATV discussions covering ATV winches, mud tires, snow plows, batteries, helmets, maintenance, oil changes, repairs, upgrades, and trail riding setups from riders across the QUADCRAZY community.
🏁 Popular ATV Forum Categories
About the QUADCRAZY ATV Community
QUADCRAZY is one of the largest ATV forums online featuring ATV repair help, trail riding discussions, ATV modifications, buying advice, maintenance tutorials, and off-road community discussions covering Polaris, Honda, Yamaha, Suzuki, Kawasaki, Arctic Cat, Can-Am, and more.
Leaderboard


Popular Content
Showing content with the highest reputation since 05/29/2026 in all areas
-
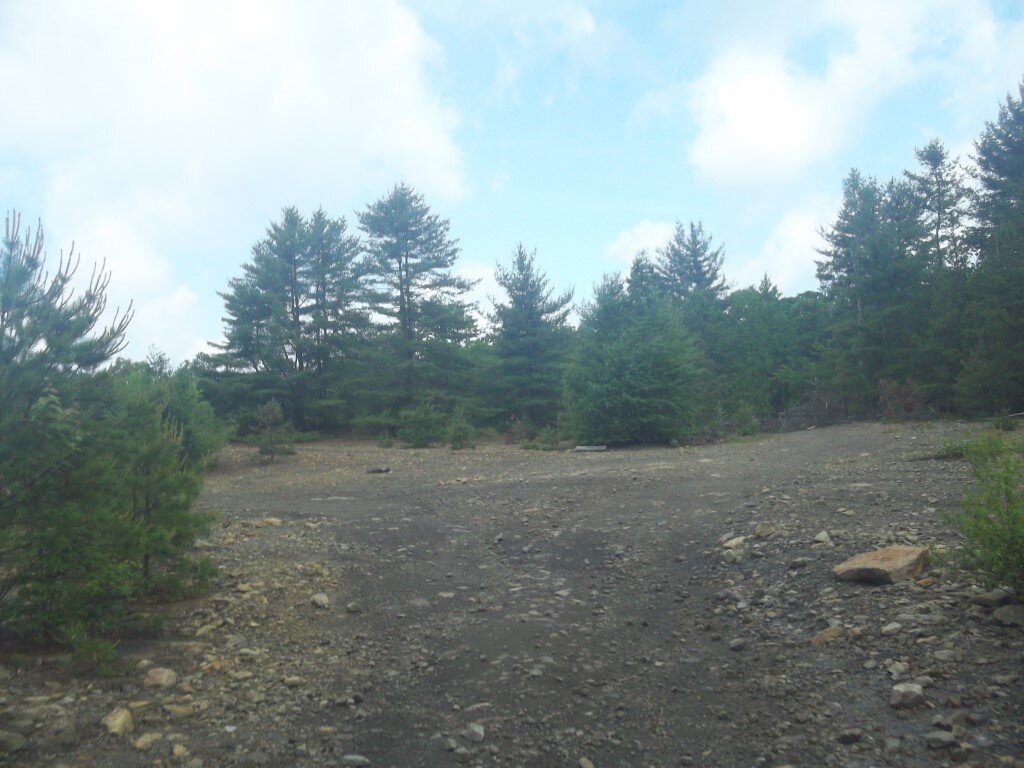
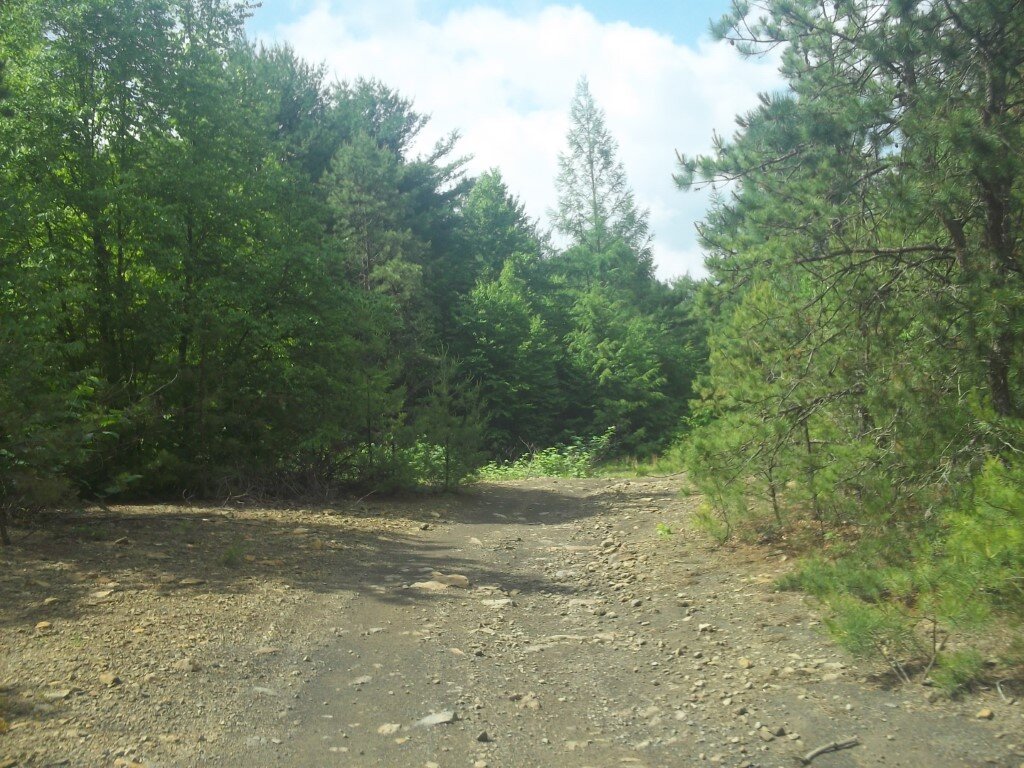
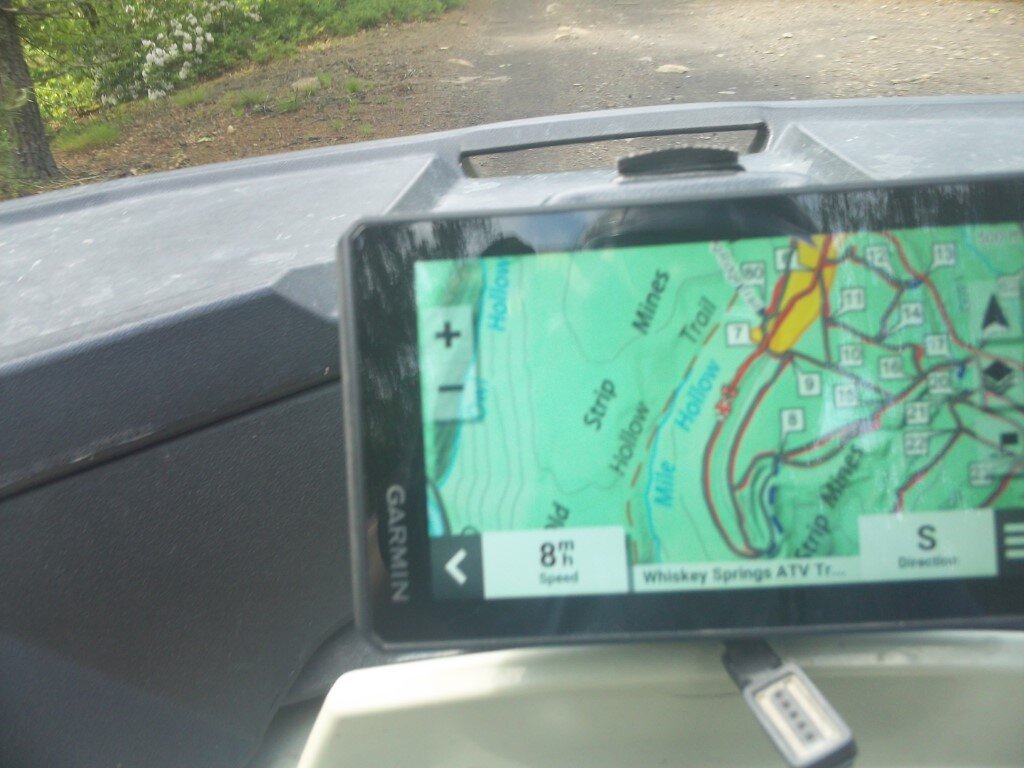
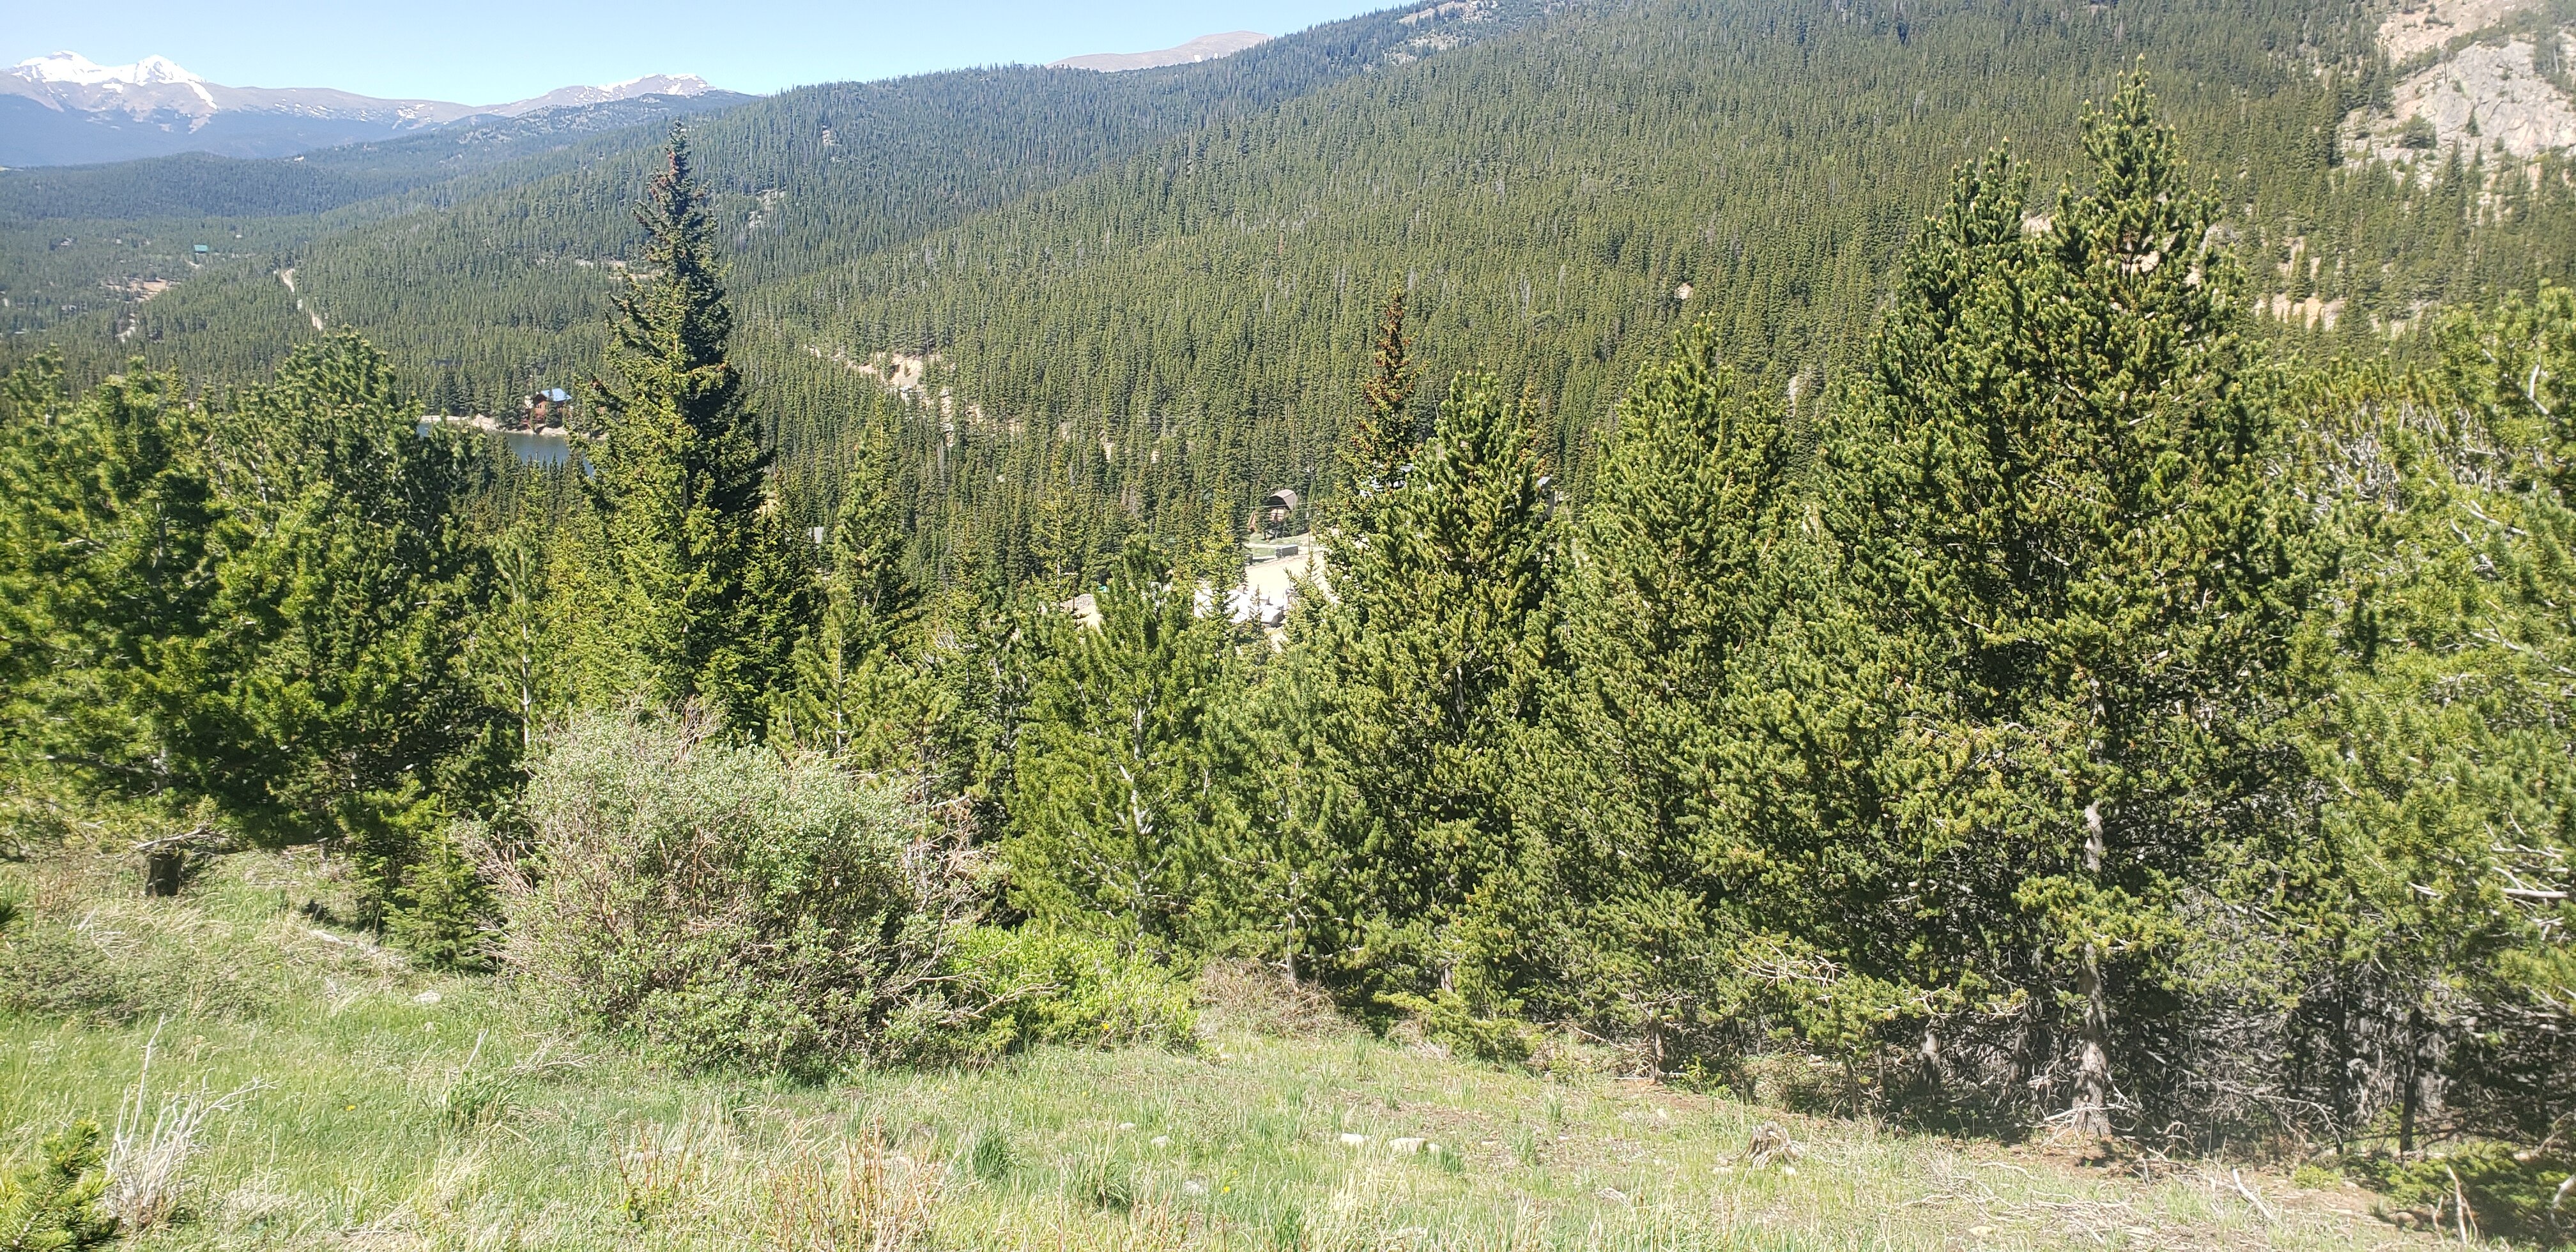
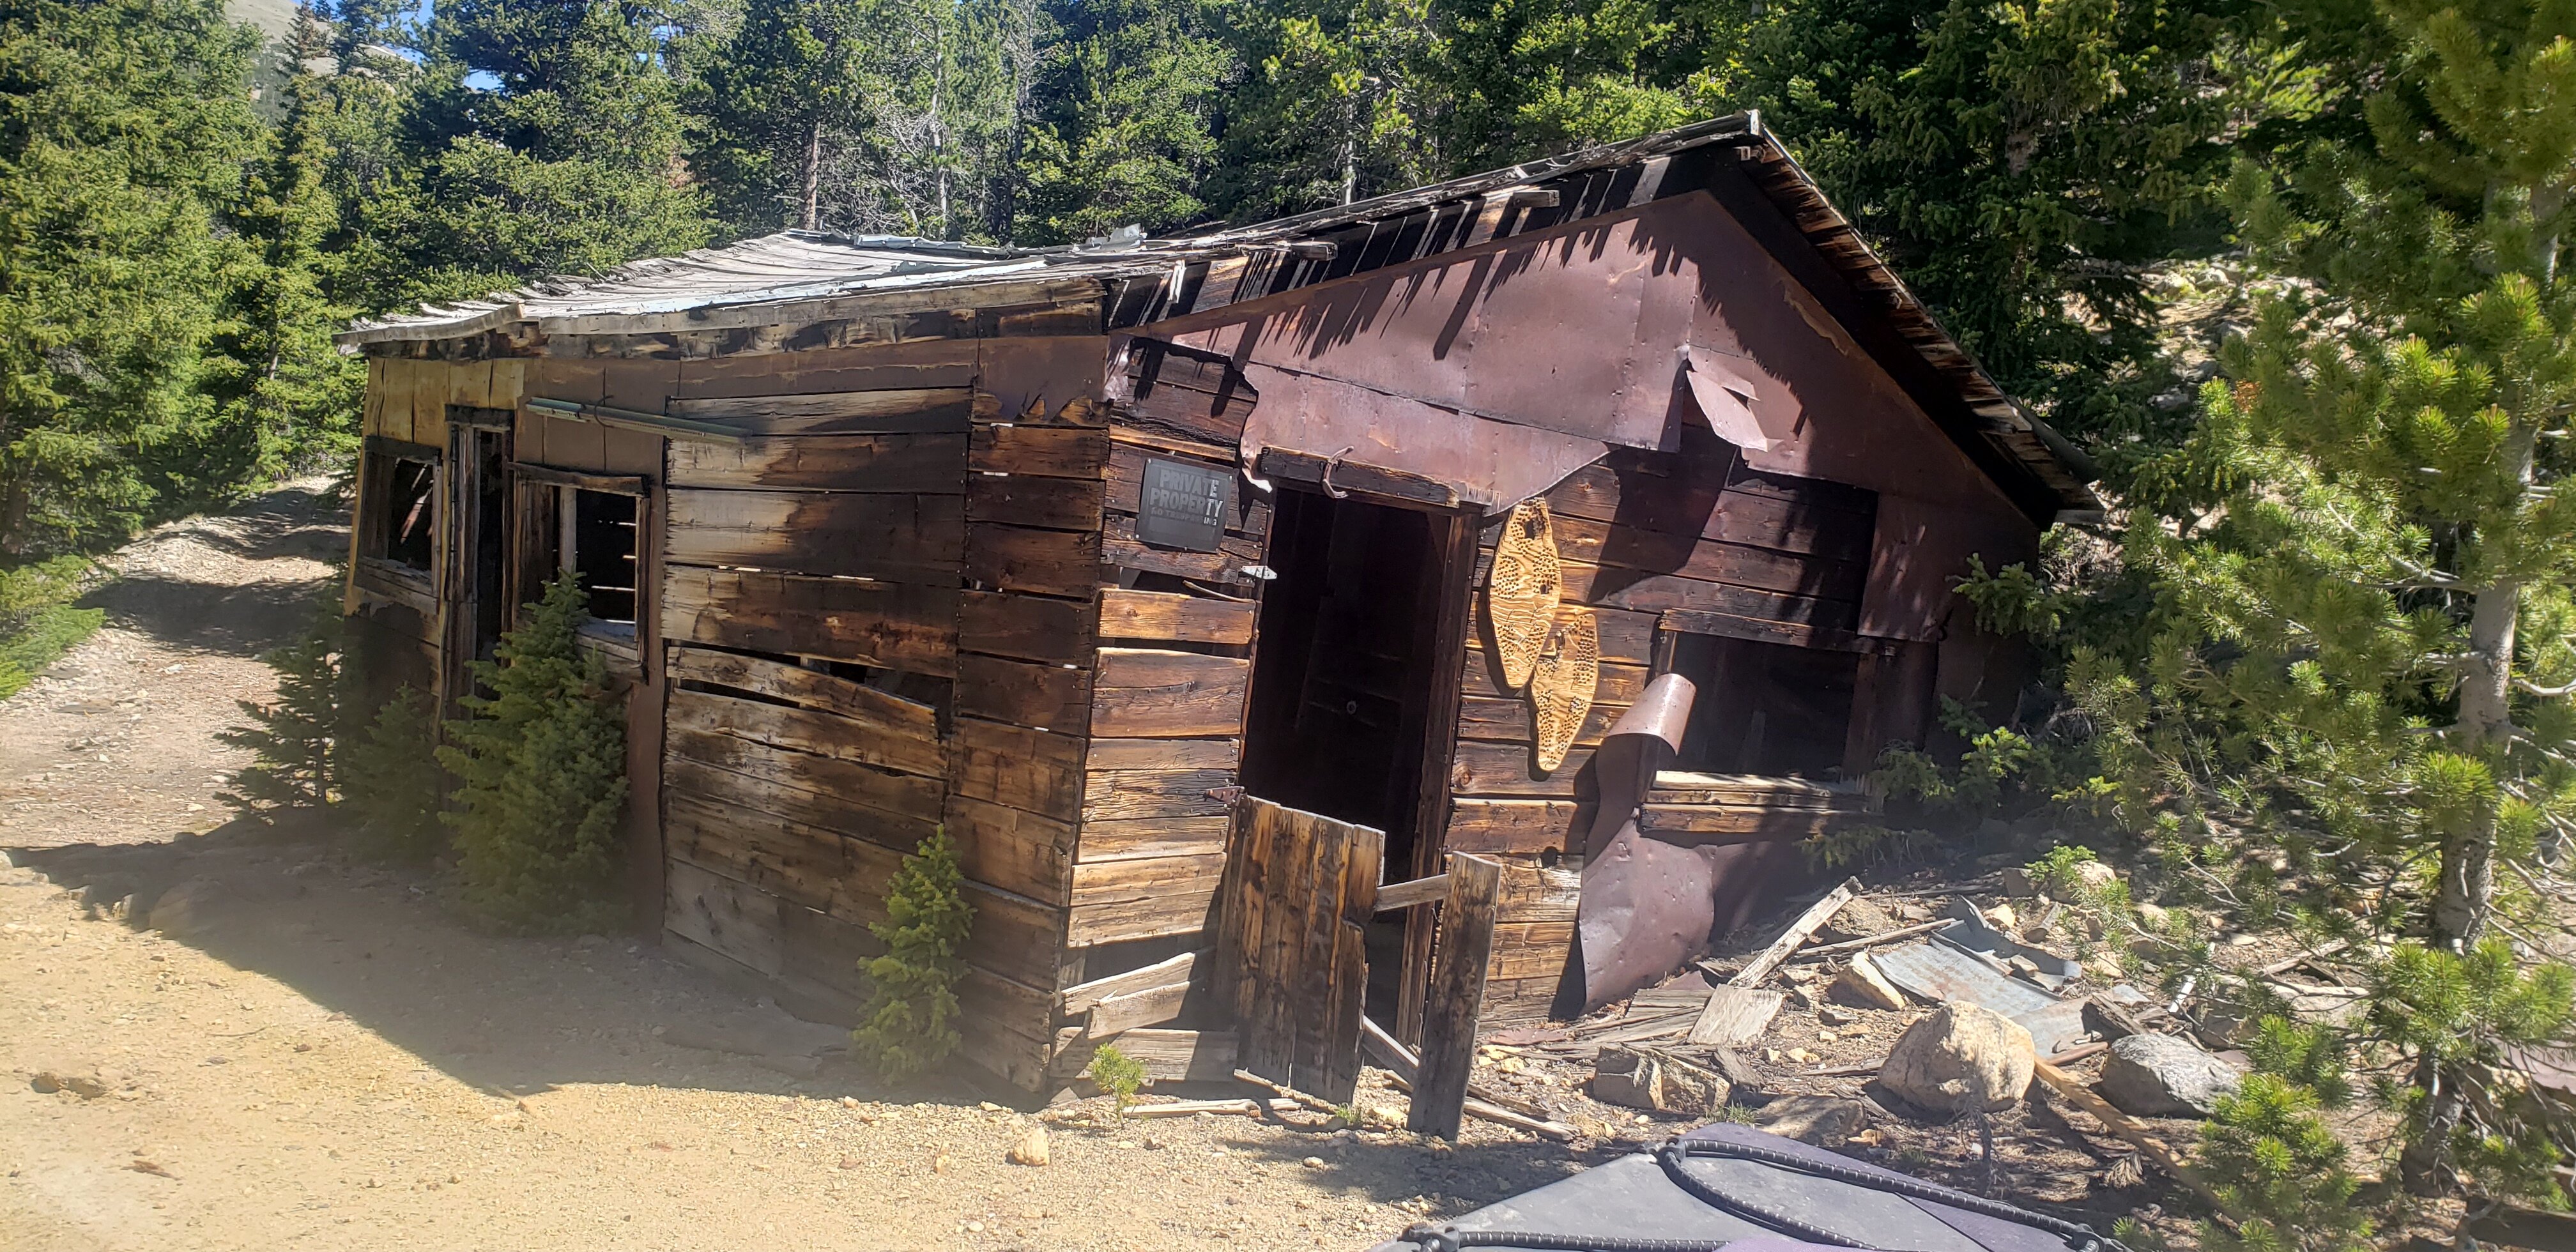
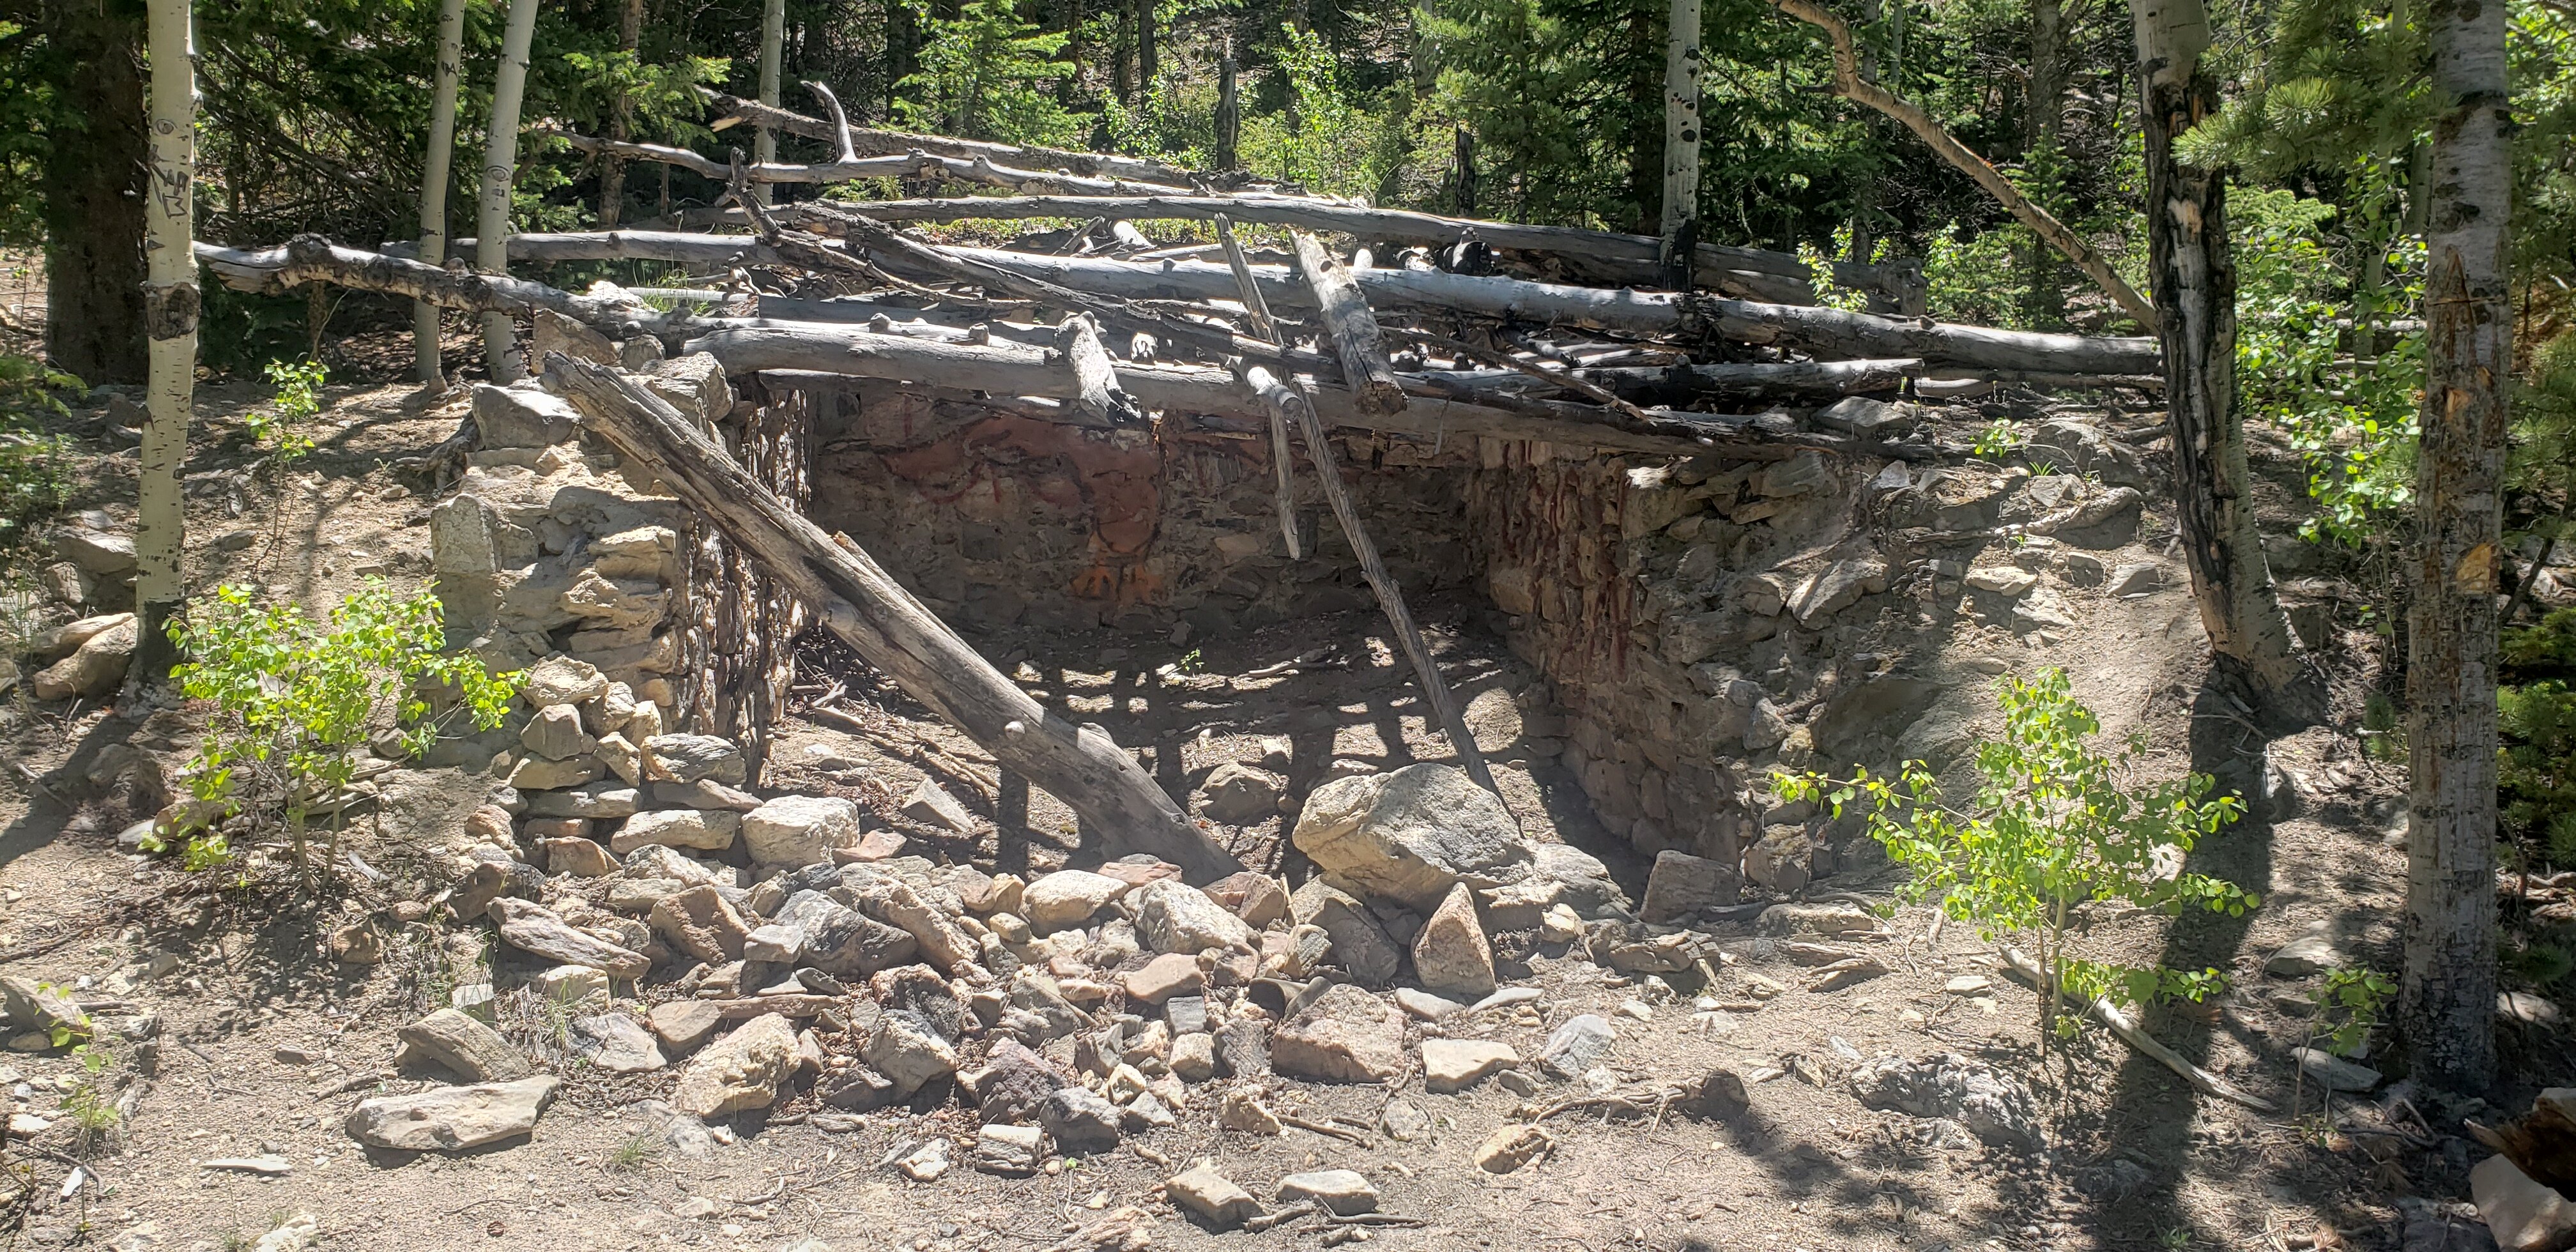
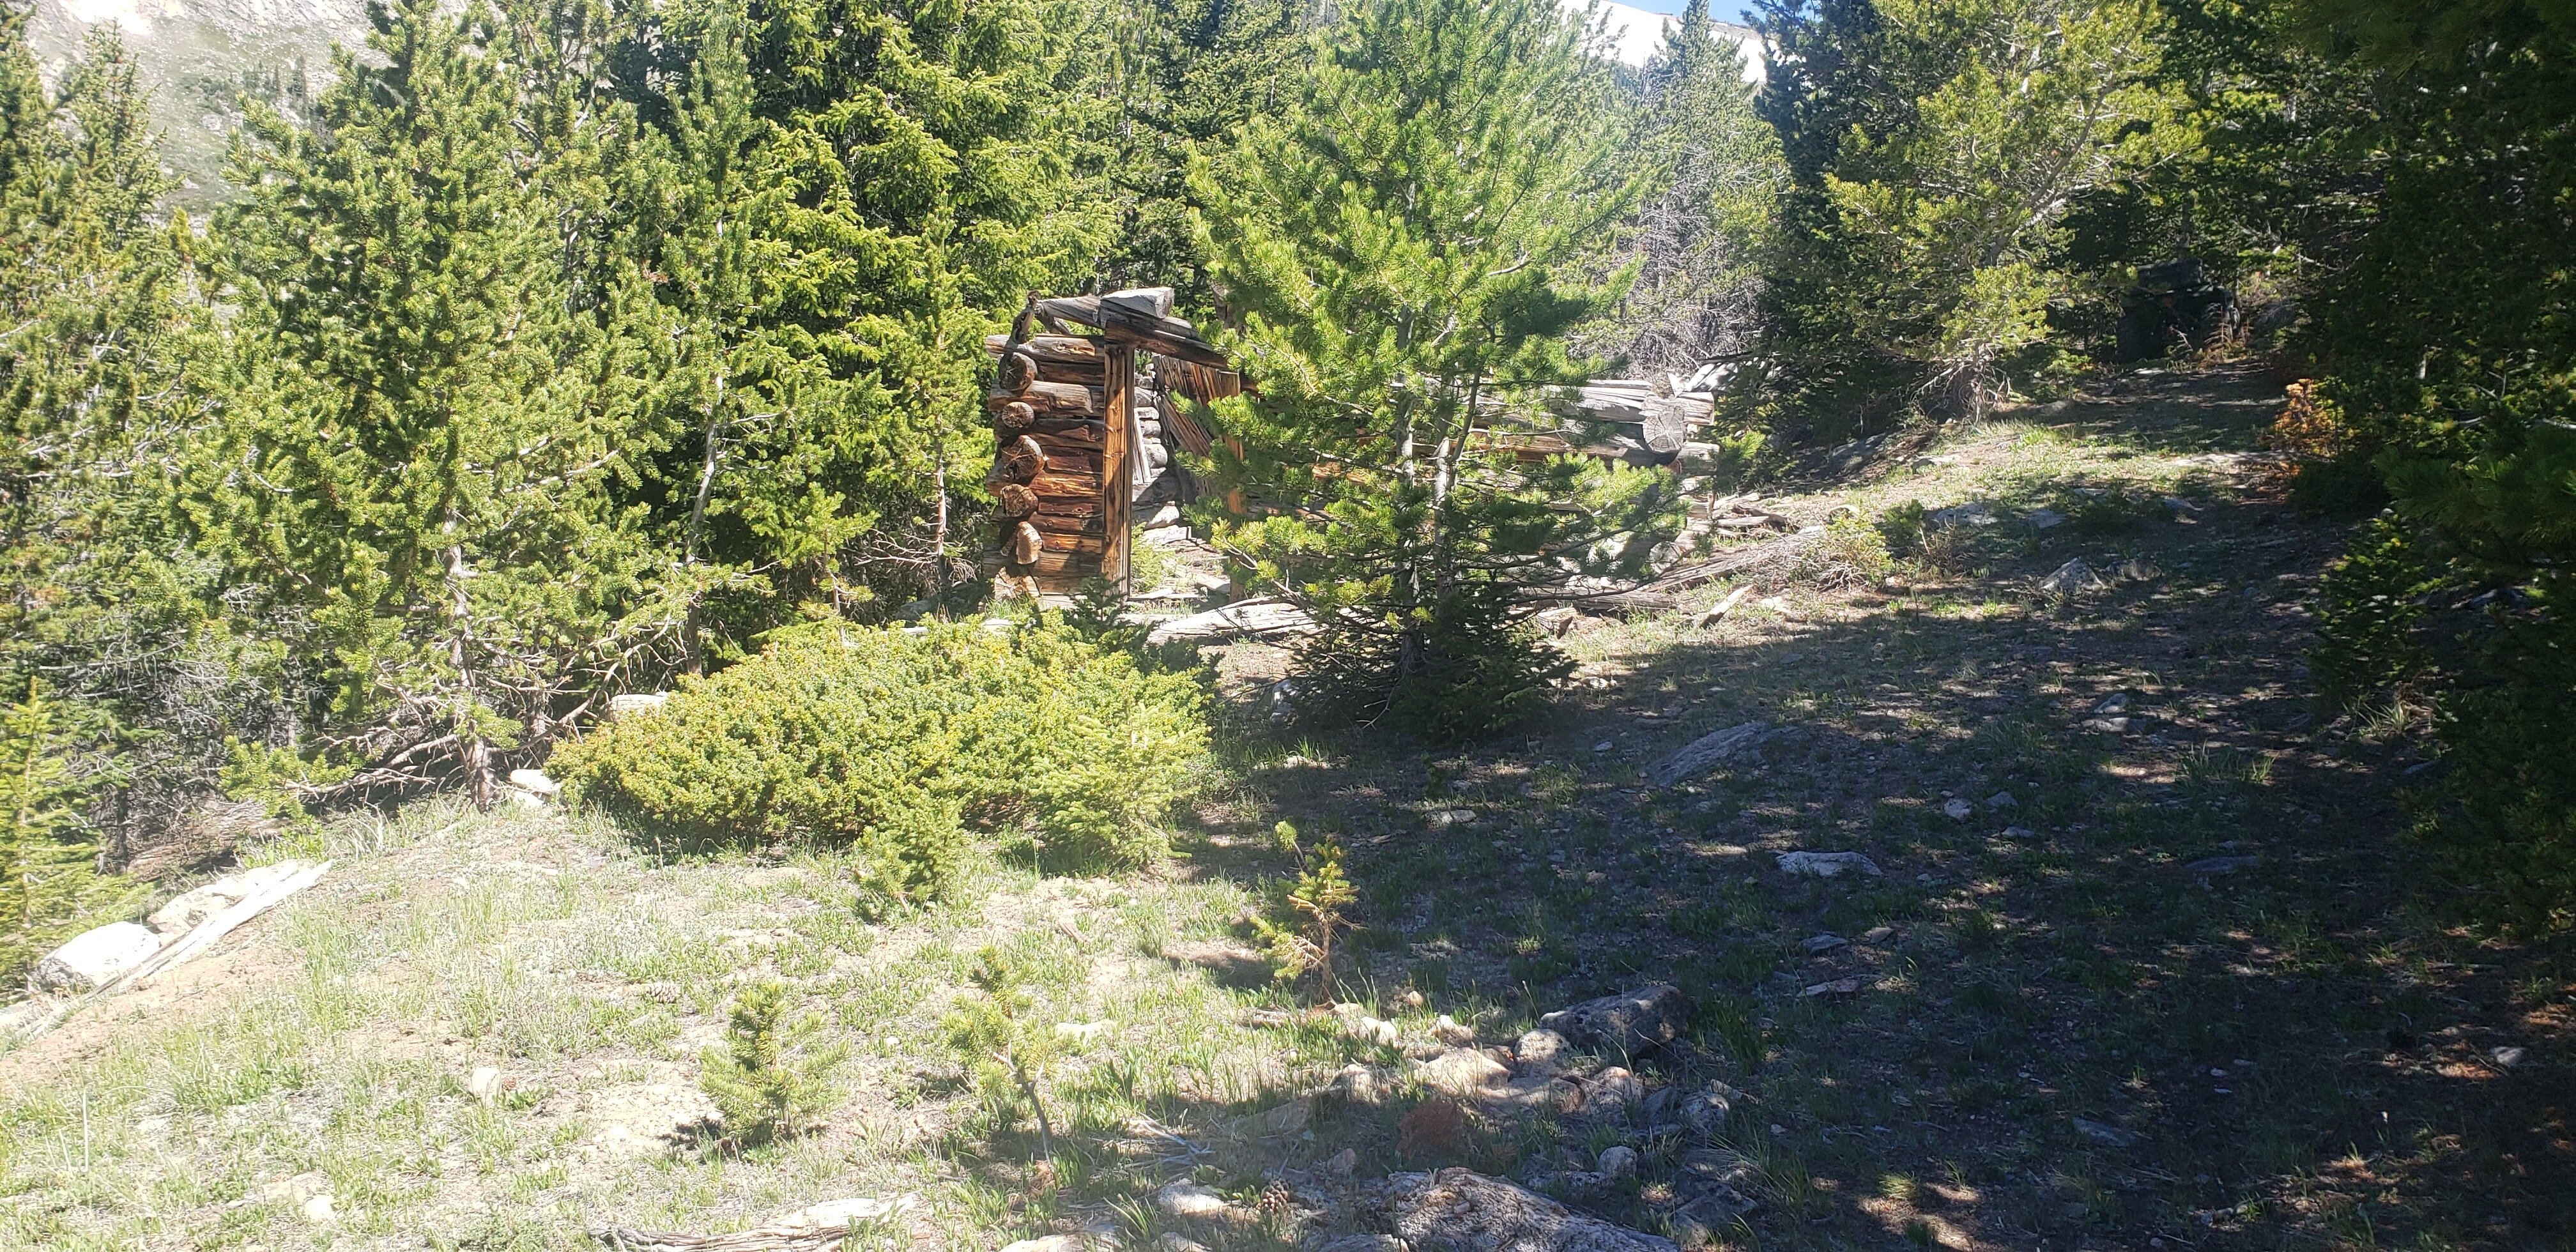
We rode here the day before the event. This is a DCNR state forest trail system. The story behind the name is miners would put their bottles of whiskey in the local springs to keep them cold until their shift was over. Part of the trail system is on old strip mines so some areas are barren, others are full forest.
 3 points
 -
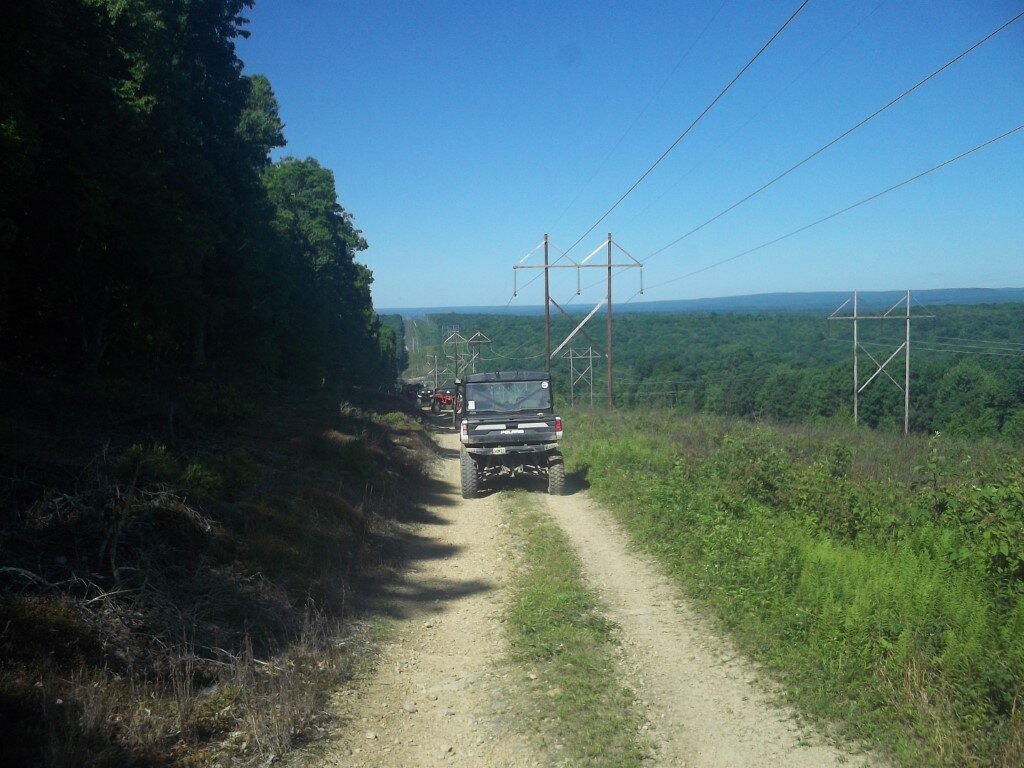
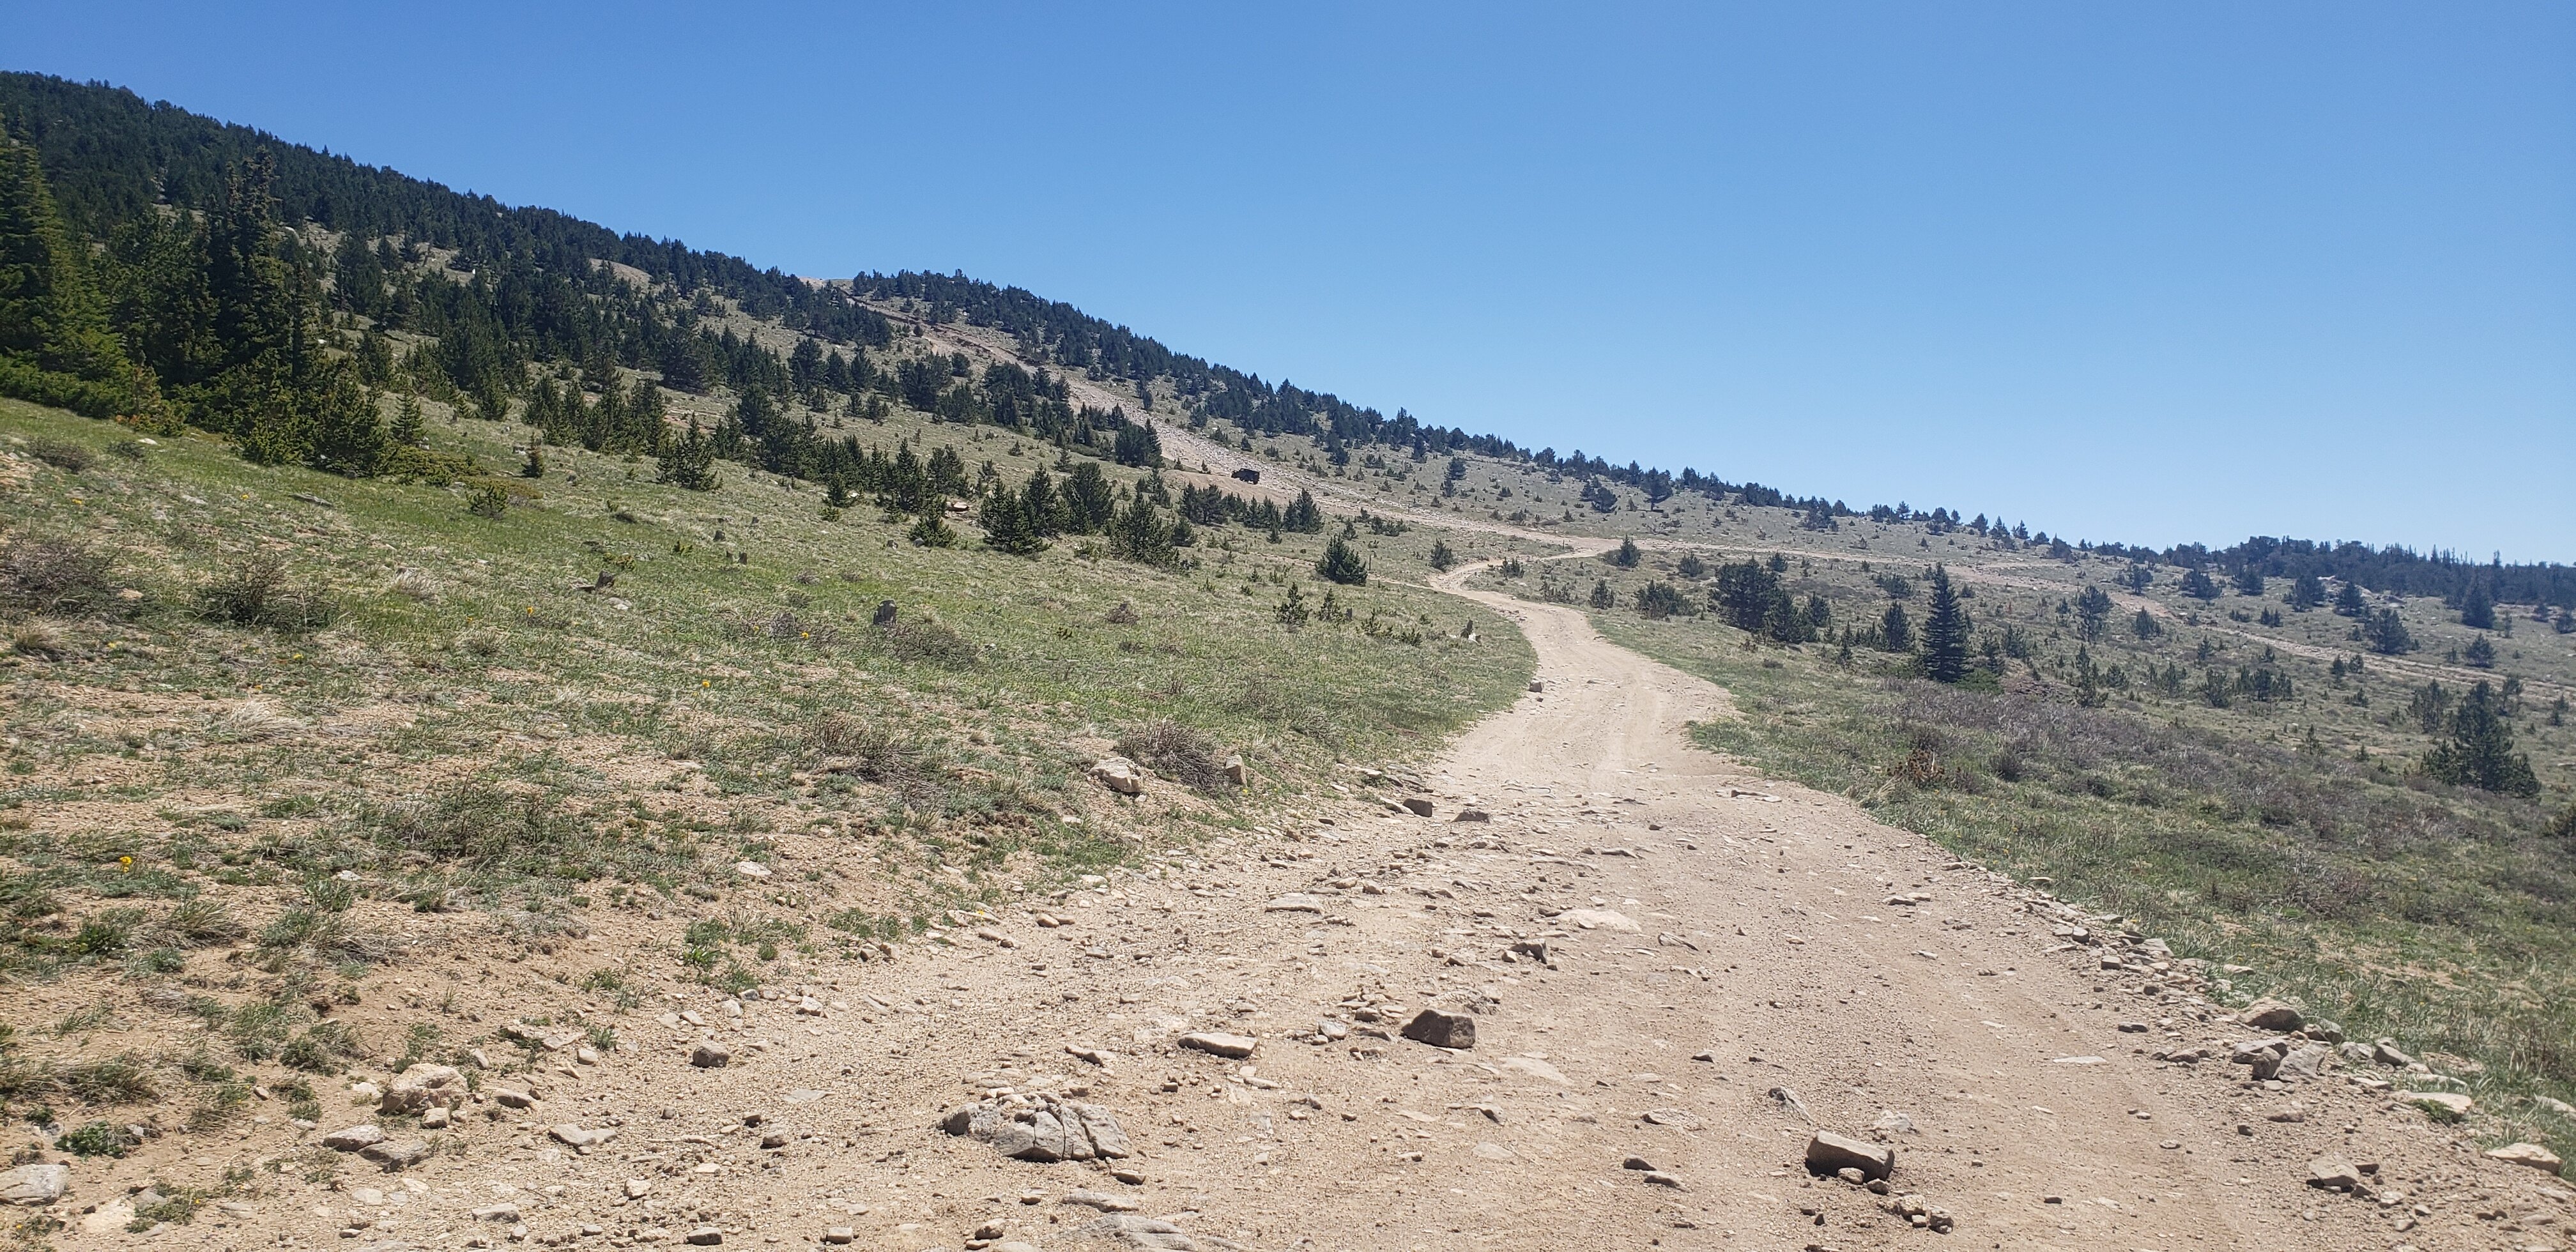
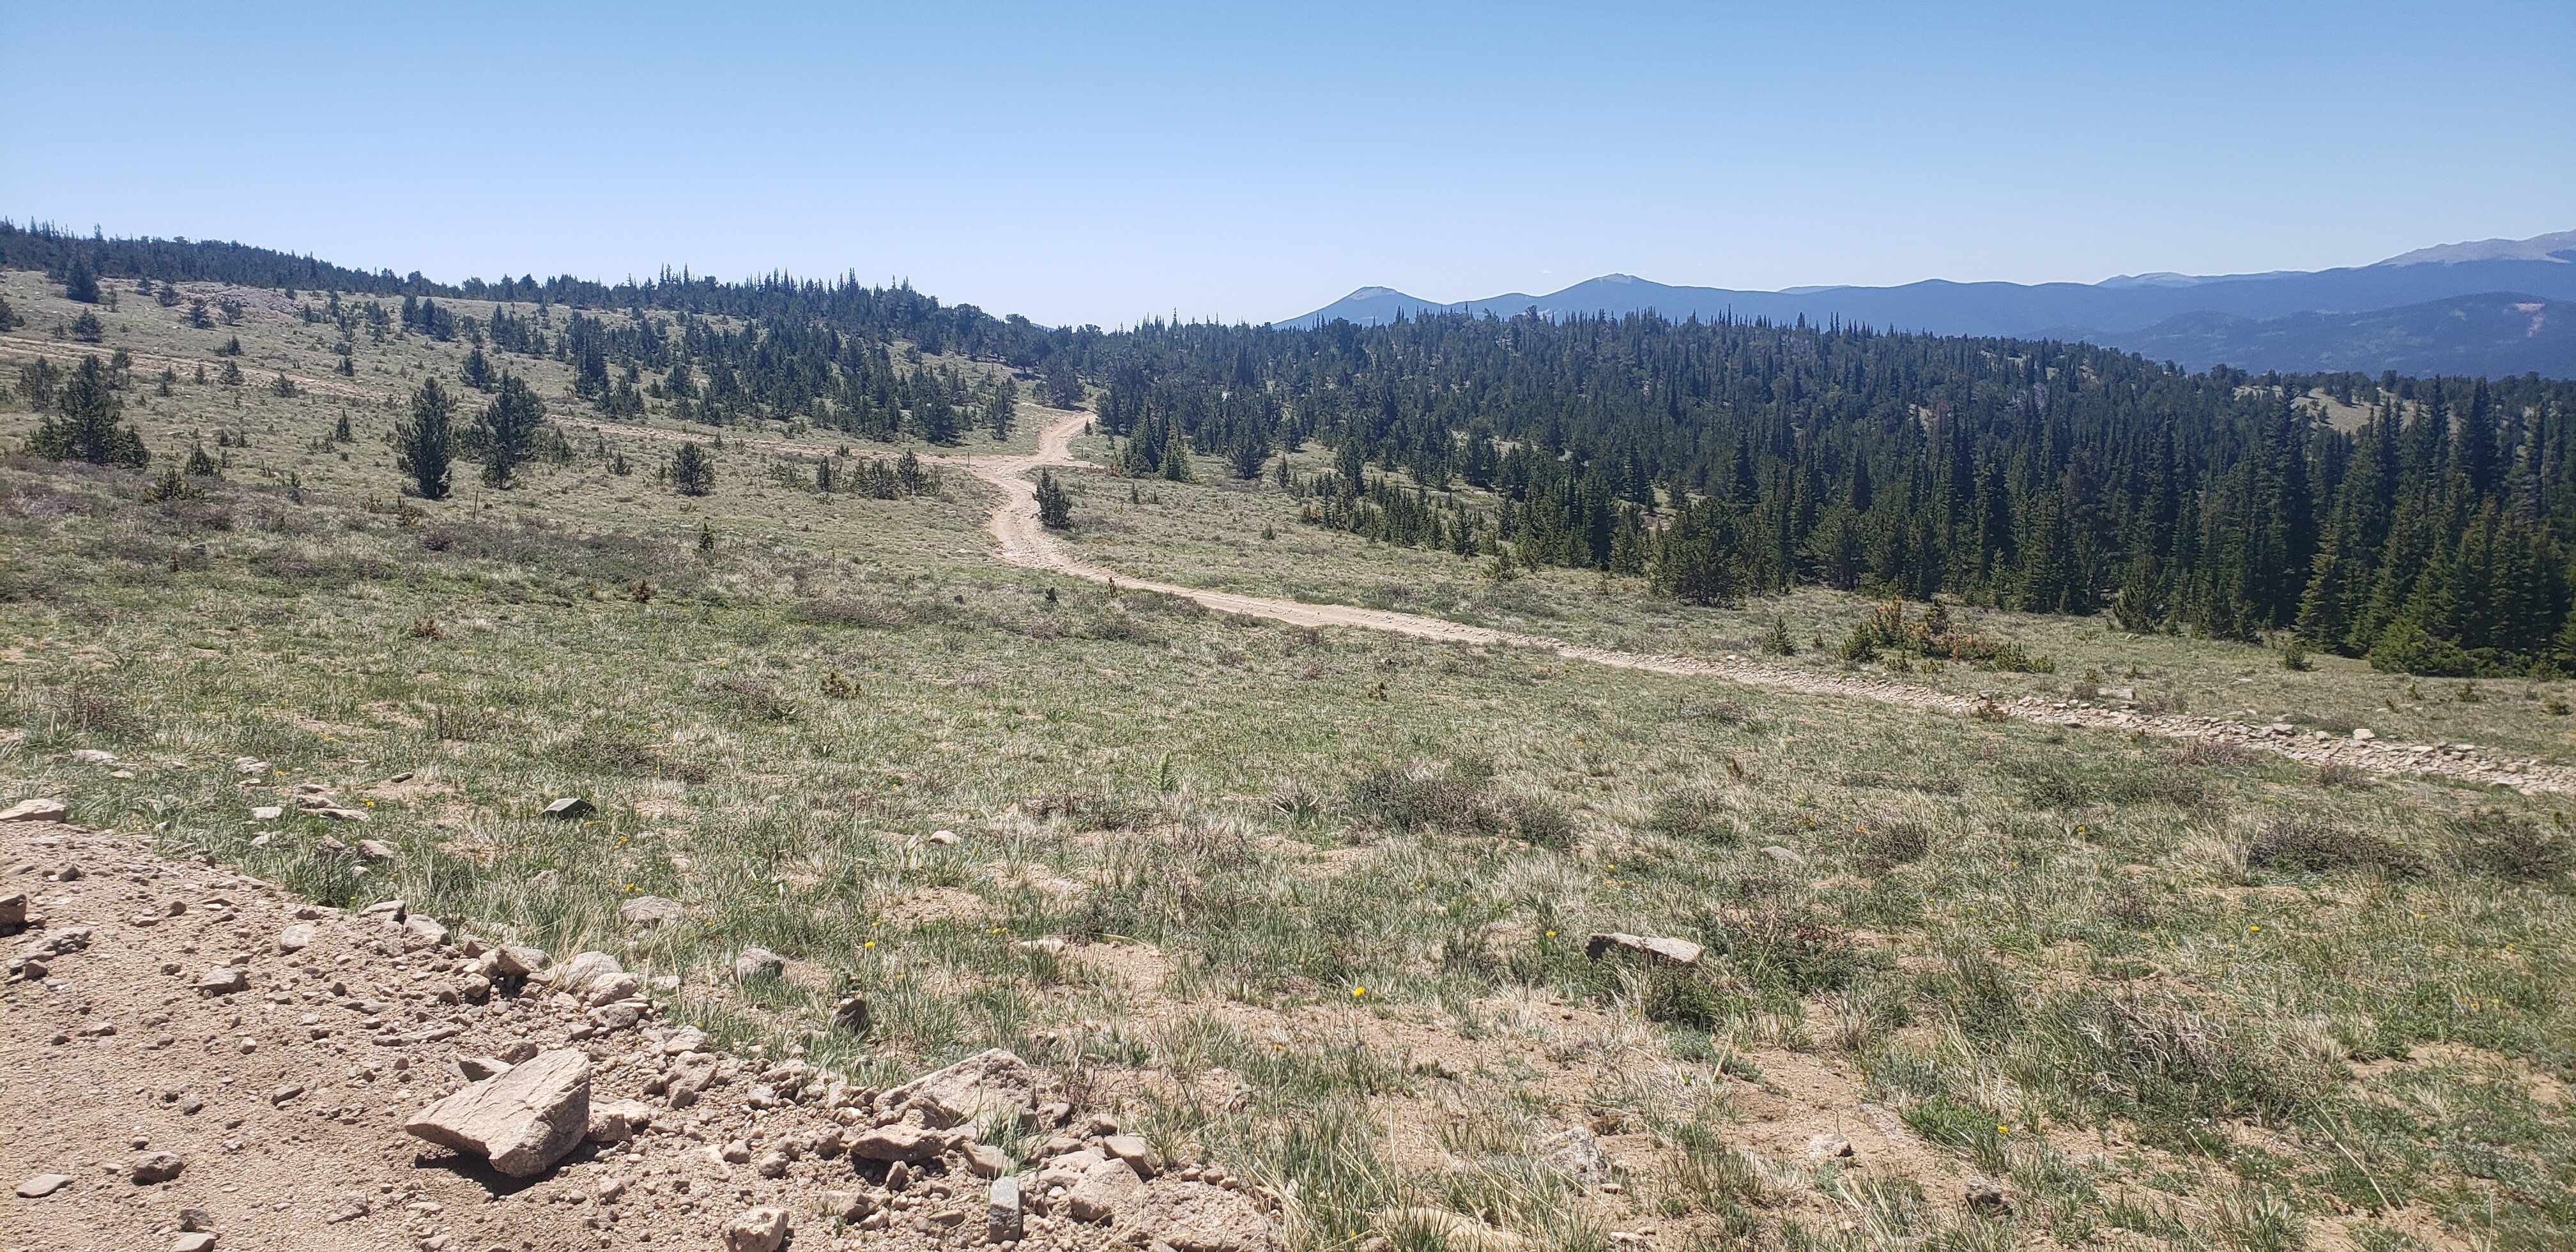
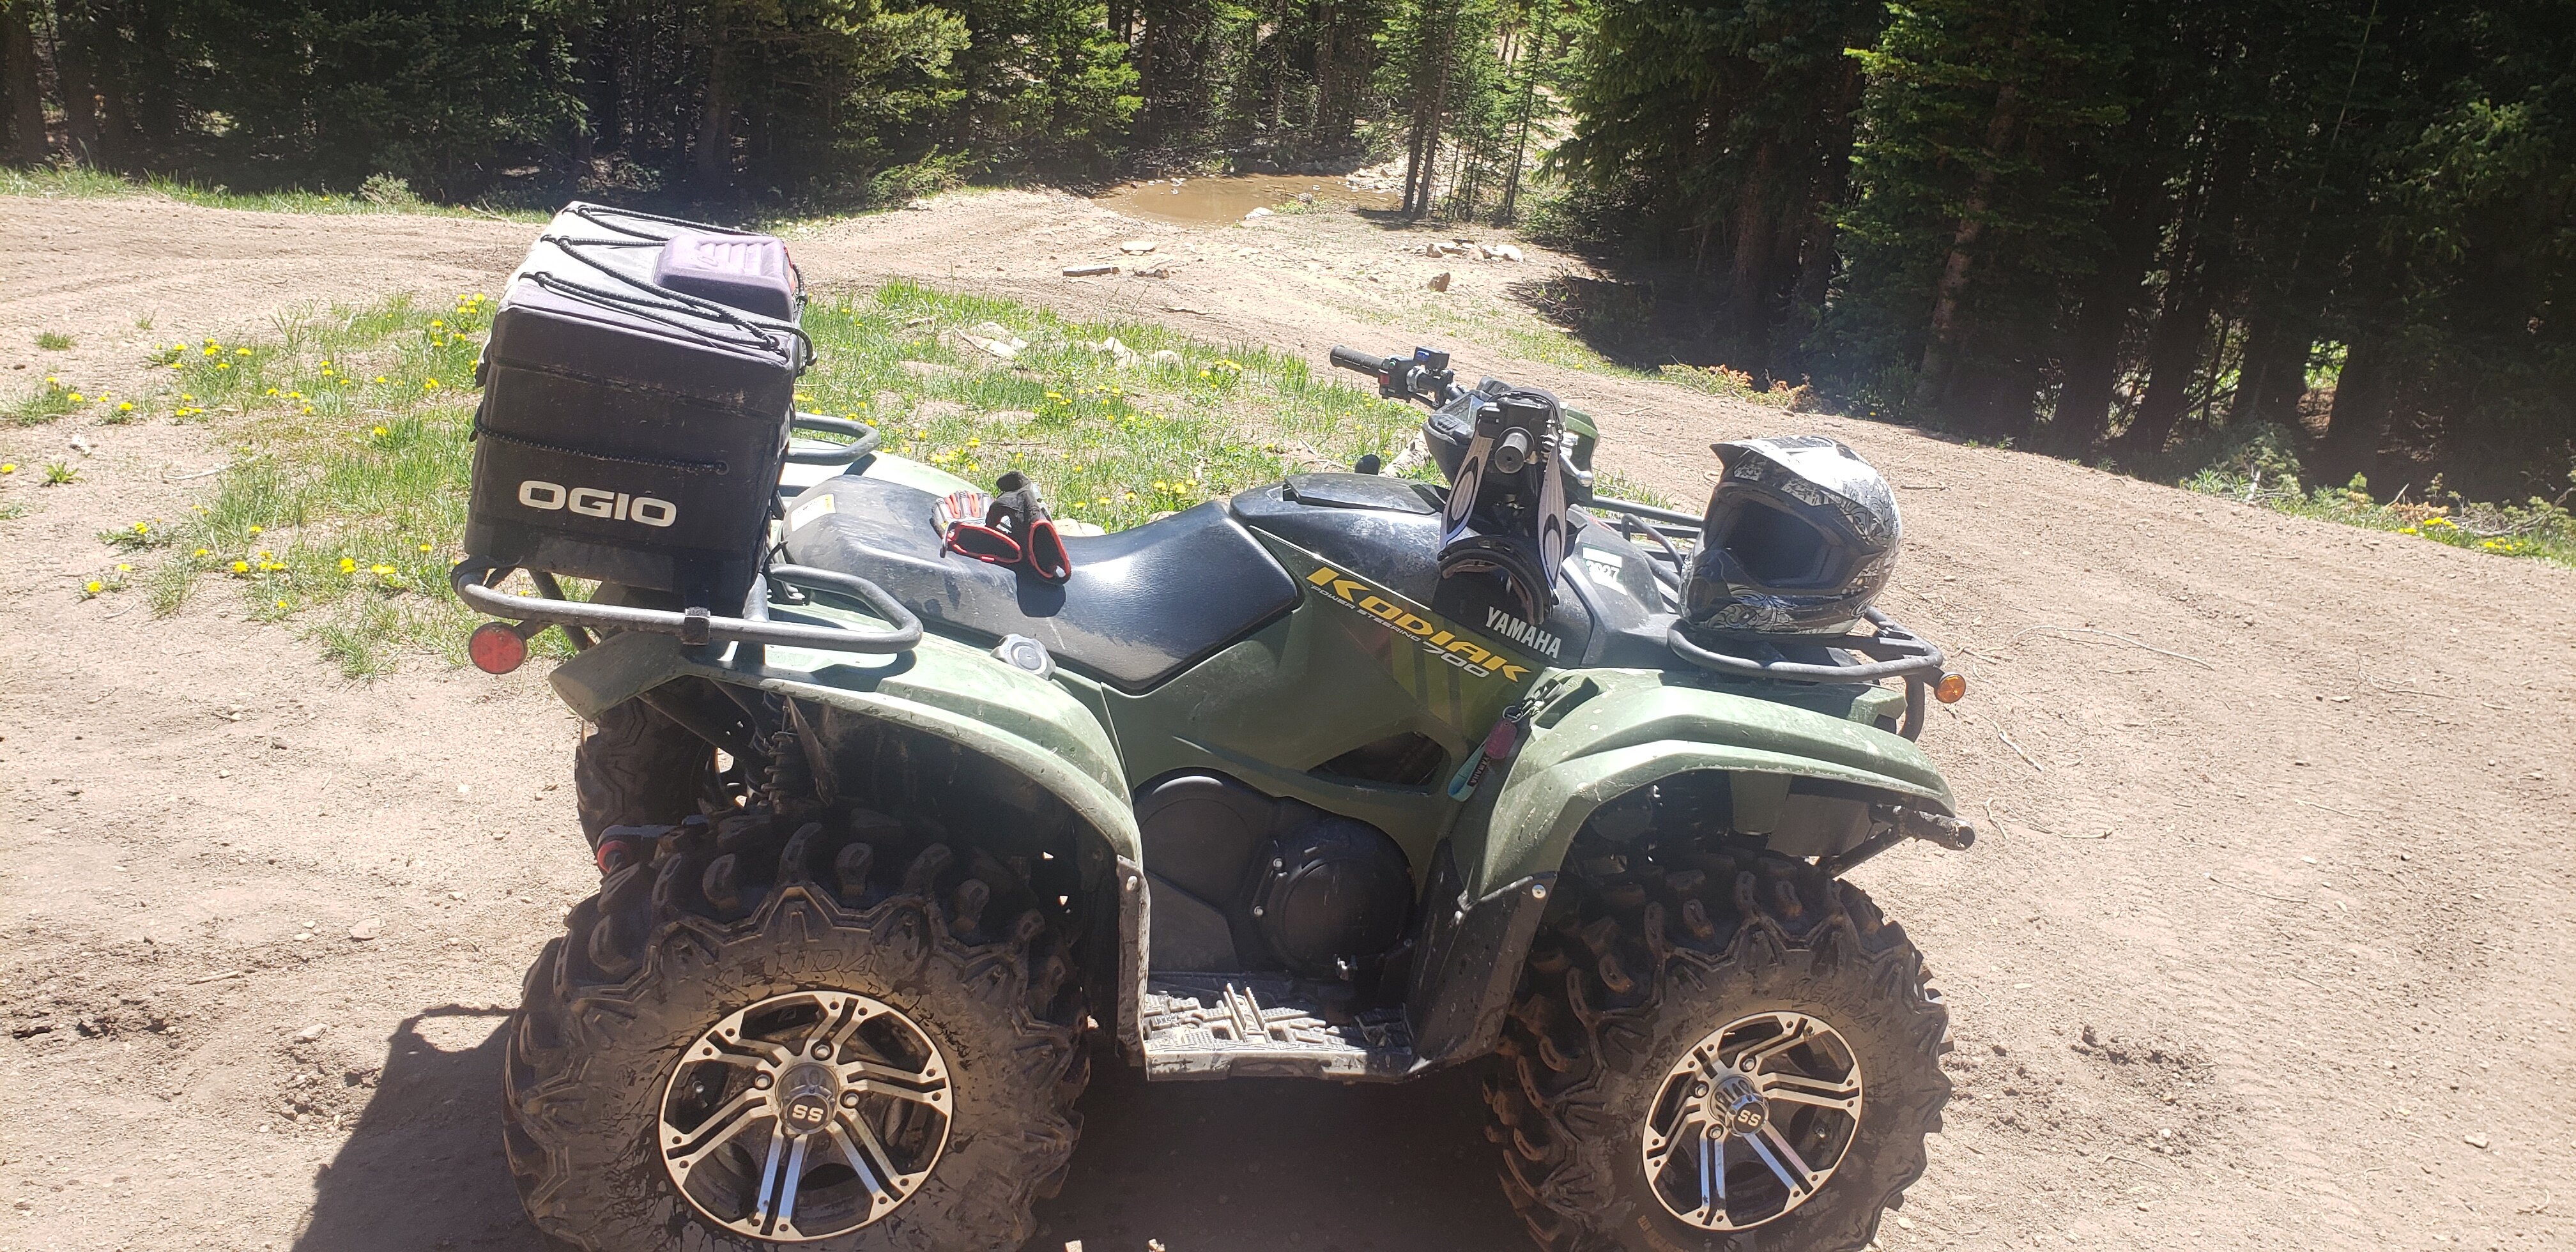
This ride was 64 miles. We have done rides pushing 100+ Her quad will be on reserve by 100 miles. I carried these mainly because I use only non-ethanol gas in the quads and generator. Turns out one gas station in town sells it.3 points
-
@mehim no nude/barely clothed photos please. I removed them from your last post.2 points
-
16th annual event to raise money for cancer research, For $25 you get a 64 mile ride and a chicken BBQ dinner after the ride. Can't beat it.
2 points
-
This site lists stations that sell pure gas. (non-ethanol) https://www.pure-gas.org/2 points
-
I think Battery Tender is the highest rated one i dont have one, been meaning to pick one up but my cheap Amazon and Temu ones just keep working.2 points
-
I had one of those solar maintainers and it didn’t do anything to save my jetski AGM battery over winter. Best thing is a cheap, Amazon 1-2 amp maintainer. You can get them for ~$15.2 points
-
Great pics Love to see Peoples riding pics How many miles are you guys covering ?2 points
-
Didn't need it on this ride. Some rides we do push the limits of range. BTW: Michelle is 60 years old. Not bad eh?2 points
-
Great event, good turnout im sure it was a lot of fun.2 points
-
I don't know of any adapters to allow a battery charger to act as a maintainer. Depending on the output of your solar charger, It could be a "maintainer" Dash board solar chargers rated between 5 and 10W and 13 to 13.5v will act as a maintainer.. Maintainers typically normally output a very low amperage, generally one amp or less and a voltage between 13 and 13.5v to apply a very low charge rate to balance the internal leakage of a battery. Normal full charge voltage of a 12v leaed acid battery is between 12.5 to 12.8V2 points
-
Great Morning QC !! Quick 2 hr ride then lunch with wife !!2 points
-
23 friends 5 days great weather in Wyoming riding Sand Dunes & trails !!
2 points
-
Is that a wet clutch...probably takes special oil? Tractor clutches were dry clutches and notorious for sticking when left set too long.2 points
-
good idea flushing with Coal oil..AKA diesel2 points
-
Oil was drained and there were about 4 to 5 oz. of water in the crankcase but no sign of mixing with the oil. I put about 2 qts. of diesel into the crankcase and pulled the engine over by hand 20+ times and then drained that. Then I changed the filter and refilled with fresh oil.2 points
-
More pics !!
2 points
-
when he changes oil what color is it? Does it have water in it...milky brown color...The wateer will be at the bottom as he drains it.2 points
-
Sometimes that happens from sitting, things seem to dry out, i would try rocking it back and forth to try and free it up, you may also try changing the oil the new oil going in should lubricate things.Of course you said you have it runnings. That should have lubricated everything, but new oil might help.2 points
-
Nice ride! Have fun, and be careful.2 points
-
I do too Jen . Lithium Ion batteries are great for capacity and holding their charge; but they must be charged with chargers designed for them, not with ones for NiMH batteries. Another caution for Li ion ones is to keep them out of the sun where they could get overheated. Li FePO4 batteries used in solar systems and power stations are much safer than the older Li ion batteries but they still need to be charged with chargers designed to work with them, and they cannot be used for starting service as they are designed for a long draw at low amps (deep cycle) rather than the short heavy draw of a starting battery2 points
-
Grandpa's Brother cut the tip of his thumb off. Grandpa said his mother cleaned it up but it was bleeding bad. His mom, he always called her Mother, reach up inside the fireplace and came back with a hand full of black soot. She clasp it over the boys thumb and held it tight for a few minutes. Grandpa said when she took her hand away there was only a tiny drop of blood on his black thumb.2 points
-
The old folks knew how to take care of emergency with no Dr. , never heard of the egg thing but a great idea.2 points
-
Good story, even without the eggs2 points
-
Welcome to QC from Colorado !!2 points
-
Job change probably2 points
-
My grandpa was a kid cutting corn to shock. If you do not know what that means I am sorry. He cut his cheek with the corn cutter. My great grandma, his mother, cleaned up the cut. Then holding the skin together, she took the membrane/skin from the inside of an egg and placed it over the cut. As the membrane dried it pulled the cut together. You cannot see the cut on Grandpa’s cheek. Goooood MOrning and Happy National Egg Day June 3rd America! Us girls have a natural affinity to EGGS....LOL2 points
-
2006 Suzuki King Quad 700 at the moment, Wellington, NZ.2 points
-
Great ride fri am about 2 1/2 hrs ! Lunch with wife 😋 garage time test of day twisted tea day 😋1 point
-
Good match, Turkey pushed real hard.1 point
-
Great Morning QC !! finishing up my work week then time to ride !!1 point
-
It sounds like the starter cutout relay a little black box close to the battery, lights light up when the engine is running because it doesnt go through the relay ,power is generated in the engine. Thats why the pull start works generates own power to start the engine.1 point
-
Beautiful area, looks like some rough riding. Enjoy!1 point
-
no Iam looking for a single axle that I cAN TOW easiy with my AWD Highlander1 point
-
I have seen it sold at various places, mainly local gas stations. In Renovo this place has it. Sorry, opposite, I am 58. Northcentral PA has smoother trails then where I live. Riding options are limited where I live now so we travel to ride. What we have here is usually rocky.
1 point
-
More is sometimes not good I guess....is there an adapter to convert my solar charger o "maintenance " so I don't over charge?1 point
-
The biggest killer of all forms of lead acid batteries is letting them sit without a maintainer on them, or at least bringing them to full charge at least once a month when they are not in use.. When a lead acid battery drops belo2w full charge , either from being parked when partially discharged or by normal internal leakage the lead sulfate produced can harden on the plates. When that happens a lot of the hardene4d sulfate does not break down back into lead dioxide and sulfuric acid. You don't notice the slow loss of capacity because of it unless the battery is often left at deeper discharge rates. Any lead acid battery that sits idle for long periods loses a lot of capacity over time and if allowed to drop extremely low can easily short out when thicker sulfate can flake off the plates on recharge. A battery regularly used and kept full charged when idle can last for years while one allowed to sit for long periods at less than full charge can fail in a year.. My Quad battery is about 5 years old, as is the one for my riding lawnmower. Both are on trickle charge maintainers when not in use. The AGM battery in my 2016 Traverse is likely original as I bought it used 5 years ago. I know its reserve capacity is very low now and I will likely have to replace it next winter. As I have mentioned in other threads, a good maintainer is a lot cheaper than buying a replacement battery every couple of years.1 point
-
Ha Ha...OMG that would tighten you up! Maybe just wash my feet..LOL I wonder how deep? The Finger lakes in upstate new york are deep the Senaca Lake is over 900 feet deep!1 point
-
How old is the battery ? Check to see if it holds a charge 1st ! My Foreman sits for weeks on end and still fires up when needed ! I usually only use a Trickle charger in the winter1 point
-
Very good ! Have fun, be safe!1 point
-
My first question would be is this an OEM or aftermarket carb. This procedure if for OEM carb, may work for aftermarket not sure. Most addjustments are done by ear you know when its running good and idling right, the settings are starting points, if not running good on recommended settings adjust accordingly. First step would be to make sure the carb is clean, very clean, not mostly clean. Pilot Screw Adjustment for the Recon 250 ('97 and up) This may also be suitable information for the same year 250SX quad. Note: -The pilot screw is factory pre-set. Adjustment is not necessary unless the carburetor is overhauled or new pilot screws are installed. -The engine must be warm for accurate adjustment. Ten minutes of stop-and-go riding is sufficient. -Use a tachometer with gradations of 50 rpm or smaller that will accurately indicate 50 rpm change. 1. Turn the pilot screw clockwise until it seats lightly, then back it out to the specification given. CAUTION: Damage to the pilot screw seat will occur if the pilot screw is tightened against the seat. TOOL: Pilot screw wrench 07908-4220201 INITIAL OPENING: '97 (except California type): 2 7/8 turns out '97 CA type: 2 3/4 turns out '98 - 2001: 2 5/8 turns out After 2001: 2 turns out 2. Warm the engine up to operating temp. 3. Stop the engine and connect a tachometer according to the tach. manufacturer's instructions. 4. Start the engine and adjust the idle speed with the throttle stop screw. IDLE SPEED: 1,400 +/- 100 rpm 5. Turn the pilot screw in or out slowly to obtain the highest engine speed. 6. Readjust the idle speed with the throttle stop screw 7. Turn the pilot screw in gradually until the engine speed drops 100 rpm. 8. Turn the pilot screw counterclockwise the number of specified turns. FINAL OPENING: '97 (except CA type) 3/4 turn out '97 CA type/'98-2001: 7/8 turn out After 2001: 1/2 turn out 9. Readjust the idle speed with the throttle stop screw. The throttle stop screw is on the right side of the carb. right behind the mounting stud where the carb. attaches to the intake rubber. The pilot screw is on the front center underneath the side close to the engine cylinder. The above info. was taken from Honda's '97-'04 Recon service manual, and I hope this helps.1 point
-
Very Nice ! Thanks for sharing!1 point
-
I like Amazon and Ebay. However, when I buy parts I look up the OEM part number on Honda or Yamaha website. Then i make sure the part fits and is OEM part most of the time. Rock Auto...they are great....Just ordered rear wheel hubs and ABS sensors for my Jeep. They are reliable...1 point
-
Agreed,Upstate NY near Niagara Falls & WestPoint is Beautiful Country !!1 point
-
Great morning QC !! Ride day today !!1 point
-

4 downloads
2024-2025 Polaris Ranger XD 1500 – Official Service Manual Resource 📌 This thread is dedicated to the factory service manual for the 2024 and 2025 model year Polaris Ranger XD 1500 UTVs. What's Covered: This service manual covers complete OEM factory procedures for the following models: Polaris Ranger XD 1500 (2024–2025) Polaris Ranger XD 1500 Crew (2024–2025) Polaris Ranger XD 1500 NorthStar / Premium / Trail Boss variants (where applicable) Manual Contents Include: Engine service & specifications (ProStar 1500 Flex-Fuel engine) Fuel system diagnostics & EFI troubleshooting Drivetrain, transmission, and AWD/4WD service procedures Electrical system schematics & wiring diagrams Suspension, steering, and brake system specs Clutch adjustment, belt service, and CVT procedures Ride Command infotainment system & digital cluster diagnostics Torque specs, fluid capacities, and maintenance schedules Diagnostic trouble codes (DTCs) and service tool usage Towing & payload system specifications (2,500 lb tow / 1,500 lb payload) Intended Audience: This resource is for owners, farm & ranch operators, fleet maintainers, and professional technicians working on the 2024–2025 Ranger XD 1500 platform. Whether you're performing routine fluid services, chasing an electrical fault, or overhauling the drivetrain on a high-hour work machine, this manual provides the factory-spec procedures to get it done correctly the first time.1 point -
No lake near by ! Flaming gorge Res is about 50 miles South !! its called Killpecker Sand Dunes !!1 point
-
Thanks for sharing, looks like a great time!1 point
-
Kawasaki Super Sherpa, love that bike, the most fun bike to ride.1 point
-
The more north you go, the more riding there is.1 point