Chris2018
-
Posts
66 -
Joined
-
Last visited
Content Type
Profiles
Forum
Gallery
ATV Magazine
Events Calendar
Downloads
Store
Community Map
Everything posted by Chris2018
-
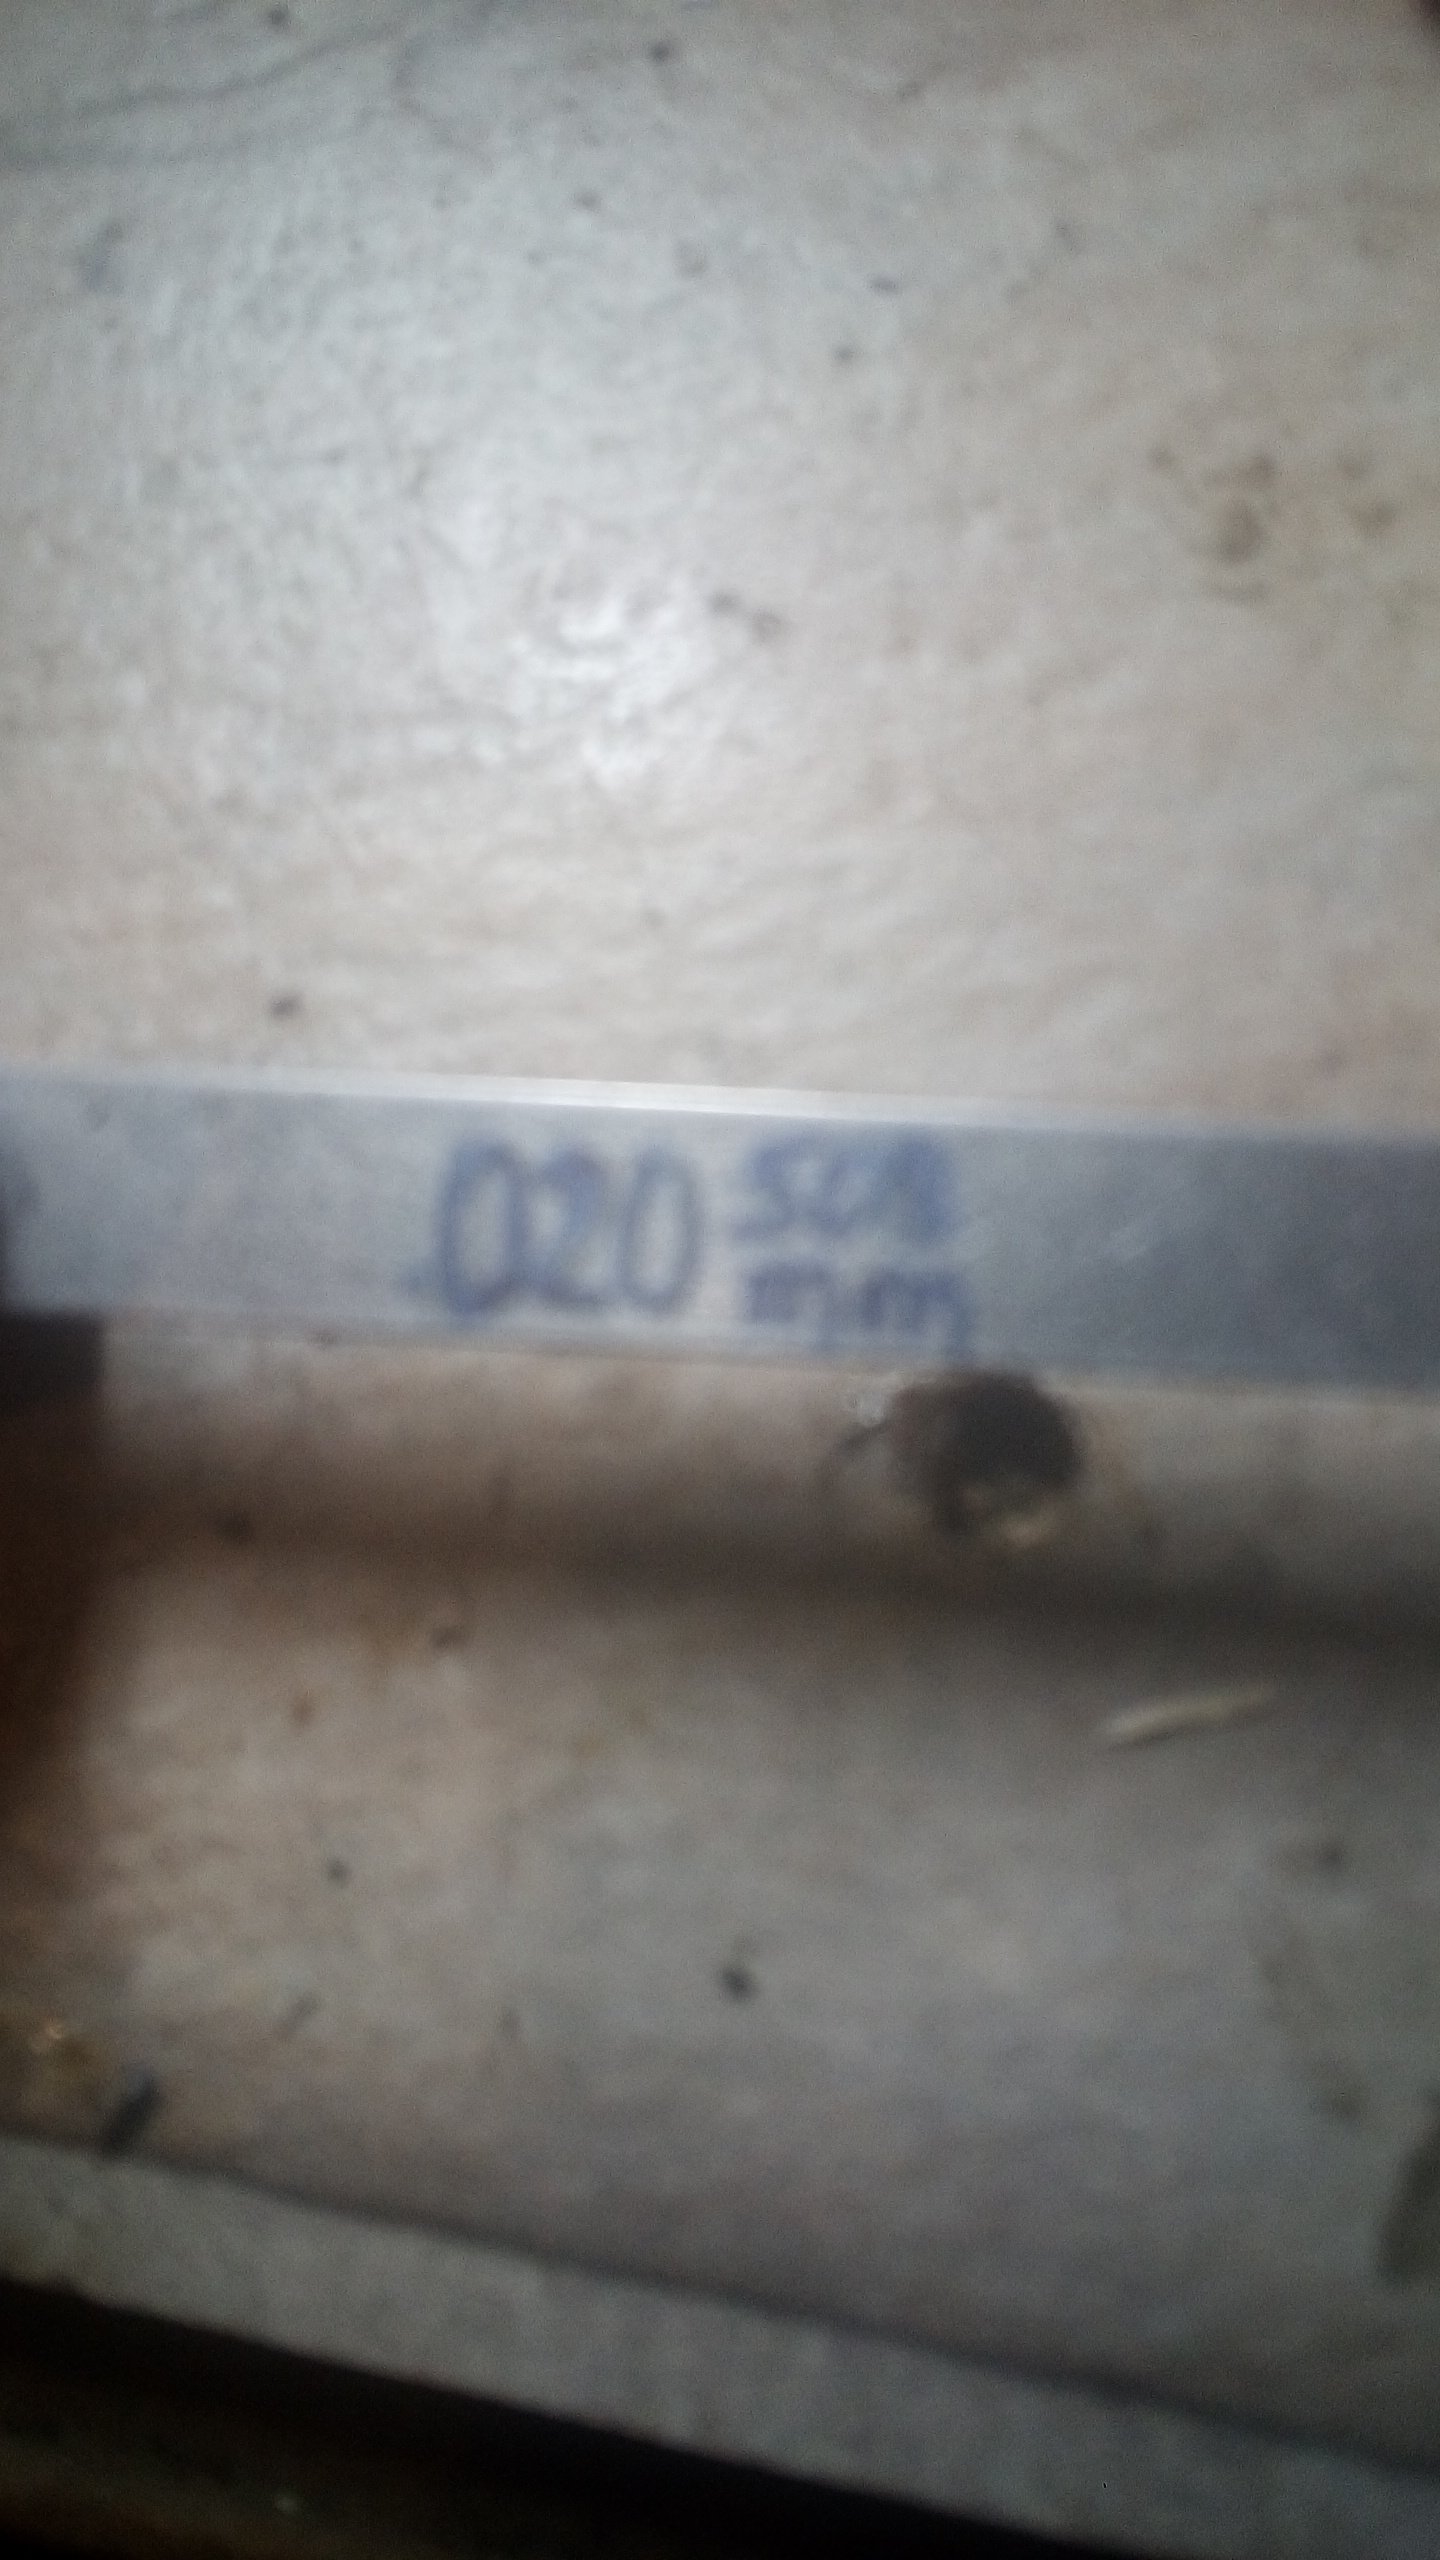
So to make sure I'm clear as I'm getting ready to do this. My feeler gauge that says,. .508 .020mm , is the correct one?
-
Now I'm a little confused when reading these feeler gauges. The manual says to set velves between 20 and 24 mm. Is this the correct gauge to use. The extra numbers confuse me. This is 20mm?

-
Thansk. I appreciate all the help that had been given. As stated before this is my first real tare down and rebuild.
-
Thanks. And don't ask me how I completely missed that in the manual. But it was originally lined up with just the notch befor the T. Is there a chance the velves are bent. Or is that not far enough off to cause damage And the top part of the dot on the exhaust cam is lined up with the top of the head correct while the inlet cam bottom part of the dot is lined up with the top of the head correct?
-
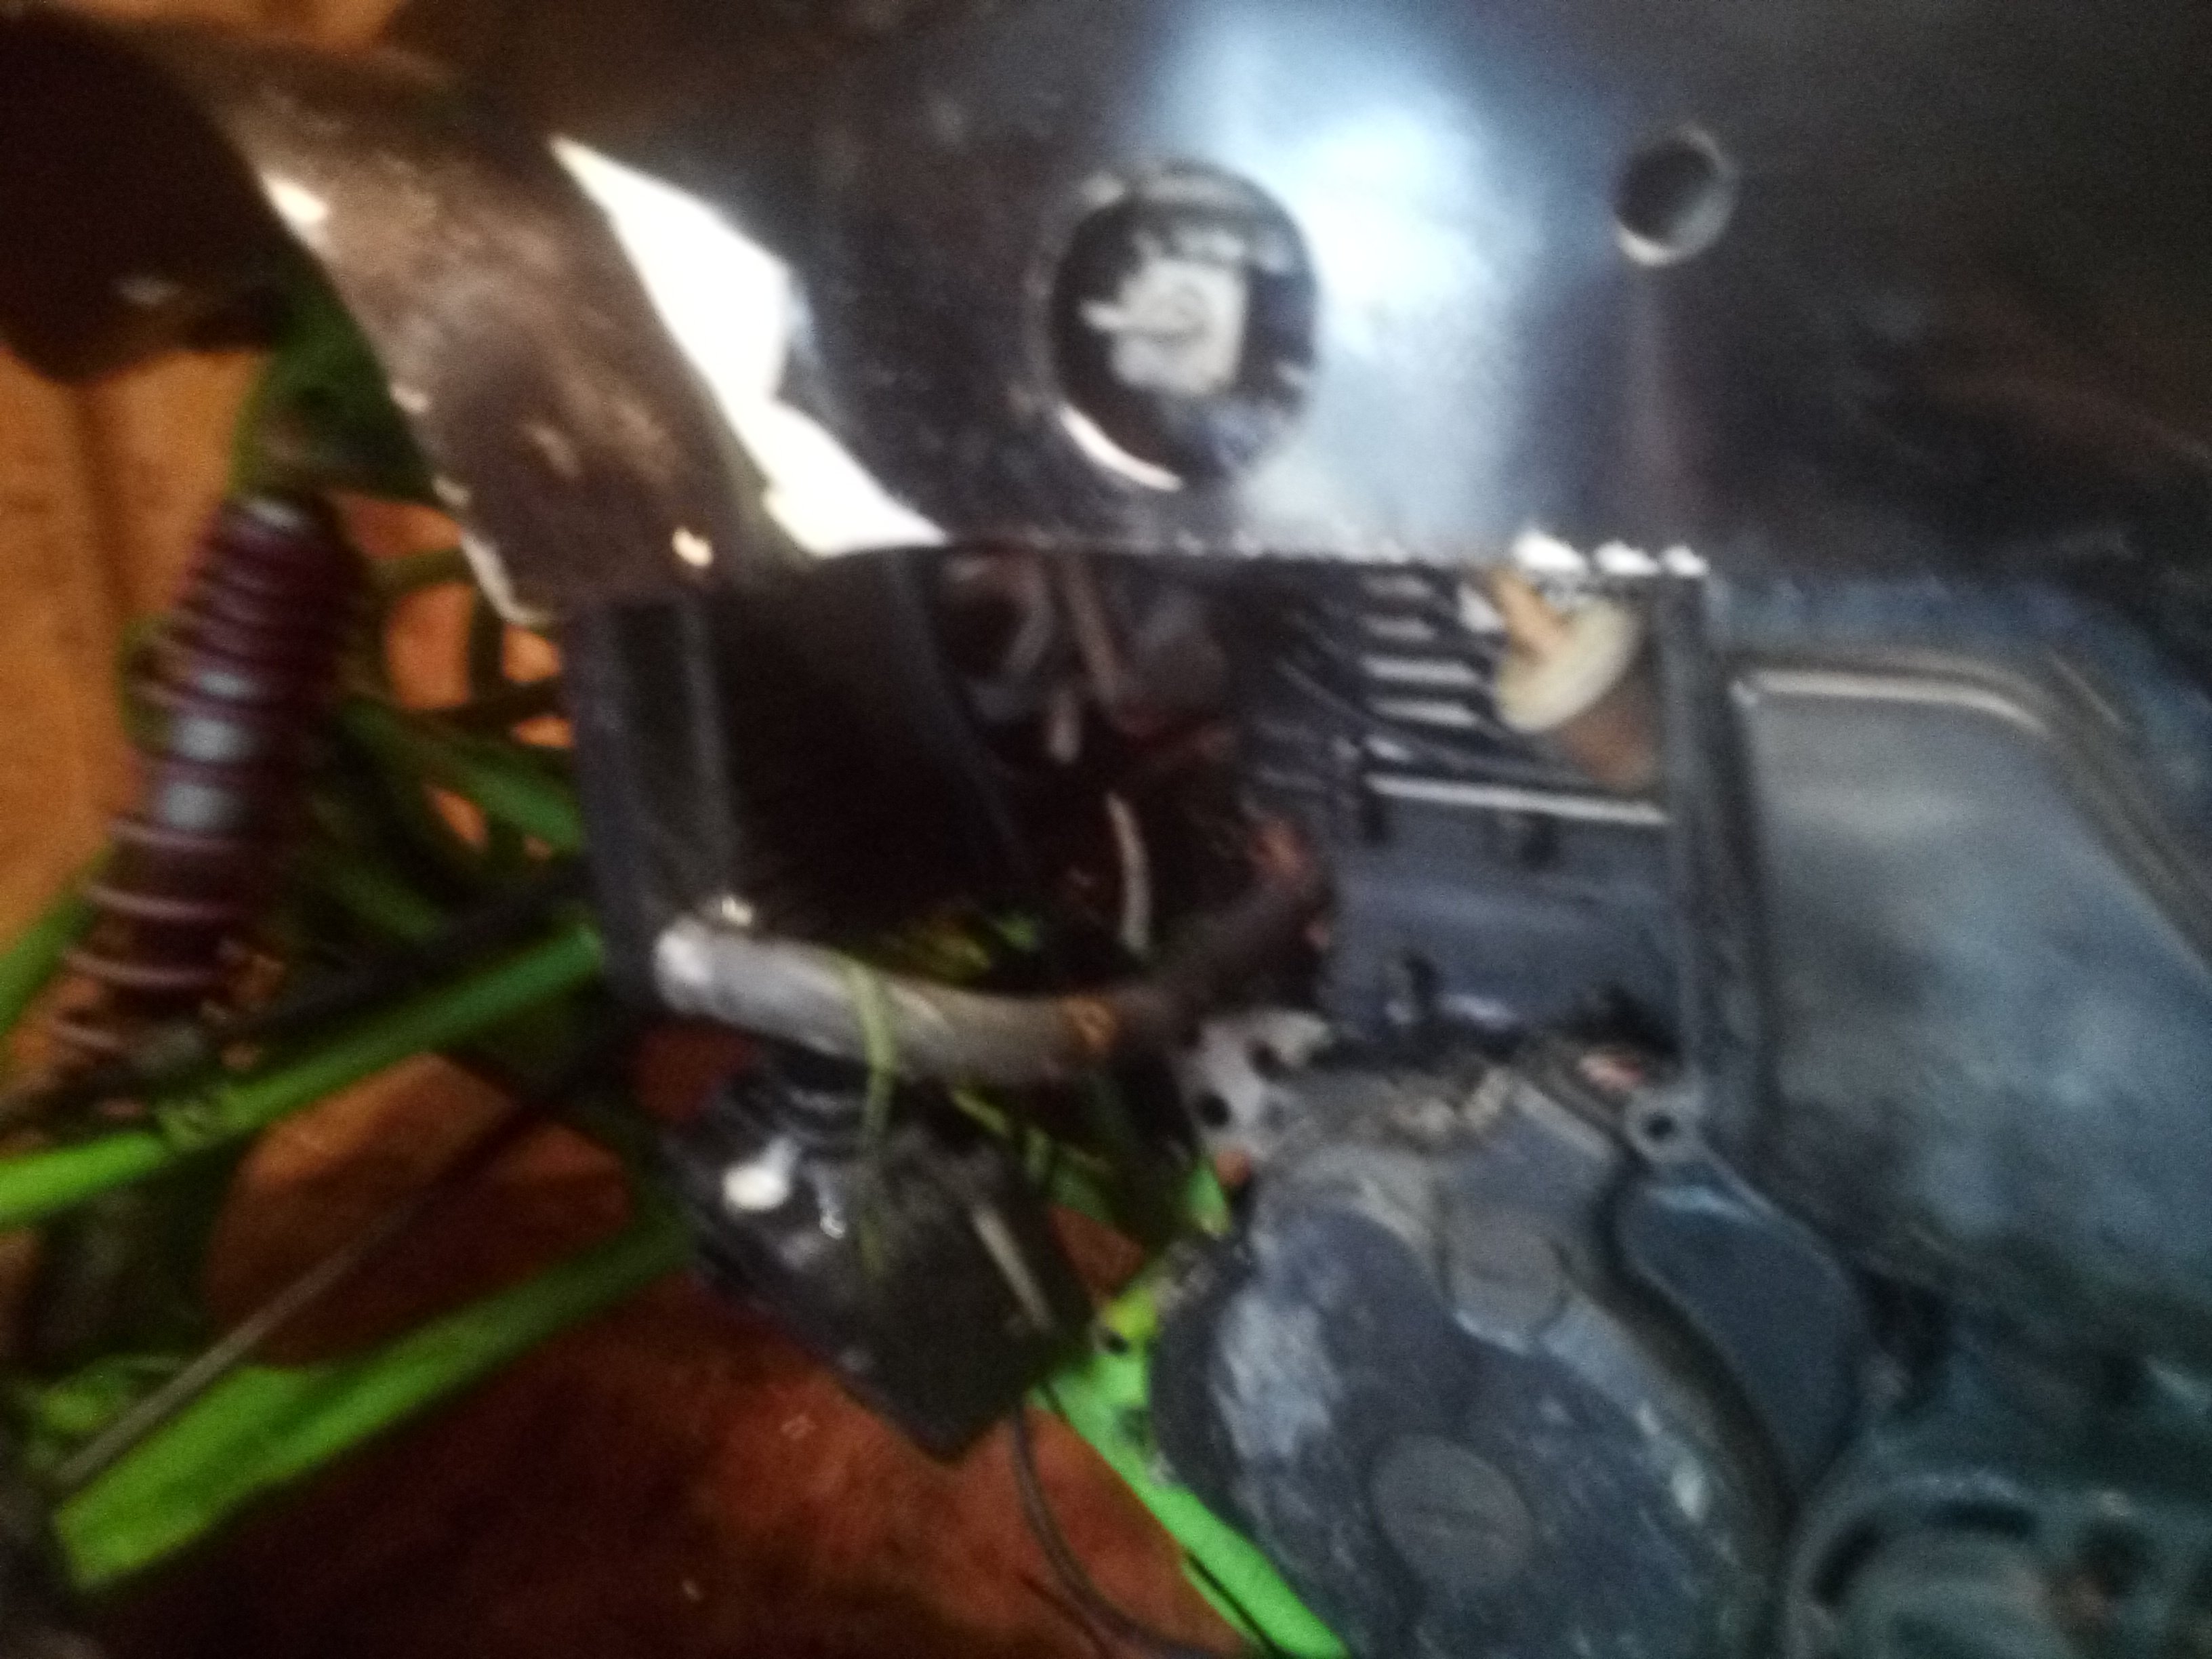
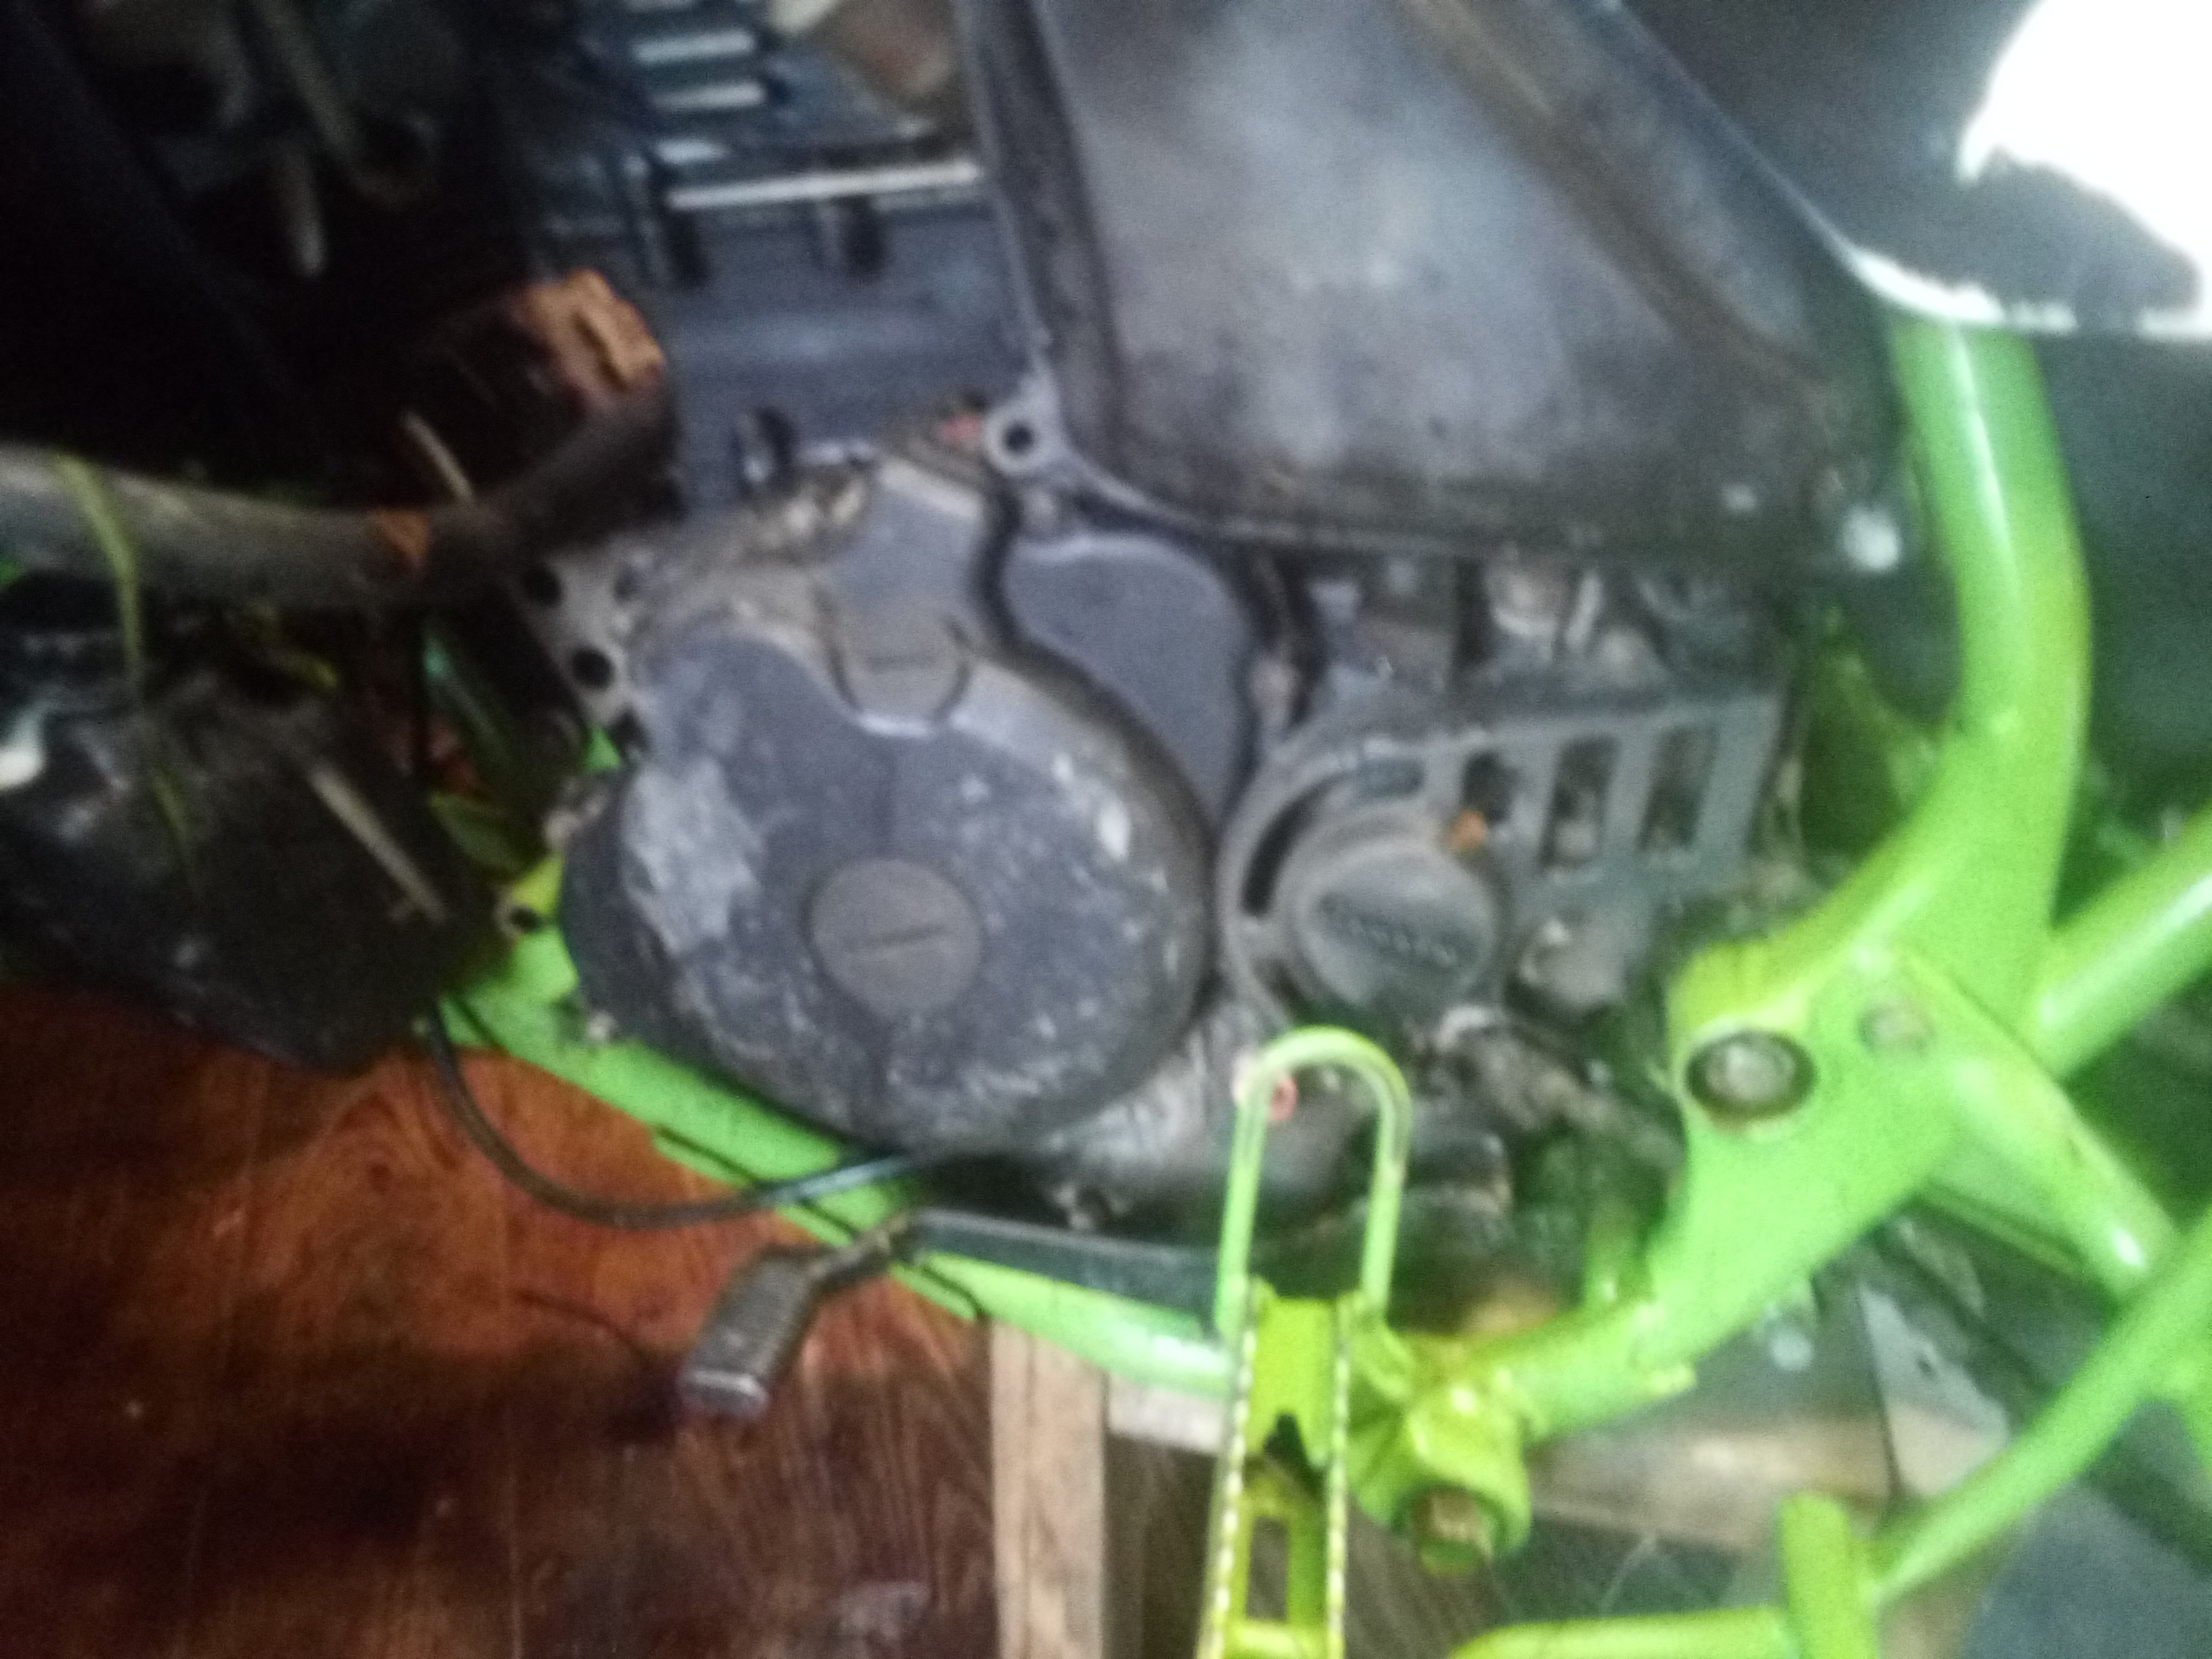
So I finally was able to get back out to the garage and work a little more I just replaced the top end gaskets and am a little confused about setting the timing. First the flywheel ended up moving while removing the head. All I had to do was continue the rotation and set it back at top dead center correct? And when setting the timing do you line it up with the "T" on the flywheel it is it the notch. It got me a little confused bc this is the first four-stroke I have worked on.
-
I noticed you pained the chain too. How did you get just the outside? Or did you paint the outside then tape it and repaint the inside to
-
That's what it looks like but there is one on it and I asked the people and they said there wasn't any extra parts lol Man that bike looks nice Not going to lie deffeinetly going to steal some of your paint scheme. They painted my foot ped and sh** green I like how you're are black
-
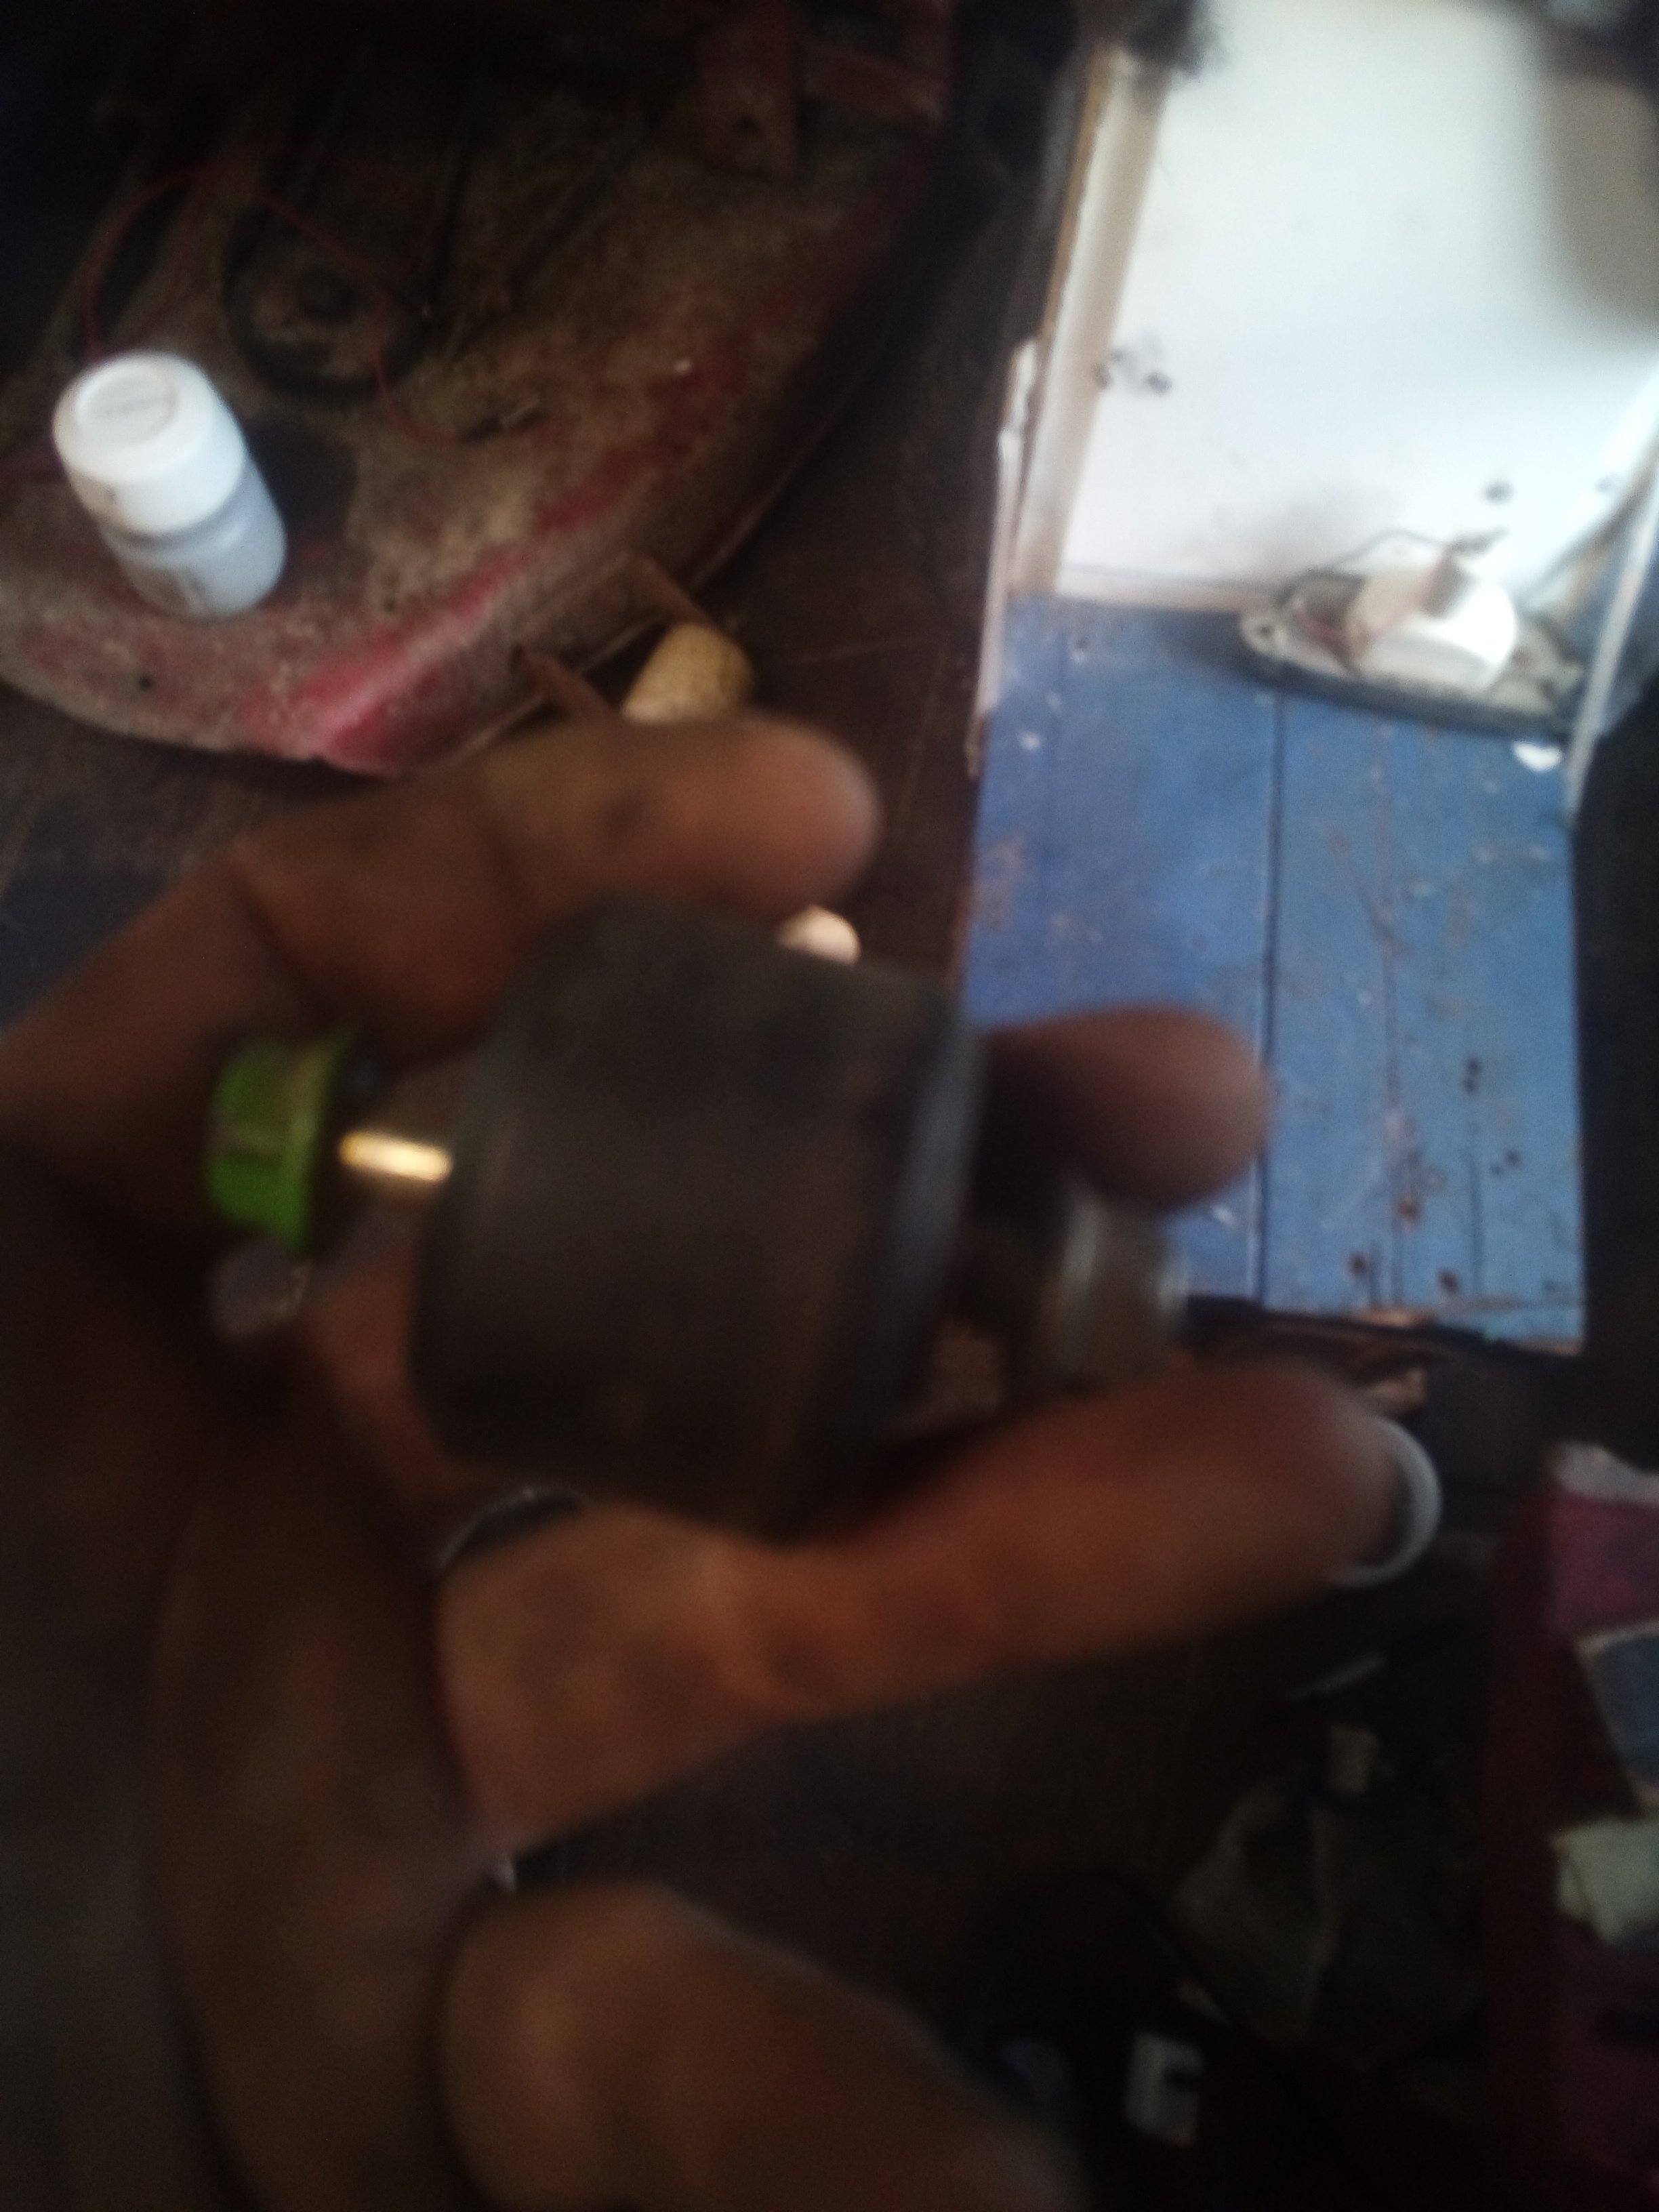
Ok so oe will work. Any idea what that part is for I sent you a picture of? It was in the box of parts and I can't figure it out
-
Sorry
-
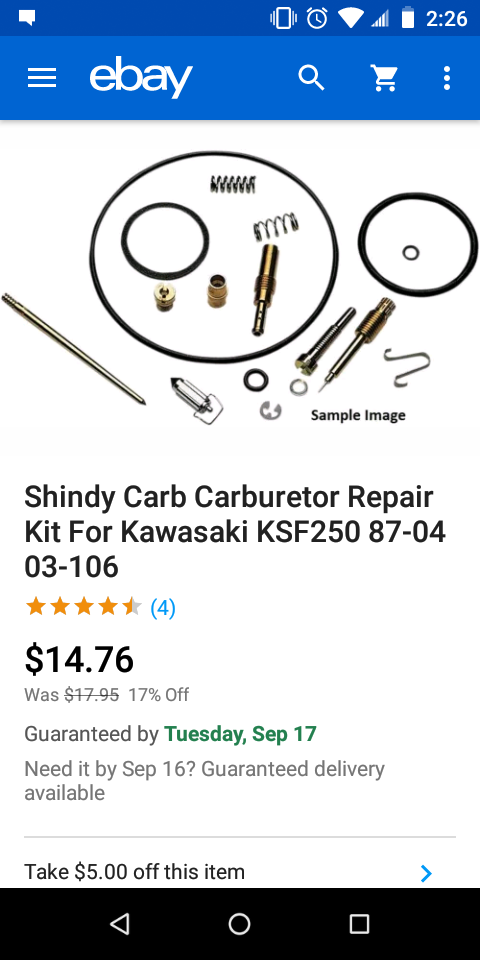
Will a oe kit work?
-
I can't see the picture you tried to send. And I'm I just going to order a kit for it just to avoid all the B's, it wouldn't hurt to get it anyways. I didn't get into the carb aga n yet but I'm f it's the needle in thinking if and it has a little c clip in it there is only one spot for it to go. Not saying I looked at it real close either. I'm starting to break it back down see what else needs to be fixed and clean it up at Sam time. Here are a few pictures. Would have have any idea where this goes it was in the box of parts and for the life of me I can't remember. I havent messed with these things since I was a kid and I didn't take it apart to be able to remember where it goes. I thought it was the chain roller but it's on there
-
Still not working right actually a little worse this time. But if I stick a rag in the end of the air filter box everything works great
-
Well I think I might have had them in wrong. I seen one was shorted then yhr other so just guessed that it was on top of the other piece lol. And the pain does look real good. I don't think I will be able to do as well but give it what I got
-
That looks sick. You did a nice job. You use a spray gun or cans. Oh and the main hey is the one with the needle coming in from the other side right? And that gets the smaller hike correct?
-
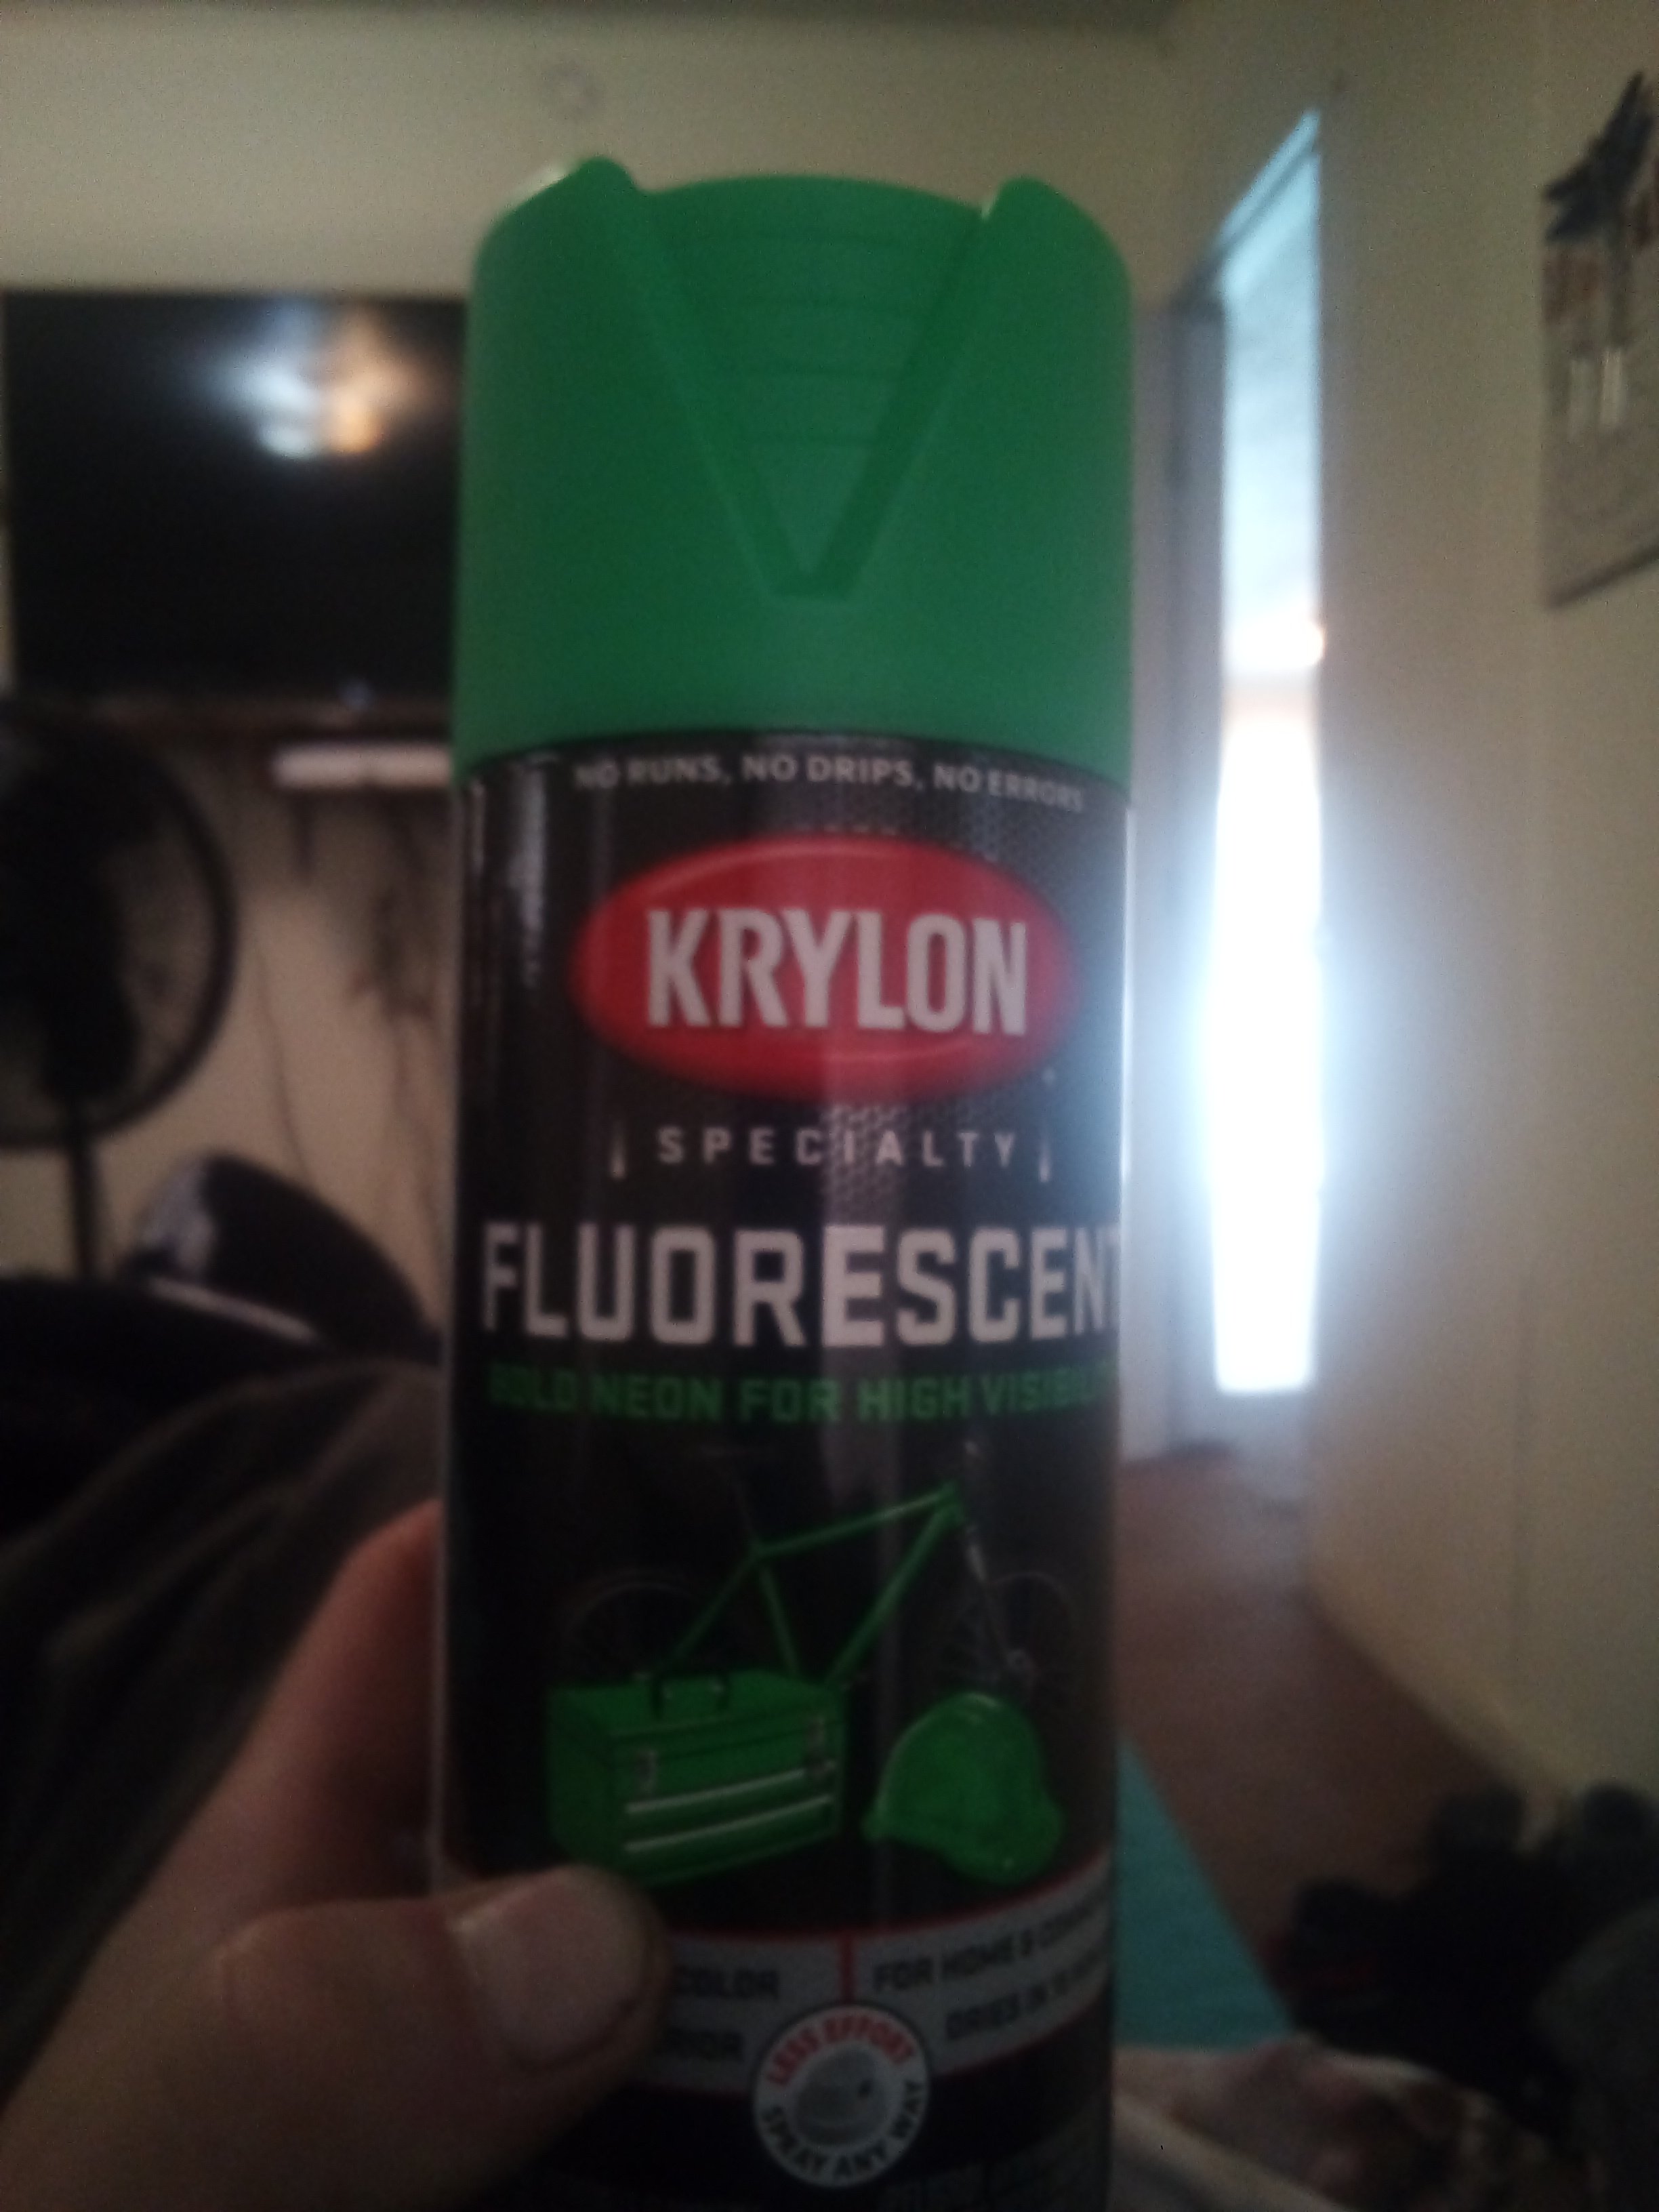
I'm getting ready to put it together now and go try it. As far as paint I had my girl pic it up while she was out last night. I told her Kawasaki green she came back with. I mean it does match what someone else already used to paint it once but not what I'm looking for I don't think. She tries though
-
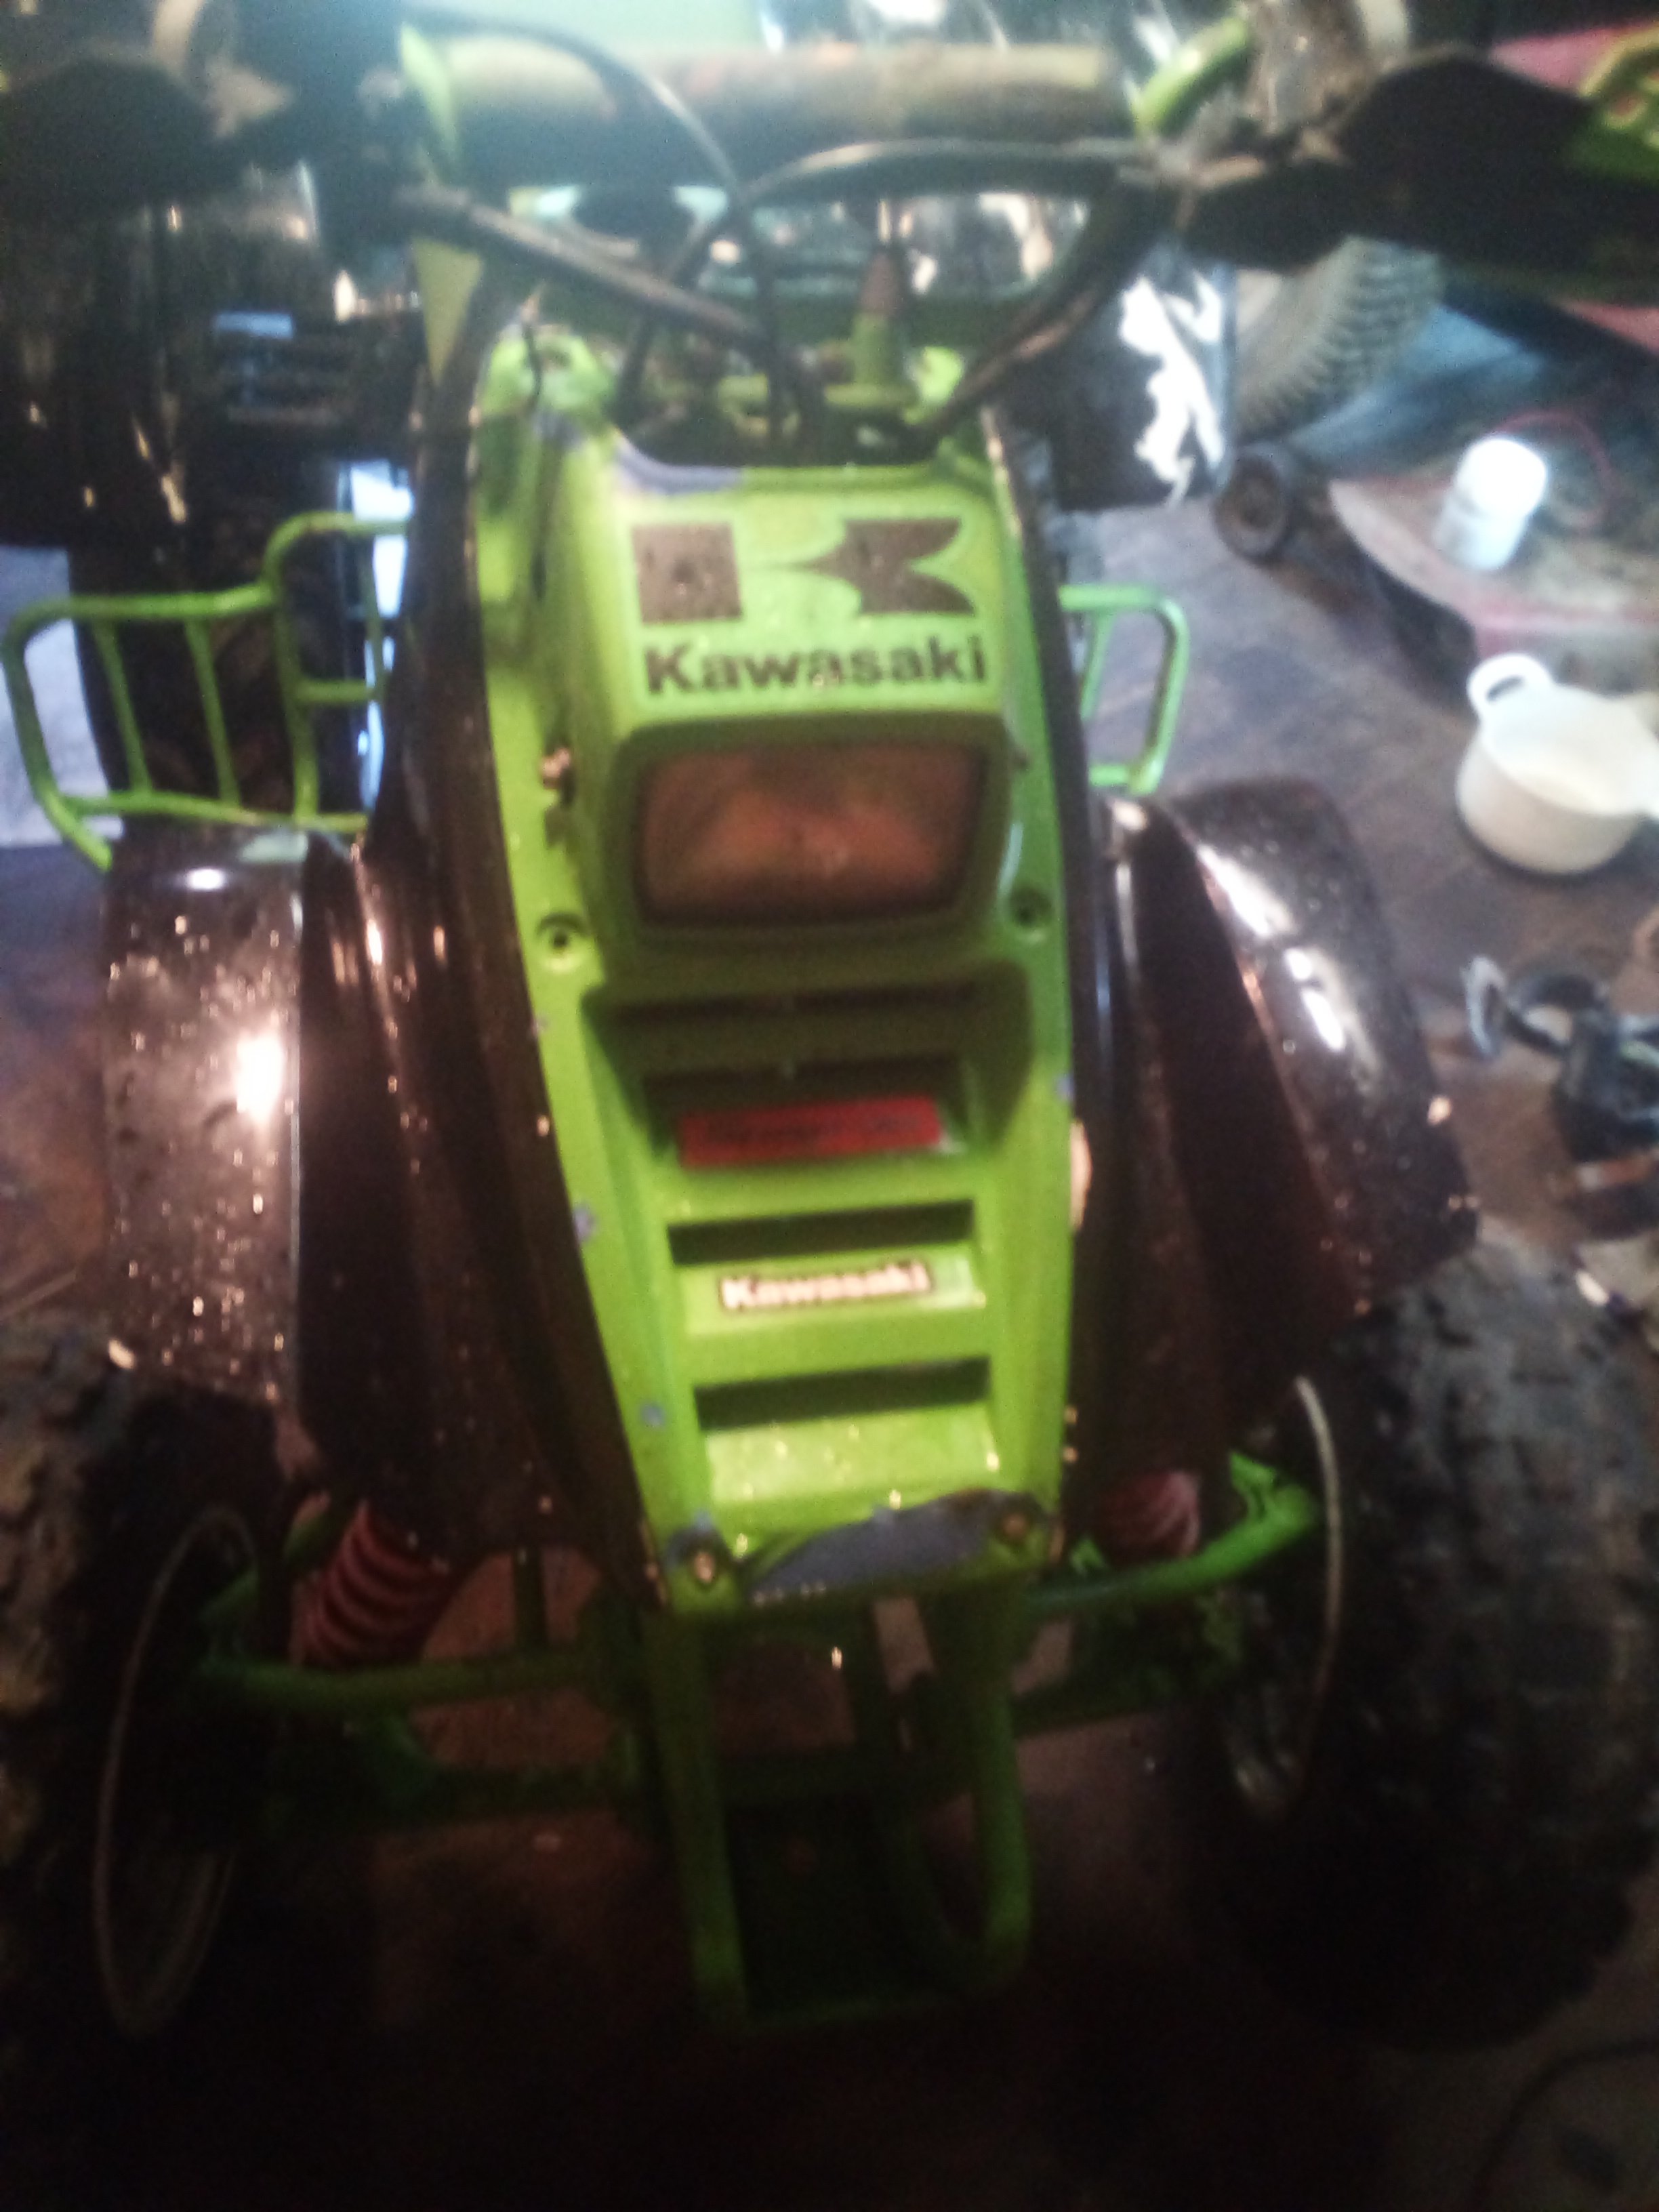
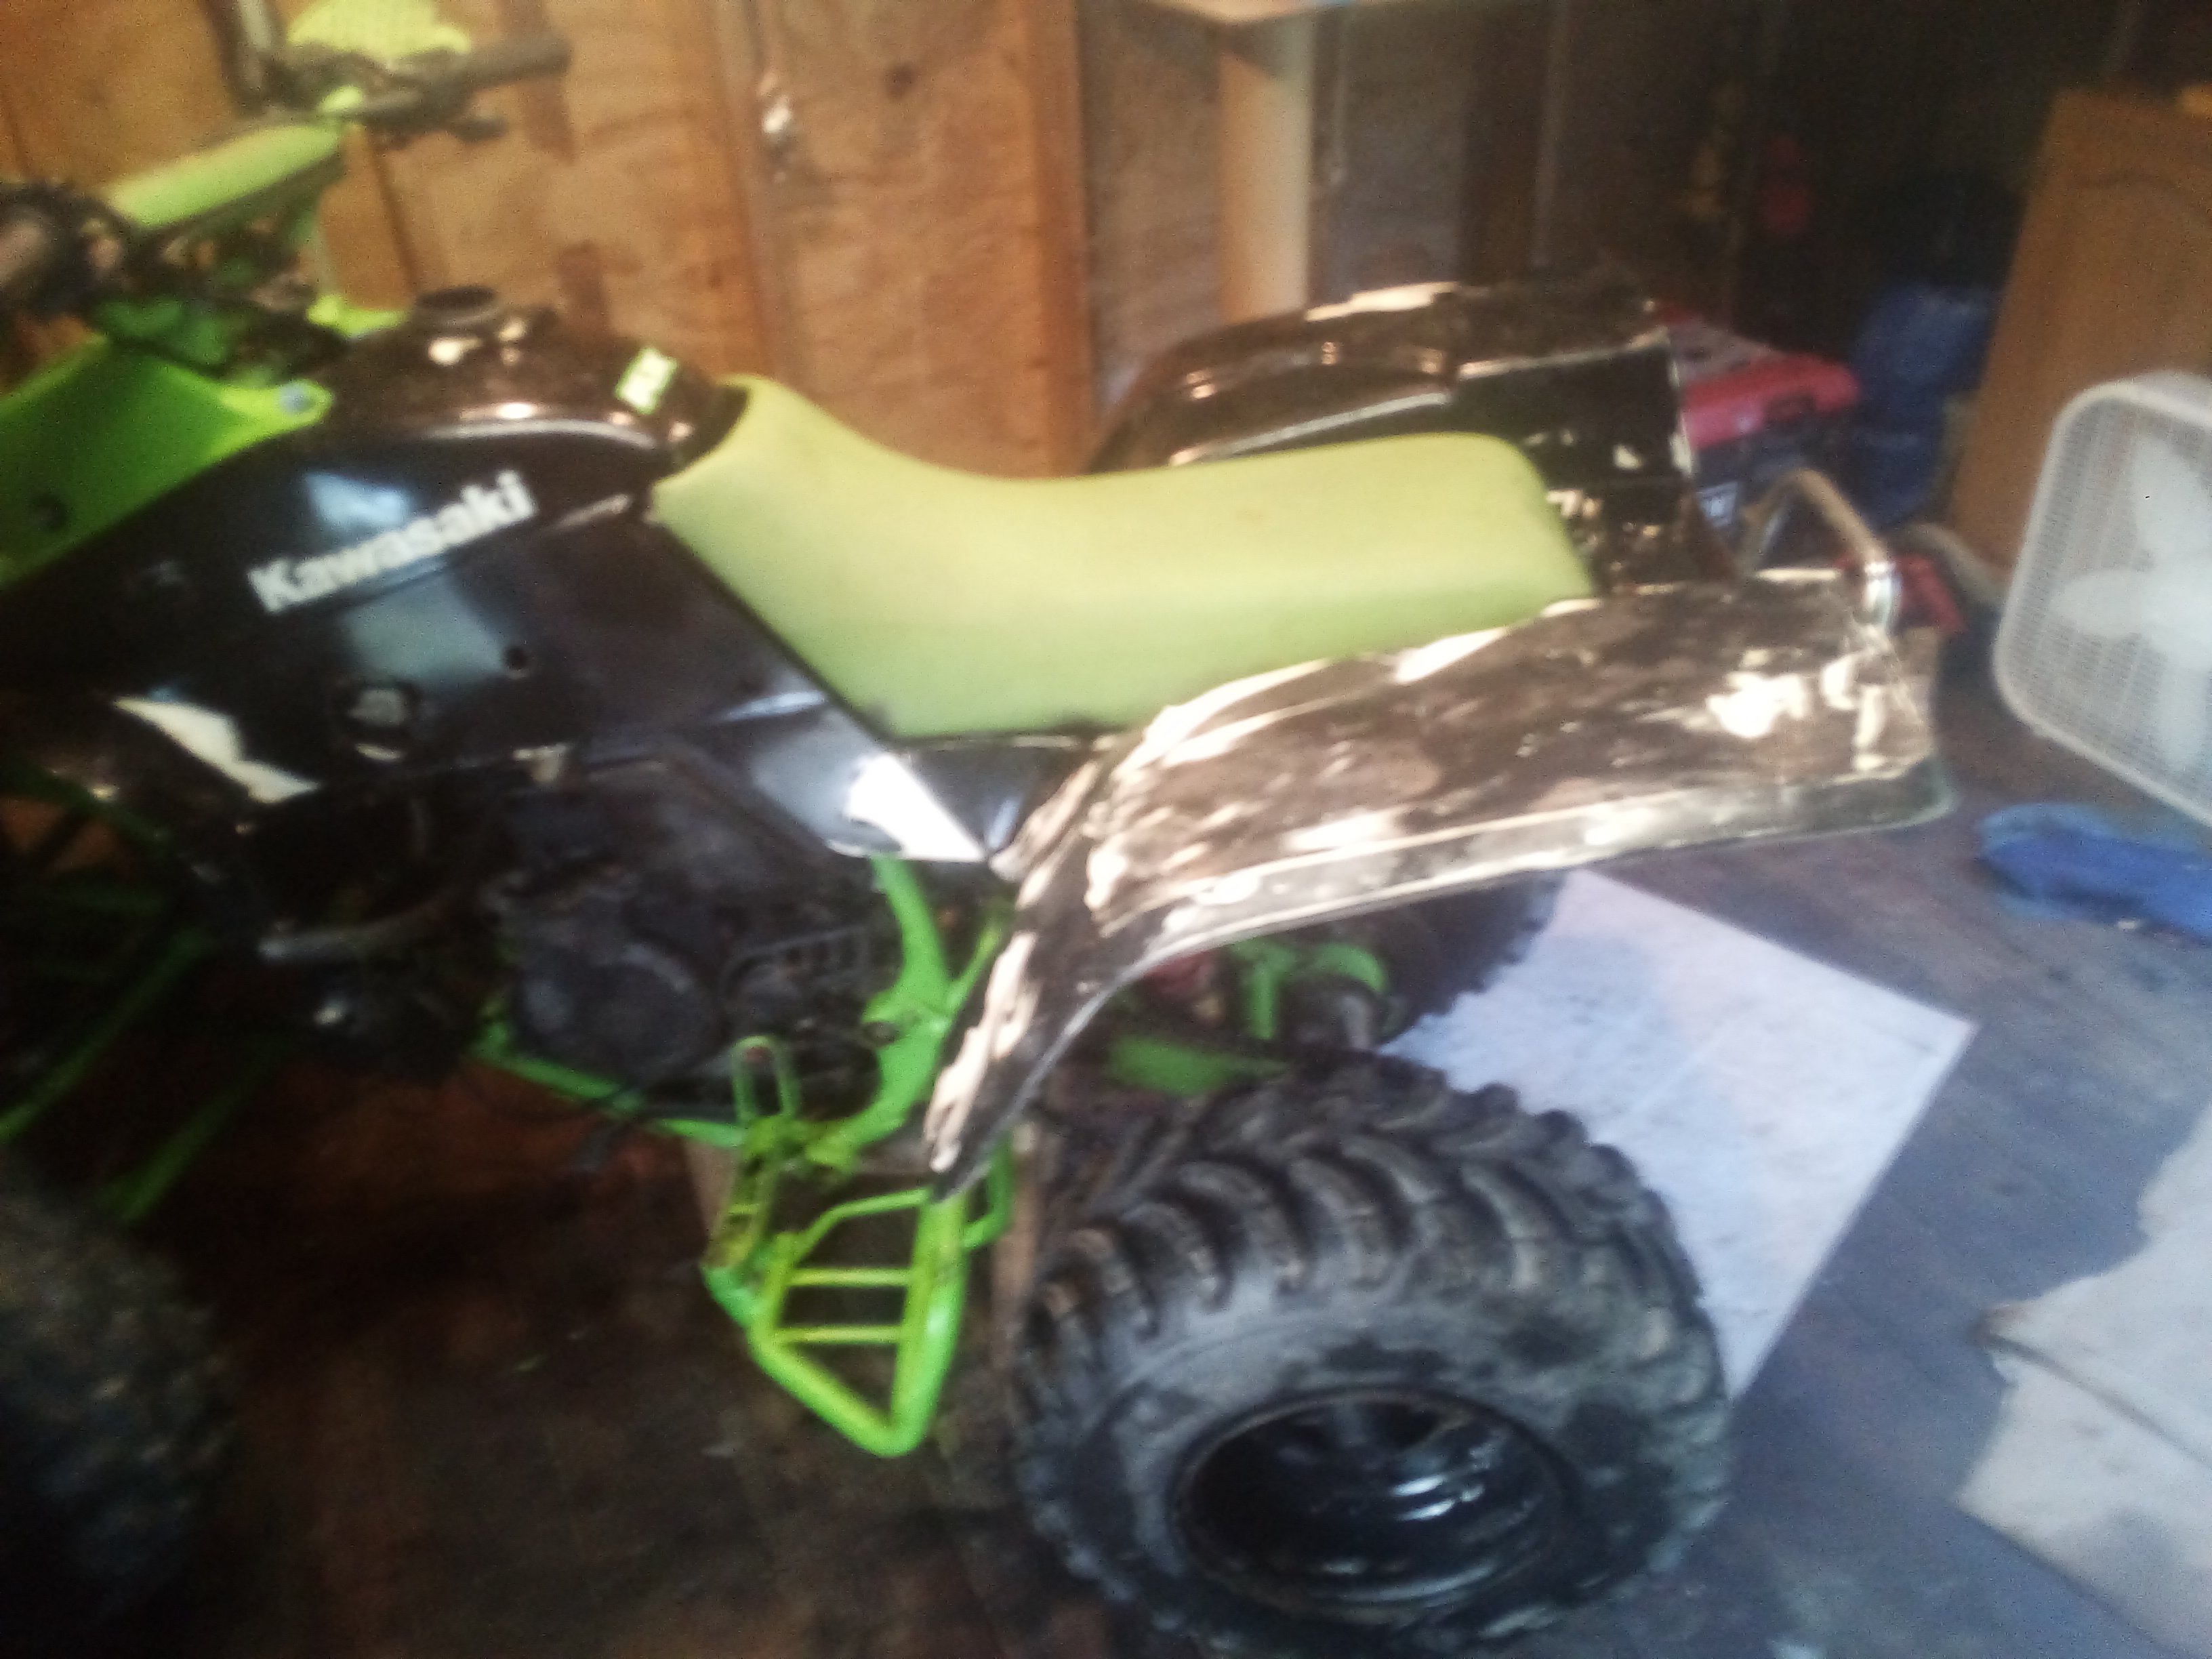
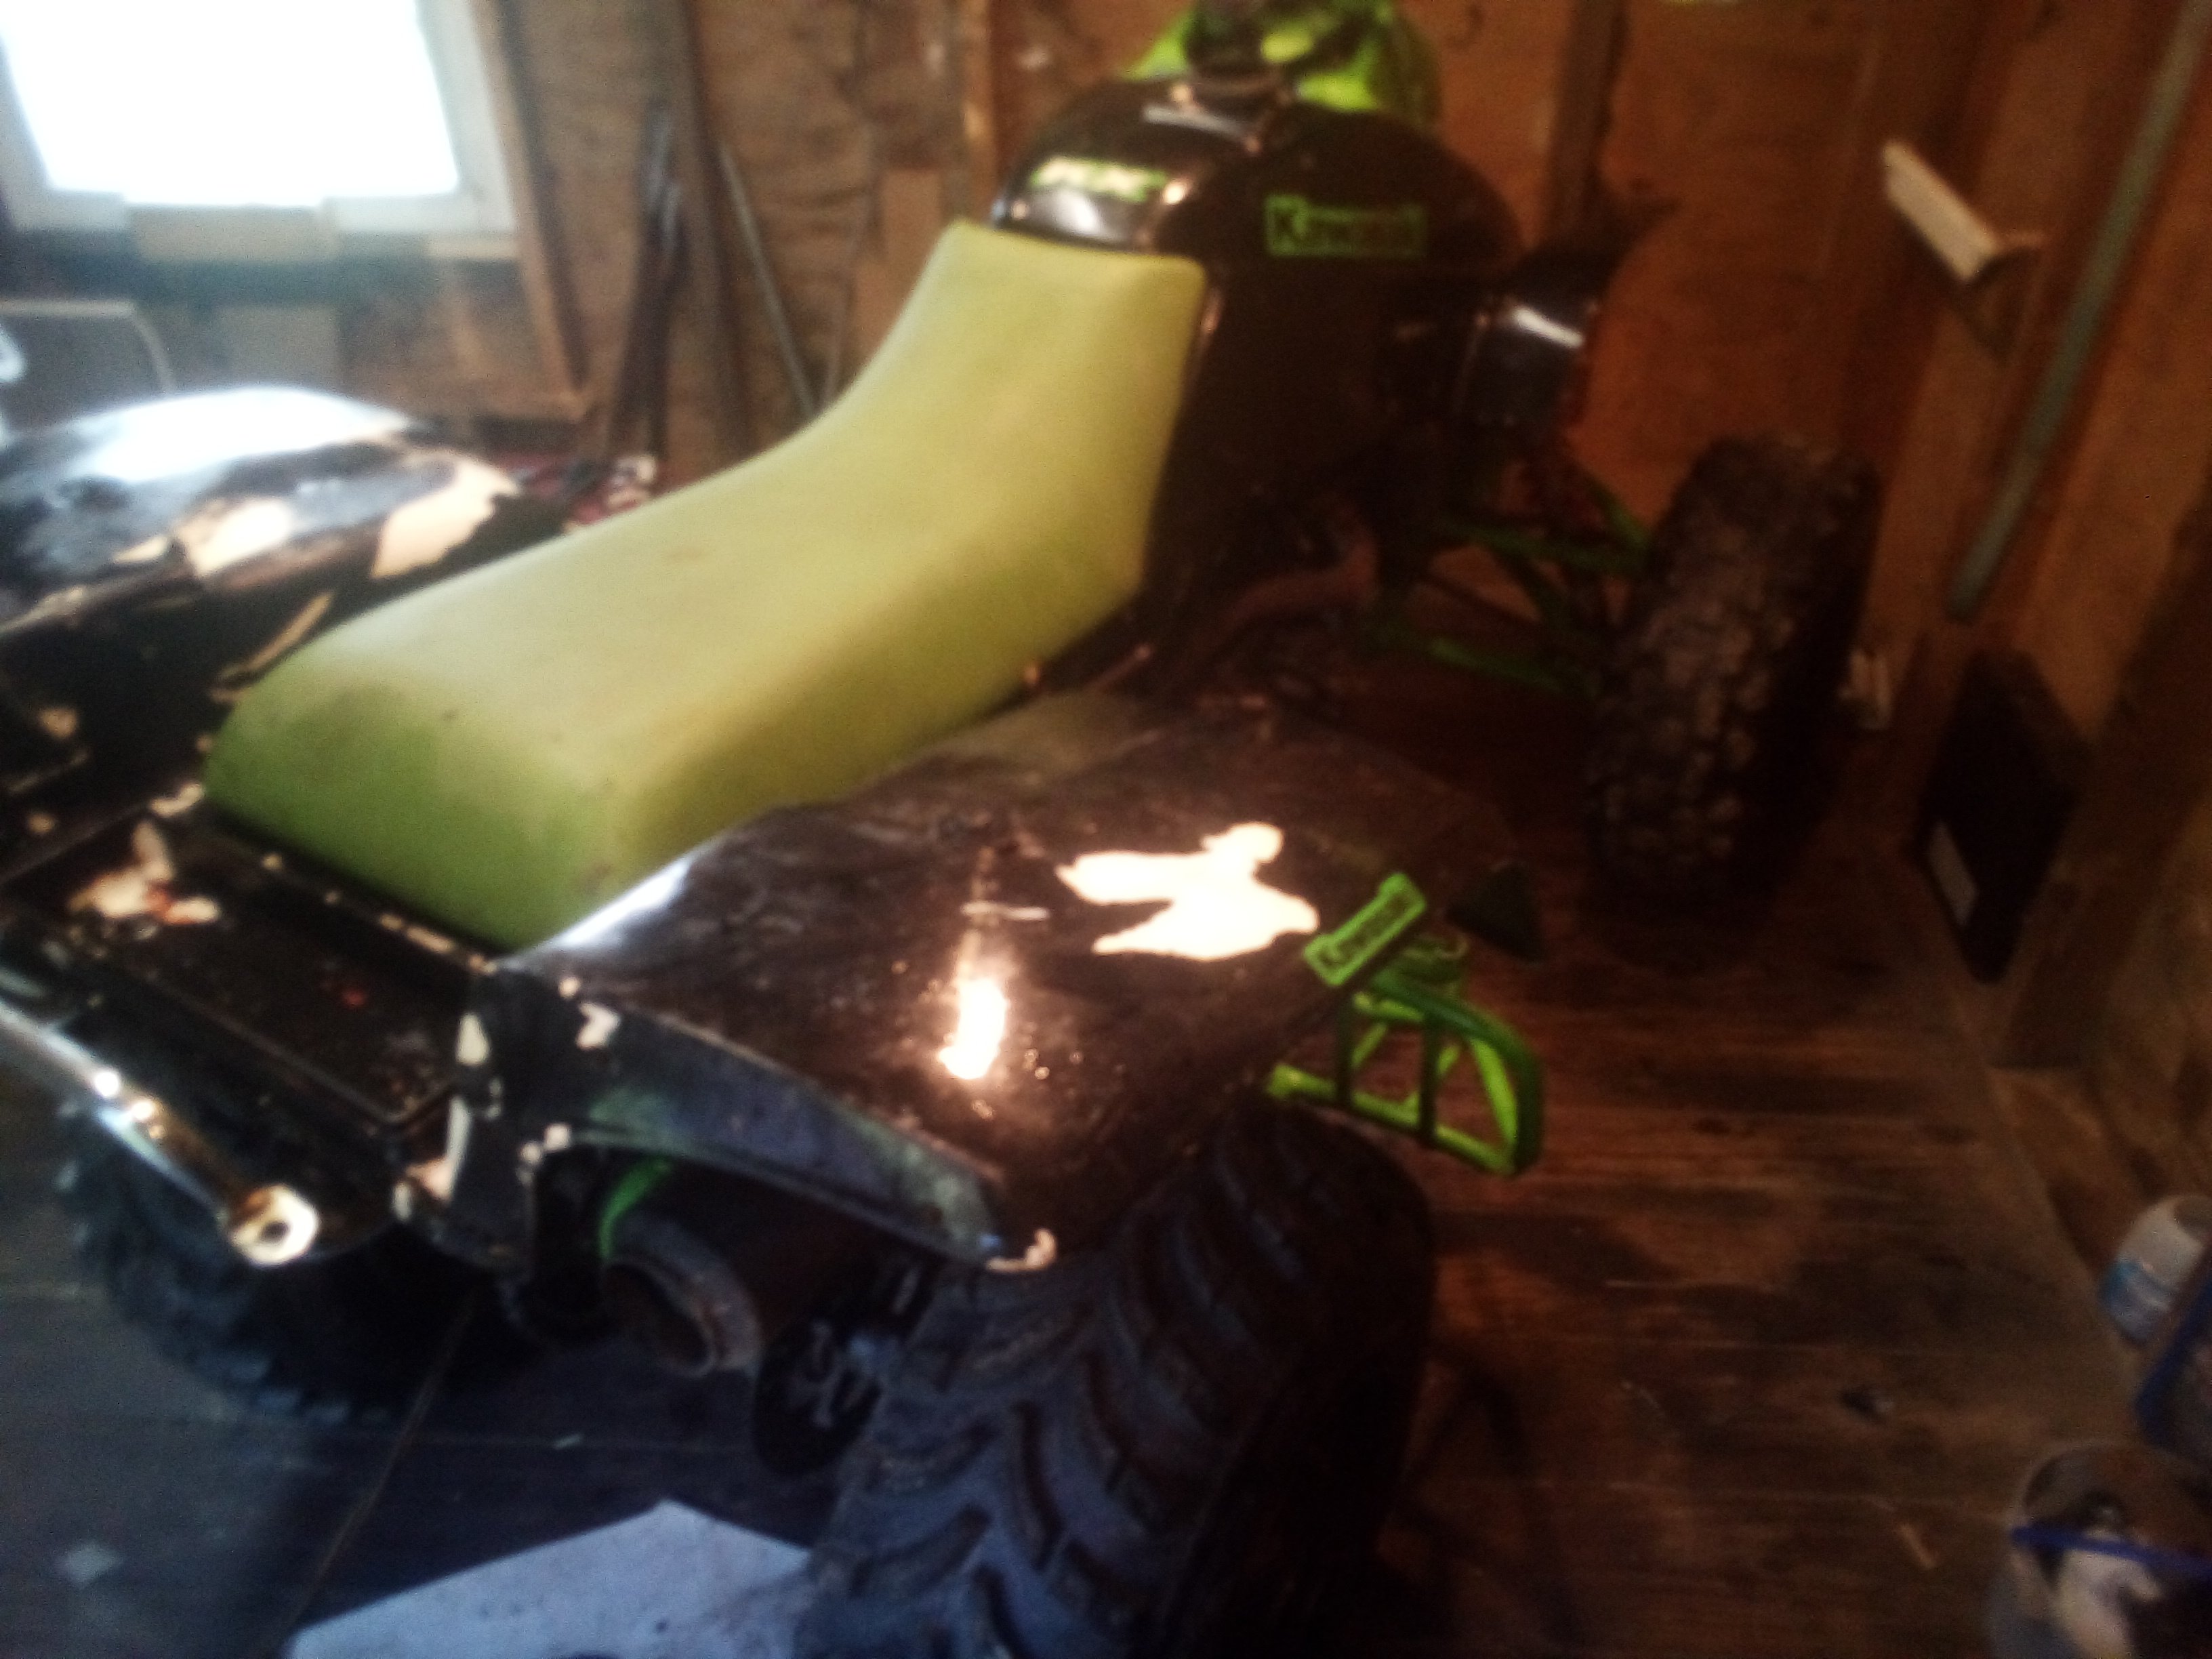
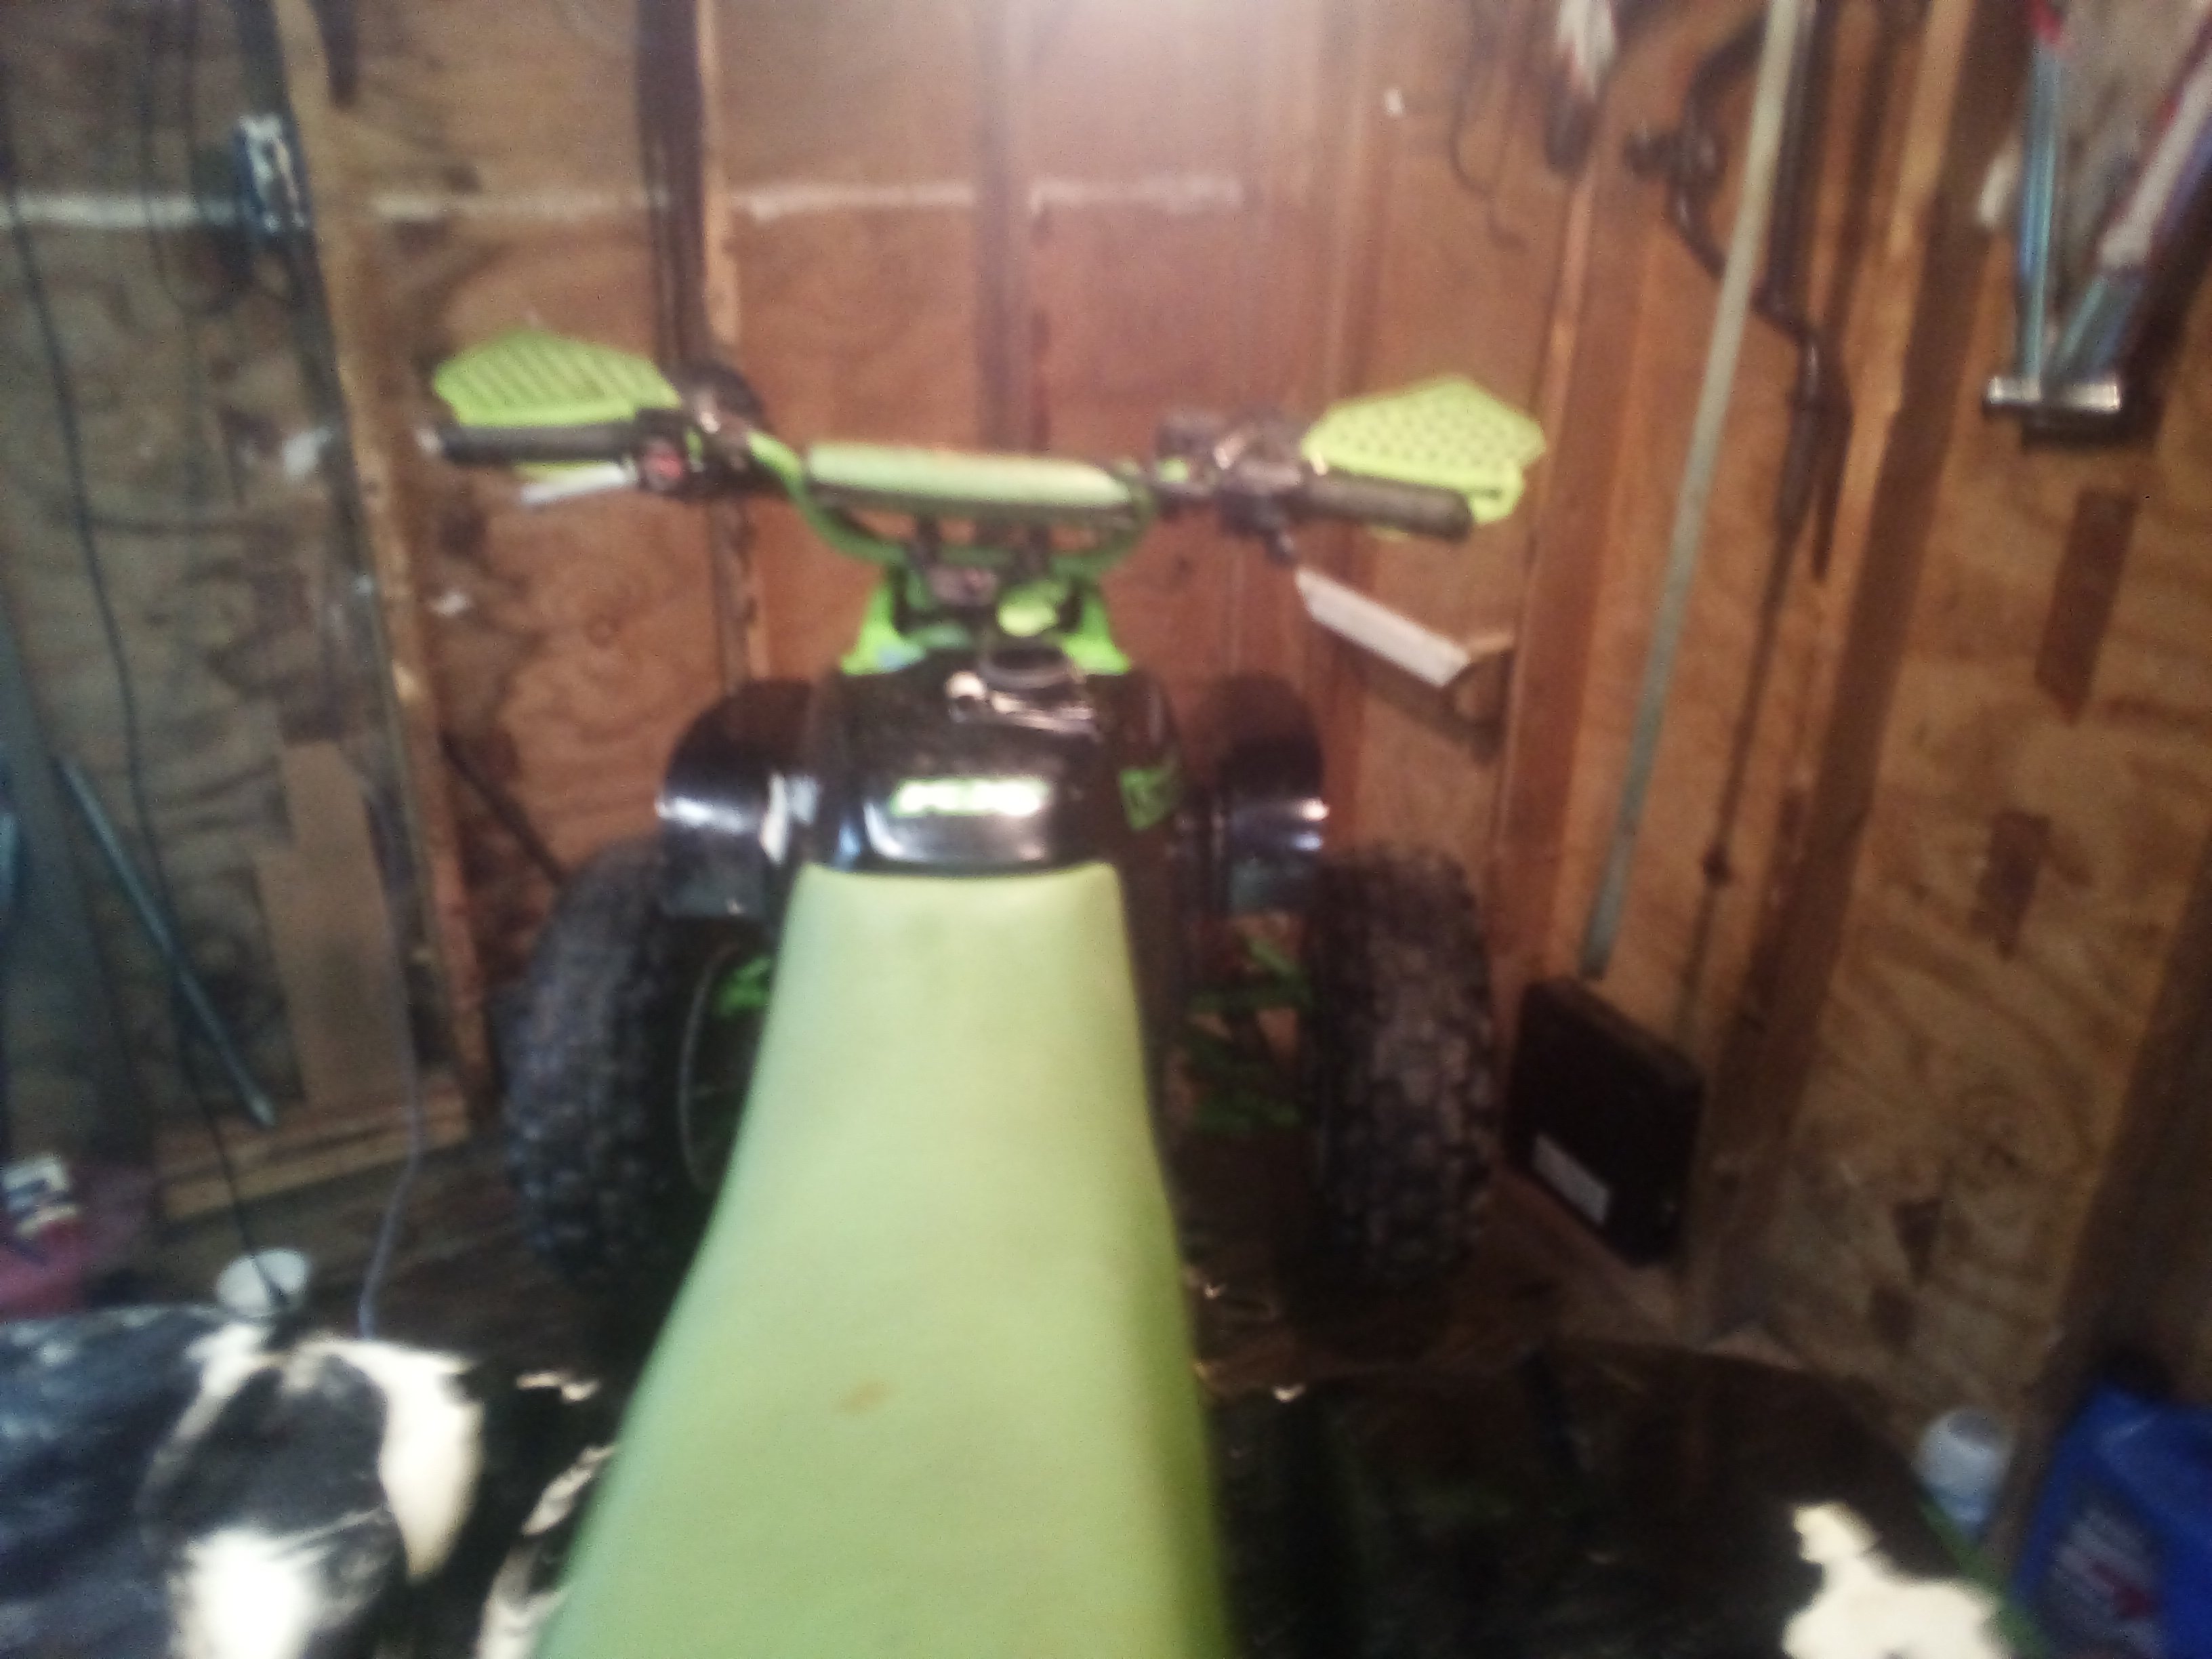
I went out last night and bought some paint. I was just going to beat it around but figured I have this much time into it already why not fix what needs to be fixed clean it up nice and go from there. I've never actually painted one or gone full out to fix them the right way. Normally cut corners and beat it until it's done. But going to put some effort into it. Will post some pictures later for befor and afters
-
I couldnt get it to run right for nothing run great at standstill but as soon as I put it in gear just spit and sputter. It would go but just kept cutting out. I kept trying the mixture screw and nothing would fix it. I'm checking now to see if that's what happened
-
I thought I might have mixed them up. One is actually shorter then the other but can't see what one goes where lol
-
Thanks for the help, everything seems to be in working order for the most part. Just trying to figure out this crab. I got it all cleaned up, it was real bad on the inside. But for some reason as soon as you put it in gear and give it gas it spits and sputs but if it's just in neutral it's fine@MarkinAR
-
Ok I just wasn't sure. Is there any other test Incan check to make sure the switch works correctly so I don't have any issues with it getting hot on me
-
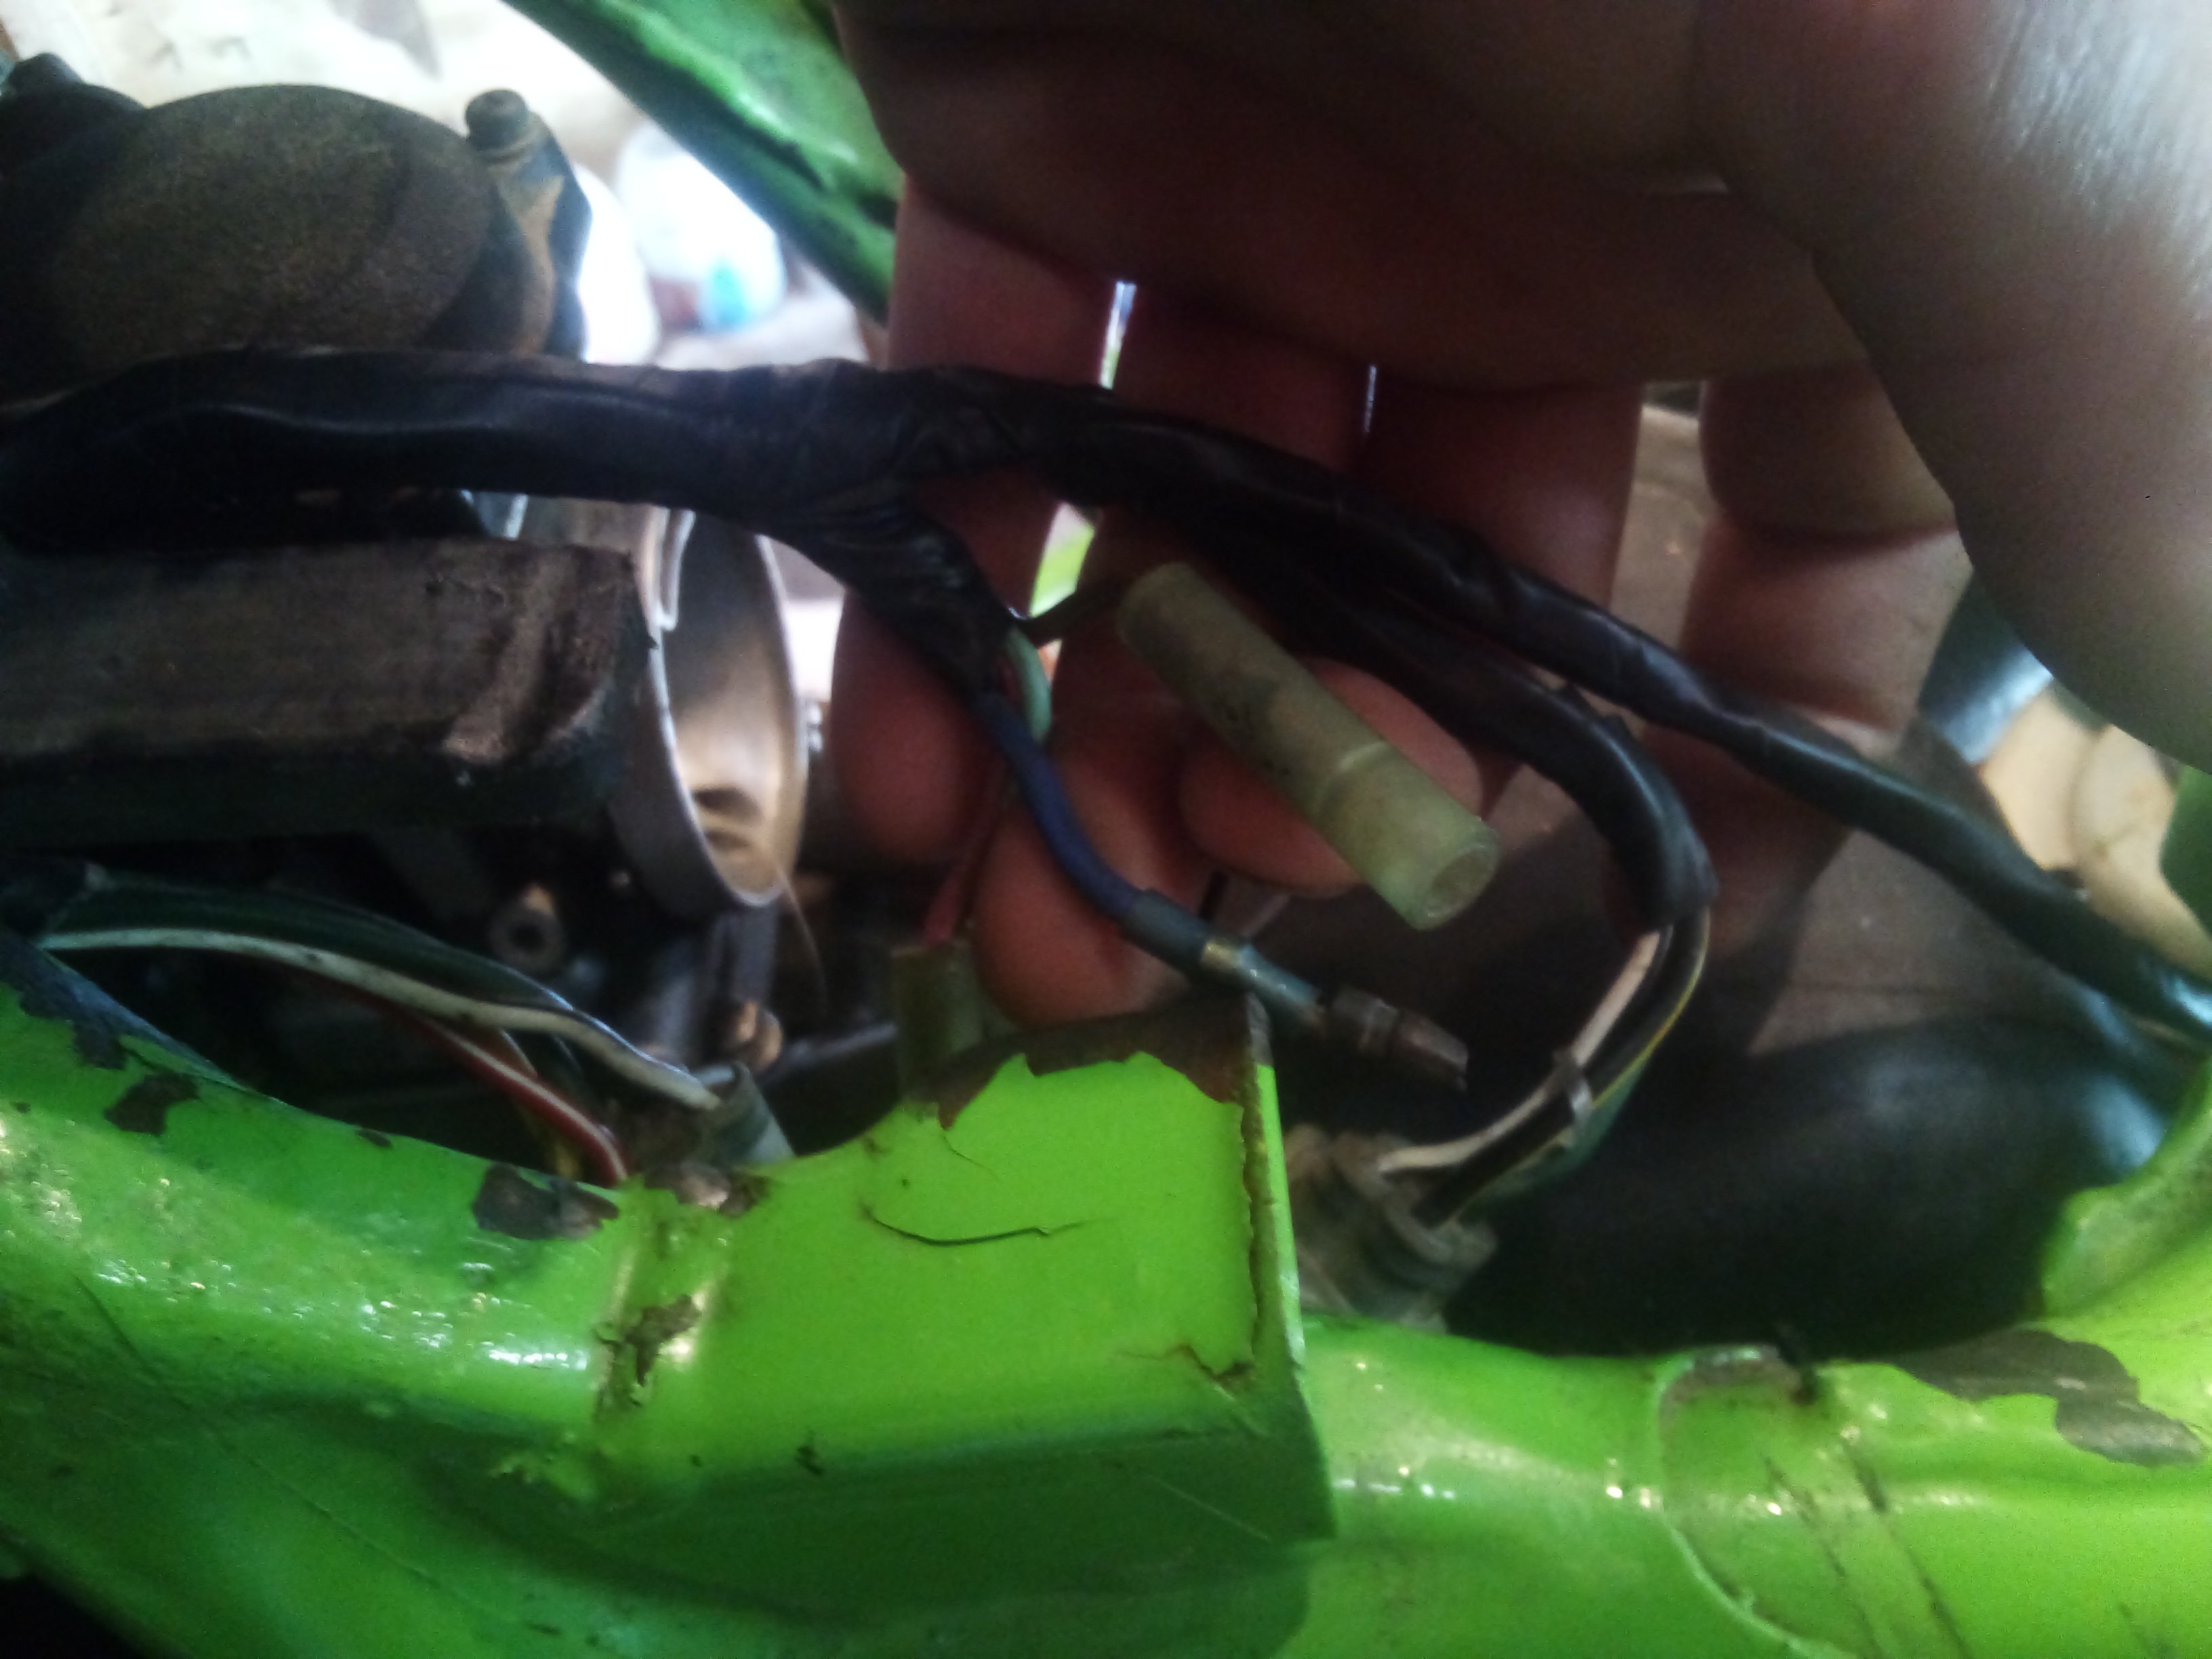
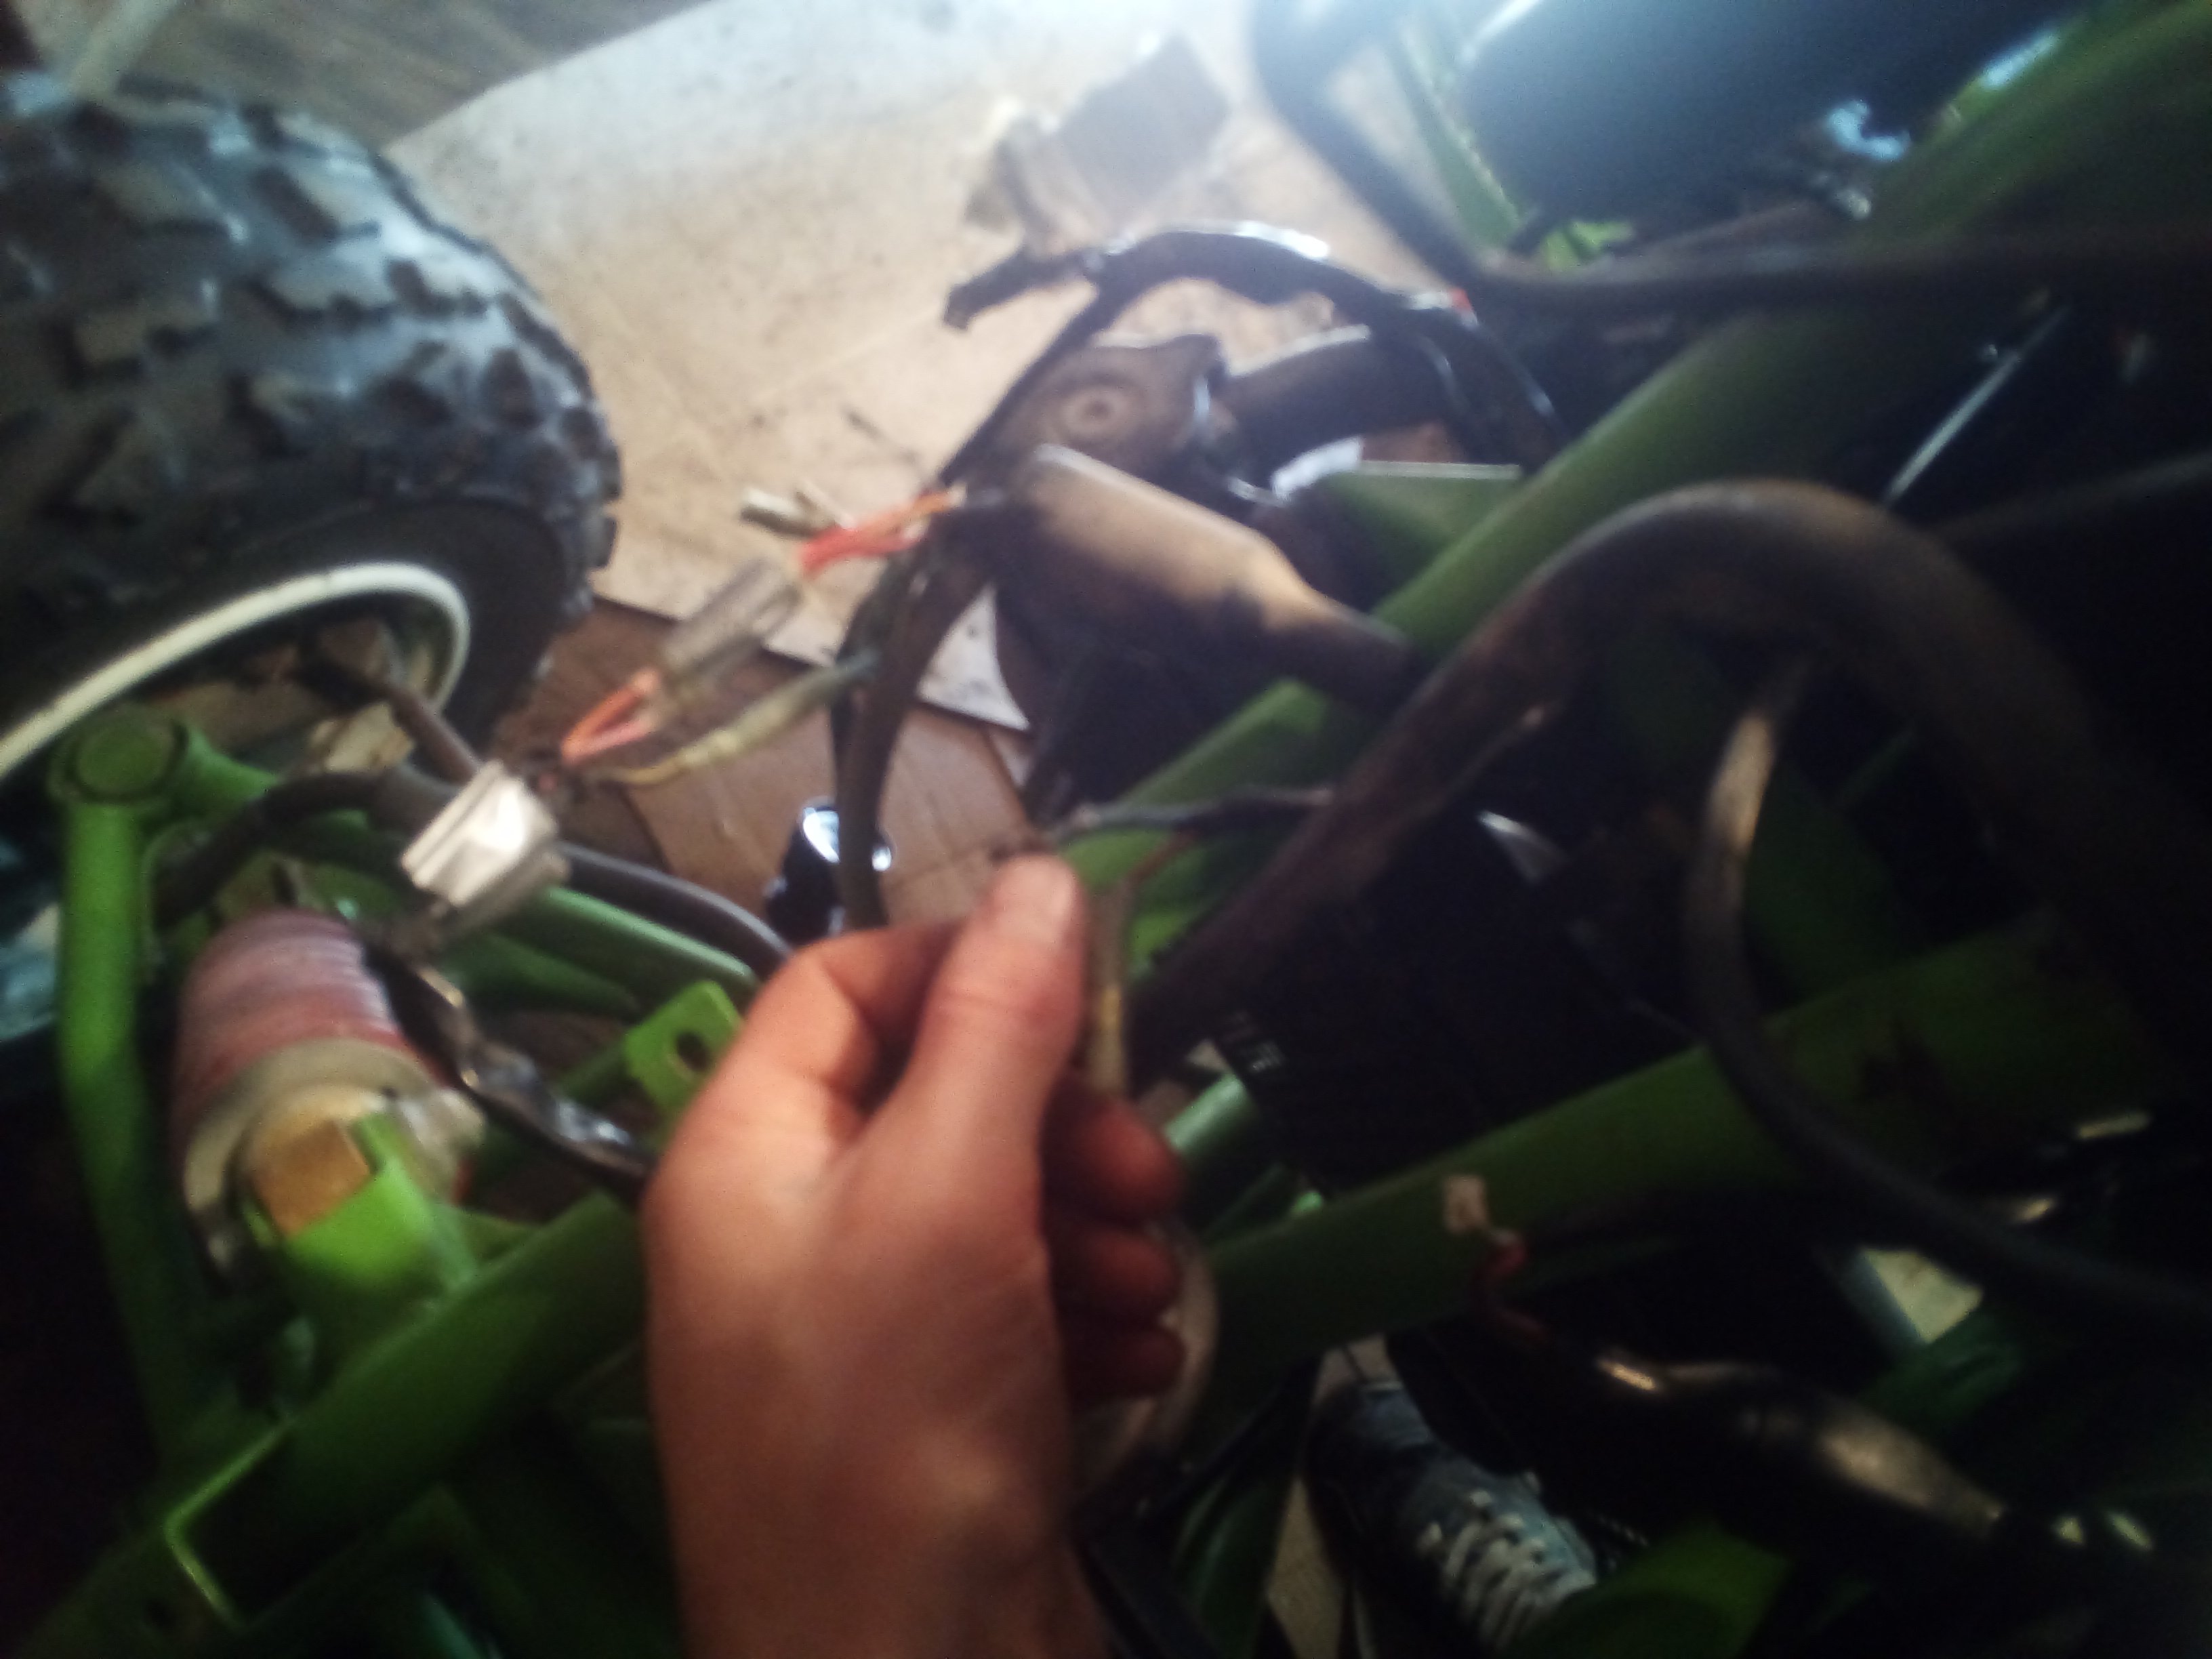
Here are the pictures of the 2 spots the two blue and brown wires are located and the third is my sensor
-
Any ideas why the ignition switch is working backwards lol
-
Ok thank your you. I will be going out and send them pictures in a few minutes. The sensor you speak off. I believe my is ontop of my radiator. So I just take the two wires off the sensor and tuch the two together ?
-
So I want to say thank you for the help. And have a couple more questions. I ordered a key switch off line and for some reason. When it's in the off position it's on and when it's in the on position off. An the radiator fan is not kicking on so I'm guess no part of the cooling system is working any ideas. I haven't really looked at it a hole lot. Othe them do say all the wires are ok. And there two wires a blue and a brown wire in the front and by the motor and idea what they hook up to. Everything is hiked up there is nothing for them. I was thinking battery but don't see a spot for a battery. Again thank you for all your help
-
Isn't there a test in the manual to run on the cdi? I could be mistaking . But any how thank you for the backing trick it deffeinetly worked. And I just bought a cheap coil off the internet for a few dollars. I been busy and haven't been able to get to the bike in a few days do today I gave the cdi a good bake at 305° for 15 min. Put it on and no spark So I put the coil on and she fired up.