
Hagbard
-
Posts
185 -
Joined
-
Last visited
-
Days Won
9
Content Type
Profiles
Forum
Gallery
ATV Magazine
Events Calendar
Downloads
Store
Community Map
Everything posted by Hagbard
-

Another one back from the dead (1997 King Quad 300 LT-FWDX)
Hagbard replied to Hagbard's topic in Suzuki ATV Forum
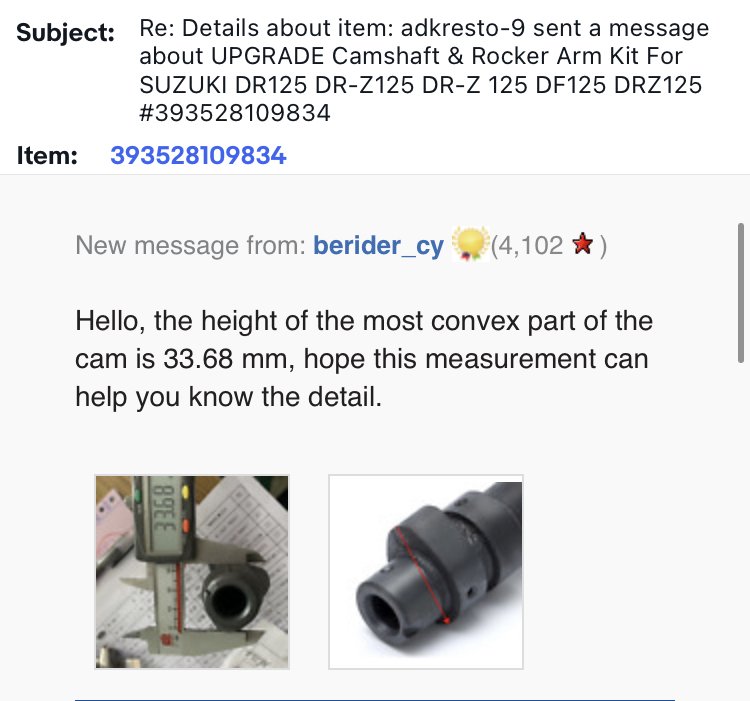
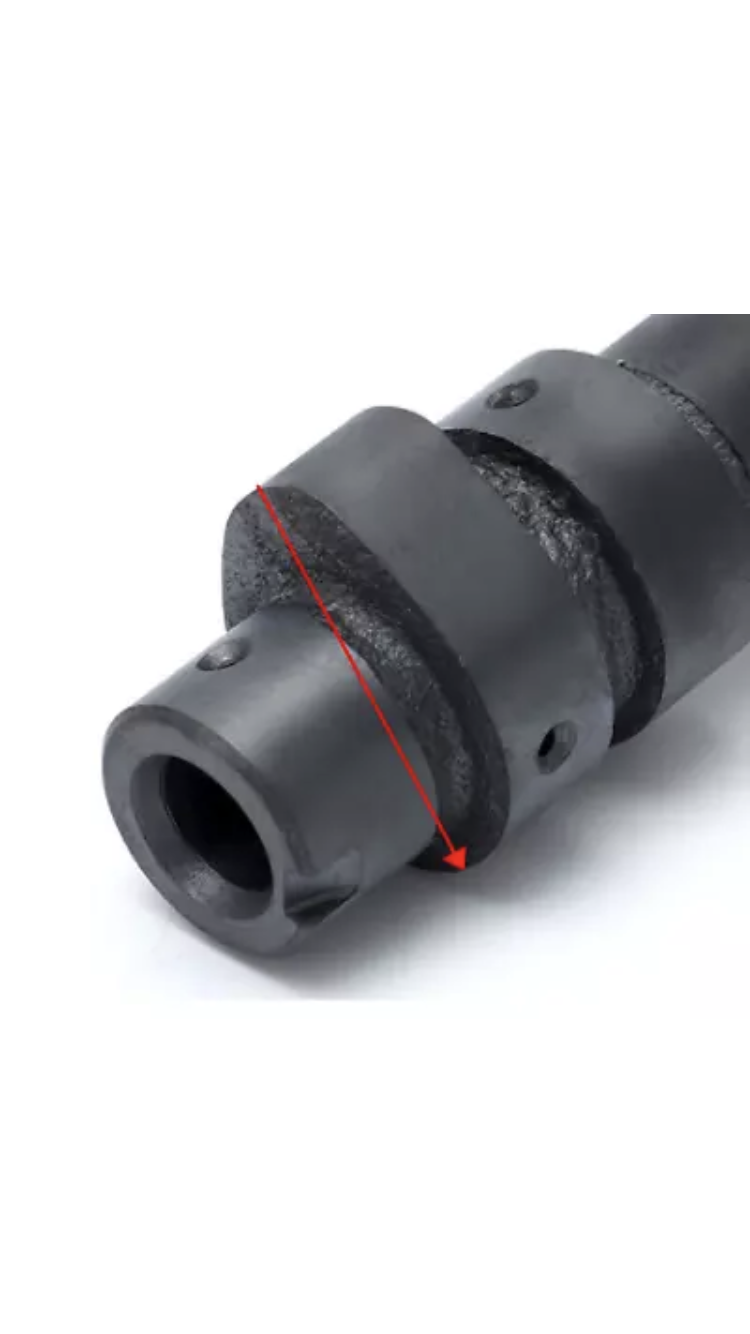
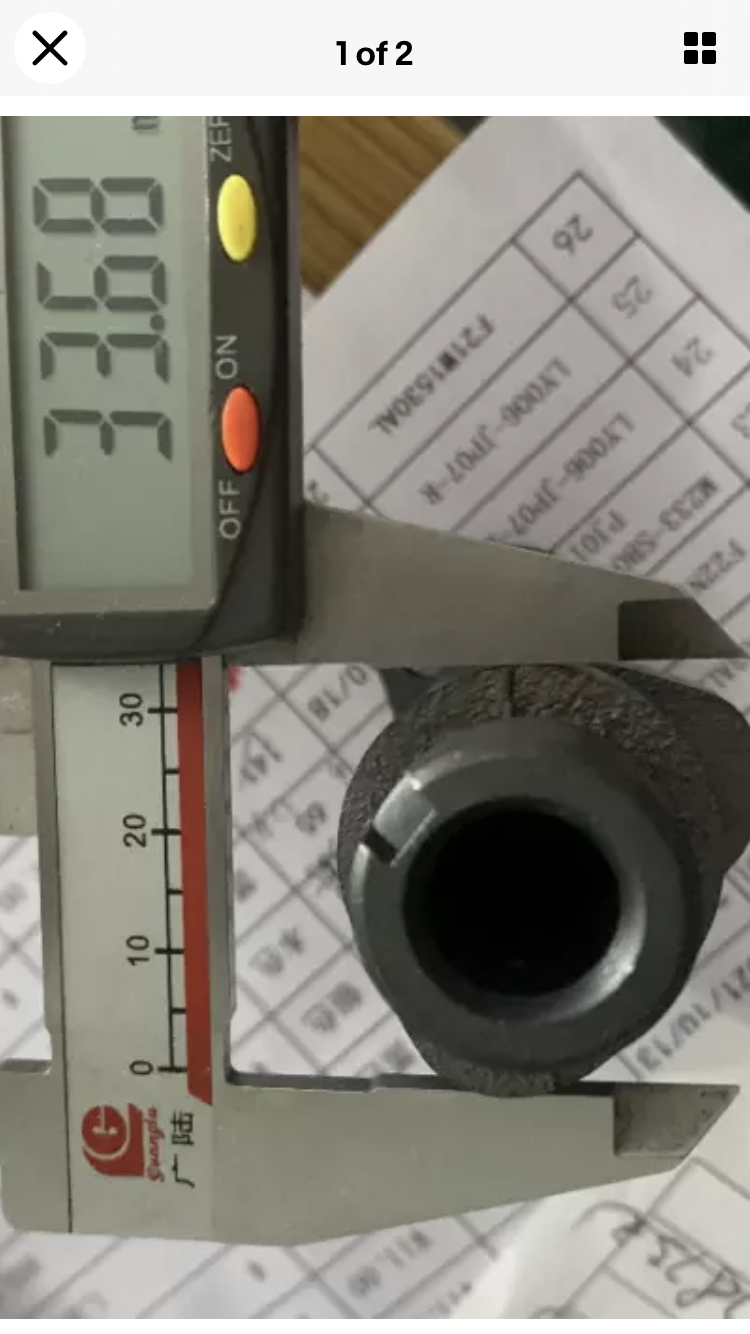
Would be interesting to see how it compares to that Chinese one I asked for specs on. They answered me back with a measurement that was meaningless. Gave me total lift in mm so without knowing base circle diameter. But I suppose I can measure this one the same way for some sort of comparison.
-
Another one back from the dead (1997 King Quad 300 LT-FWDX)
Hagbard replied to Hagbard's topic in Suzuki ATV Forum
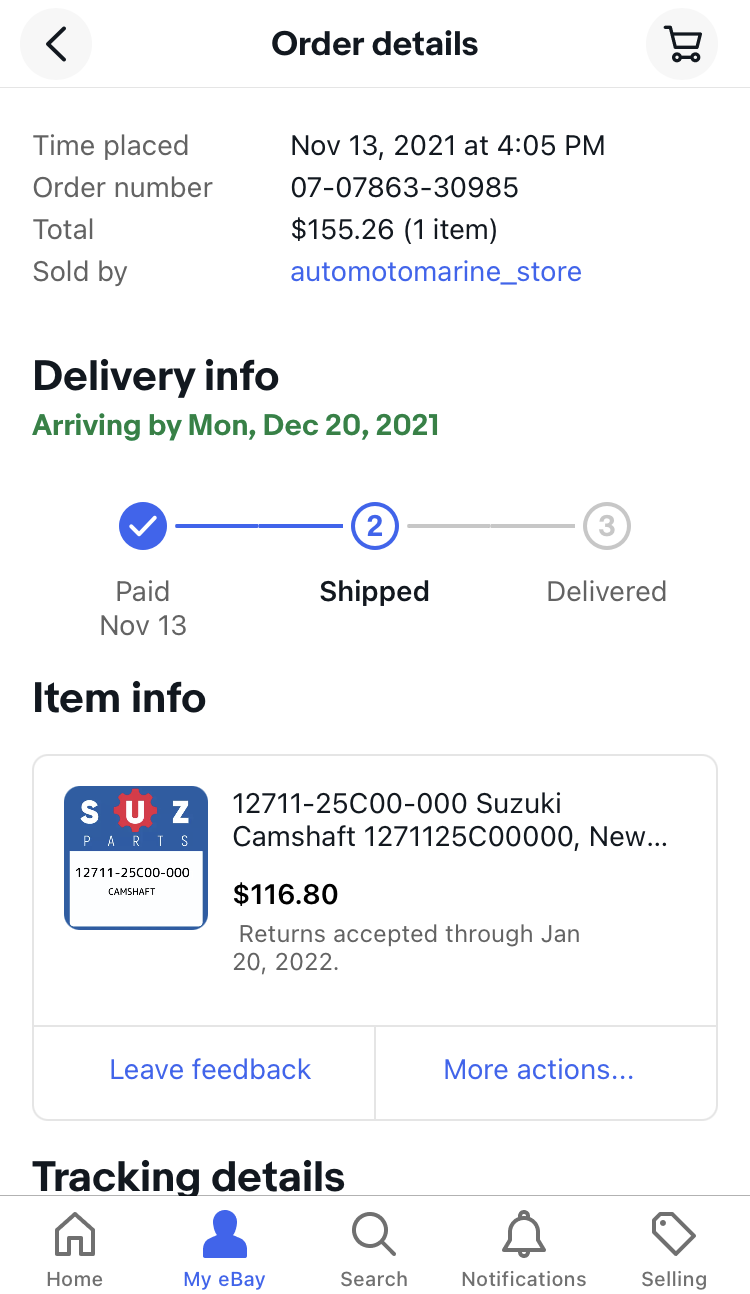
only one out there, straight from Japan.
-
Another one back from the dead (1997 King Quad 300 LT-FWDX)
Hagbard replied to Hagbard's topic in Suzuki ATV Forum
Not enough. But I didn’t want to miss out entirely. I’d love to find an old cam grinder and duplicate these things. -
Another one back from the dead (1997 King Quad 300 LT-FWDX)
Hagbard replied to Hagbard's topic in Suzuki ATV Forum
They *slightly* reduced the price. I came to terms with the fact my top end needs rebuilt and I don’t want to half as* it. -
Another one back from the dead (1997 King Quad 300 LT-FWDX)
Hagbard replied to Hagbard's topic in Suzuki ATV Forum
Welp. I finally bit the bullet and ordered that 250s camshaft. And a case splitter, valve spring compressor, a valve guide reamer, some valves, gasket kit…. Looks like I have my winter project dance card entirely full this year. Going to start disassembly Sunday afternoon and see if I need any last minute additions. If the seats are so boned that they need cutting, I found a couple shops locally that I’m told do good work. One is an old school mainly Harley shop called Go-Slo Engineering We’ll see if they’ll touch a Japanese head ¯\_(ツ)_/¯ -
Another one back from the dead (1997 King Quad 300 LT-FWDX)
Hagbard replied to Hagbard's topic in Suzuki ATV Forum
Finland, my bad. Make sure you turn on CC -
Another one back from the dead (1997 King Quad 300 LT-FWDX)
Hagbard replied to Hagbard's topic in Suzuki ATV Forum
The analogy is quite apt, it's a shockwave that's at work inside the resonator pipe, and as it pushes the charge of fuel and air back into the cylinder, it acts like an invisible valve preventing the charge from escaping. There's free software available for determining the dimensions of a 2-stroke pipe based on displacement and targeted RPM's of the powerband. I watched a video of some guy in Sweden making one. It seemed... involved. -
Another one back from the dead (1997 King Quad 300 LT-FWDX)
Hagbard replied to Hagbard's topic in Suzuki ATV Forum
I don't profess to know a whole lot either, but I see nothing but respect for Eric Gorr and Edvind Boyesen when it comes to smokers. Also, from the early-to-mid-90's on, you see them being cast into new OEM cylinders. The earliest how-to's you see about them are mainly for retrofitting older bikes of the same model without buying a new jug from the stealership, then other folks caught on and started modding older bikes in the same manner. They're also fond of using JB weld to build up the jug, but on the outside corners, to achieve 1/2" bore for the boost ports. My 3/8" ones could probably be enlarged by another 2mm but I'd just as soon not drill through the side either. I'm probably about 1.5mm away from the sleeve as it is, so erring on the side of caution seems prudent, as I'm not building a race bike. If it pans out, I'll be happy, if not, it's no big loss. Chinese jugs are cheap. OMFG my eyes. As soon as I saw the phrase "AltaVista search engine" I knew it was going to be a winner LOL. It's a hell of a concept, and I'm curious to see a dyno readout for one of his motors vs a stock cylinder. -
Another one back from the dead (1997 King Quad 300 LT-FWDX)
Hagbard replied to Hagbard's topic in Suzuki ATV Forum
I have had really great results with using a 50/50 mix of Acetone and ATF as a penetrant for rusty hardware. It creeps into spots other stuff doesn't seem to touch, the acetone evaporates and leaves behind some of the slickest stuff known to man. Also love PB Blaster's CSP Corrosion Stop and Prevent spray, it seems almost waxy and clings where you put it. Almost like fogging spray for boats. And I'm in the same boat skill-wise. I've turned wrenches on my own cars, and friends stuff, but never professionally. I got lucky and scored a really nice set of tools on the cheap, which helps a little bit, but without google and solid advice from forums like this, I'd be lost. Having the shop manual helps too. Between this place and youtube, (Schneids is good stuff) there isn't much you can't tackle. I If you need a copy of the manual, let me know. If you need valve seats cut, I know a guy in your neighborhood with a nice set of cutters. -
Another one back from the dead (1997 King Quad 300 LT-FWDX)
Hagbard replied to Hagbard's topic in Suzuki ATV Forum
I stand corrected. =D Unless thats just all pouring through the valve seals =P -
Another one back from the dead (1997 King Quad 300 LT-FWDX)
Hagbard replied to Hagbard's topic in Suzuki ATV Forum
Check that it's not just your valve inspection caps seeping oil right onto the exhaust like mine were. there was years worth of seepage crud all around the exhaust port and all over the pipe and heat shield. Took a lot of degreasing and power washing to get it cleaned up, after that the smoking was minimal. If you do the top end, I'd say the valves are probably going to be your main concern. Just based on the conversations I've had here with Randy, my plan is to replace valves, seals, and either ream or replace guides, lap valves, and if need be have the seats re-cut. I honestly don't really suspect much ring wear at all, but it seems to be a relatively minor expense on top of everything else, so I might as well do the piston too, new rings and wrist pin bearing couldn't hurt. I'd wait and see the condition of the cylinder sleeve before ordering any rings or a new piston, personally. -
Another one back from the dead (1997 King Quad 300 LT-FWDX)
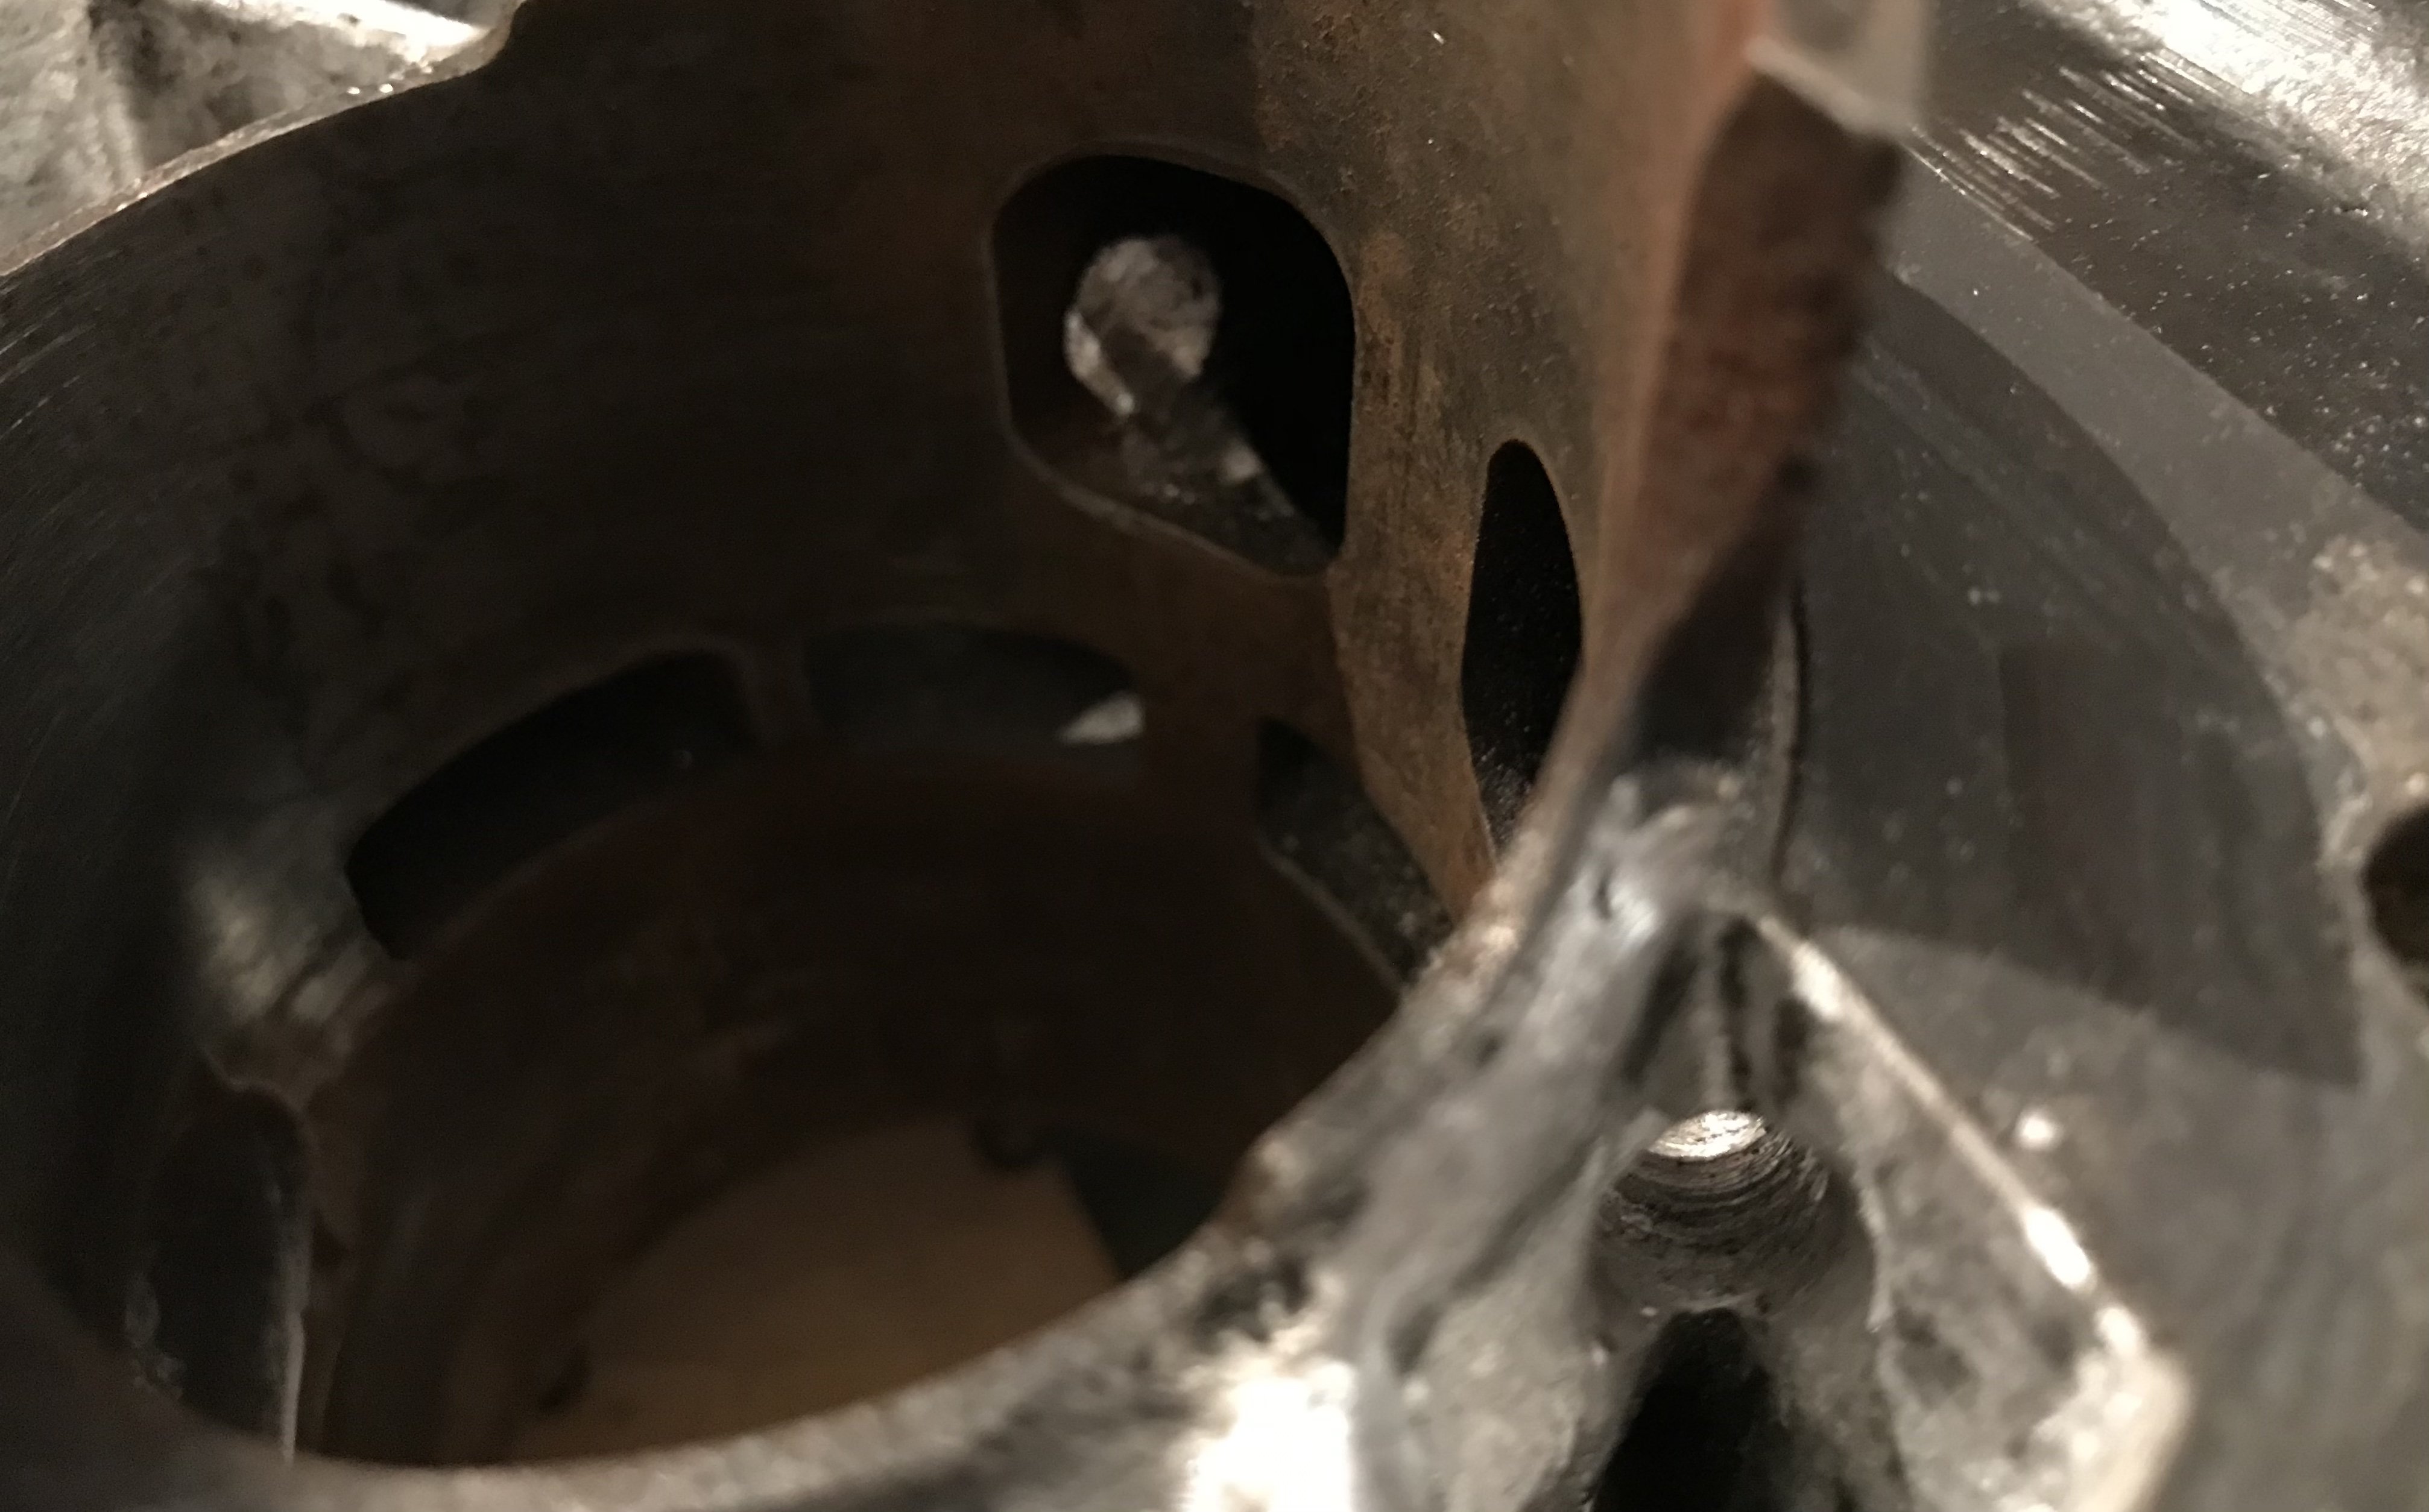
Hagbard replied to Hagbard's topic in Suzuki ATV Forum
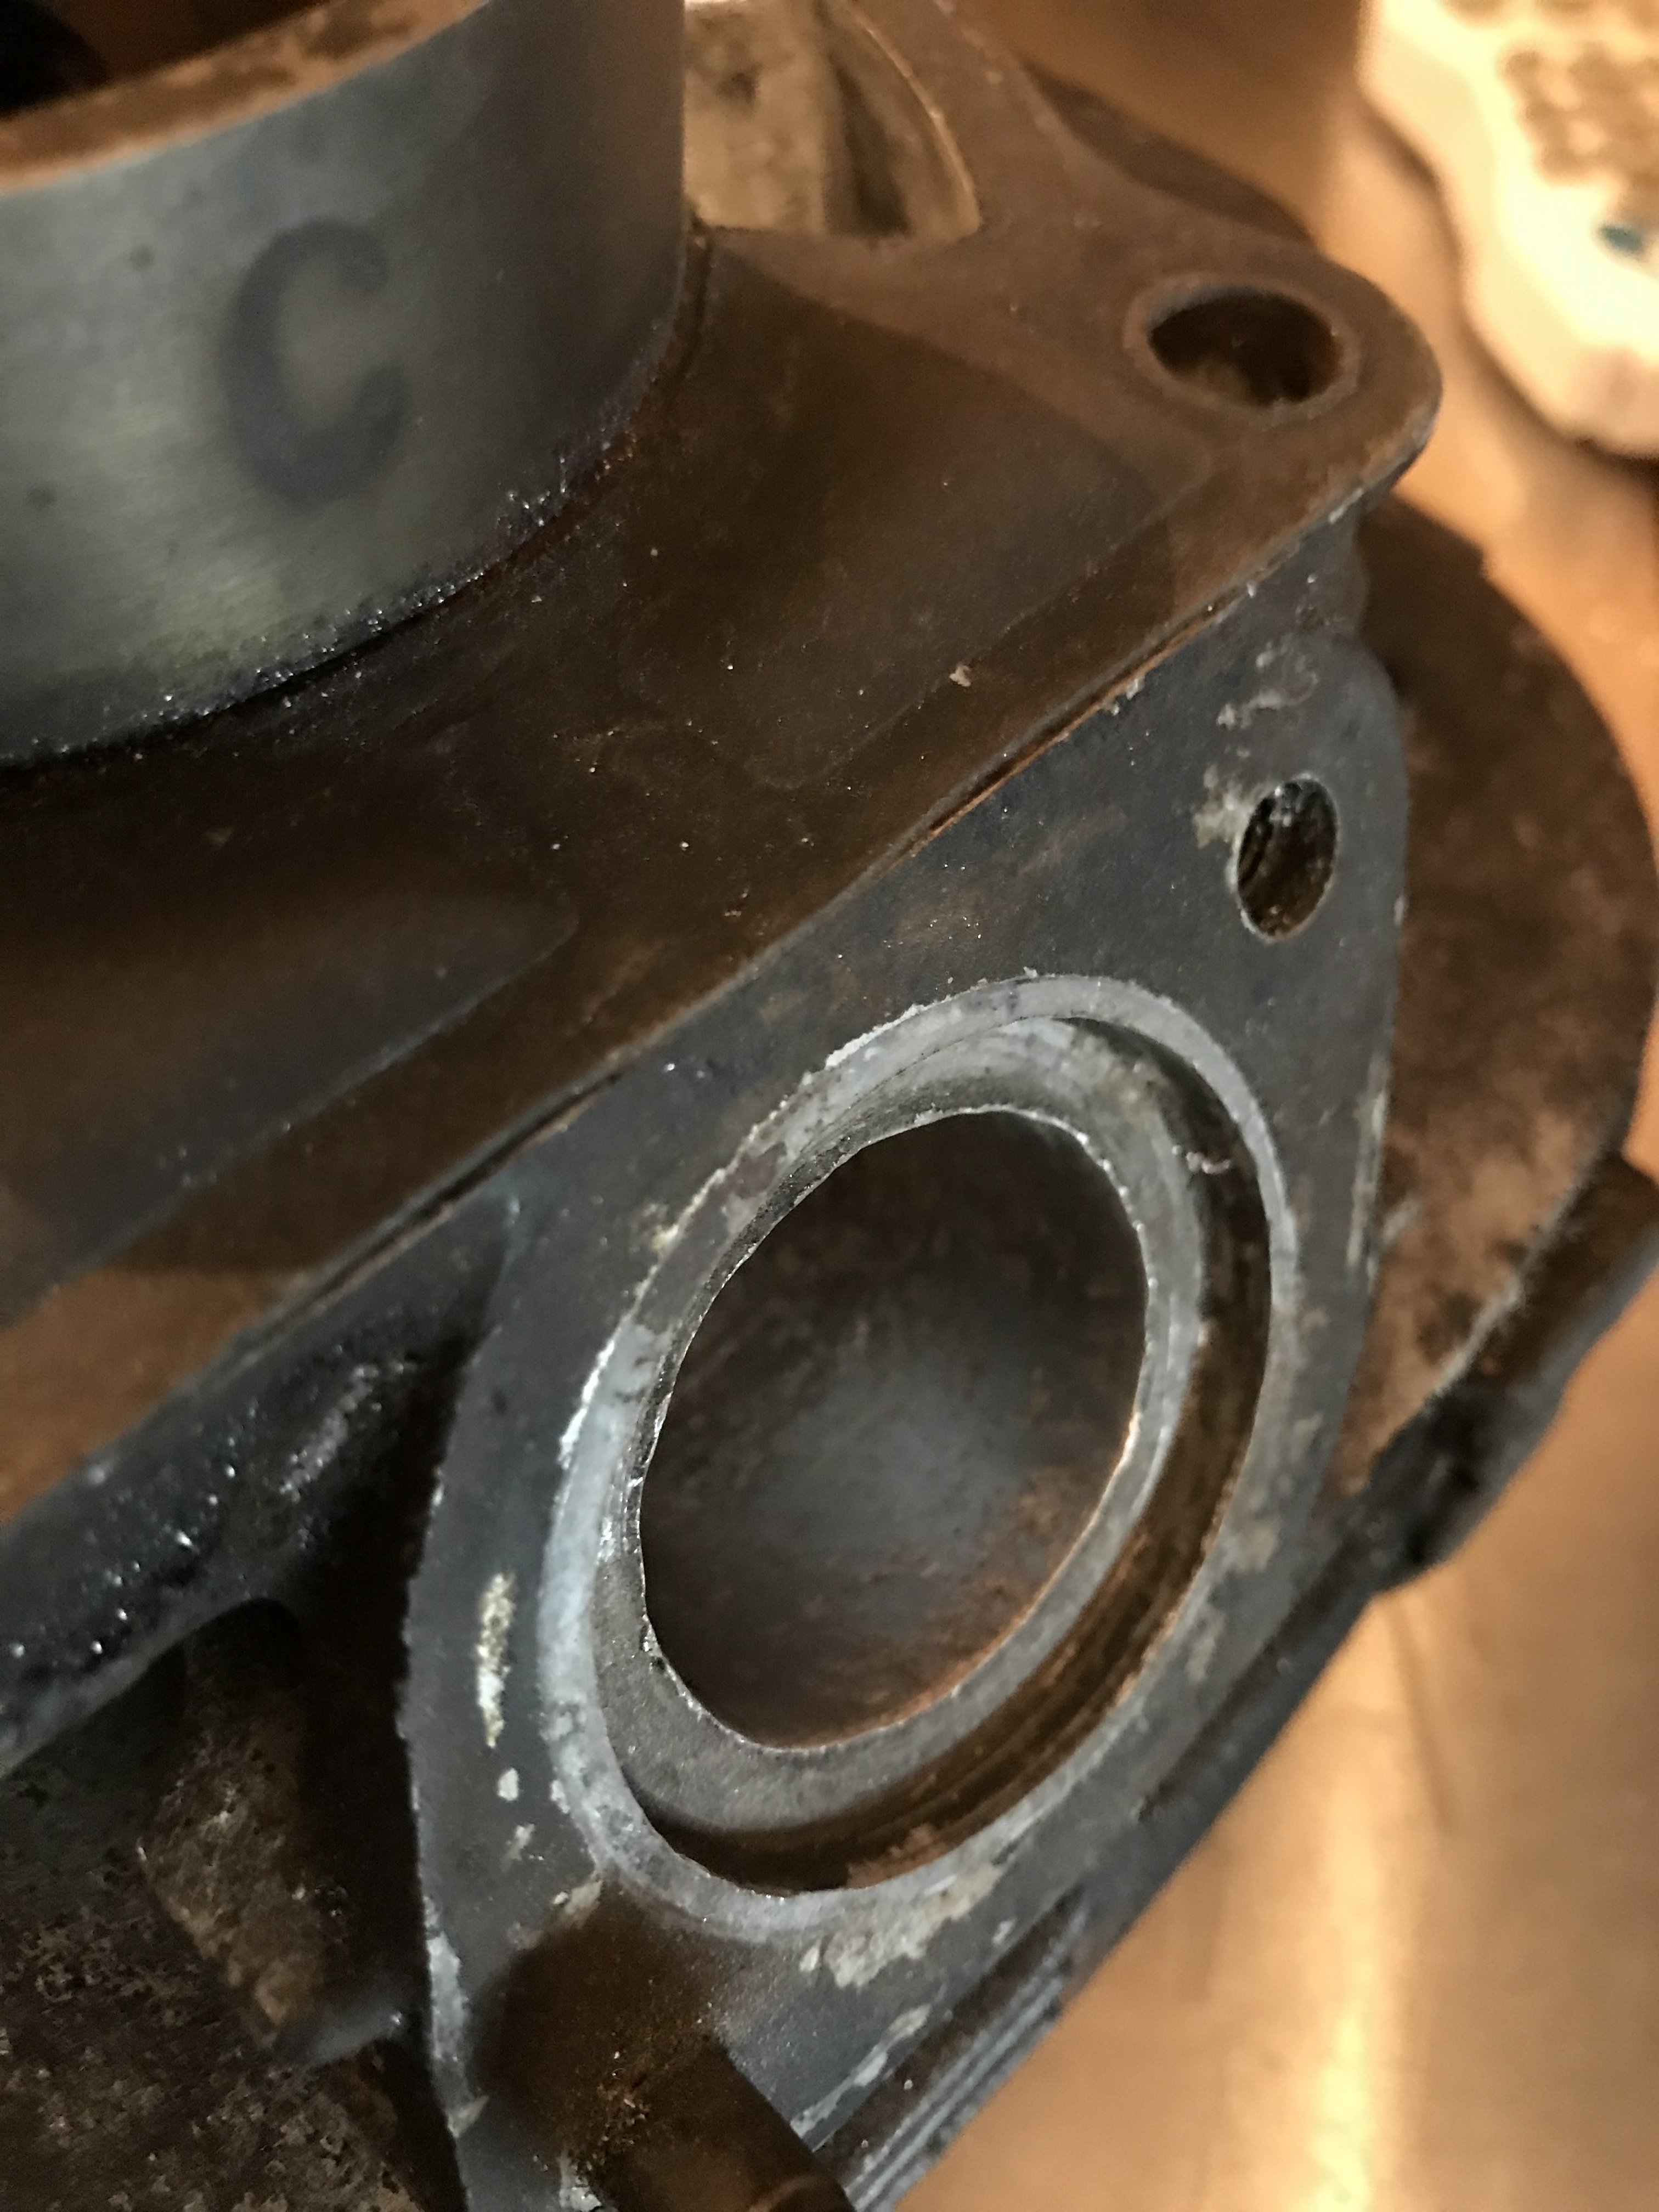
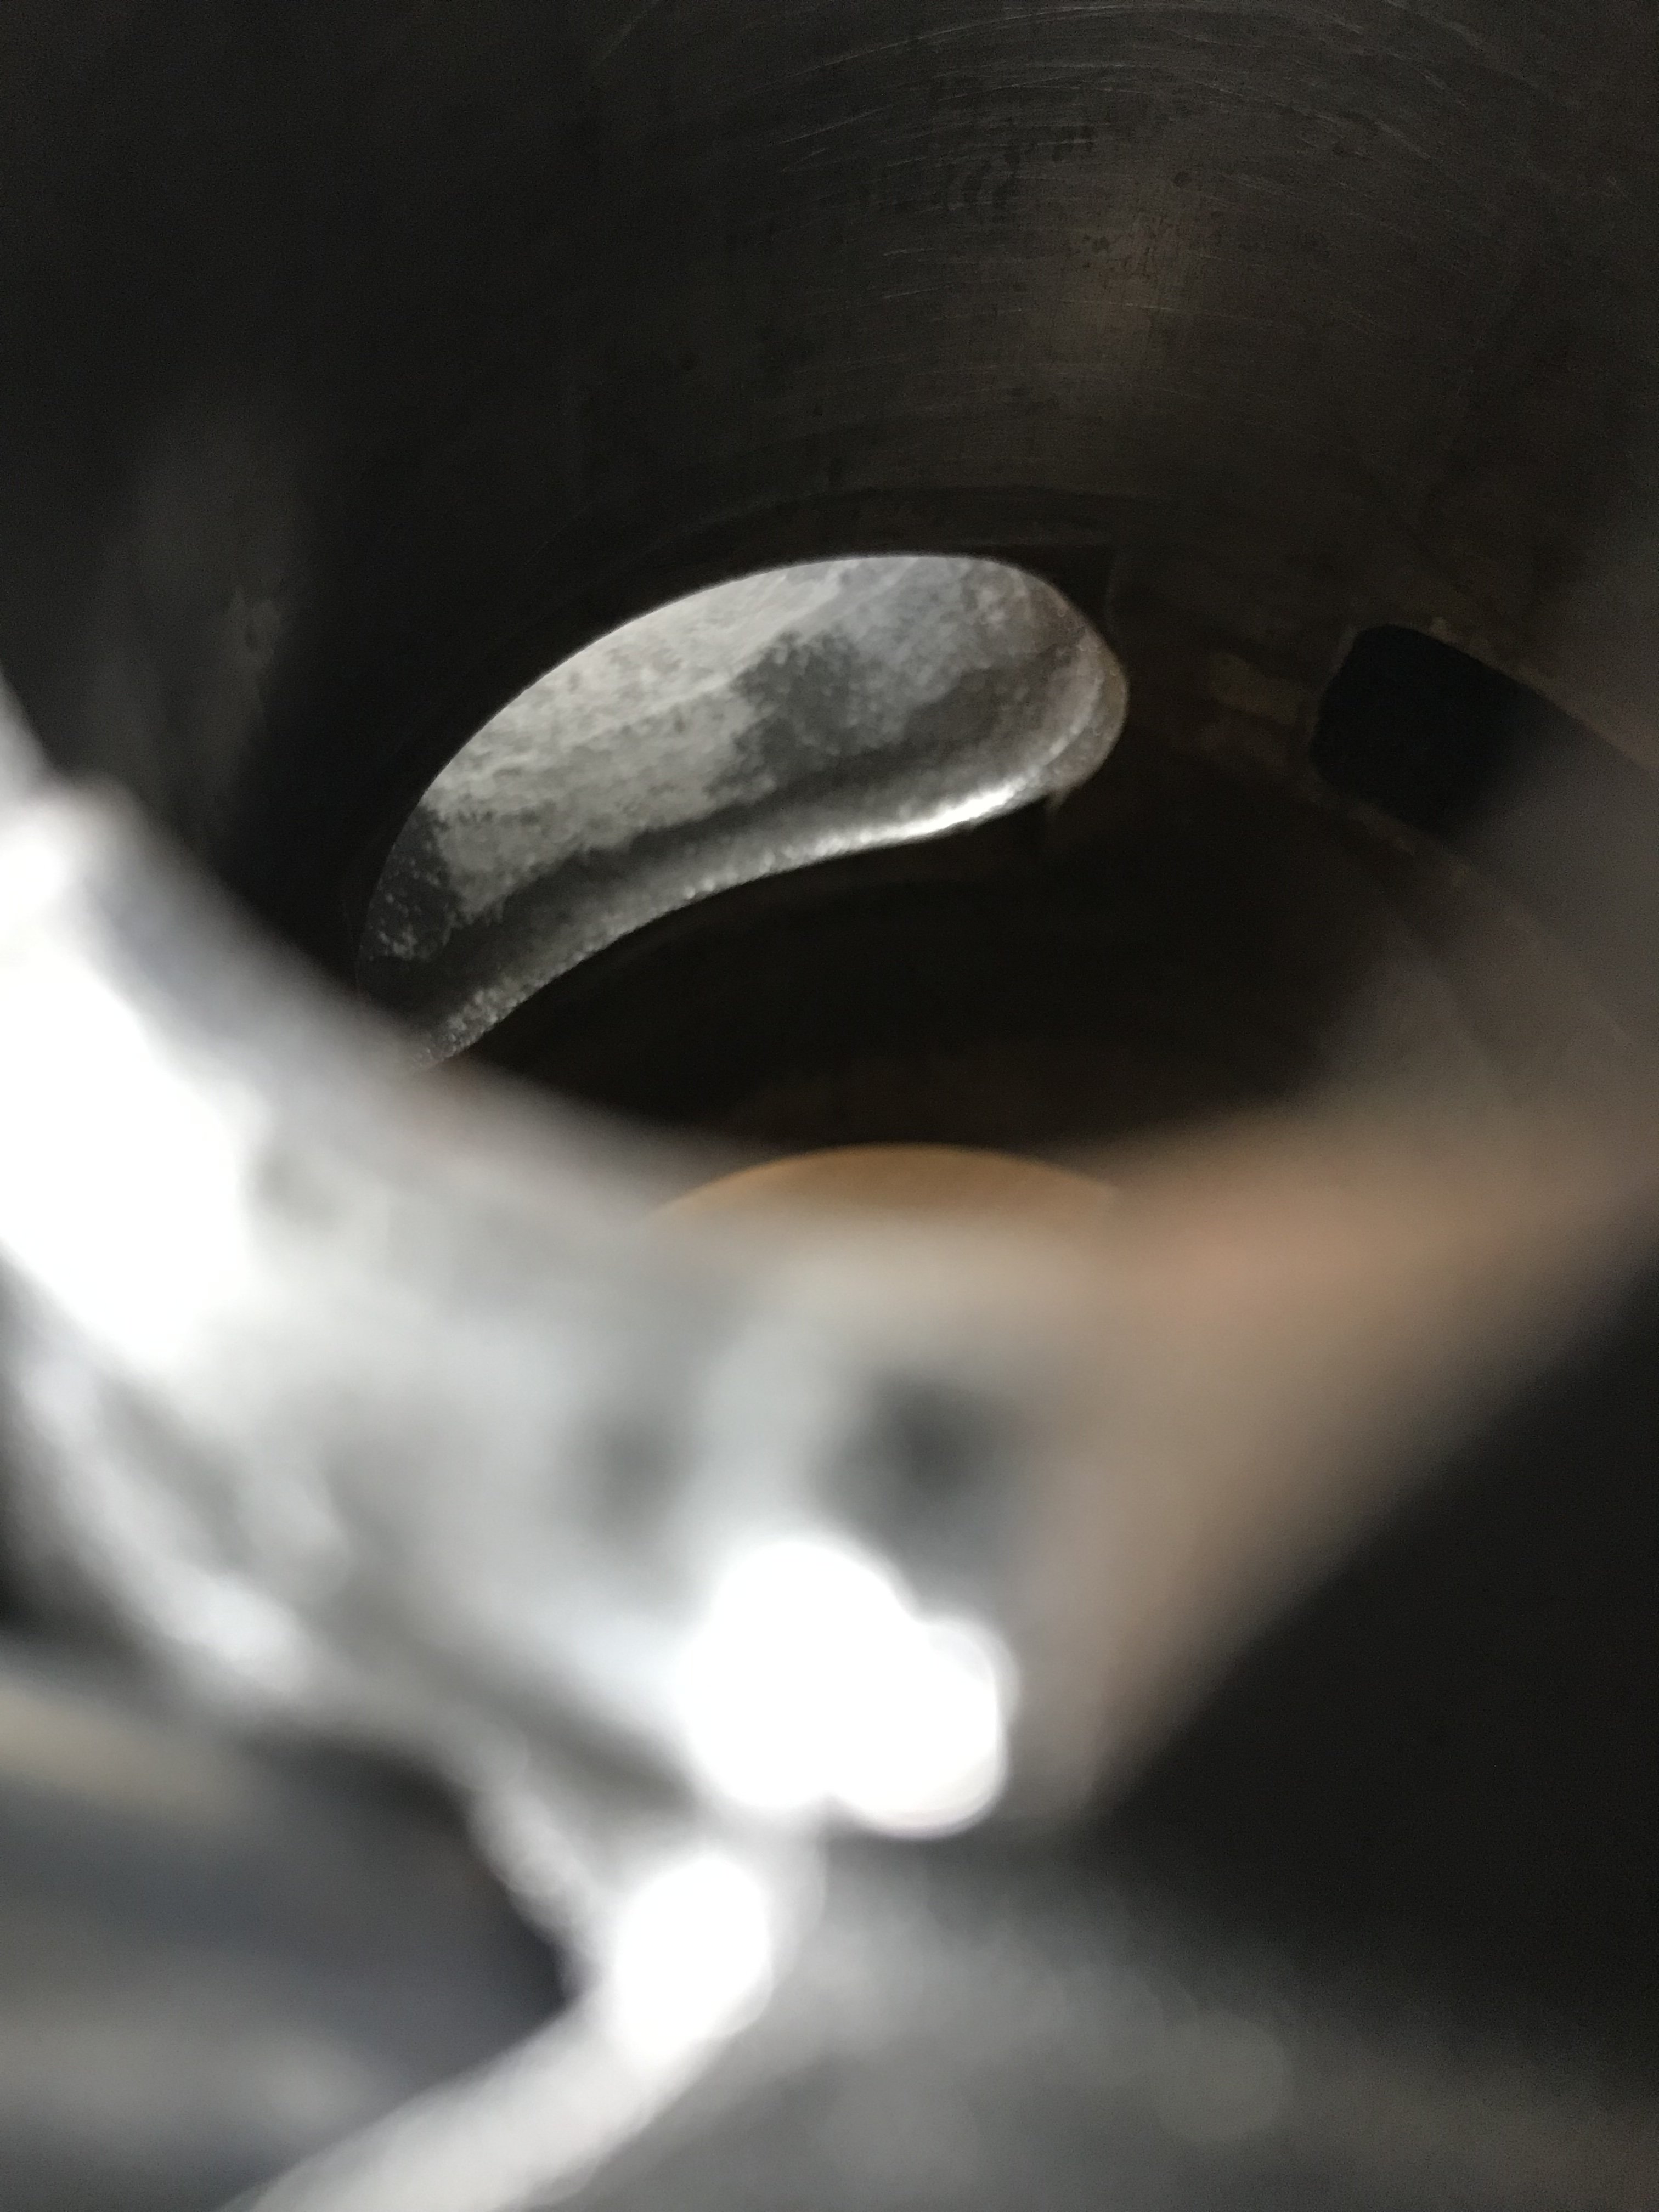
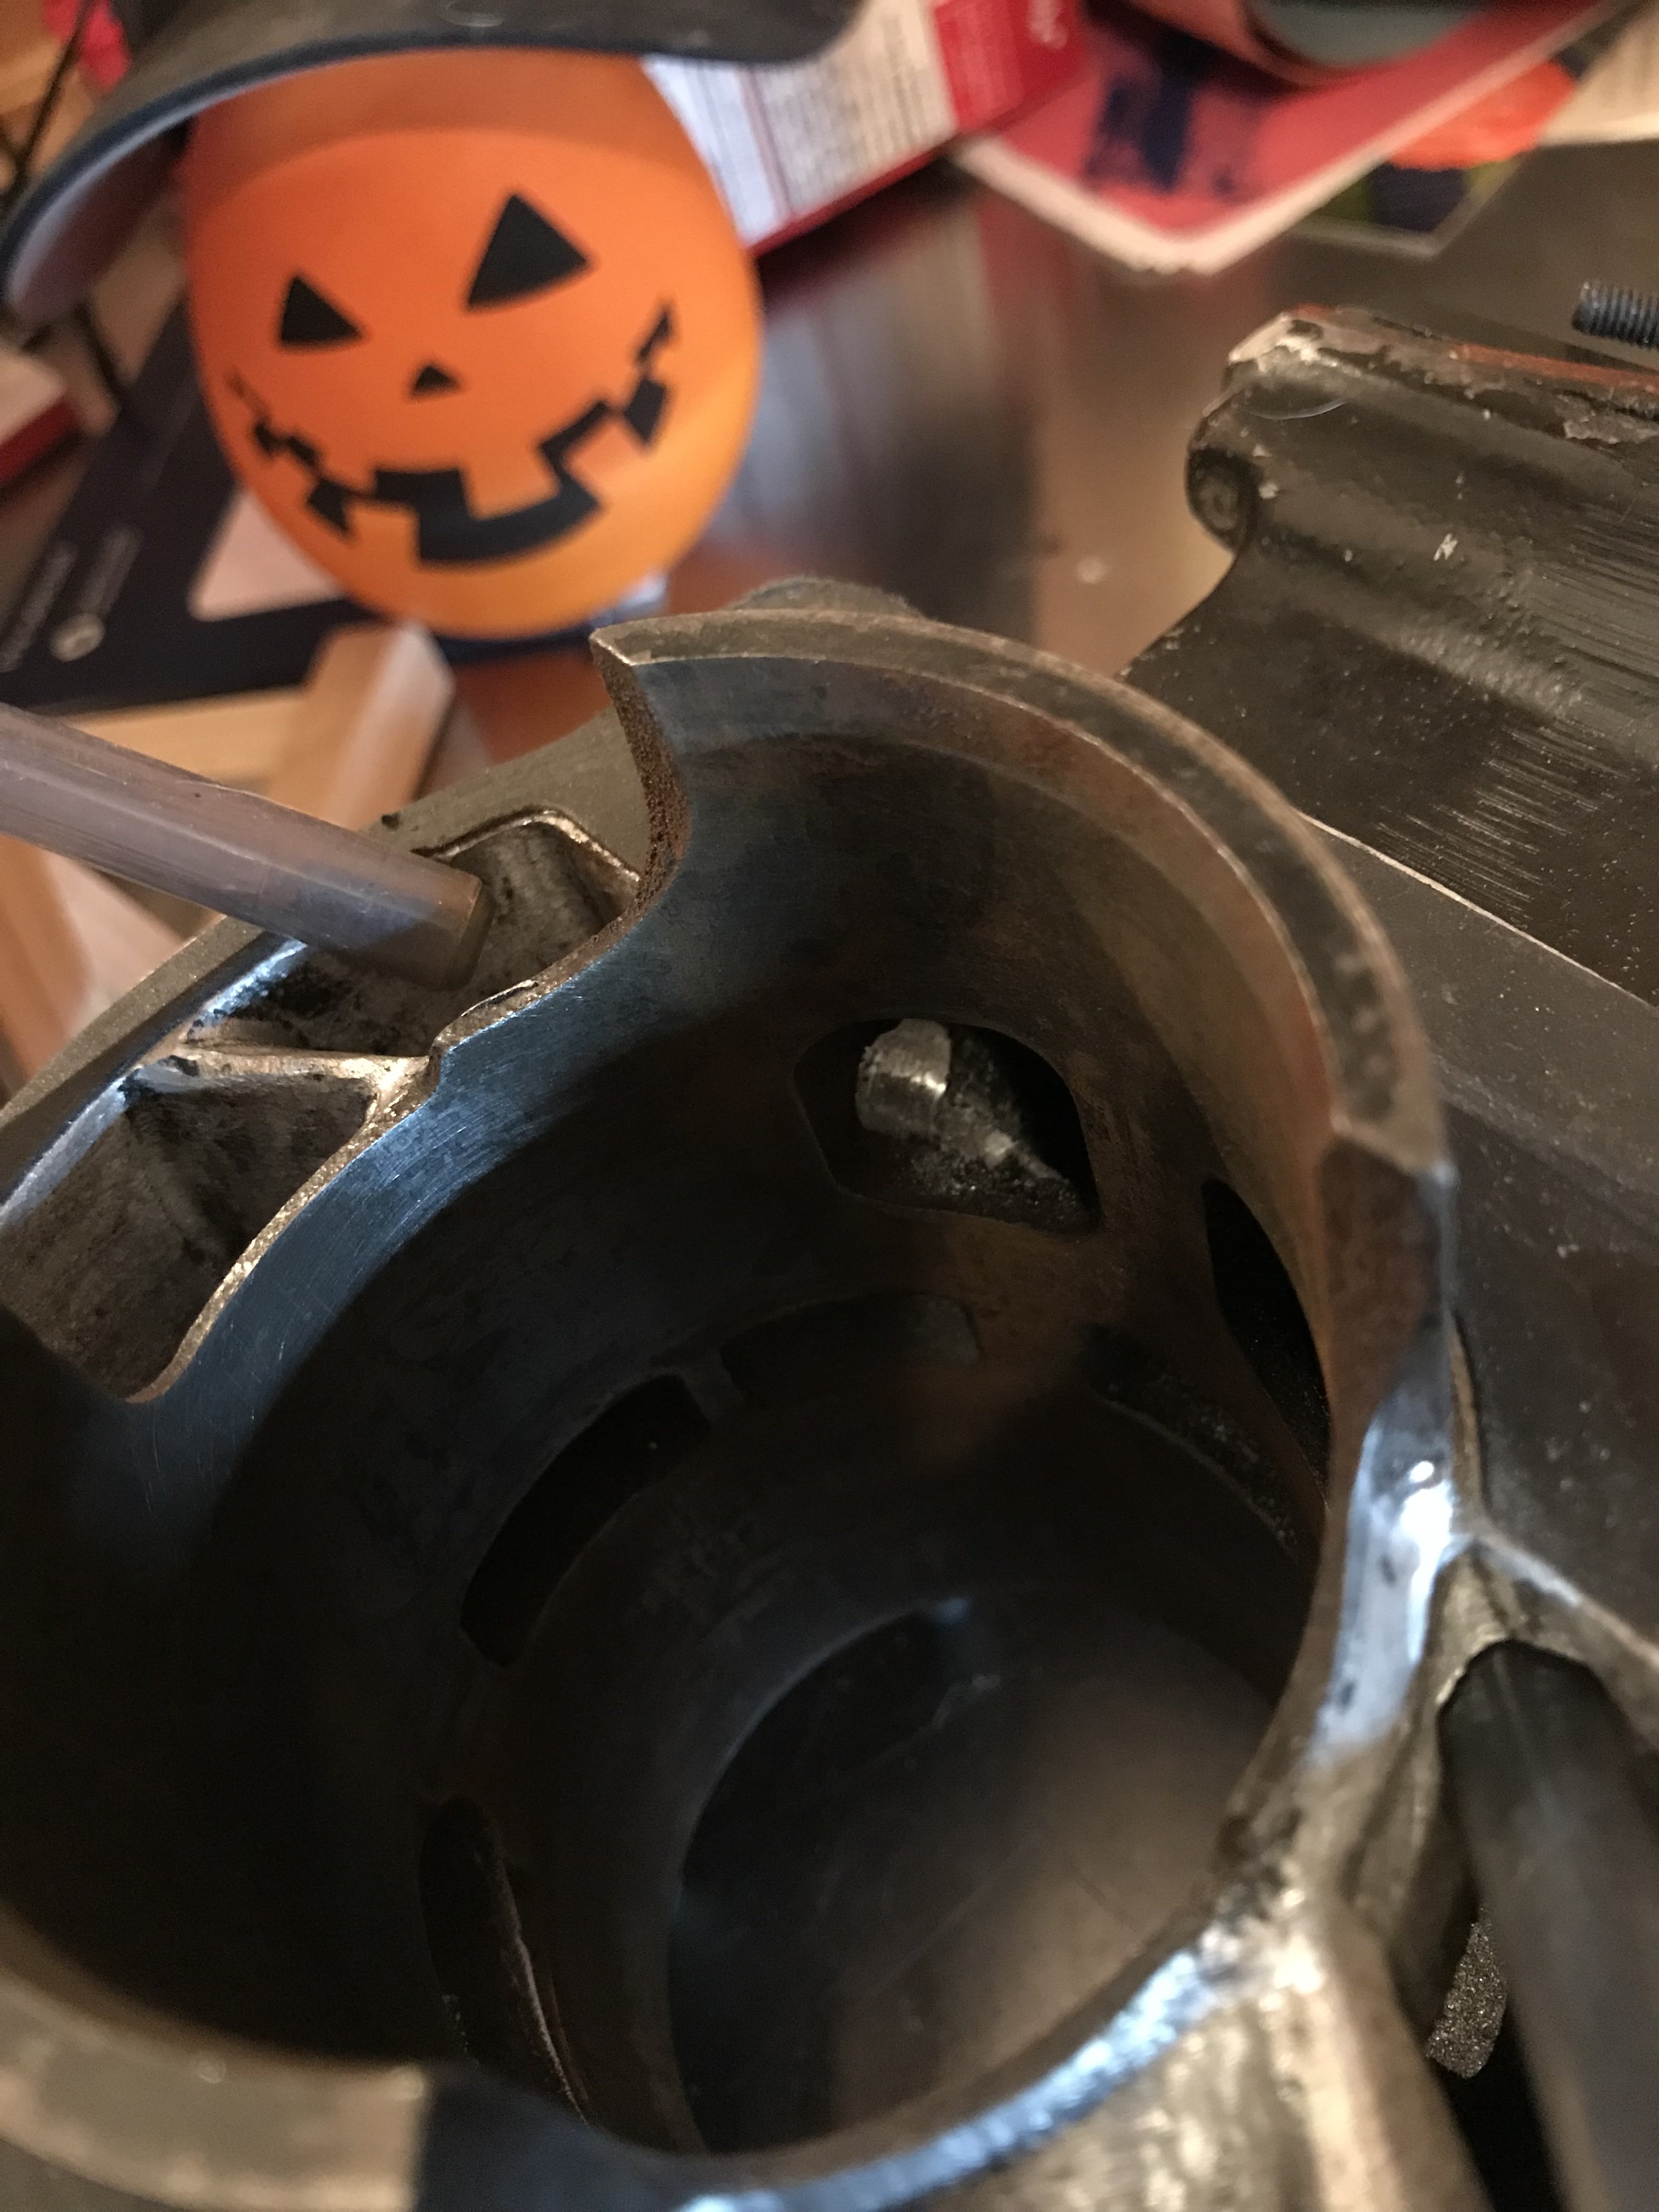
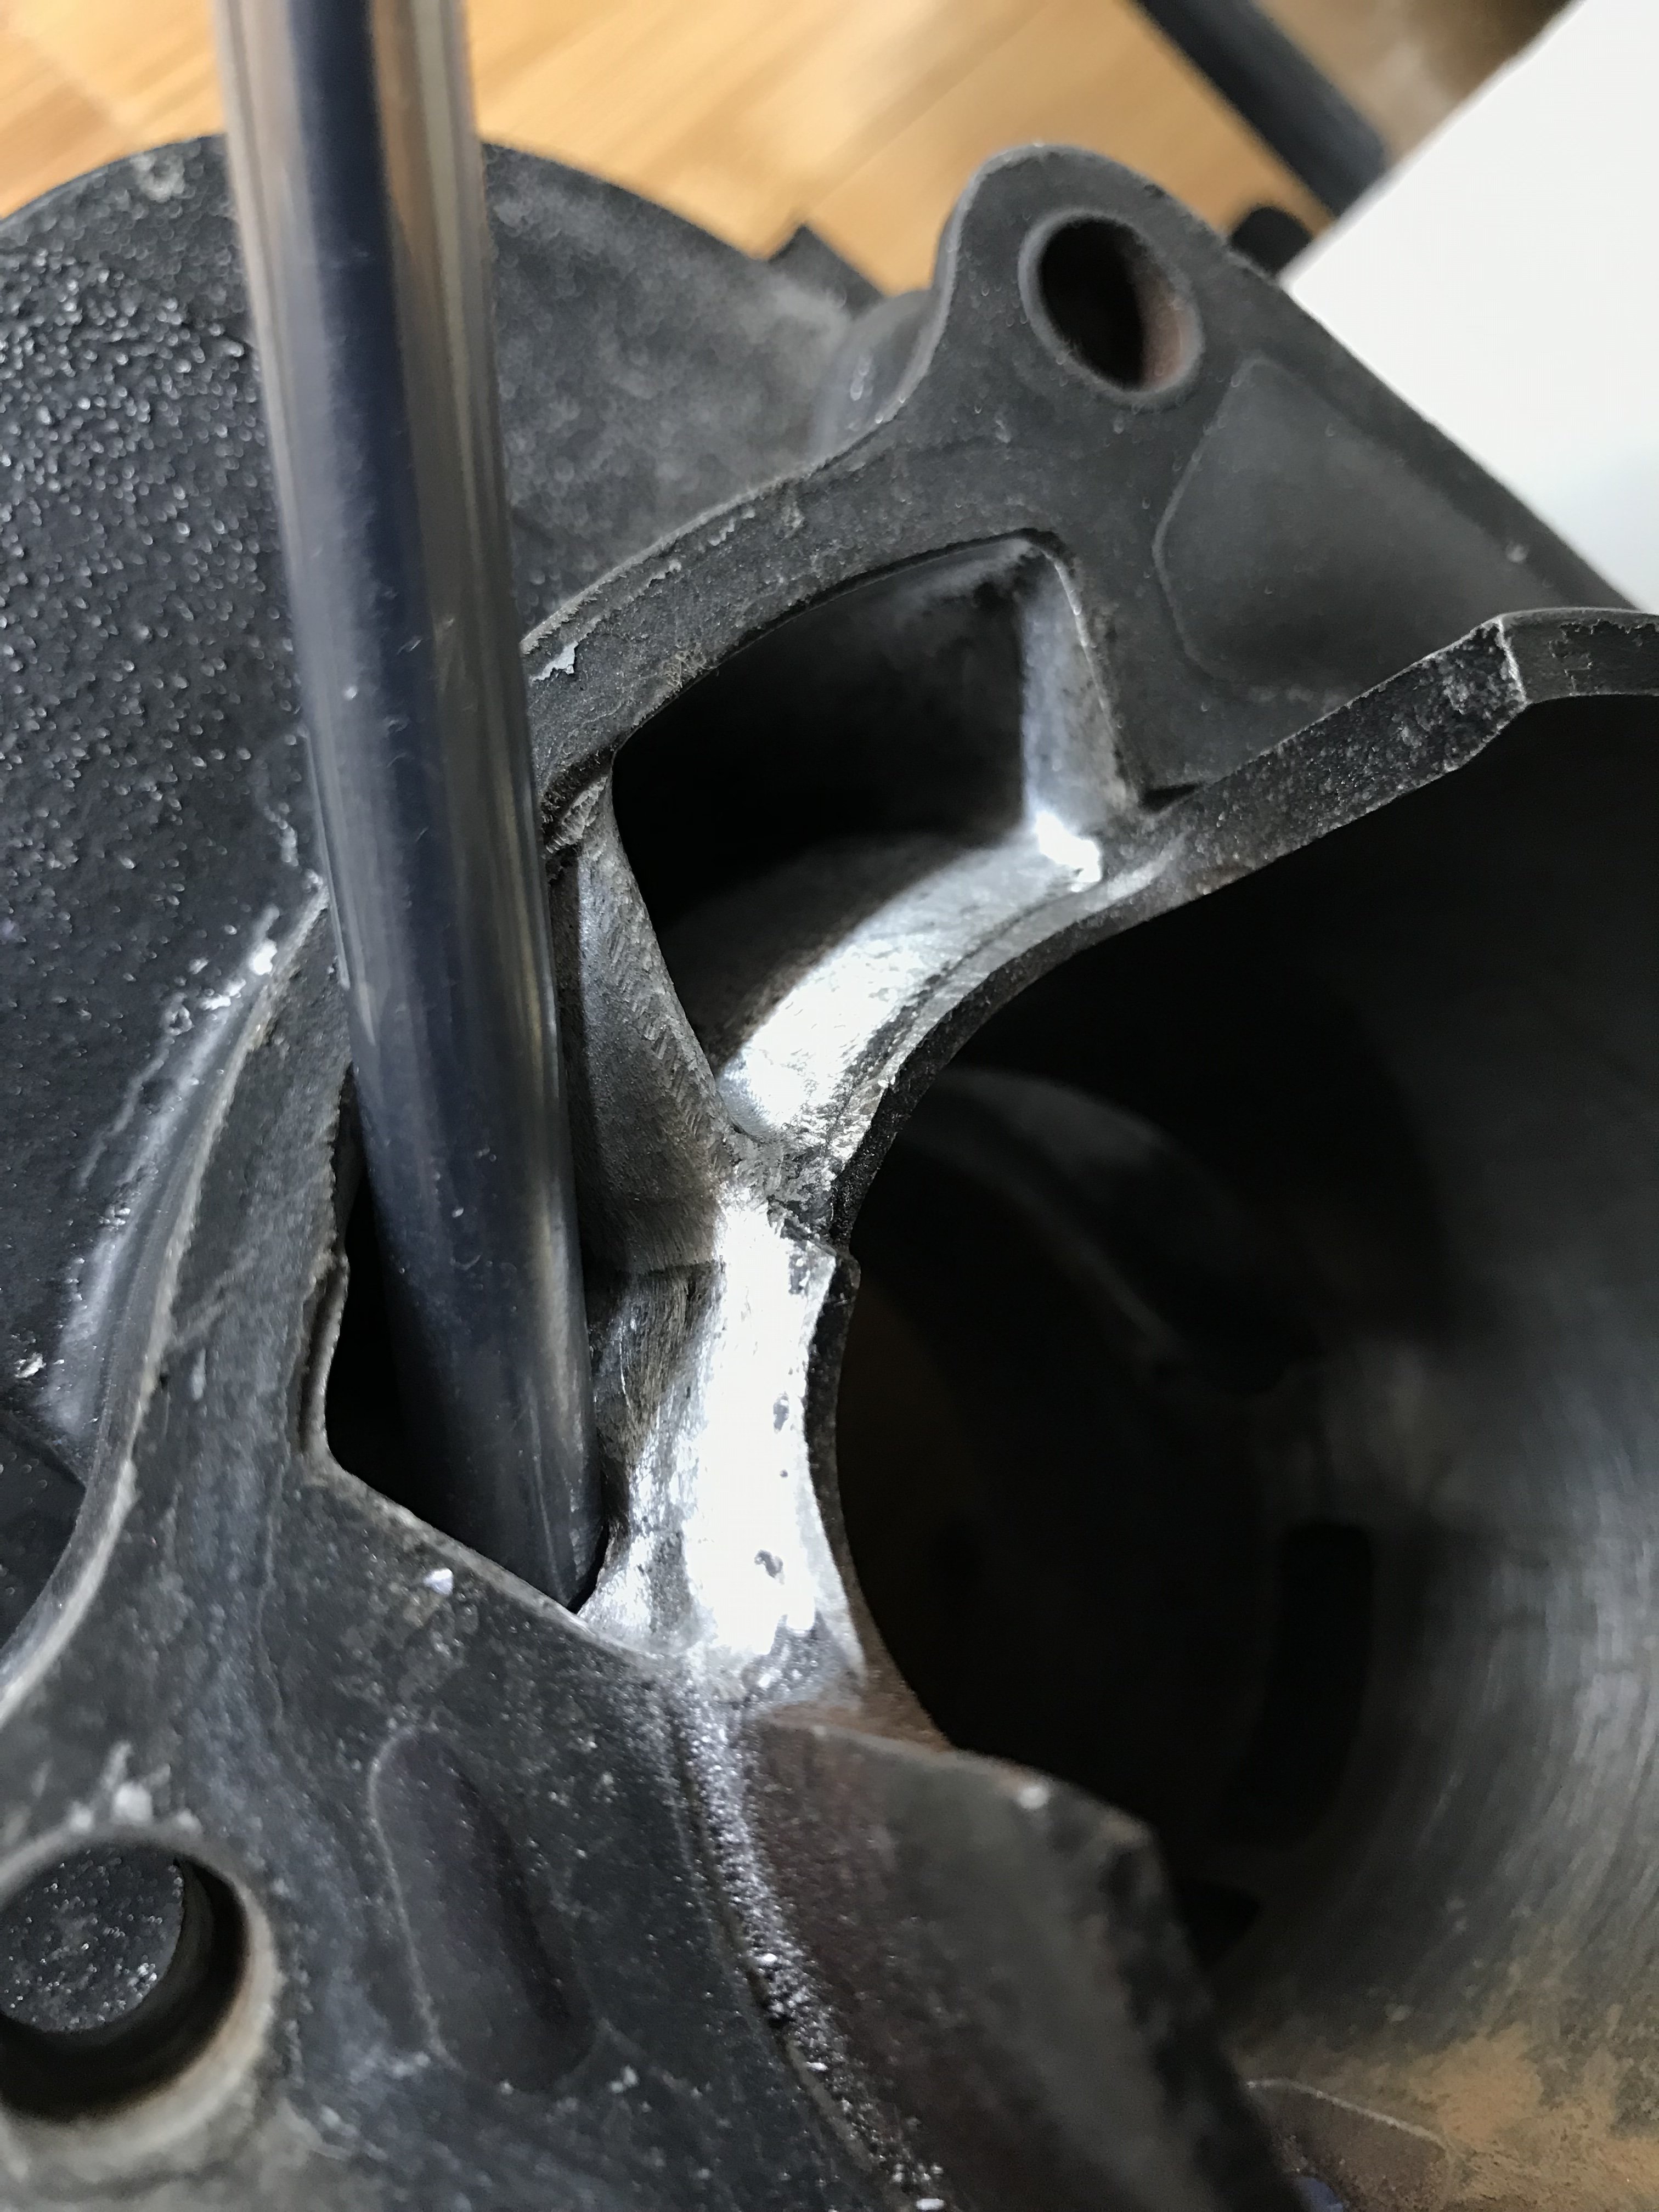
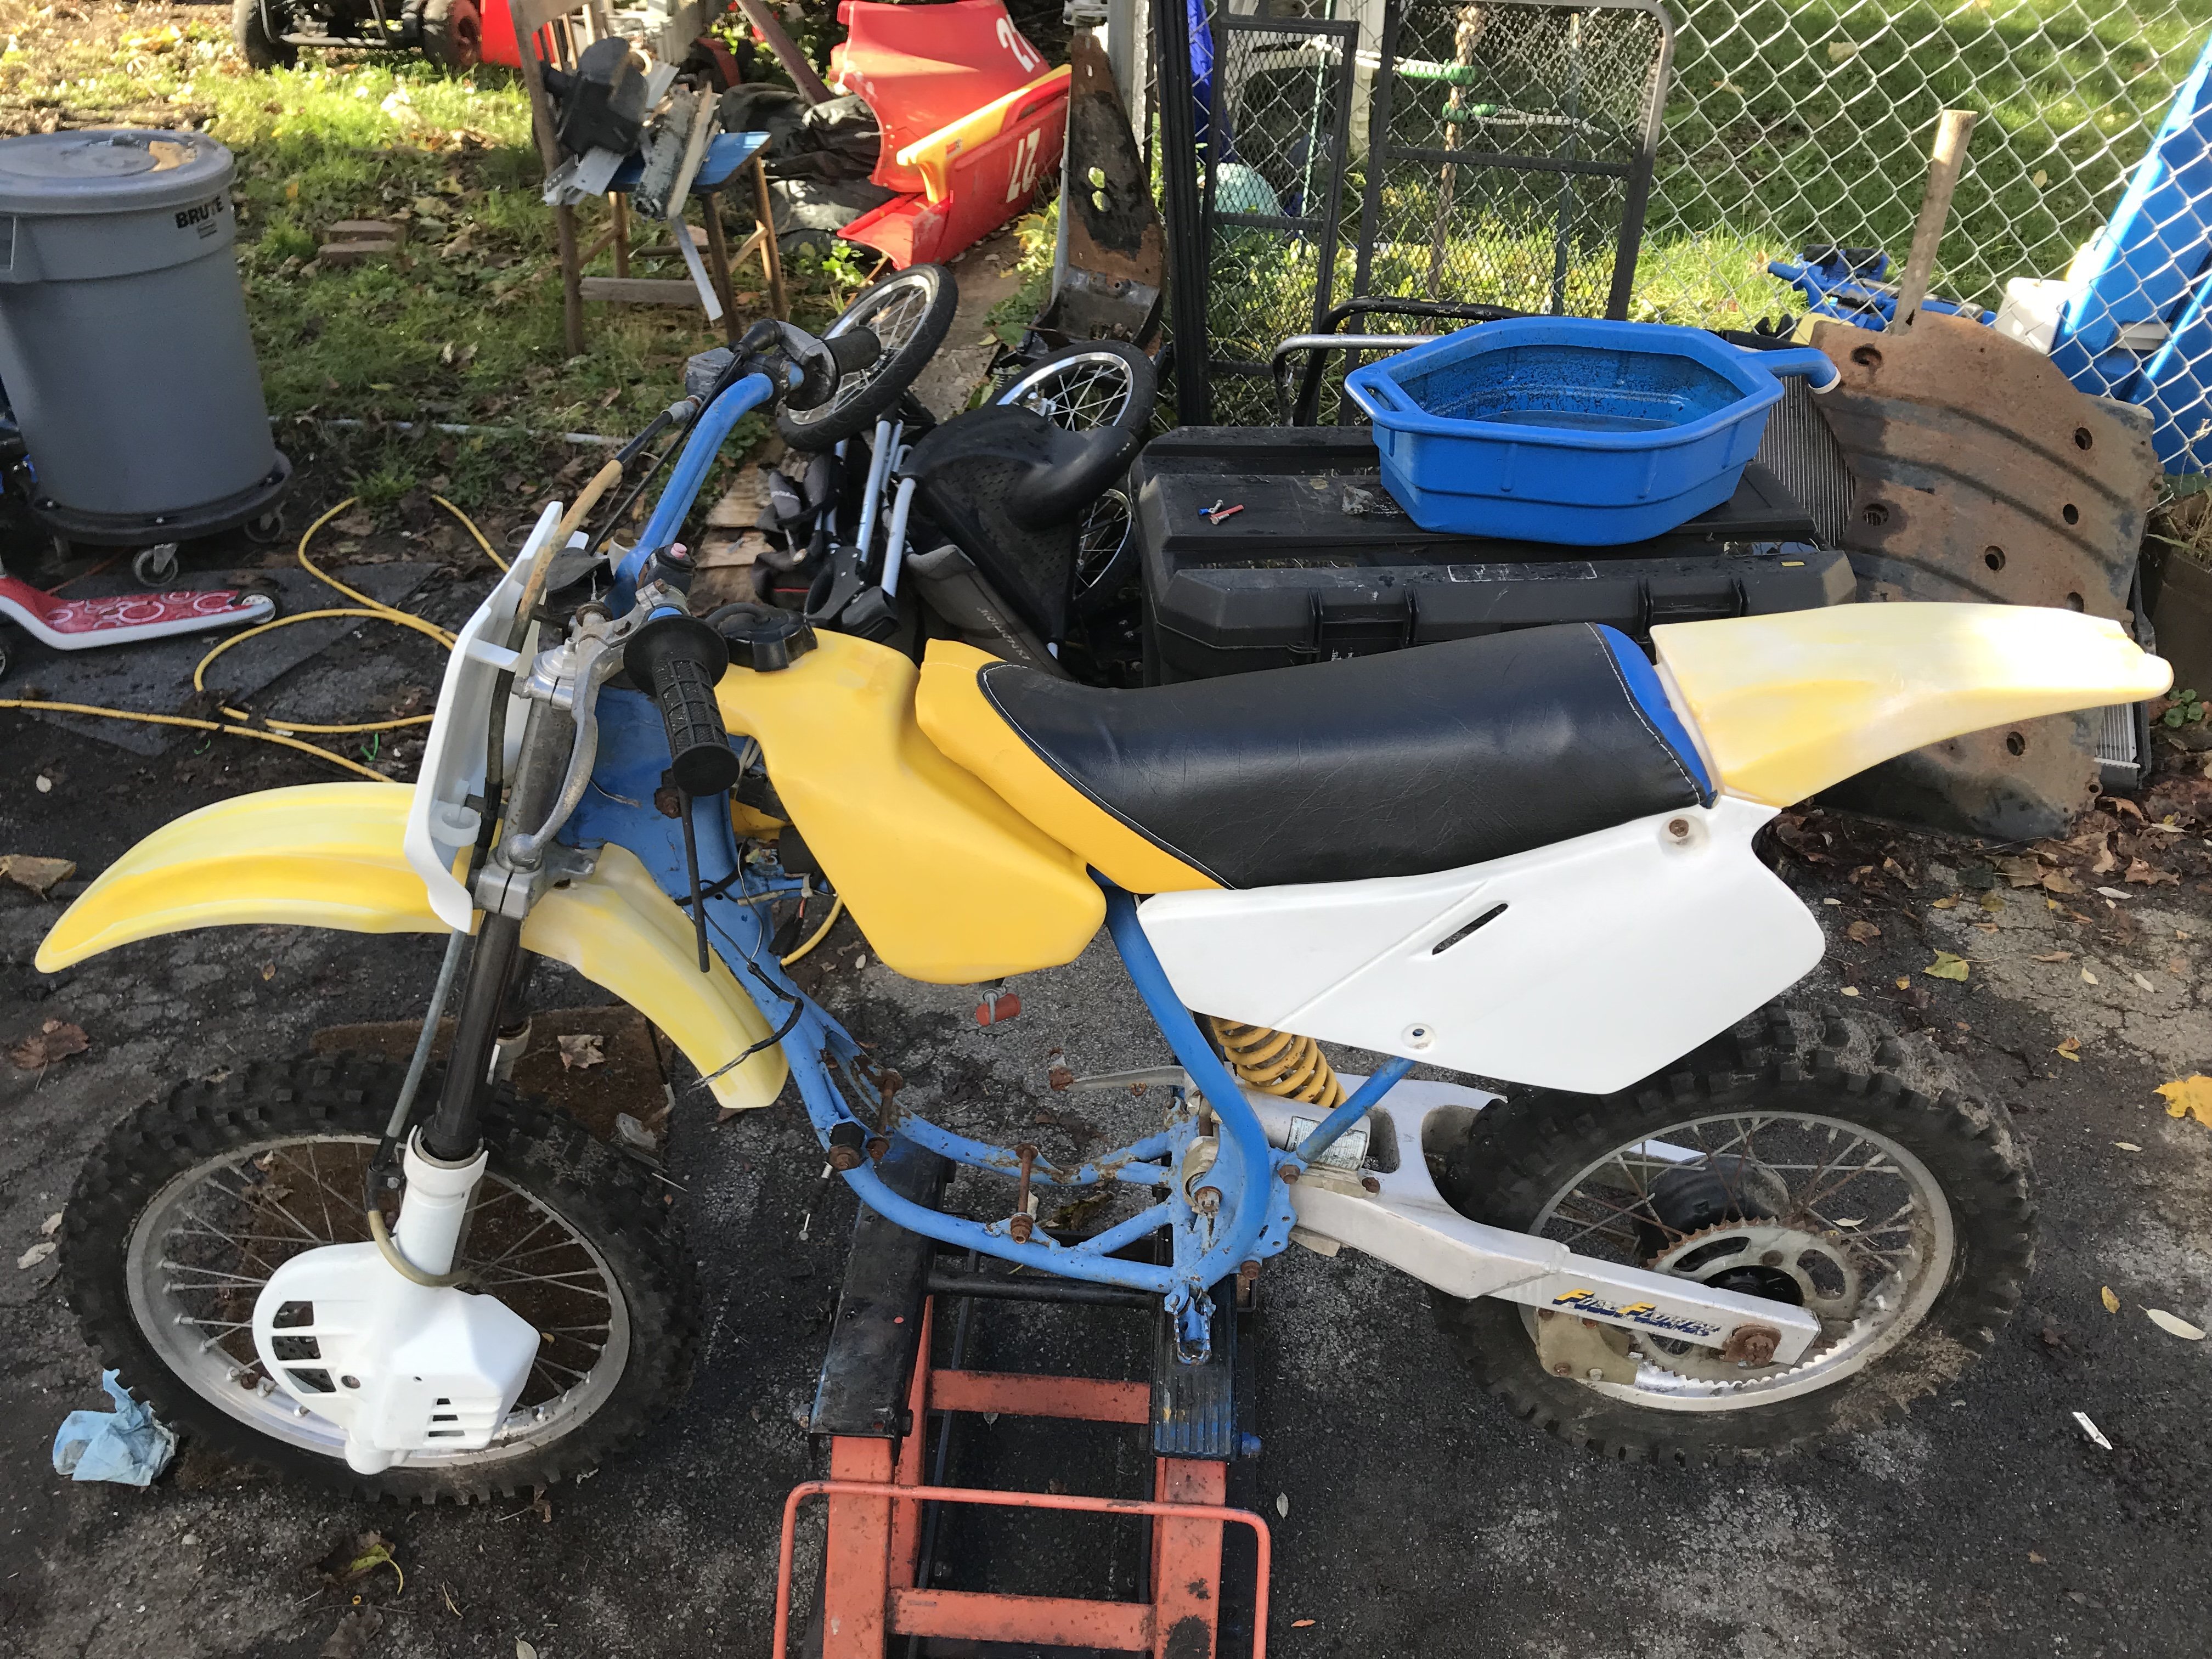
Been doing a little puttering around with a Blaster cylinder, polishing and smoothing out casting defects, matching the exhaust port to the gasket, smoothing the transitions between the transfer ports, and was reading a little of Eric Gorr’s writing on 2 stroke tuning. Since I have this spare to fiddle with I decided to try my hand at milling out some “Boyesen ports” - essentially lower boost ports between the transfers and the intake just behind the reed cage. Ideally they are around .5”, I chickened out after getting to .375+/- without fu***** it all up, and called it a day. In theory these increase scavenging at the cost of some velocity- aka more low-mid brap with less top speed. Going to start out with some Boyesen fiberglass reeds and see how they fare. And THIS time I’m going to make it a point to remember to clear the transfer ports of honing pumice BEFORE firing up the engine and frying the new rings. ¯\_(ツ)_/¯ Did I mention I found an ‘87 RM80 roller for free? Have a DS80 motor that won’t fit in it, so yet another thing to hunt for in vain lmao
-
Another one back from the dead (1997 King Quad 300 LT-FWDX)
Hagbard replied to Hagbard's topic in Suzuki ATV Forum
Any luck getting this apart and figured out? I had a really fun time chasing down corrosion and loose connections in the harness. Worth cleaning the grounds too. -
Another one back from the dead (1997 King Quad 300 LT-FWDX)
Hagbard replied to Hagbard's topic in Suzuki ATV Forum
Finally got to go see my KQ out at the farm where I left it a month ago when my radiator blew. Spent about 15 minutes cranking and choking and running down the battery before I decided to back off the intake valve a hair. Fired right up first crank afterwards. Carb doesn’t like the colder air though, so it didn’t want to do much to get out of its own way. -
Another one back from the dead (1997 King Quad 300 LT-FWDX)
Hagbard replied to Hagbard's topic in Suzuki ATV Forum
Right. Like I said here. I still hate that POS carb. Thinking a PWK28 is on deck. -
Another one back from the dead (1997 King Quad 300 LT-FWDX)
Hagbard replied to Hagbard's topic in Suzuki ATV Forum
One is an actual fuel PUMP the petcock just has a vacuum diaphragm that shuts off fuel if there’s no vacuum. You definitely need both. -
Another one back from the dead (1997 King Quad 300 LT-FWDX)
Hagbard replied to Hagbard's topic in Suzuki ATV Forum
Yeah, so that would make the top one for the petcock, white plastic one for the pump, because I left all the OE lines in place, and labeled for where they attached to the stock carb. The only one I didn't re-use was that top one, and I switched out to a non-vacuum petcock. -
Another one back from the dead (1997 King Quad 300 LT-FWDX)
Hagbard replied to Hagbard's topic in Suzuki ATV Forum
Yeah, you’re right. One is for the petcock the other is for the pulse fuel pump. -
Another one back from the dead (1997 King Quad 300 LT-FWDX)
Hagbard replied to Hagbard's topic in Suzuki ATV Forum
The curved one on the top was the vac line for the pump. Not sure what else could be vacuum actuated. Love those handguards, gives me a hardcore Street Hawk vibe =D Also, the canteen pouch with the variety sampler is a nice touch! -
Another one back from the dead (1997 King Quad 300 LT-FWDX)
Hagbard replied to Hagbard's topic in Suzuki ATV Forum
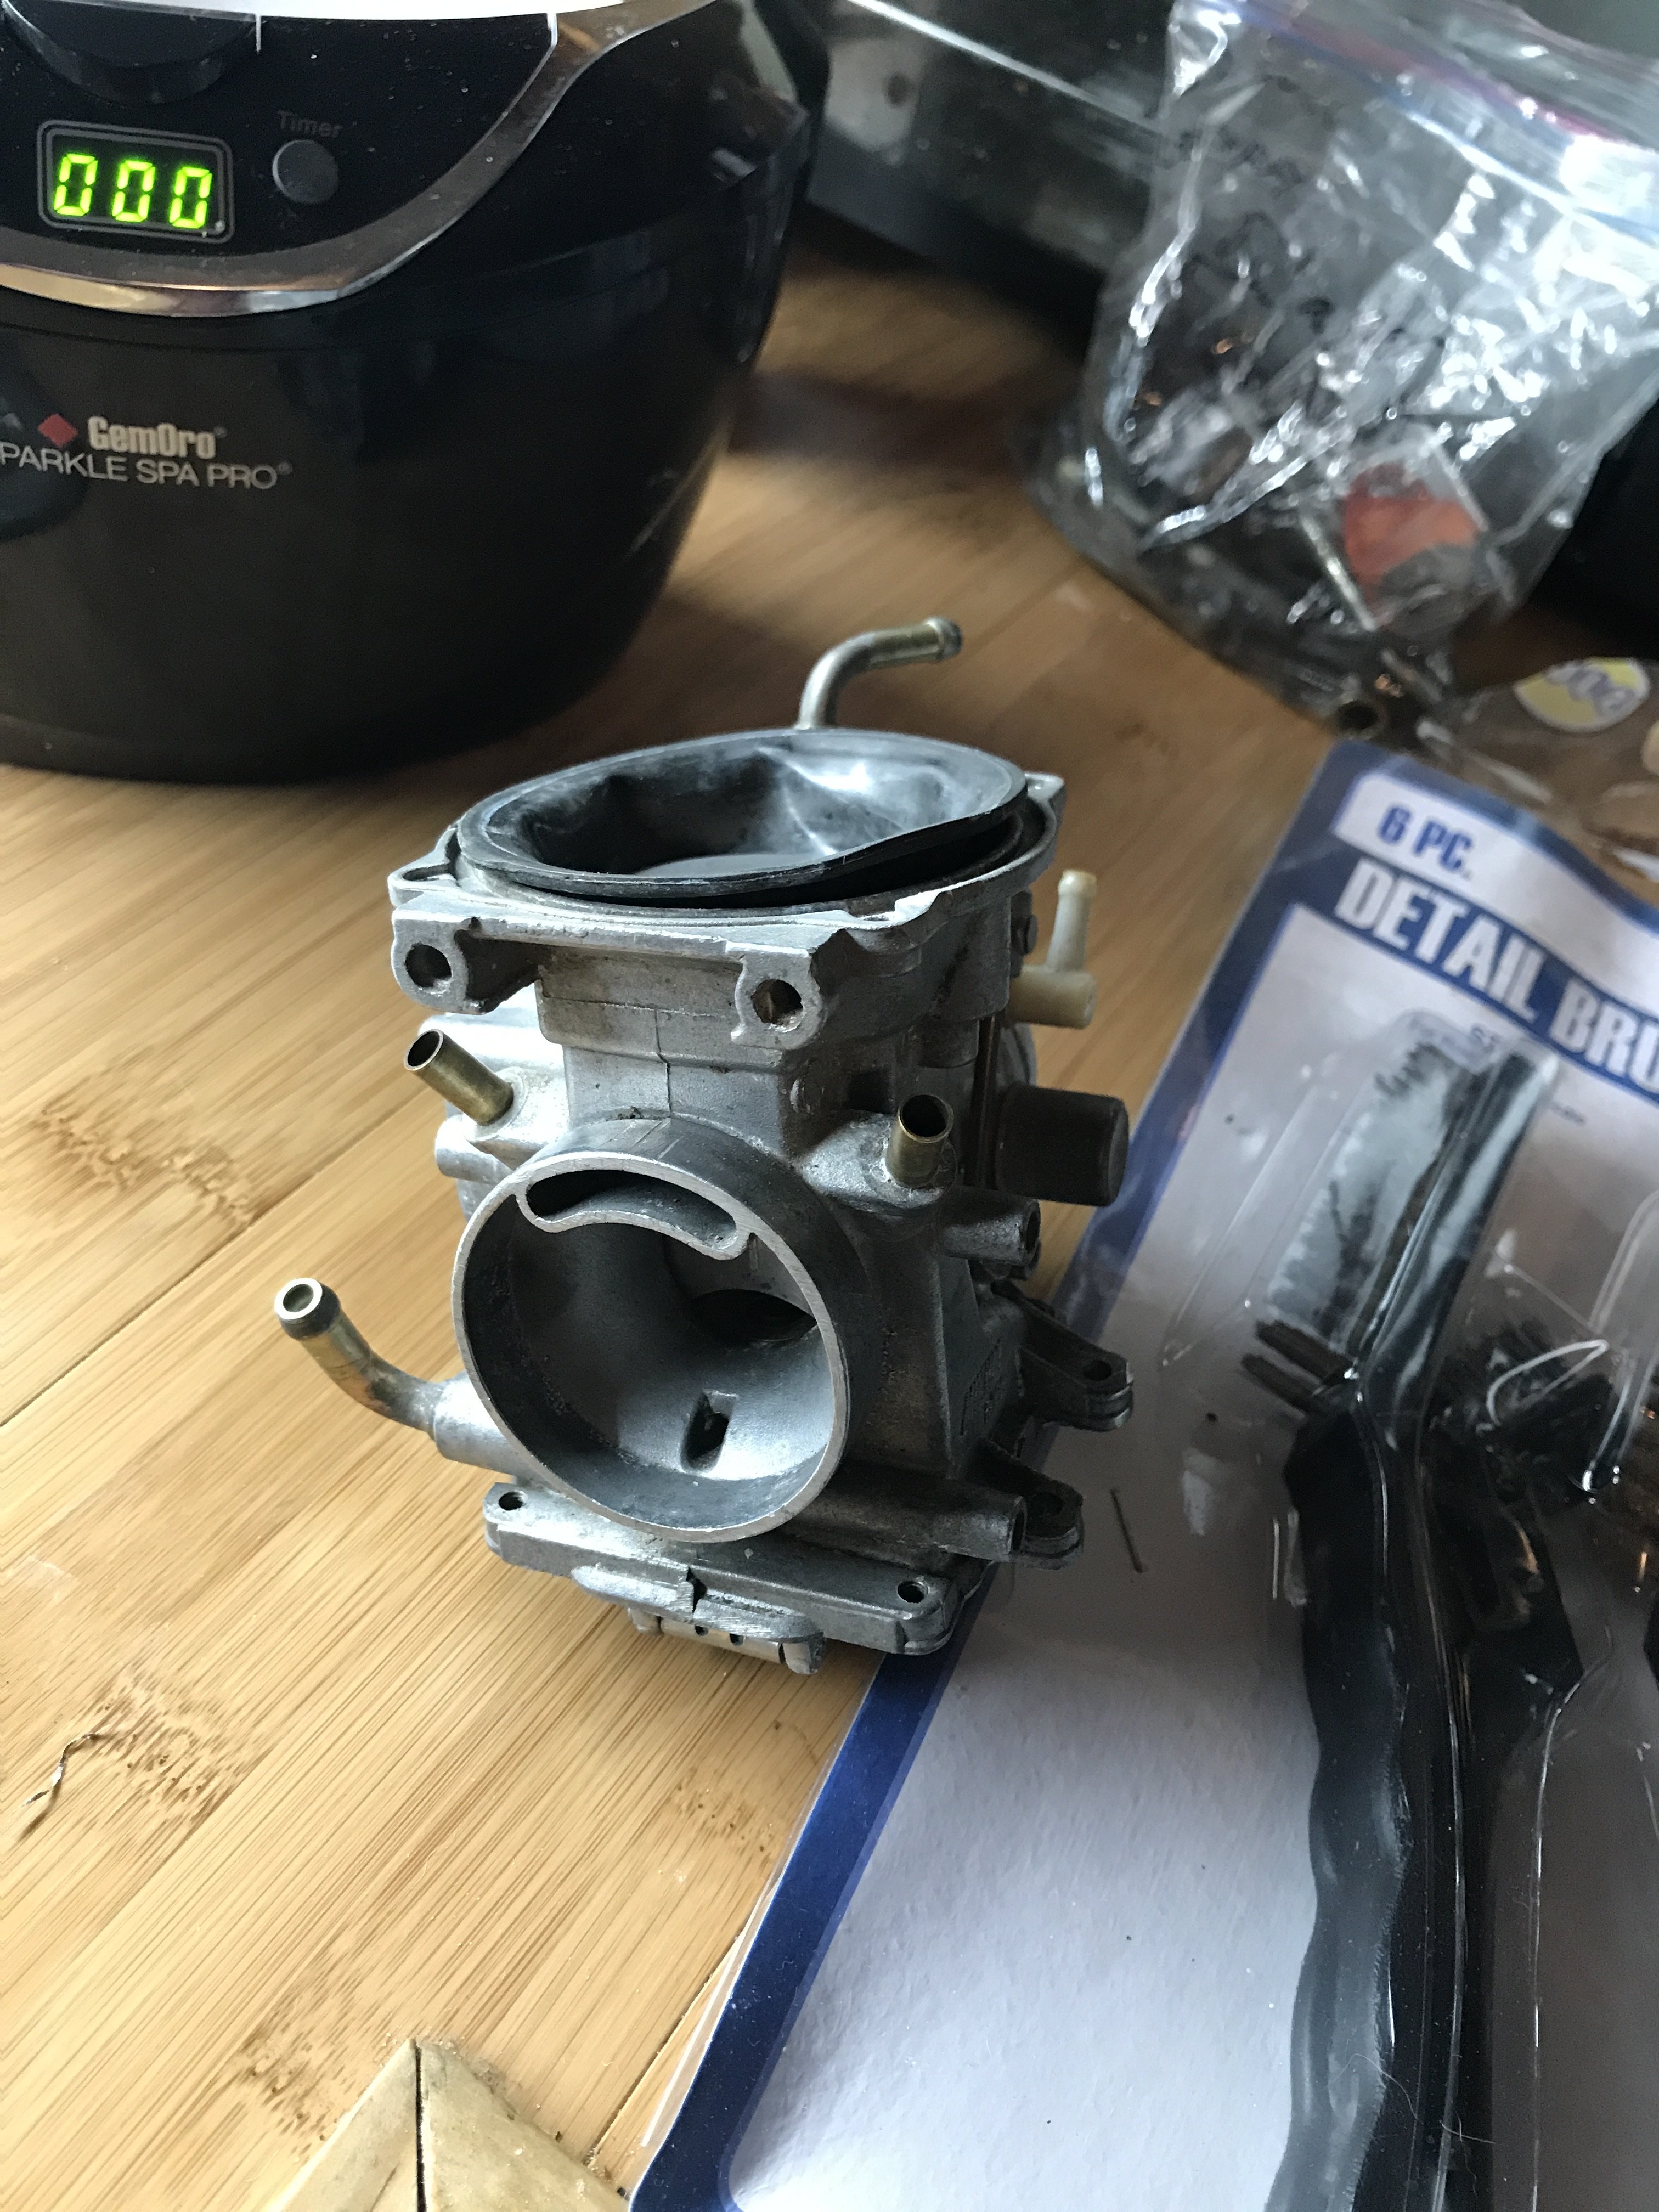
I’m pretty sure the vacuum port was top center, above the intake boot, but the replacement carb I got didn’t have one. So I went to a regular petcock. There are two vent lines one goes high one goes low. Actually realized I have the original carbs sitting here, vacuum line is indeed top center. Fuel inlet bottom left, the two brass “horns” at 9 & 3 are the vents. I believe the white plastic one is also a vacuum line, as it empties into the carb just inside the spigot. I can’t for the life of me remember where it goes. ¯\_(ツ)_/¯ I just got a replacement one on eBay for $20. I think if you scroll back to maybe the first or second page of this mega thread, you can see some info about it. I believe it was OEM for a Polaris 300cc machine. I had to drill out the threads in the clutch and throttle cable ferrules to accept a slip fit cable. That and the idle speed adjustment screw is next to impossible to reach when the quad is warm, so get one with the cable end.
-
Another one back from the dead (1997 King Quad 300 LT-FWDX)
Hagbard replied to Hagbard's topic in Suzuki ATV Forum
Once I pull the 230E, I'll weigh them, sure. What exactly do they weld on the crank? can't be webs to the pin, right? Yeah, one of the first things Randy mentioned was the rectifier. I think he uses one from some big ol' Triumph, not sure what model to ask for. -
Another one back from the dead (1997 King Quad 300 LT-FWDX)
Hagbard replied to Hagbard's topic in Suzuki ATV Forum
“Hi Andy. Actually a good question. People mix and match engines like this with the old 200 Hondas. There is a very good chance if you work with the same model 230E and 230S they should work together. Since the E is electric start, we could take the 2 cranks and make one for you using half of one crank and half of the other. Thanks, Vince” Possible! And as predicted- I’d have to send him the cranks to make the Frankencrank. I’m (somewhat) seriously considering it lol. If I decide to pull the trigger on that 250s cam it’s pretty much a done deal. -
Another one back from the dead (1997 King Quad 300 LT-FWDX)
Hagbard replied to Hagbard's topic in Suzuki ATV Forum
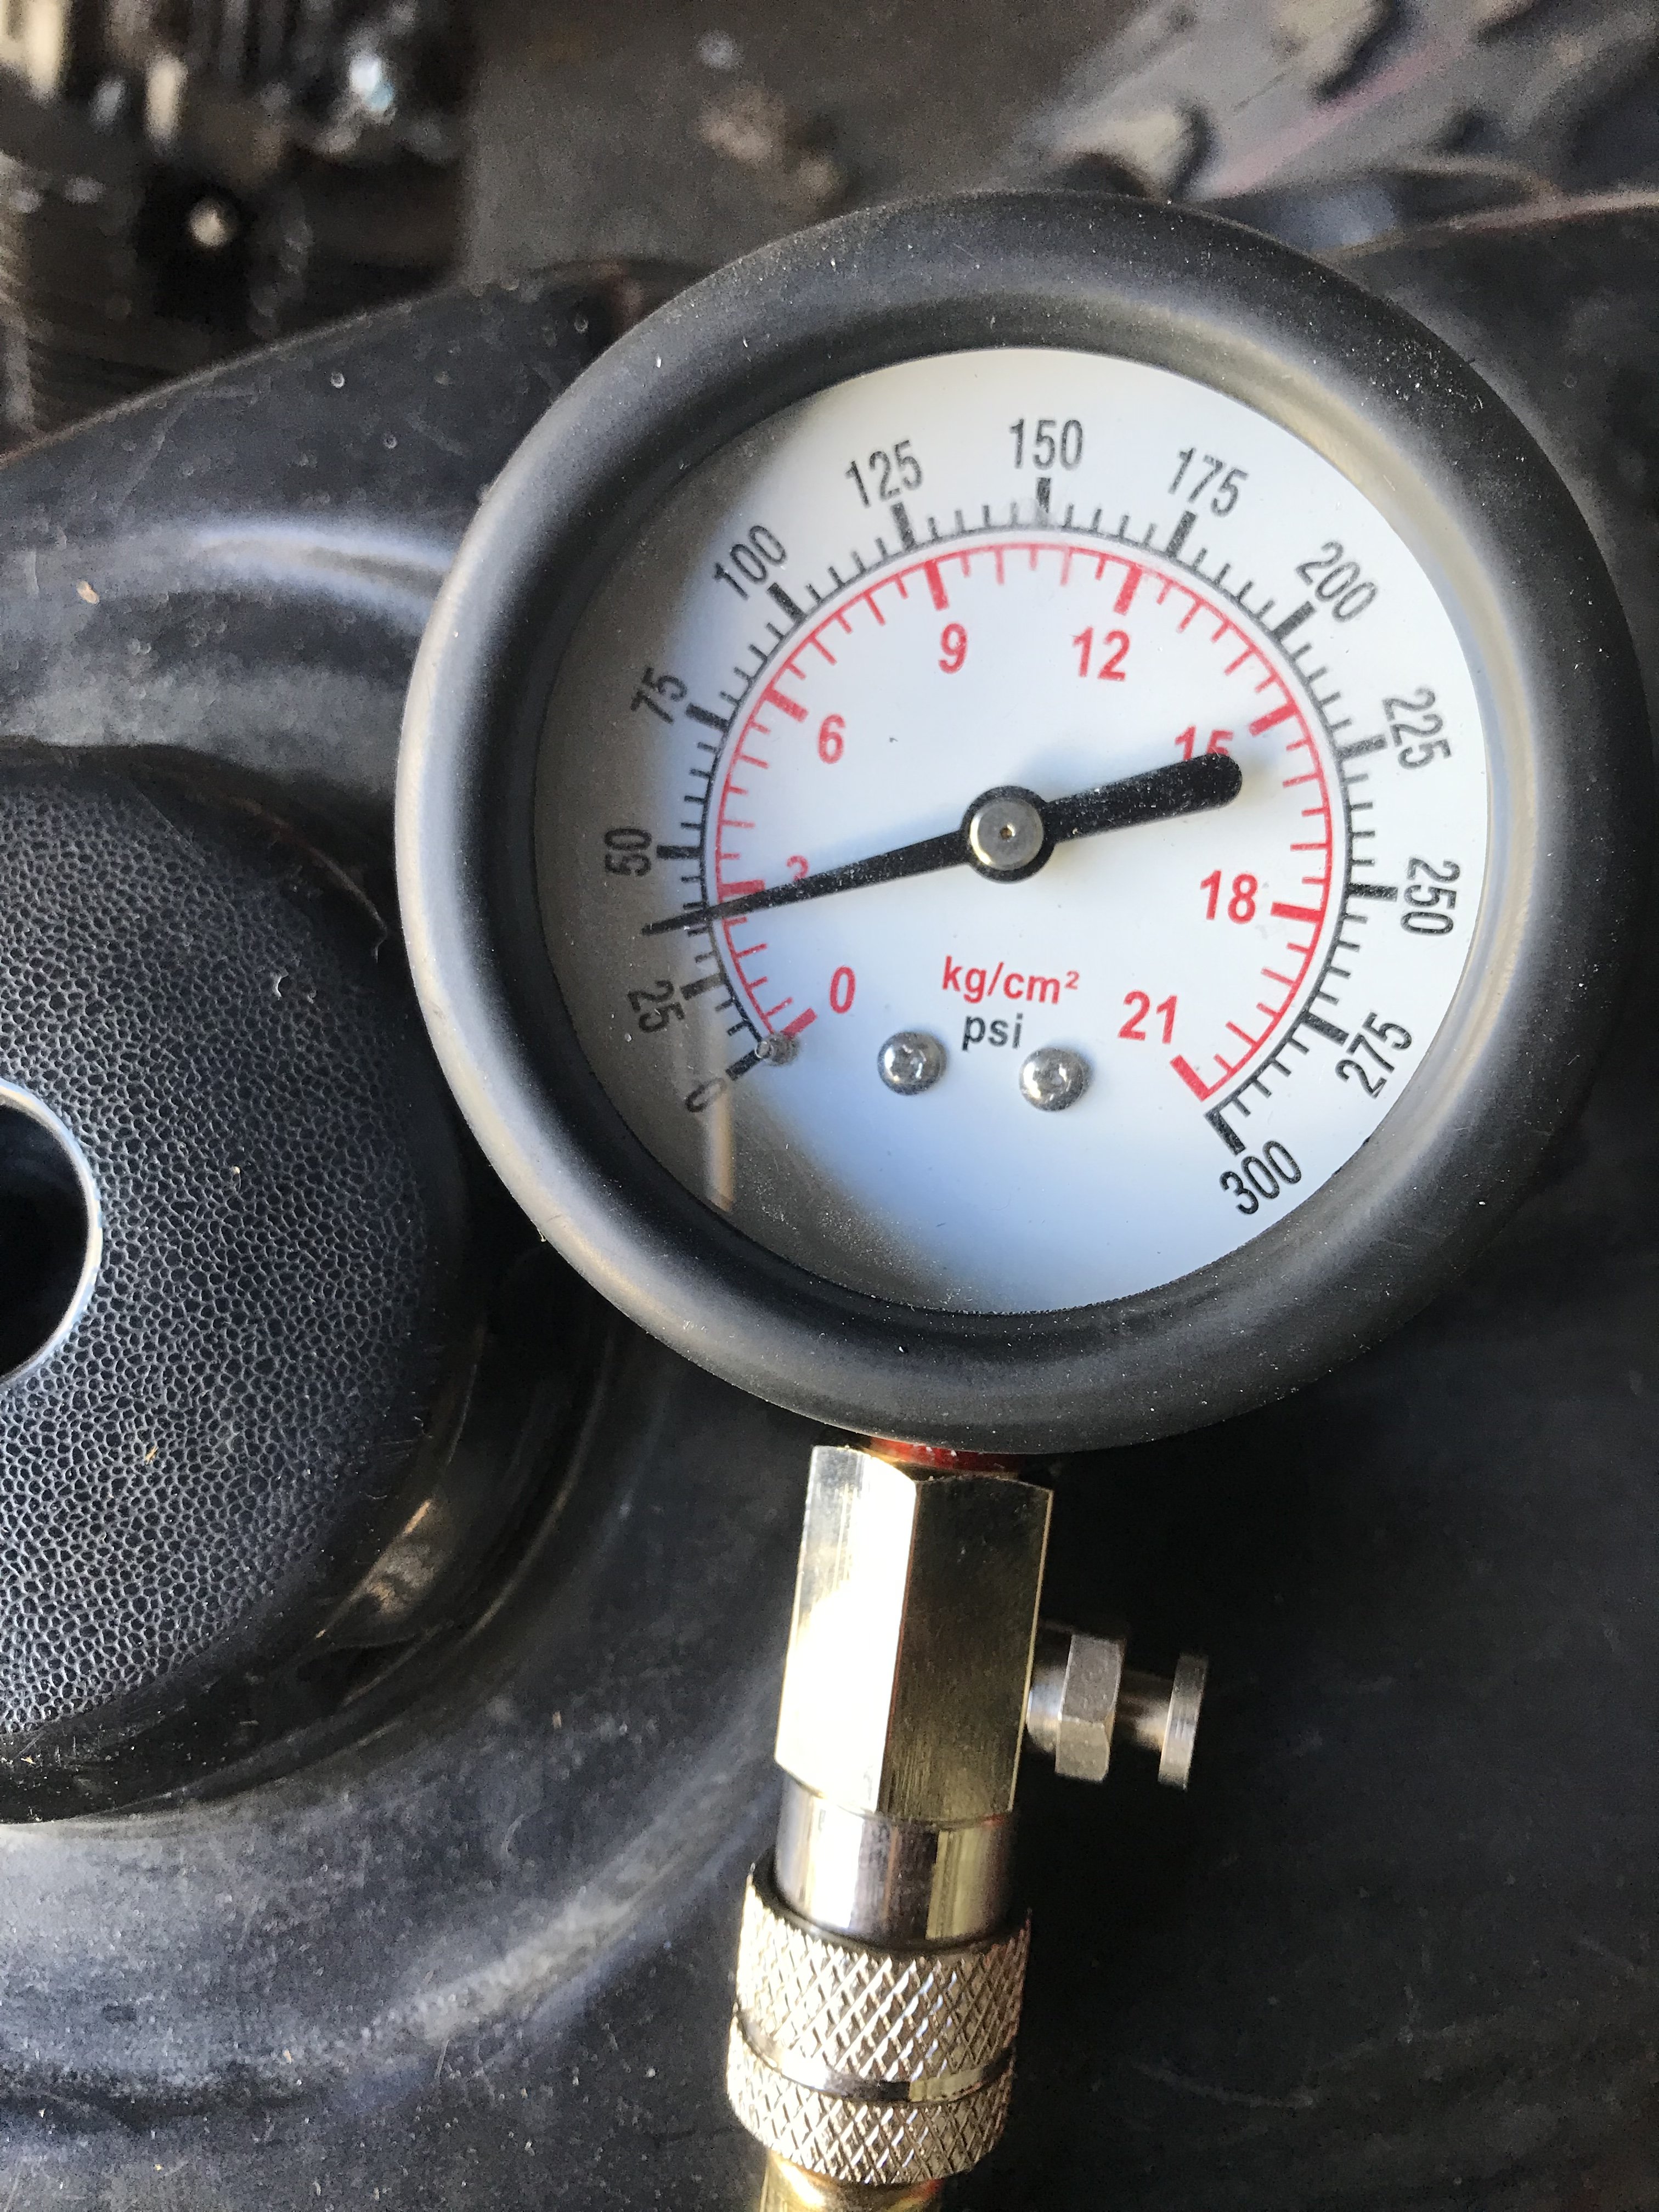
I think that low compression may be the result of both worn rings and valves. I got a couple bits and pieces of Blaster from a guy in the same town that I got the engine from, and he was all "BTW, you should stay away from this guy parting out 230's on Facebook, he sells junk" so I've got a good inclination that this thing is smoked. The reason I ask about the 230S is I just think it would be funny to have 3 starters on the same motor. I know. Dumb idea. Google "bozogoku" and use that as a frame of reference - I think you'll find I'm being entirely reasonable by comparison. Doubt I'd even do it, but curiosity has gotten the better of me, and I just really want to know if it's even theoretically possible, however ridiculous. I'll probably just end up rebuilding the top end of the 230E and use the 230S cam in it. Then I can play shadetree machinist with a file on the 230E cam. -
Another one back from the dead (1997 King Quad 300 LT-FWDX)
Hagbard replied to Hagbard's topic in Suzuki ATV Forum
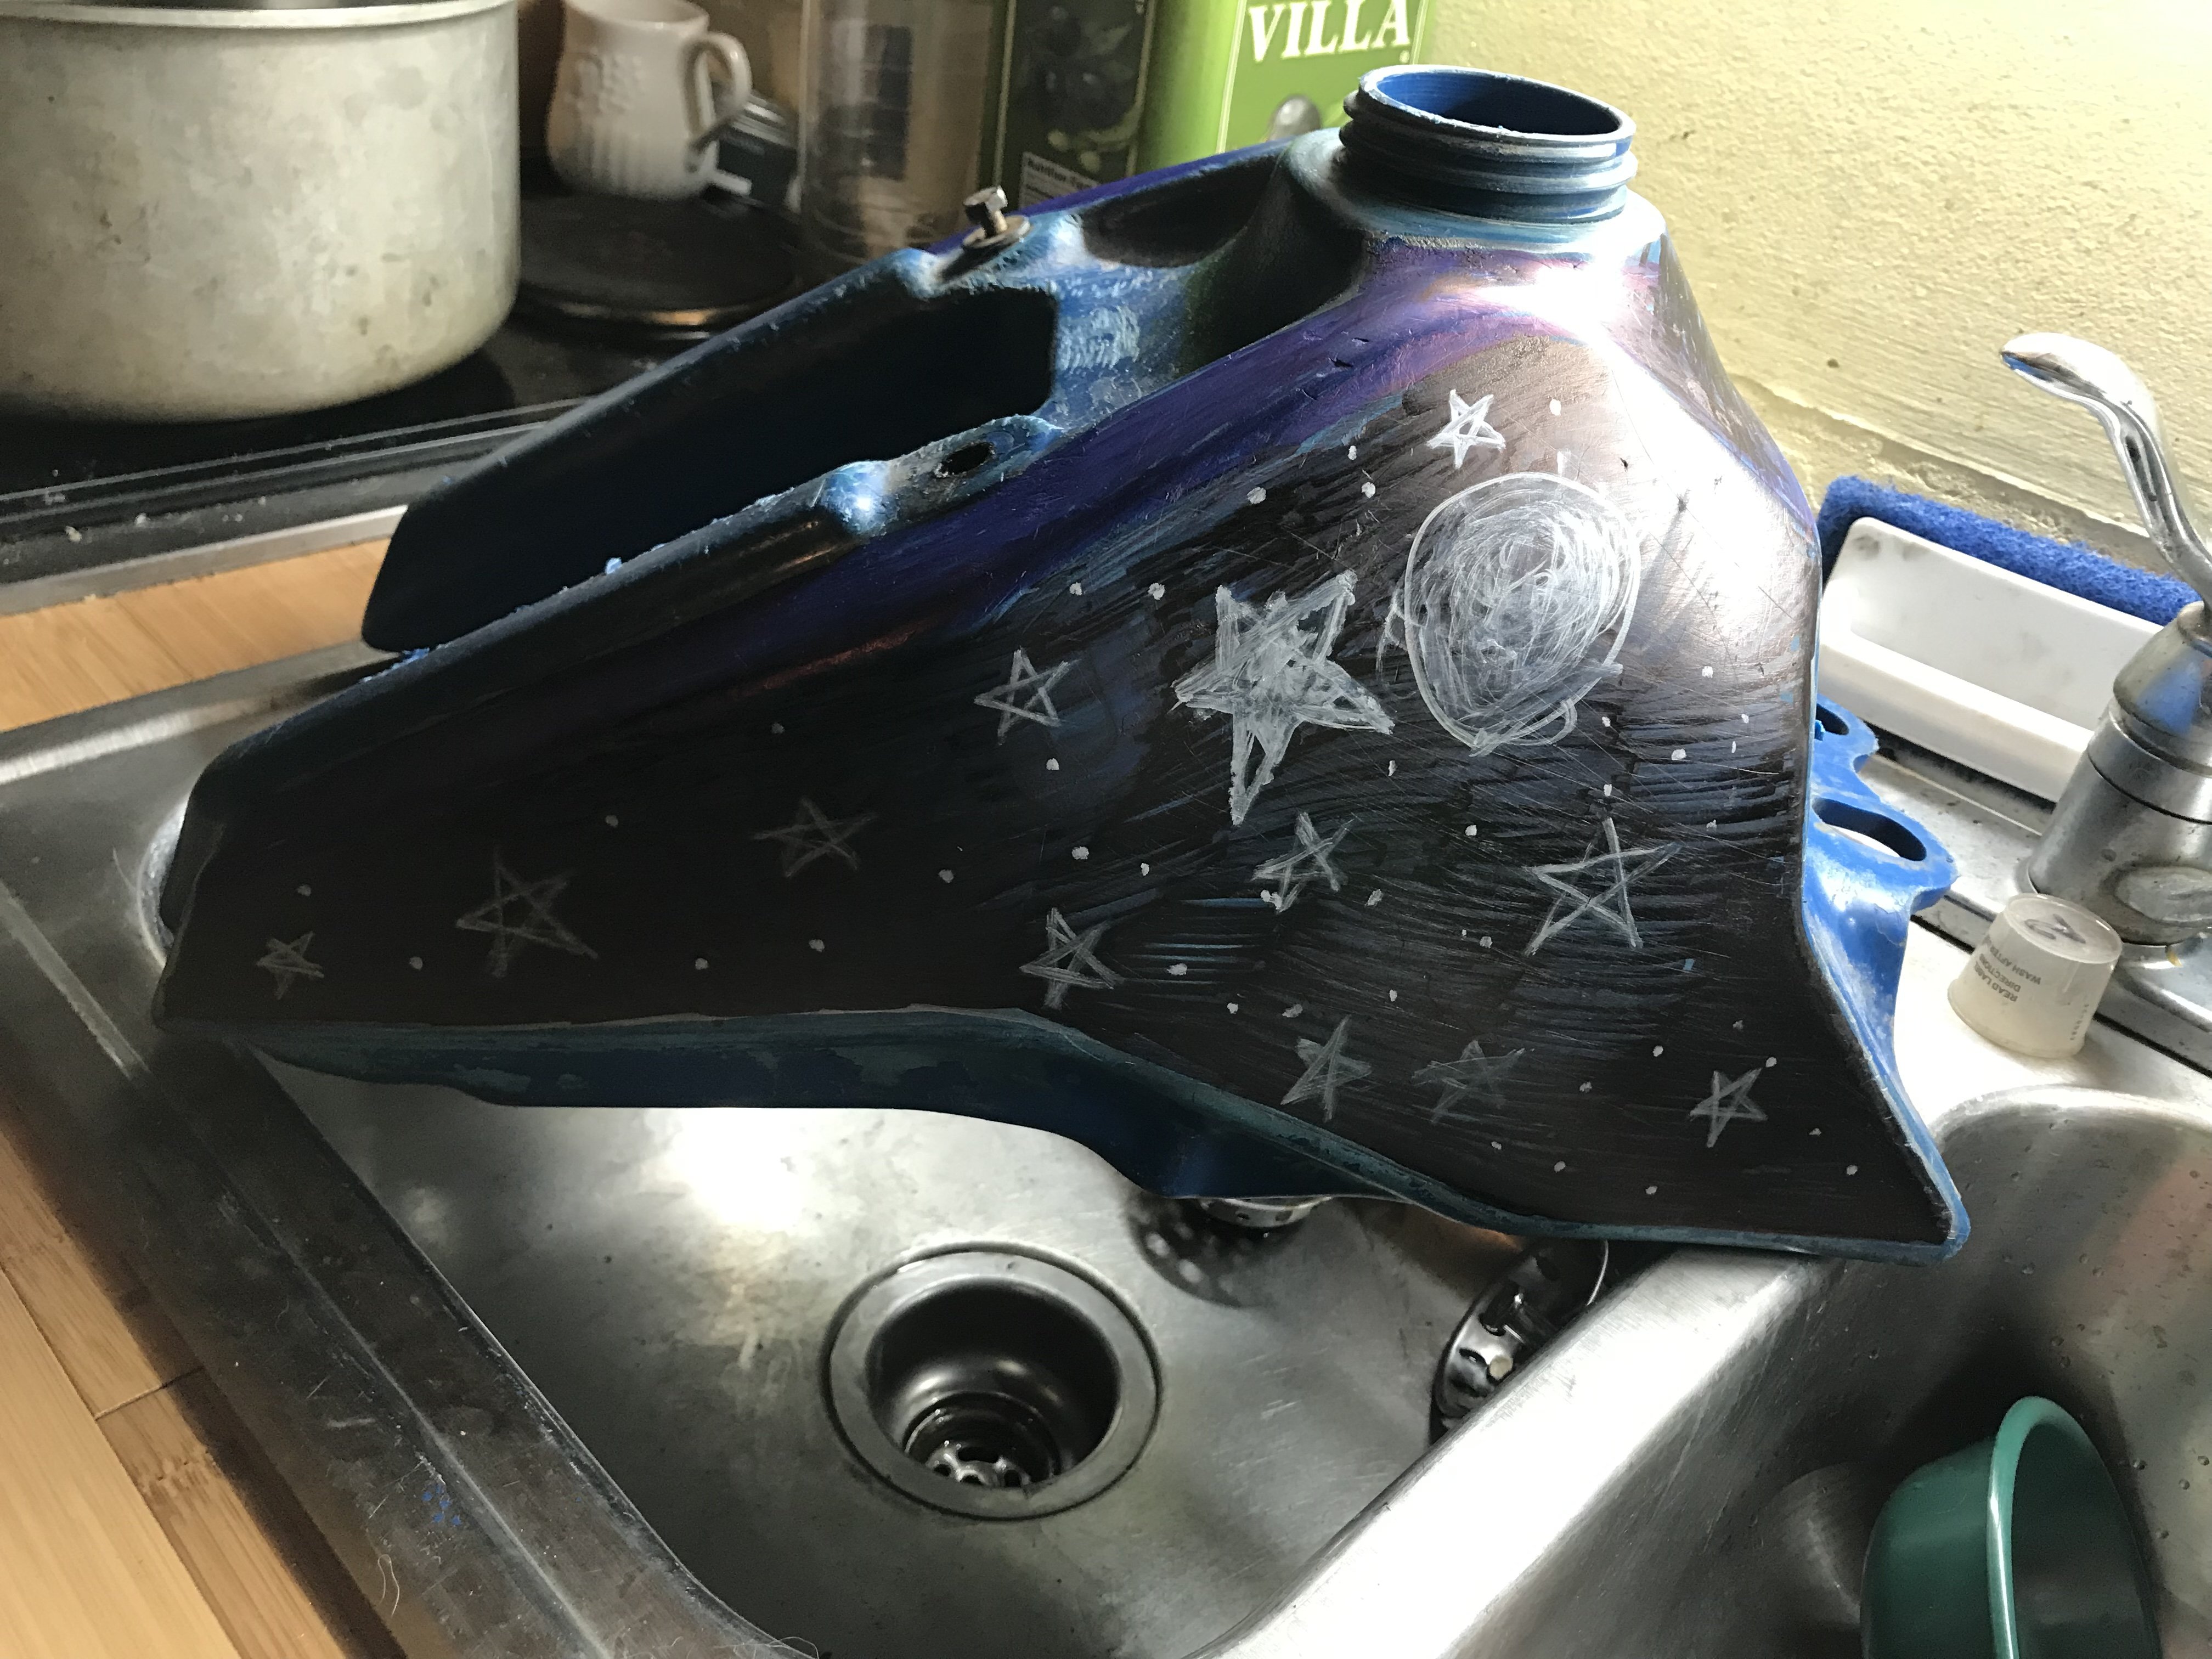
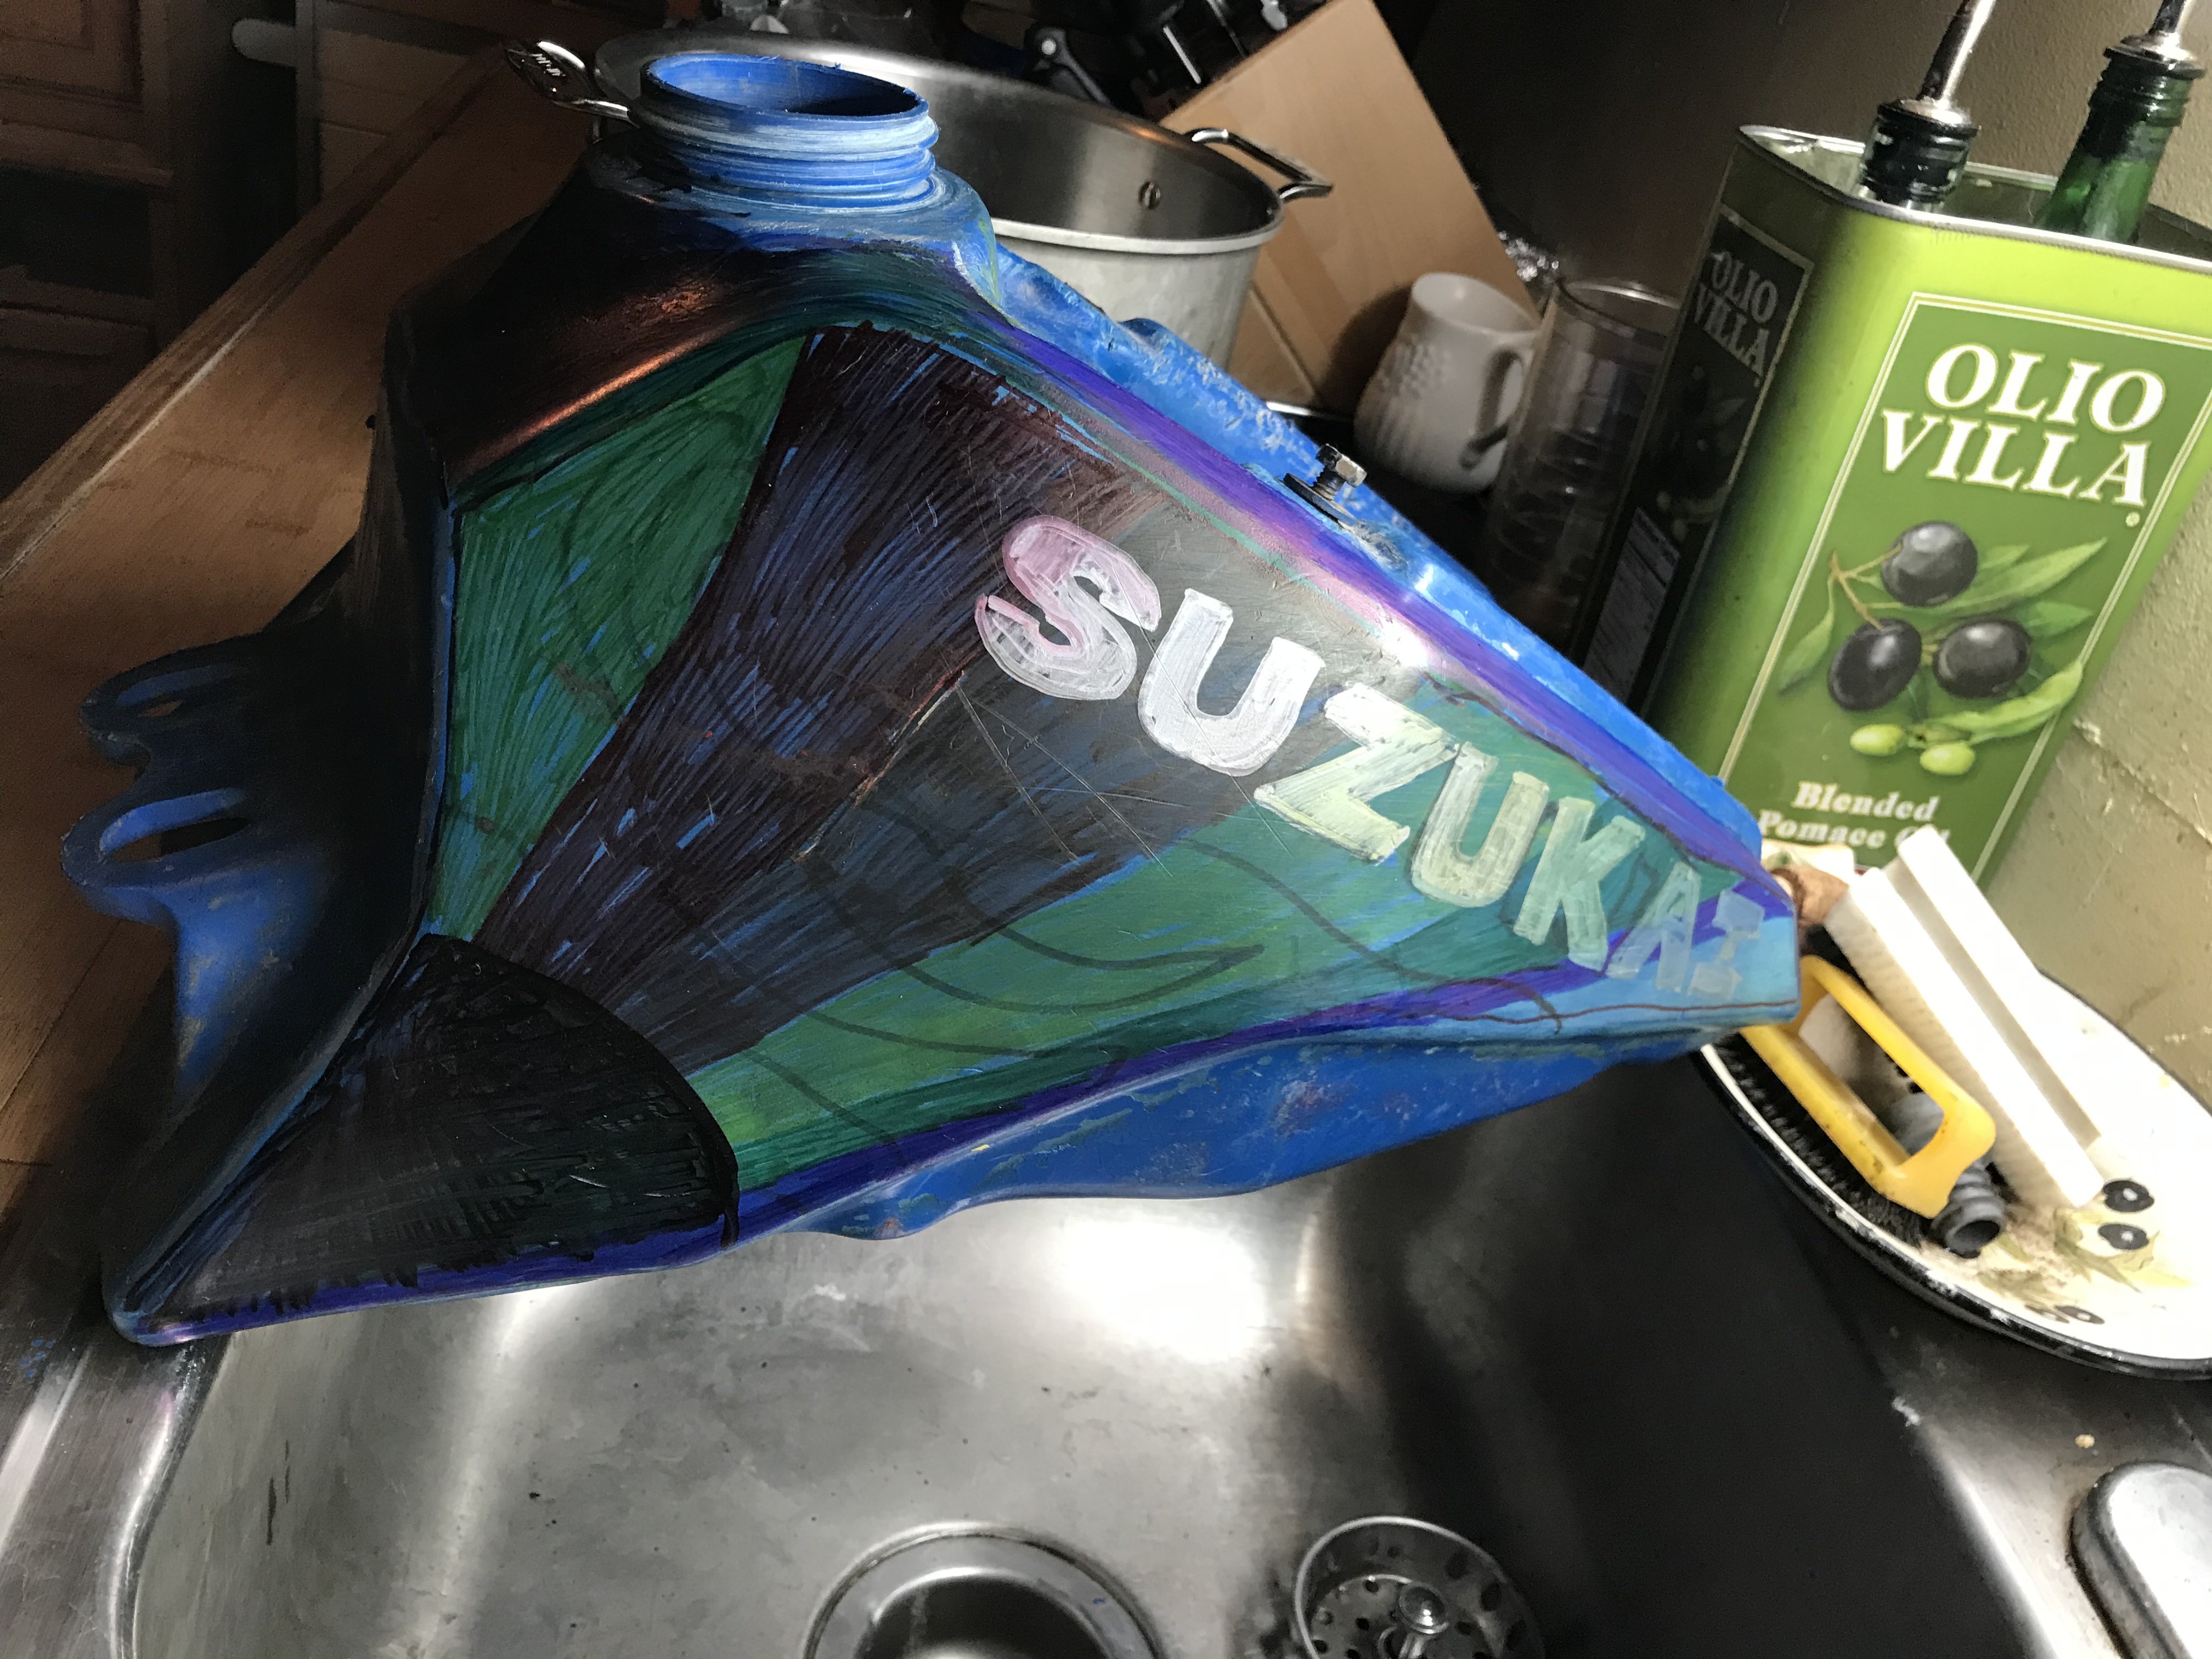
Ok, so quick actual Suzuki question you might be able to answer better than the internet at large - Is there any thing that would prevent me from marrying the right side case of a 230s to the left side of a 230E? They look incredibly similar outwardly, just not sure if there’s anything that would prevent them meeting internally. I have a 230 S motor that is essentially good for parts, as it had a catastrophic chain failure that has been JB welded, poorly. Most concerning of all is the motor mount cracked on that side of the case. Essentially it would be at 230 with a kickstart on the right and electric start and pull start on the left. But it seems like I would have seen something like this sooner if it were possible.¯\_(ツ)_/¯ The reason I ask is I finally got the compression tester and the results were less than spectacular. I have Top and components and gaskets ready to rebuild one or the other, and I figured that as long as I’m fu***** with it, I might as well go whole hog. just don’t want to get to the point where I’ve split the cases and then find out it’s a no-go. Kiddo and I decorated his shabby looking spare gas tank. He did the “night” side, I did the rising sun thing Su Zu Kai? Hai!
-
Another one back from the dead (1997 King Quad 300 LT-FWDX)
Hagbard replied to Hagbard's topic in Suzuki ATV Forum
There's a pretty robust community around them, including a FB group (https://www.facebook.com/groups/1646031288779869) with lots of tricks and tips to getting them dialed in. It's a good way to learn about how the machines work, and what features are important to you. Some people end up getting a bigger machine, and there are others like this dude Gary Knape, who is probably one of the most knowledgeable folks I know about the CLSP, who uses it for his leatherwork, but also owns 2 or 3 regular industrial machines as well. I think he does it just to show people that it's entirely possible despite all their troubles with the thing LMAO. If that's the route you take, there's an outfit called Bantam Saddle and Tack who sell the CLSP machines pre-setup, costs a bit more than buying one straight from eBay, but they do a lot of the finishing. There's also a new upgraded version of the patcher being sold as a "8 Bearing" model, which I hear is a vast improvement. You can find video of little old ladies making shoes on them, sitting on a street corner in China somewhere. They're hand cranked, but with a bit of ingenuity you can easily motorize them with an Enduro servo motor for about $40. Making a table or stand for the machine is another popular project because it comes with three janky tripod legs that really don't work that well. The single biggest issue with them appears to be thread tension, and learning how to adjust the machine to accommodate different thicknesses. I lurk in the group and occasionally offer general sewing advice, but I literally never set up my patcher. Had my ex-FIL machine a belt groove in the pulley and the thing just sits in it's original box on a shelf in my shop. Think I have an extra motor too... Wanna trade it for a valve job or two? LOL