PolarisRich
-
Posts
211 -
Joined
-
Last visited
Content Type
Profiles
Forum
Gallery
ATV Magazine
Events Calendar
Downloads
Store
Community Map
Everything posted by PolarisRich
-
Hey Keywil From one Canuck to another, Welcome to the site Eh! First rounds on me!
-
Thanks guy's I appreciate everything!
-

Flipping Tie Rod End's. (Polaris Sportsman)
PolarisRich replied to PolarisRich's topic in Polaris ATV Forum
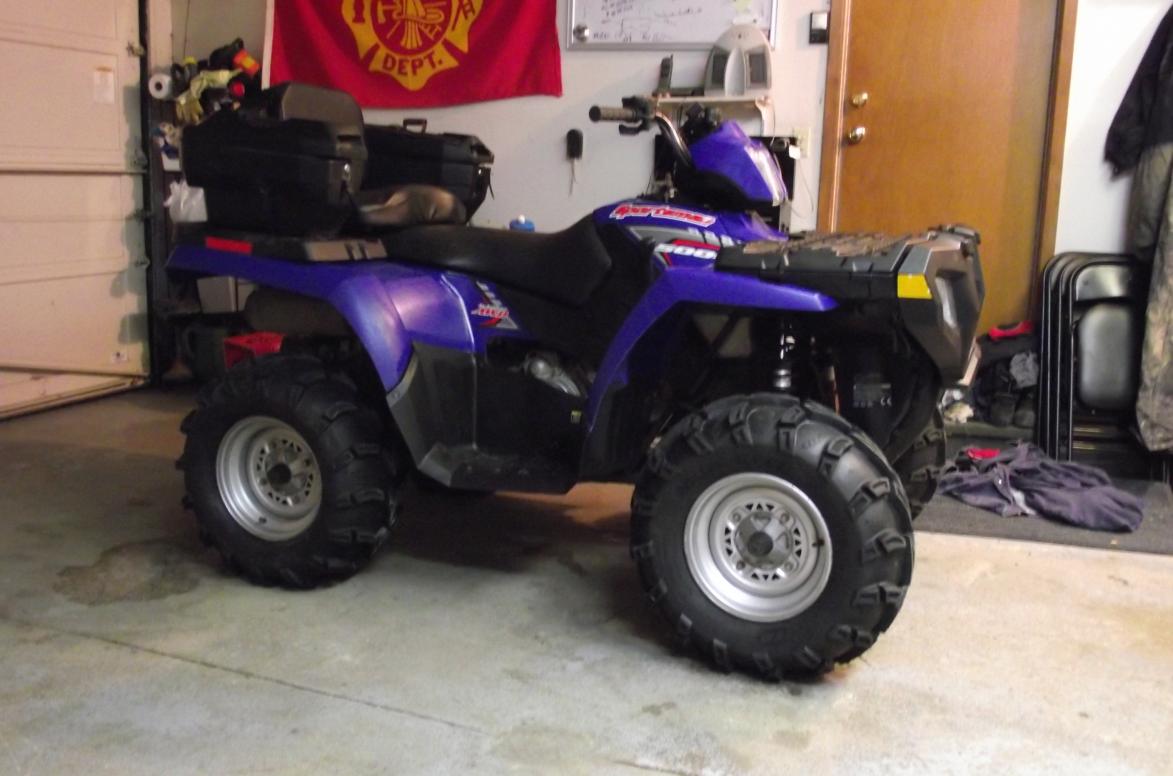
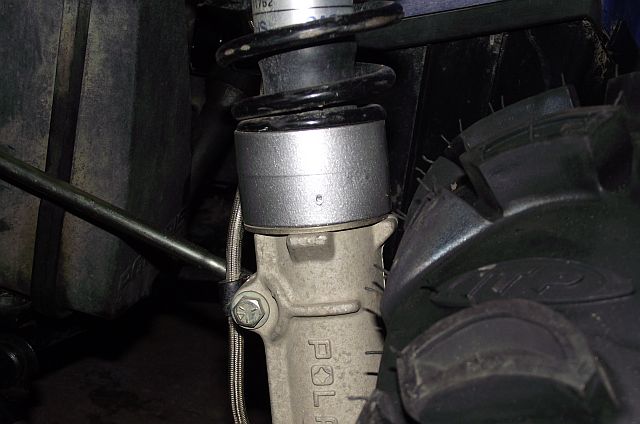
Thanks DirtDemon, That last picture is a little deceiving. I have the tire on a slight angle outwords so I could fit my camera between the tire and wheel well. This makes the tie rod end alot closer to the strut than it would be on normal riding. Plus the ATV is on jack stands. I also have spring spacers in to preload the front springs so in the last picture in question the strut is at it's lowest point of travel and cannot travel any further to bind up the tie rod end. If you look even closer at that picture you will notice that I even used a file to smooth out the edge of the knuckle so the rubber on the ball joint would not bind. You are right the ball joint is sitting close to but not completely at the end of its movement. Now not by all means am I saying that this is the best way to make room to put larger tires on your machines, but this is a very common mod for Sportsmans that riders have been using for years without problems. If I had the money my choices would be in this order.. 1) Offset Rims 2) Wheel Spacers 3) Stud spacers 4) Flipping the tie rod end. 5) Stick with stock sizes. I thought I would make this tutorial just to give some other riders a visual and or options to a very common problem. Here's a picture of the machine sitting on the ground at ride height with the spring spacer. -
Flipping Tie Rod End's. (Polaris Sportsman) So I broke down today and bought a new set of tires for my ATV and when I put them on my bike the front tie rod ends were rubbing. So I decided to post a "How-to" with a few pictures on " Flipping Tie Rod Ends". My machine is a 2005 Polaris Sportsman 500 H.O. and I put ITP Mud Lites XL's 26x9.00-12 on the stock rims. Here's a few pictures of how tight the tie rod ends were rubbing... First thing I did was to remove the front tire to gain access to the tie rod. I removed the cotter pin and unbolted the tie rod and pulled the bolt out of the steering knuckle. I then placed the bolt back into the steering nuckle and lowered the tie rod end to the underneath side of the steering knuckle and placed it back onto the bolt using a washer on each side of the tie rod end. Bolt the entire thing back together and finnish it all off with replacing the cotter pin. Now you can see how much clearance this gave me! I hope this post helps if your going to flip your Tie Rod Ends! Thanks PolarisRich
-
Thanks Ajmboy I added pictures to my original post. I hope it makes this tutorial a little easier to understand.
-
[ATTACH]605[/ATTACH] So I broke down and bought some tires today. I picked up ITP Mud Lites XL's 26x9-12 for the front and 26x12x12 for the rear. I mounted them on the stock rims and there was a bit of a clearance issue on the front with the tie rod ends. They rubbed so I flipped the tie rods to the bottom and everything seems to be perfect now. I also did a wheel alignment after I flipped them. Kind of strange was when I did the alignment and I did my first measurement before I flipped the tie rods the toe was way off. I had probably 1/2 toe in instead of 1/8 toe out. After I flipped the tie rods and the toe was almost perfect with 1/8 toe out with no adjustments. The only thing that I can think of is that the guy that owned it before me had fliped the tie rods and traded it in on a new machine at the stealership. The stealership changed the tie rod ends and put new ones on for me and put them back on top without doing an alignment. Now all is well and I cant wait untill I can get out and ride next week. P.S. I also put in the PVC spring spacers tonight to help with the sag in the front end. Has anyone used these before and how does it change the ride? [ATTACH]606[/ATTACH]

-
I thought I would make a quick "How-to" on setting wheel alignment since I was flipping my tie rod ends and I was going to have to re-align the wheels anyways. Here's some of the tools you will need... 1.) Start with the ATV on a smooth and level surface, like a cement garage floor or driveway. 2.)Center up (Eyeball It) the handle bars and lock them into place with 2 ratchet straps, one on each side of handle bars. This of course prevents them from moving when your adjusting the tie-rods. 3.) Place two Jack Stands approximately 2 feet in front of the atv even with the outside edge of the two front wheels. 4.) Wrap a length of string all the way around the ATV and Jack Stands, Start and end at the rear hitch. Make sure the string is the same height from the ground on all 4 wheels. I like to attach a few elastic bands to both ends of the string before attaching the string to the hitch. This makes it easier to adjust the strings when moving the Jack Stands. 4.) Break lose the inner and outer tie-rod nuts. NOTE! Make sure you use 2 wrenches, one on the nut and one on the ball joint. Damage can occur by only using one wrench. 5.) Adjust the string by moving the Jack Stands in or out untill the string just touches both of the side surfaces of the rear tires on each side of the ATV. This will take some time to get it right but it needs to be done! Check manufacturers wheel alignment specifications on your specific make and model before you adjust any components. For this wheel alignment I'm using the Polaris Specs which seems to be a common setting. Polaris - The recommended toe alignment is 1/8″ to 1/4″ toe out. This is a total amount, not per wheel. 6.) On the front rim, measure the distance from the string to the rim at the front and rear edges of the rim. The rear measurement should be 1/16″ - 1/8″ (.2 to .3 cm) more than the front measurement. 7.) If an adjustment is necessary, Turn the tie rod itself with a wrench or your hand in small increments. It doesn't take much to move the tire a long way, so go slow. Keep re-checking your measurement's until you have a 1/16″ - 1/8″ differance to the string. 6.) Once your satisfied that you have the correct "Toe Out" measurements you can tighten up the inner and outter tie-rod nuts on both sides. AGAIN...make sure to use 2 wrenches. 7.) Now take your ATV for a test drive to test your adjustments. If it still pulls one way or the other, just repeat the above steps to tweek the adjustments again utill your happy. The whole process only takes about 15-20 min.
-
I think so too. Thanks
-
Ive been searching the net trying to find info on tire sizing and I think I know what I'm doing now. But it's nice to hear from some who has been through buying new tires for stock rims. What my question is.. Will Mud Lite XL 26x9x12 and 26x12x12 fit my stock rims and will there be any clearance problems. My machine is a 2005 SP 500 HO with stock 26" tires. The stock rim widths are 6" Front and 8" Rear. Now this is one of the statements I found on the net and I just wanted to know what everyone thinks about it? "When buying tires for existing rims, never buy tires more than six inches wider than your rims. A minimum also applies where you should never buy tires less than three inches wider than your rims. The difference between tire width and rim width is needed to insure the tire bead is seated on the rim with the low tire pressure that ATV tires operate at."
-
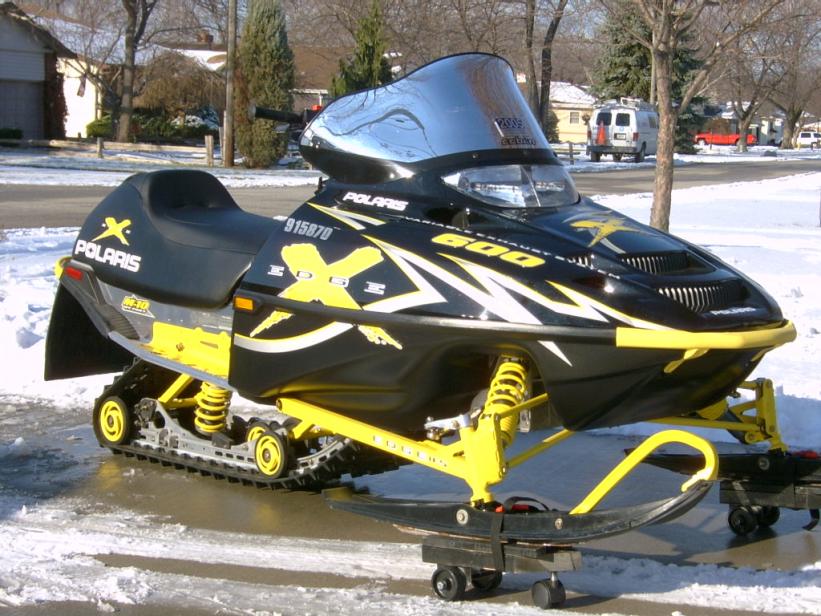
Yep it sure was a great sled and I regret selling it but there was no use it sitting in the garage for 10 months not getting used. I've gotten more use out of the ATV in the last few months than I gotten out of the sled in 2 years. [ATTACH]572[/ATTACH]
-
Thanks Lawny, but I'm looking to go much bigger than what I had before. Maybe a 800 this time. Belle River is in Ontario about 25 min from Detroit. A little bit of a drive to your place in Alberta. Thanks anyways.
-
I wish I still had my sled, I just sold it to buy a ATV. I`m starting to get the itch to look for another machine.
-
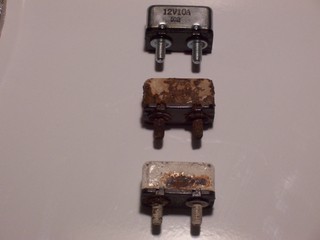
They could be under the hood too. Sometimes the protective wrapping gets water inside and corrodes the hell out of them. I belive there are three of them, 2 run the electrical system and the third one works the 12 acc plug. They look like this... [ATTACH]571[/ATTACH] 20 amp breaker goes to the ignition switch and the other 20 amp breaker to the fan switch.
-
I'm not exactly sure but I belive that I read somewhere that the EFI models have a circuit breaker under the seat somewhere. I think it`s also wraped up in rubber or plastic.
-
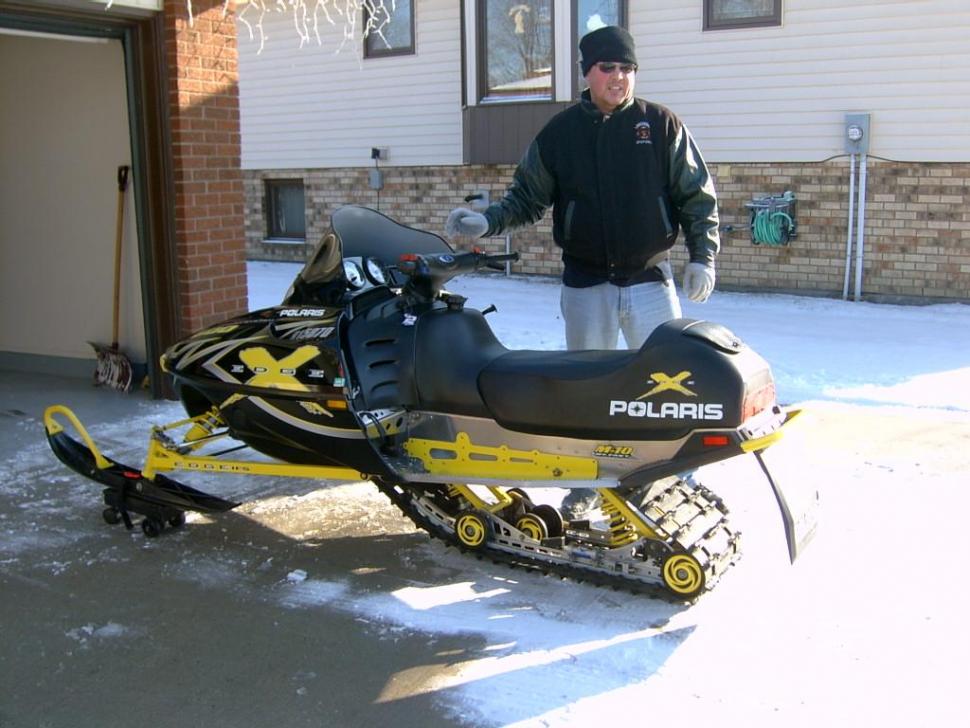
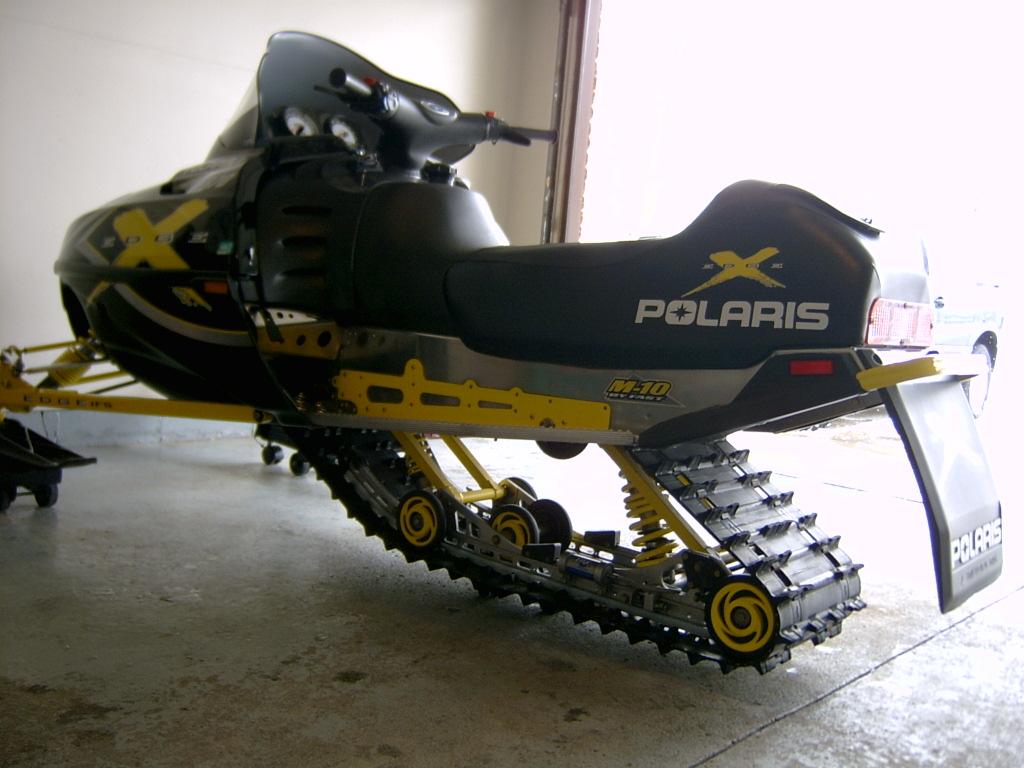
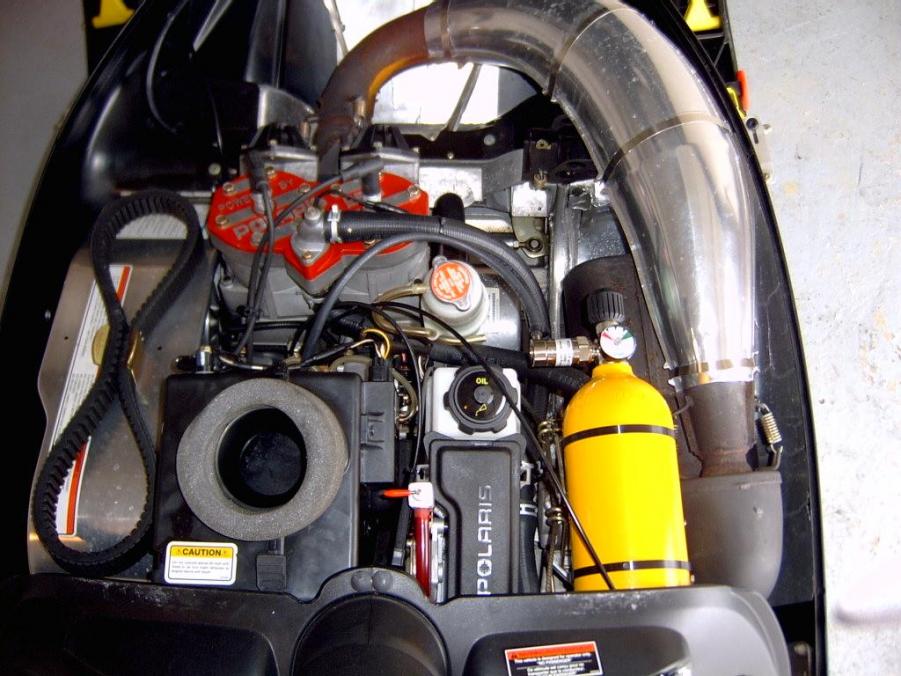
I'm an Edge X guy! [ATTACH]568[/ATTACH] [ATTACH]569[/ATTACH] [ATTACH]570[/ATTACH]
-
Thanks Guys A Polaris guy and a Canadian all in one! WOOO HOOO!!! Lets go riding, Grip-n-Rip!
-
Hey guys. I just joined the site and I thought that I mite as well say hi to everyone. I was a diehard snowmobile guy untill the last few years when we've got jack for snowfall, so now it's time to try this whole ATV thing. I have a 2005 Polaris Sportsman 500 H.O. I've had it now for a few months and I really like the bike but i'm starting to think it's time to upgrade tires and lift it! So you may see some threads in the future on these topics. Thanks guys and the first rounds on me. :cheers2c: