Gwbarm
-
Posts
3,177 -
Joined
-
Last visited
-
Days Won
185
Content Type
Profiles
Forum
Gallery
ATV Magazine
Events Calendar
Downloads
Store
Community Map
Everything posted by Gwbarm
-
1998 Polaris Magnum 425 starts but dies right away.
Gwbarm replied to BillR94's topic in Polaris ATV Forum
If you have spark i dont think the switch is the problem, if the switch is the one i think it is it bypasses the neutral light circuit to allow you to crank it in gear, if its on the left hand brake lever. If its unplugged it just wouldnt allow you to start it in gear. Im also thinking compression or fuel, 65 is too low for an engine to run i know it has a decompression valve but is it working properly it should only come in play during startup , if the fuel bowl is full it should run for a bit longer, so that only leaves compression and timing and you have checked timing, leaving only compression, i would check that again and put some oil in the cylinder and see if it increases. If no luck find the decompression valve and see if it is keeping something open, not sure where it is on this ATV. -
1998 Polaris Magnum 425 starts but dies right away.
Gwbarm replied to BillR94's topic in Polaris ATV Forum
It may not be the switch at all you can check the continuity with and without the cable pulled and see if it does anything, it appears that when you pull the cable it makes contact with the switch. The contact points look clean but you can try contact cleaner to clean off any corrosion that might be there causing intermittant contact maybr even use a little fine sandpaper or points file. -
1998 Polaris Magnum 425 starts but dies right away.
Gwbarm replied to BillR94's topic in Polaris ATV Forum
I was under the impression that this switch was keeping it from sparking, cant really tell where the switch is located from the photo. Looking a little closer at the photo i see a cable so it must make connection when the cable is pulled, maybe a start in gear switch. Unplugging it may not work, it may need to make connection to complete the circuit. -
1998 Polaris Magnum 425 starts but dies right away.
Gwbarm replied to BillR94's topic in Polaris ATV Forum
It doesnt appear that there is, you can cut the wires and wire it directly to bypass the switch. -
Utility guys auto or 5 speed?
Gwbarm replied to BuckBilly's topic in This vs. That ATV & Off Road Comparisons
We have definately turned into an automatic world, most kids coming up now do not even know how to operate a clutch and shifter. I prefer the 5 speed but i really like them both for different applications. I like the 5 speed because i can choose to shift if i want to like going up a hill you can decide do i really want to shift or wait untill im over the hill. The automatics are great for unexpierienced riders just get on and give it gas and go, not much else to think about except not falling off the machine. I also like winding out the gears a bit on the 5 speed to feel the awesome power of these machines. Automatics can be less troublesome no shift linkages to wear and trouble getting in and out of gear as the tranny ages, just replace the belt and you are good. The honda automatics are the best of both worlds. You can shift or let it shift and they are great, but very expensive to repair if problems arise. -
1998 Polaris Magnum 425 starts but dies right away.
Gwbarm replied to BillR94's topic in Polaris ATV Forum
Just watching your video my first impression would also be fuel delivery, but if you carb bowl is full and you cant get it to stay running squirting gas in the carb thats not it unless you have a massive air leak leaning out the mixture.. Spark is good you can hook up an inline spark tester to see if the plug is firing under pressure. The only other thing if you have good consistent spark is timing and compression. Also something could be interrupting spark but you should see that with the inline spark tester. -
The model years do overlap but just barely the KLF was produced from 93-99 and the KVF from 97-02 i cant imagine them having 2 different 400 engines if the 93 is a 400 but i dont know for sure if it will fit. If its local i would look at the frame very closely take photos and compare engine mounting points and drivshaft hookups for any differences and discrepancy.
-
Hate too hear that, something went wrong, probably valve issue.
-
I would try to look for one like it, with a bad engine, or one that says ran fine when parked. You can usually get those cheaper than a frame. Marketplace would be a good place to look, you may have to travel to go get it. Or if there is a ATV salvage yard around look there, also around here dealer have multitudes of unfixable ATVs behind the shop may look there.
-
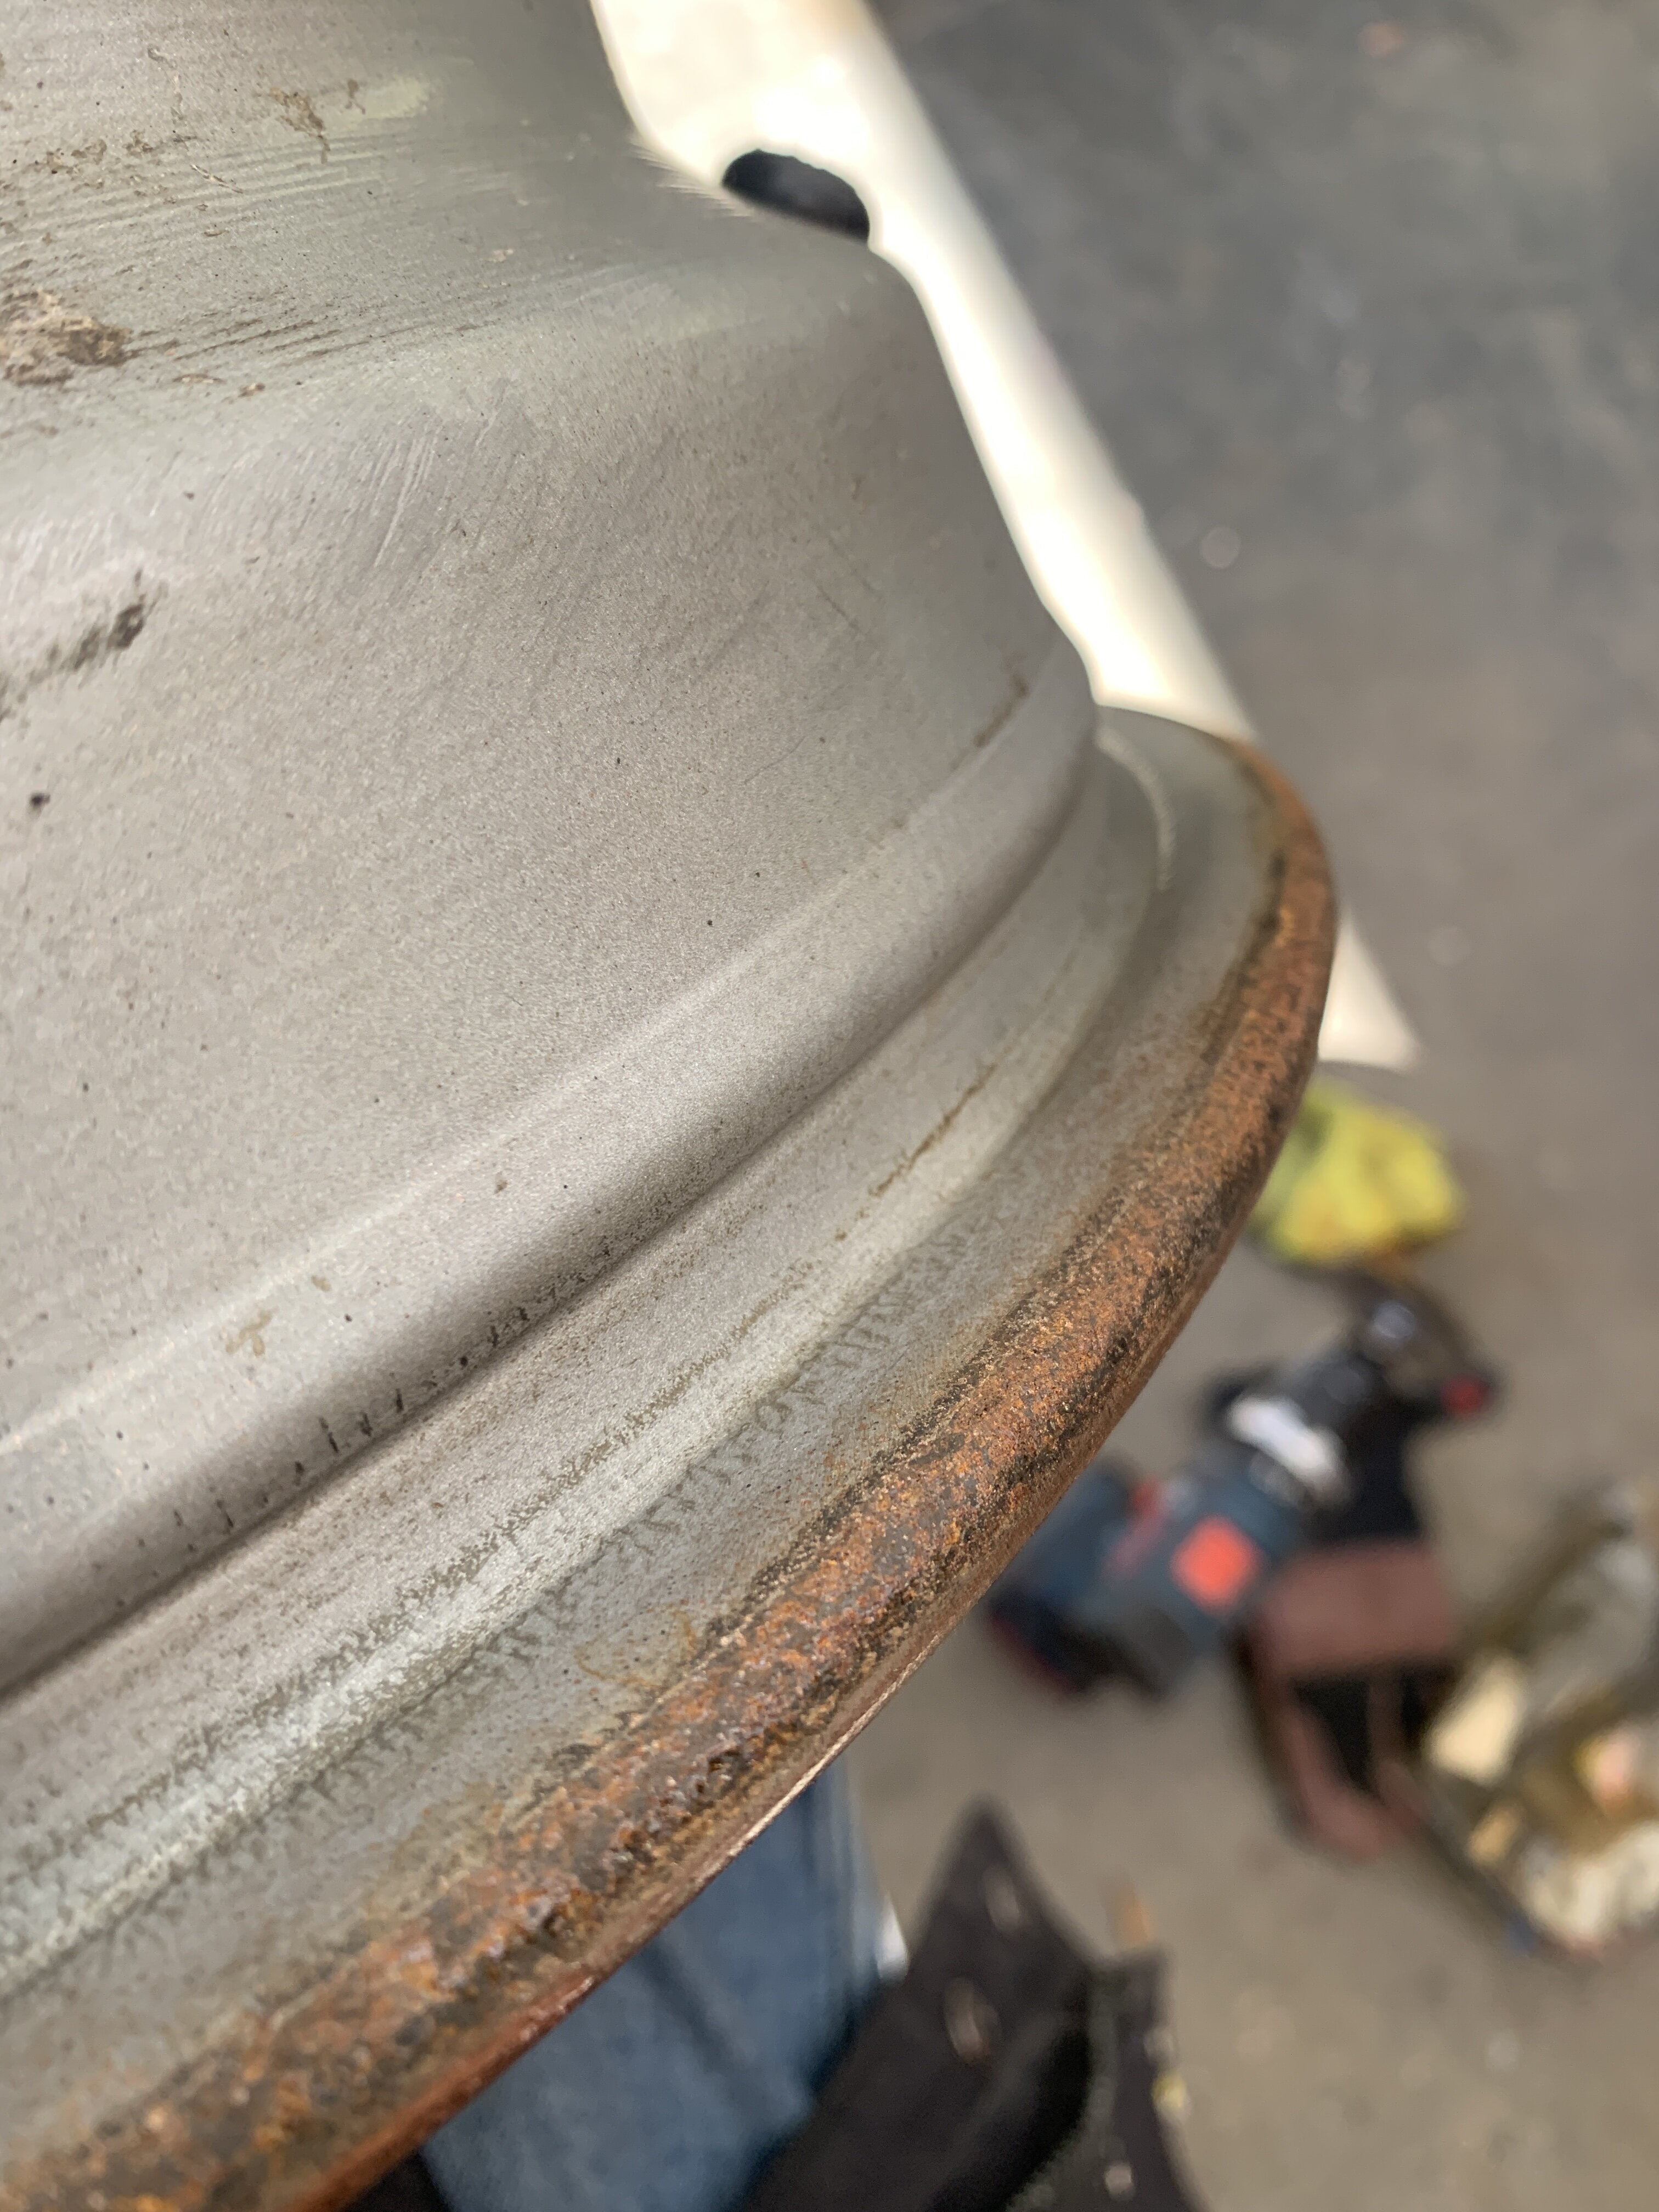
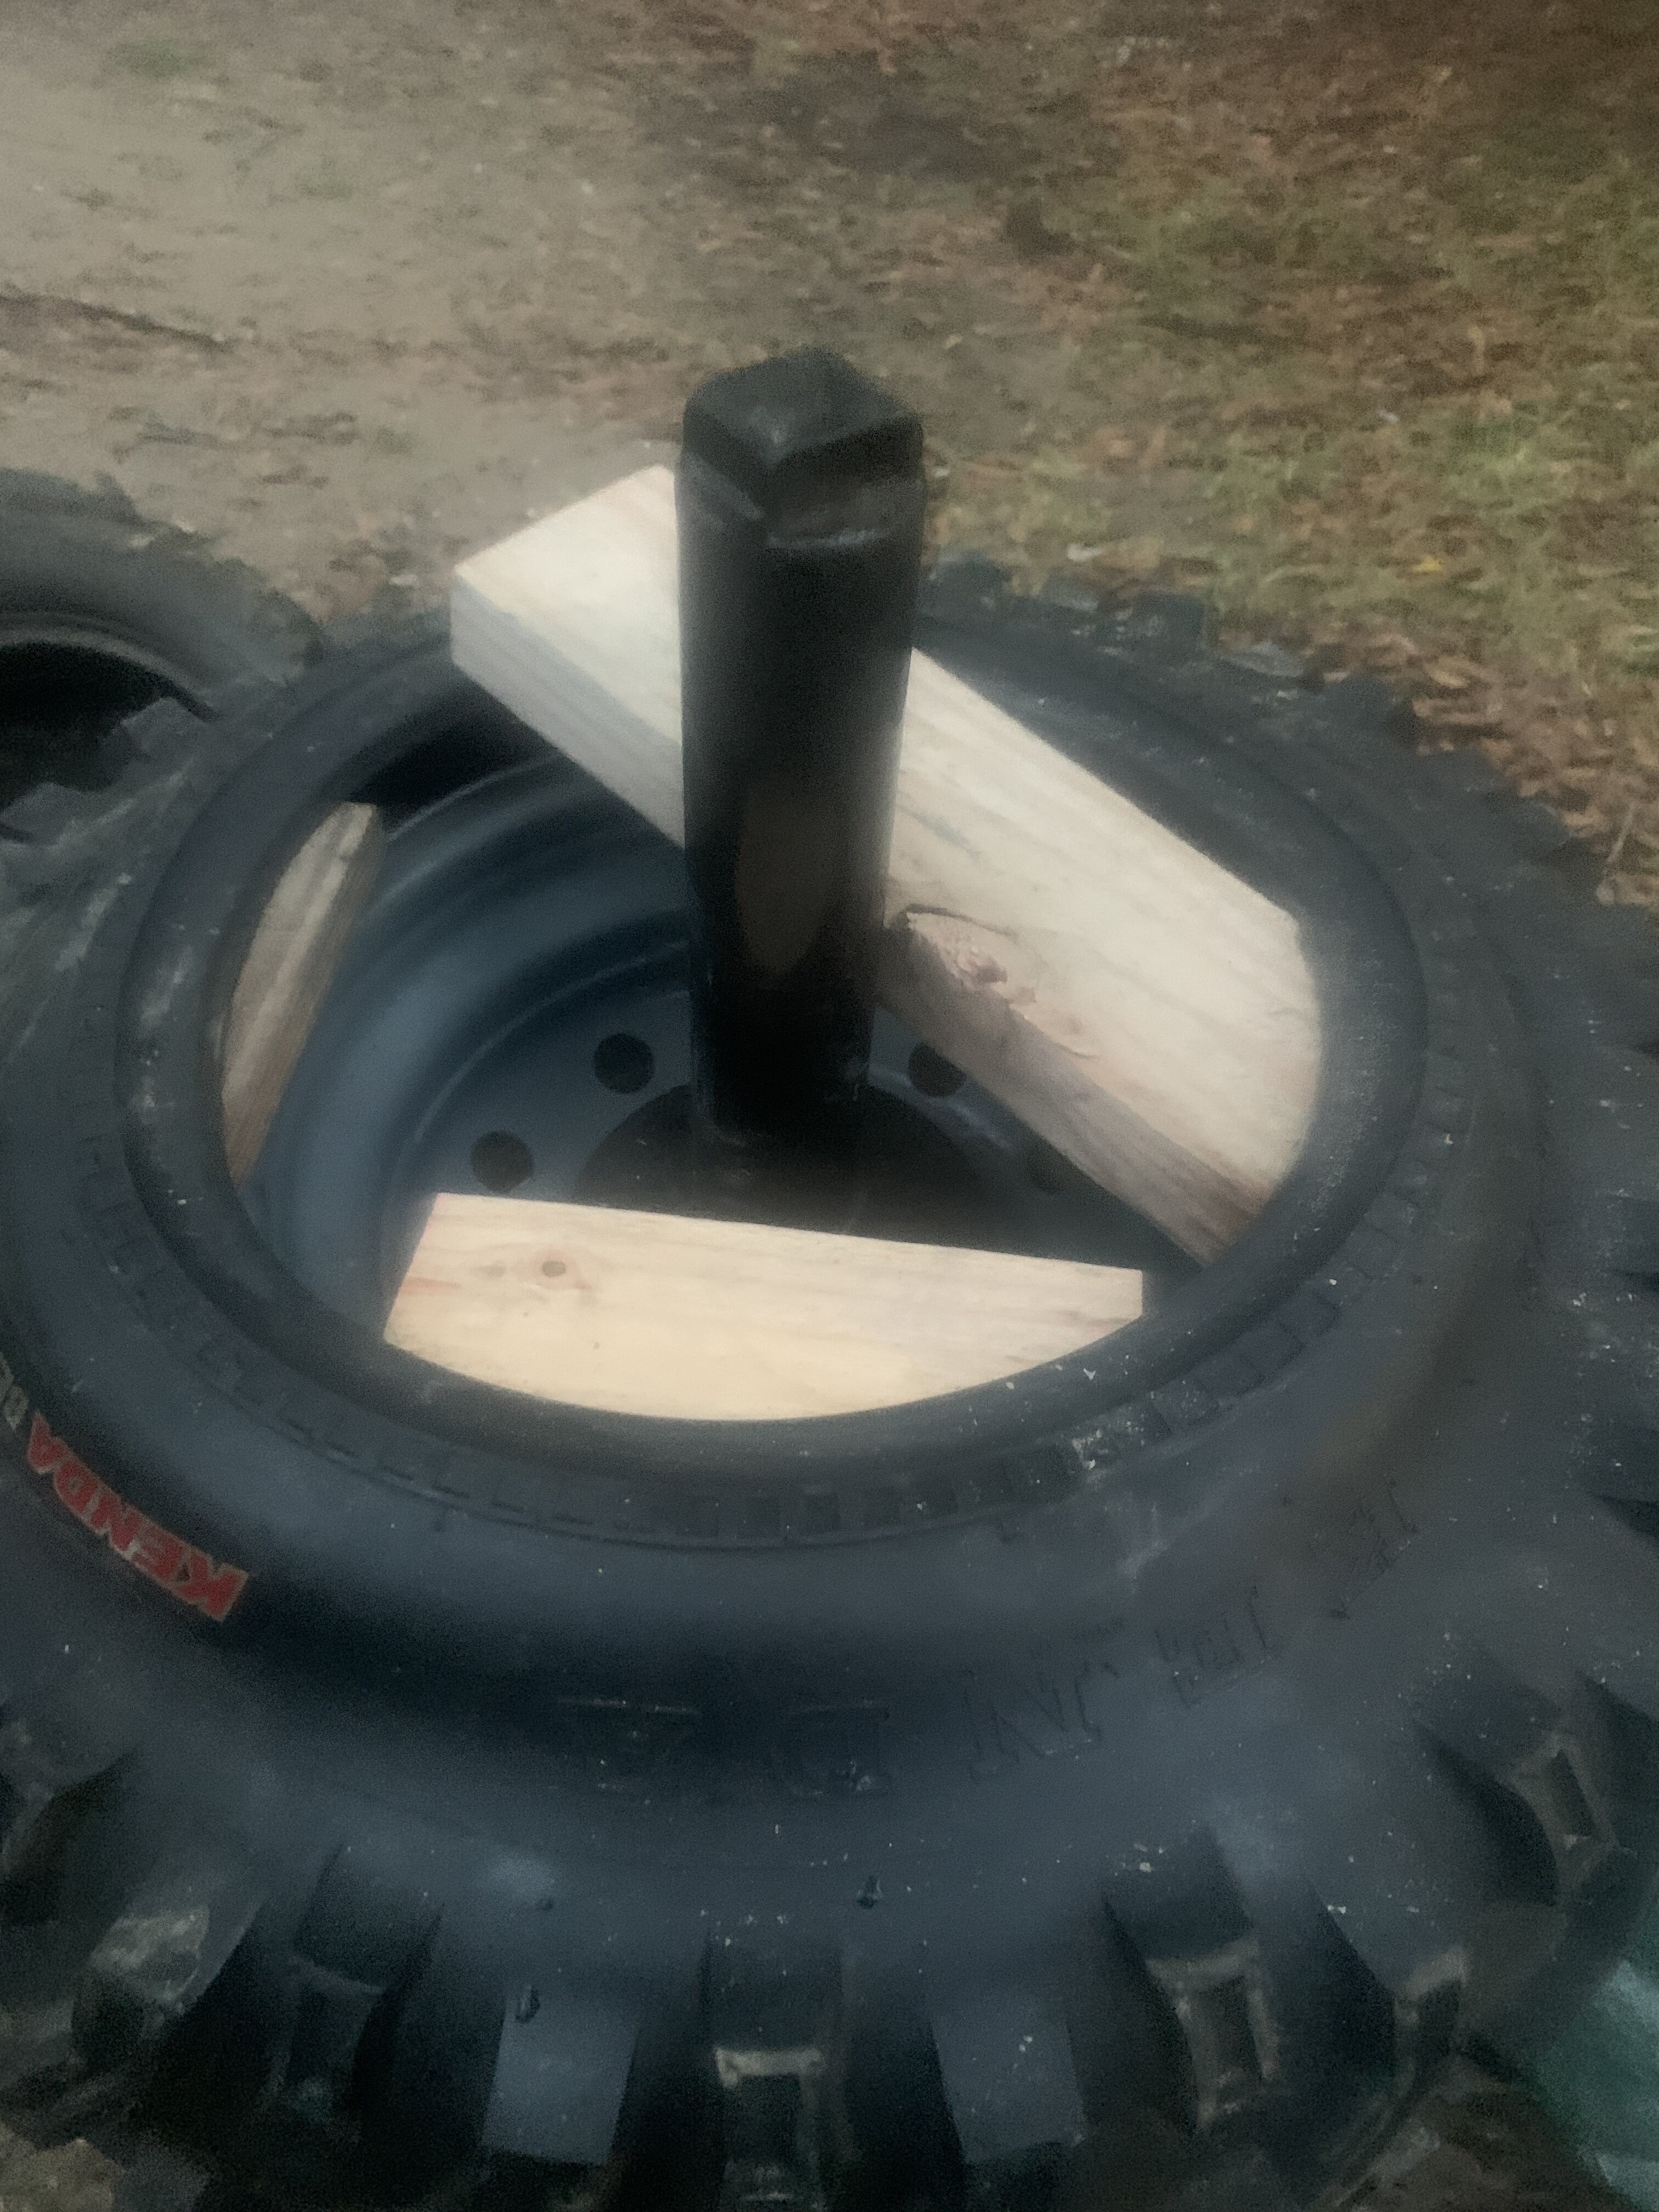
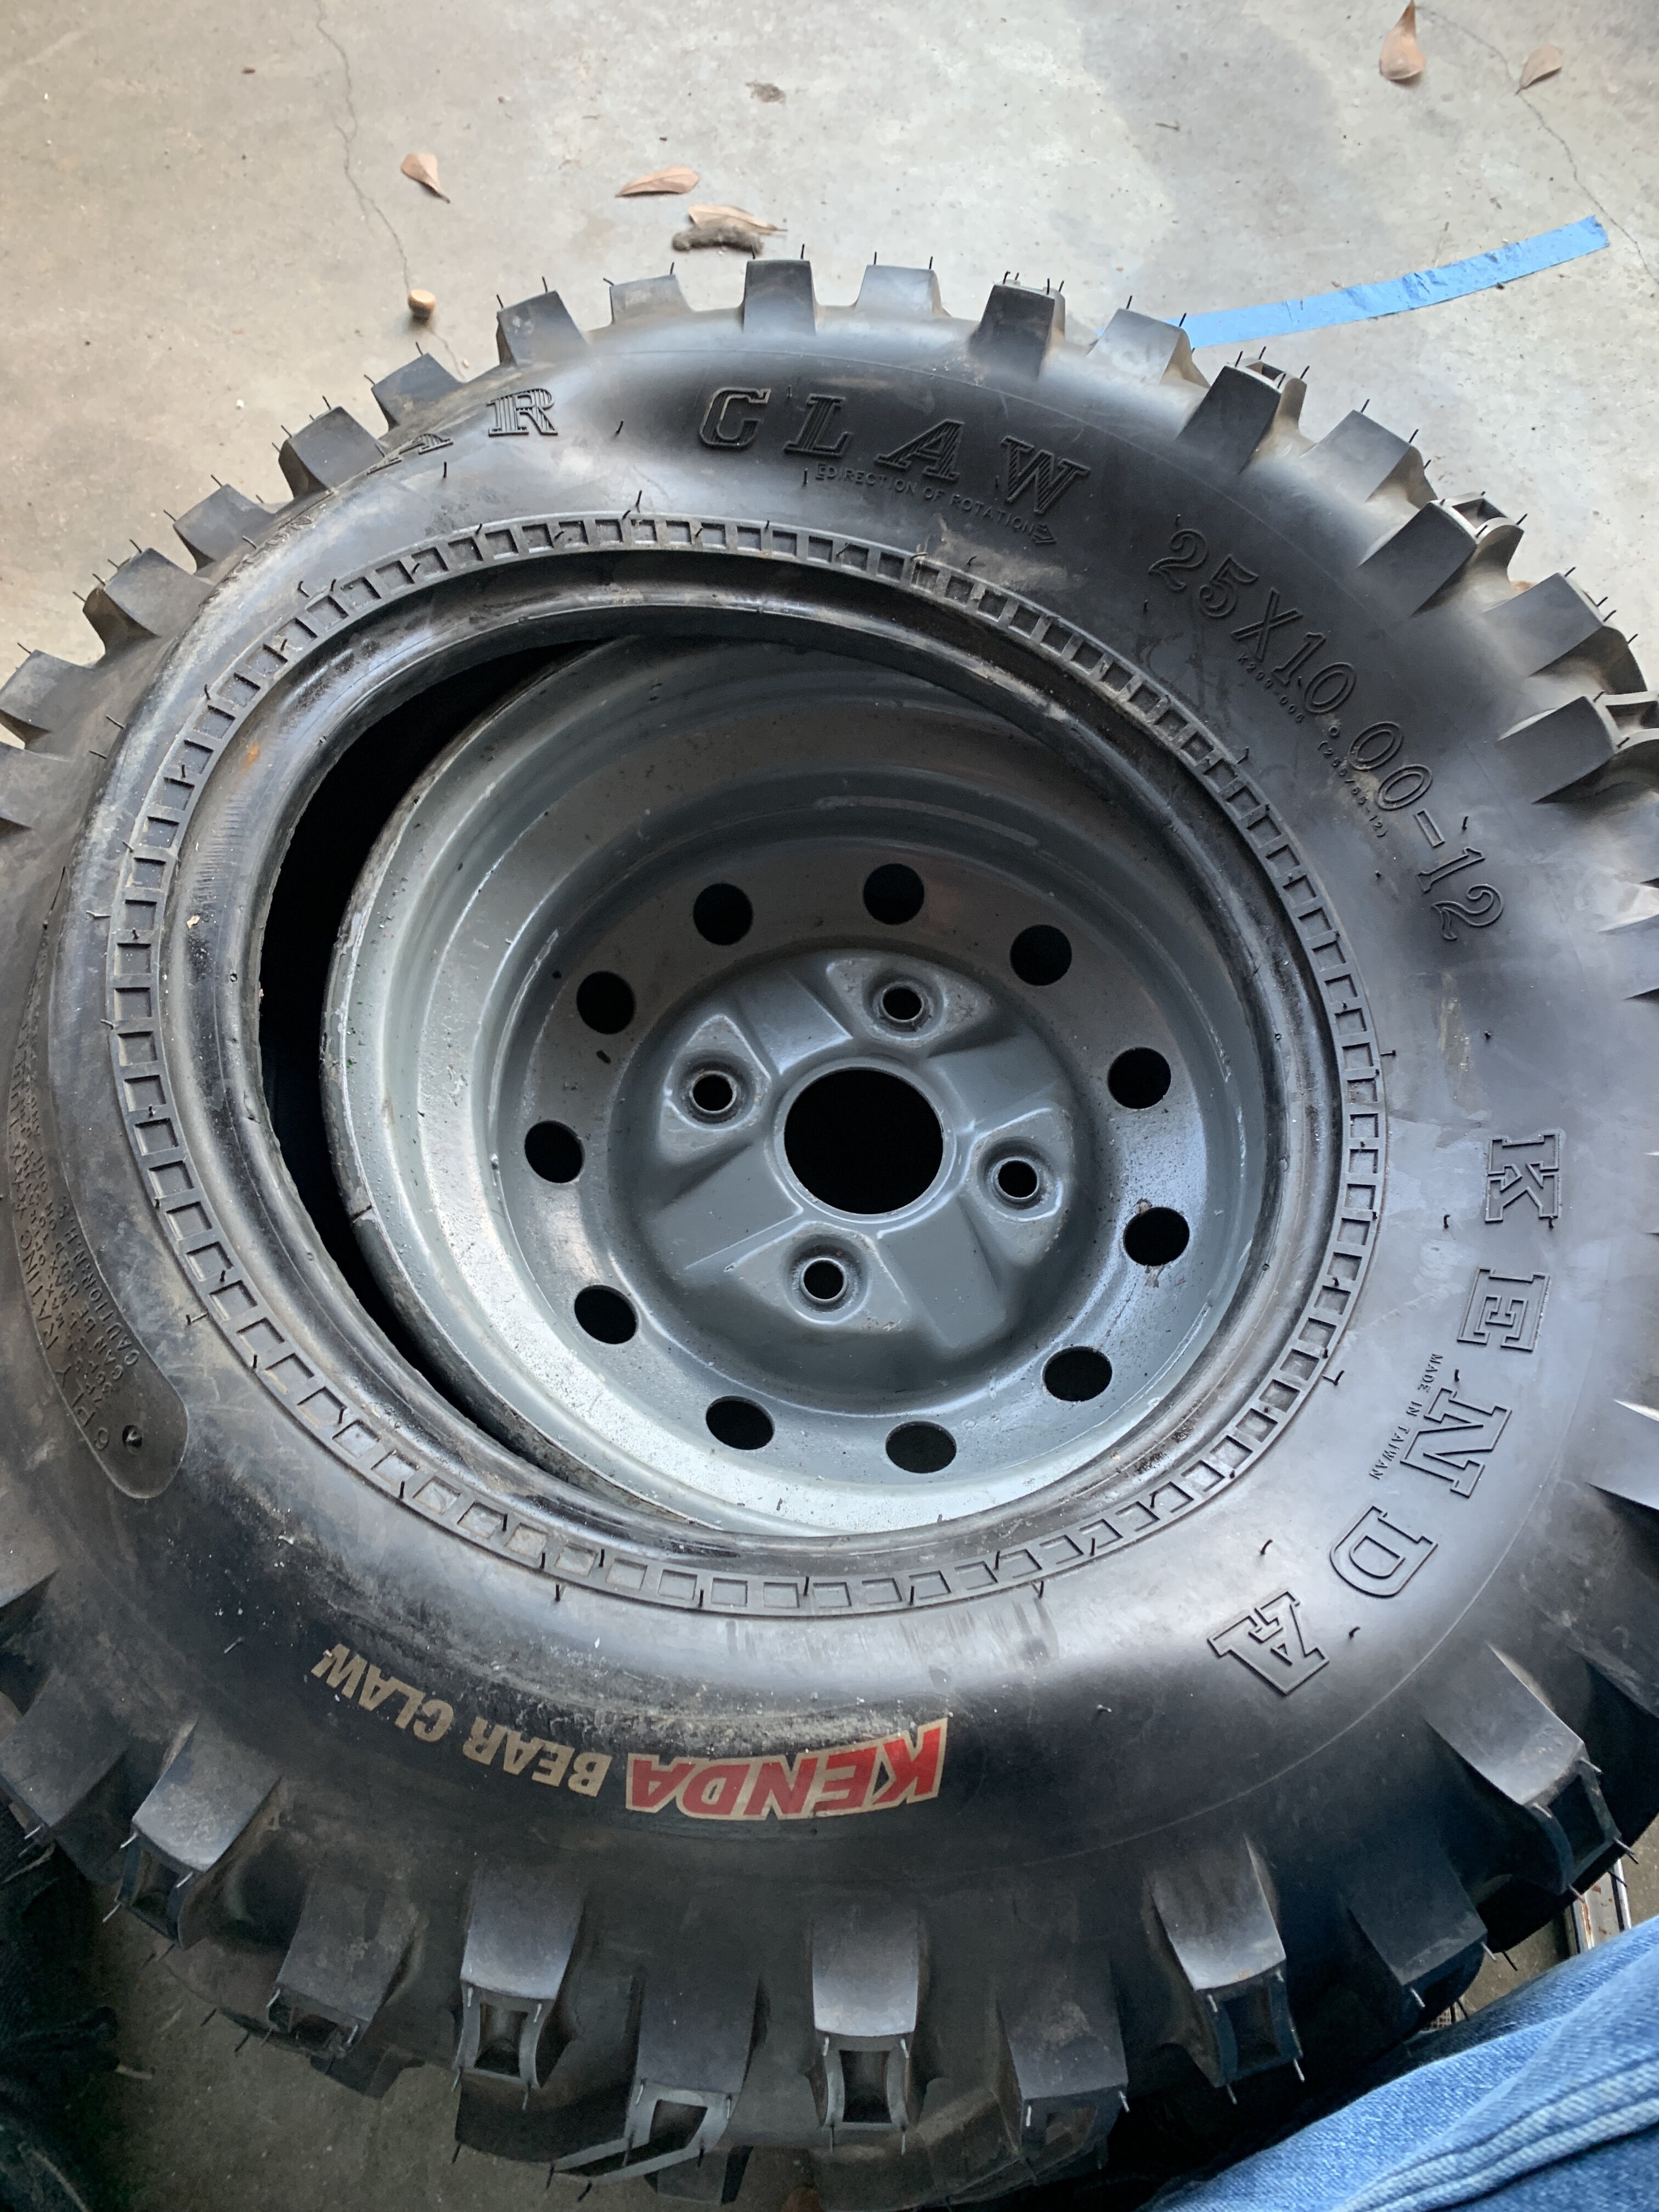
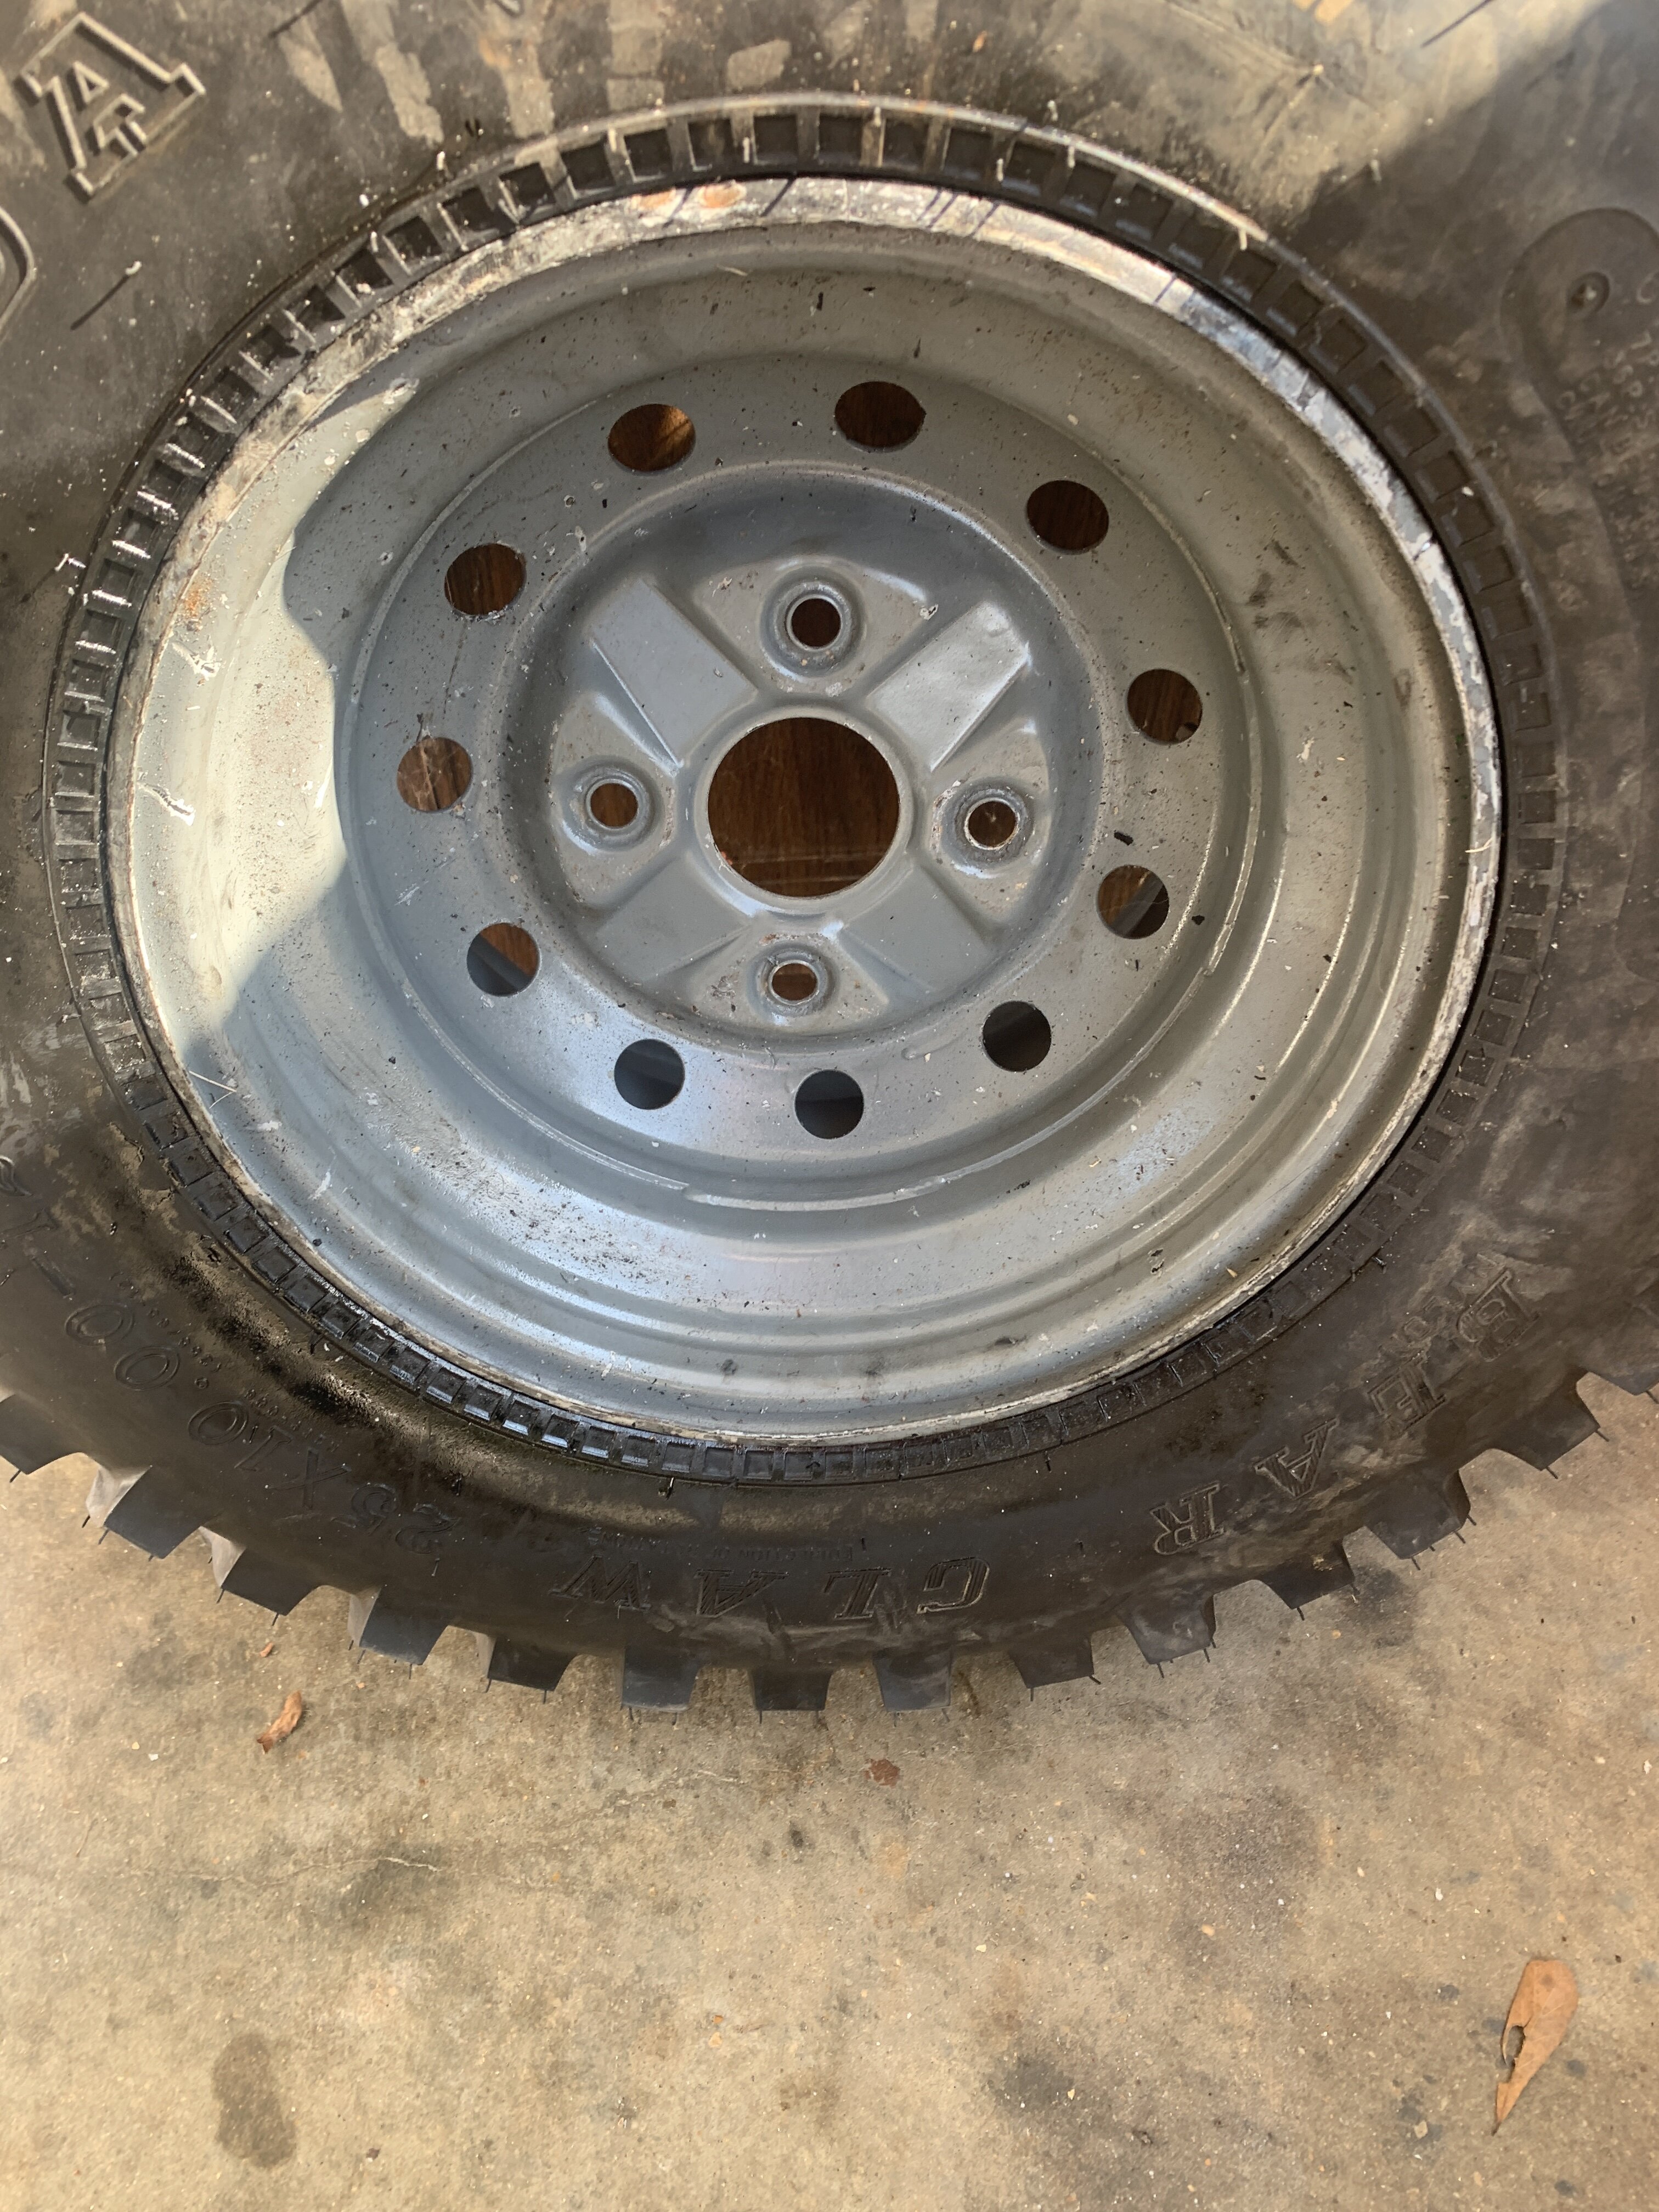
The bead seal is what sticks around the bead of the tire it has metal reinforcement strands when airing it up they get pushed up to a raised area and onto the sealing surface. You see here right next to the outer edge of the rim is the raised area that the metal reinforcement bands get pushed onto. Old tires are harder to work with but they will give, the problem i had when i had to drive the truck over the tire is the tire would give but the bead with the metal reinforcement rings would not let go. I have never used slime for a bead sealer but should work great. Good job! Glad to see others having fun also. A bit of satisfaction in doing it yourself.

-
Great idea for a bead buster! The tire is still holding air so i put it on the machine. Got the rim repainted. This is my duckhead attachment very good addition to the tire changer. IMG_5897.mov
-
I tried ratchet straps but not the heat gun, that might have worked better, thanks for the tip. The guys at the professional shops had one of those bead seaters large tank with flat nozzel he tried it 4 times while using a ratchet strap.
-
Its possible it was right on the verge of seating and the sun just helped but it is not that hot here not like the middle of the summer.
-
No such thing as a dumb question! Thats how we learn.
-
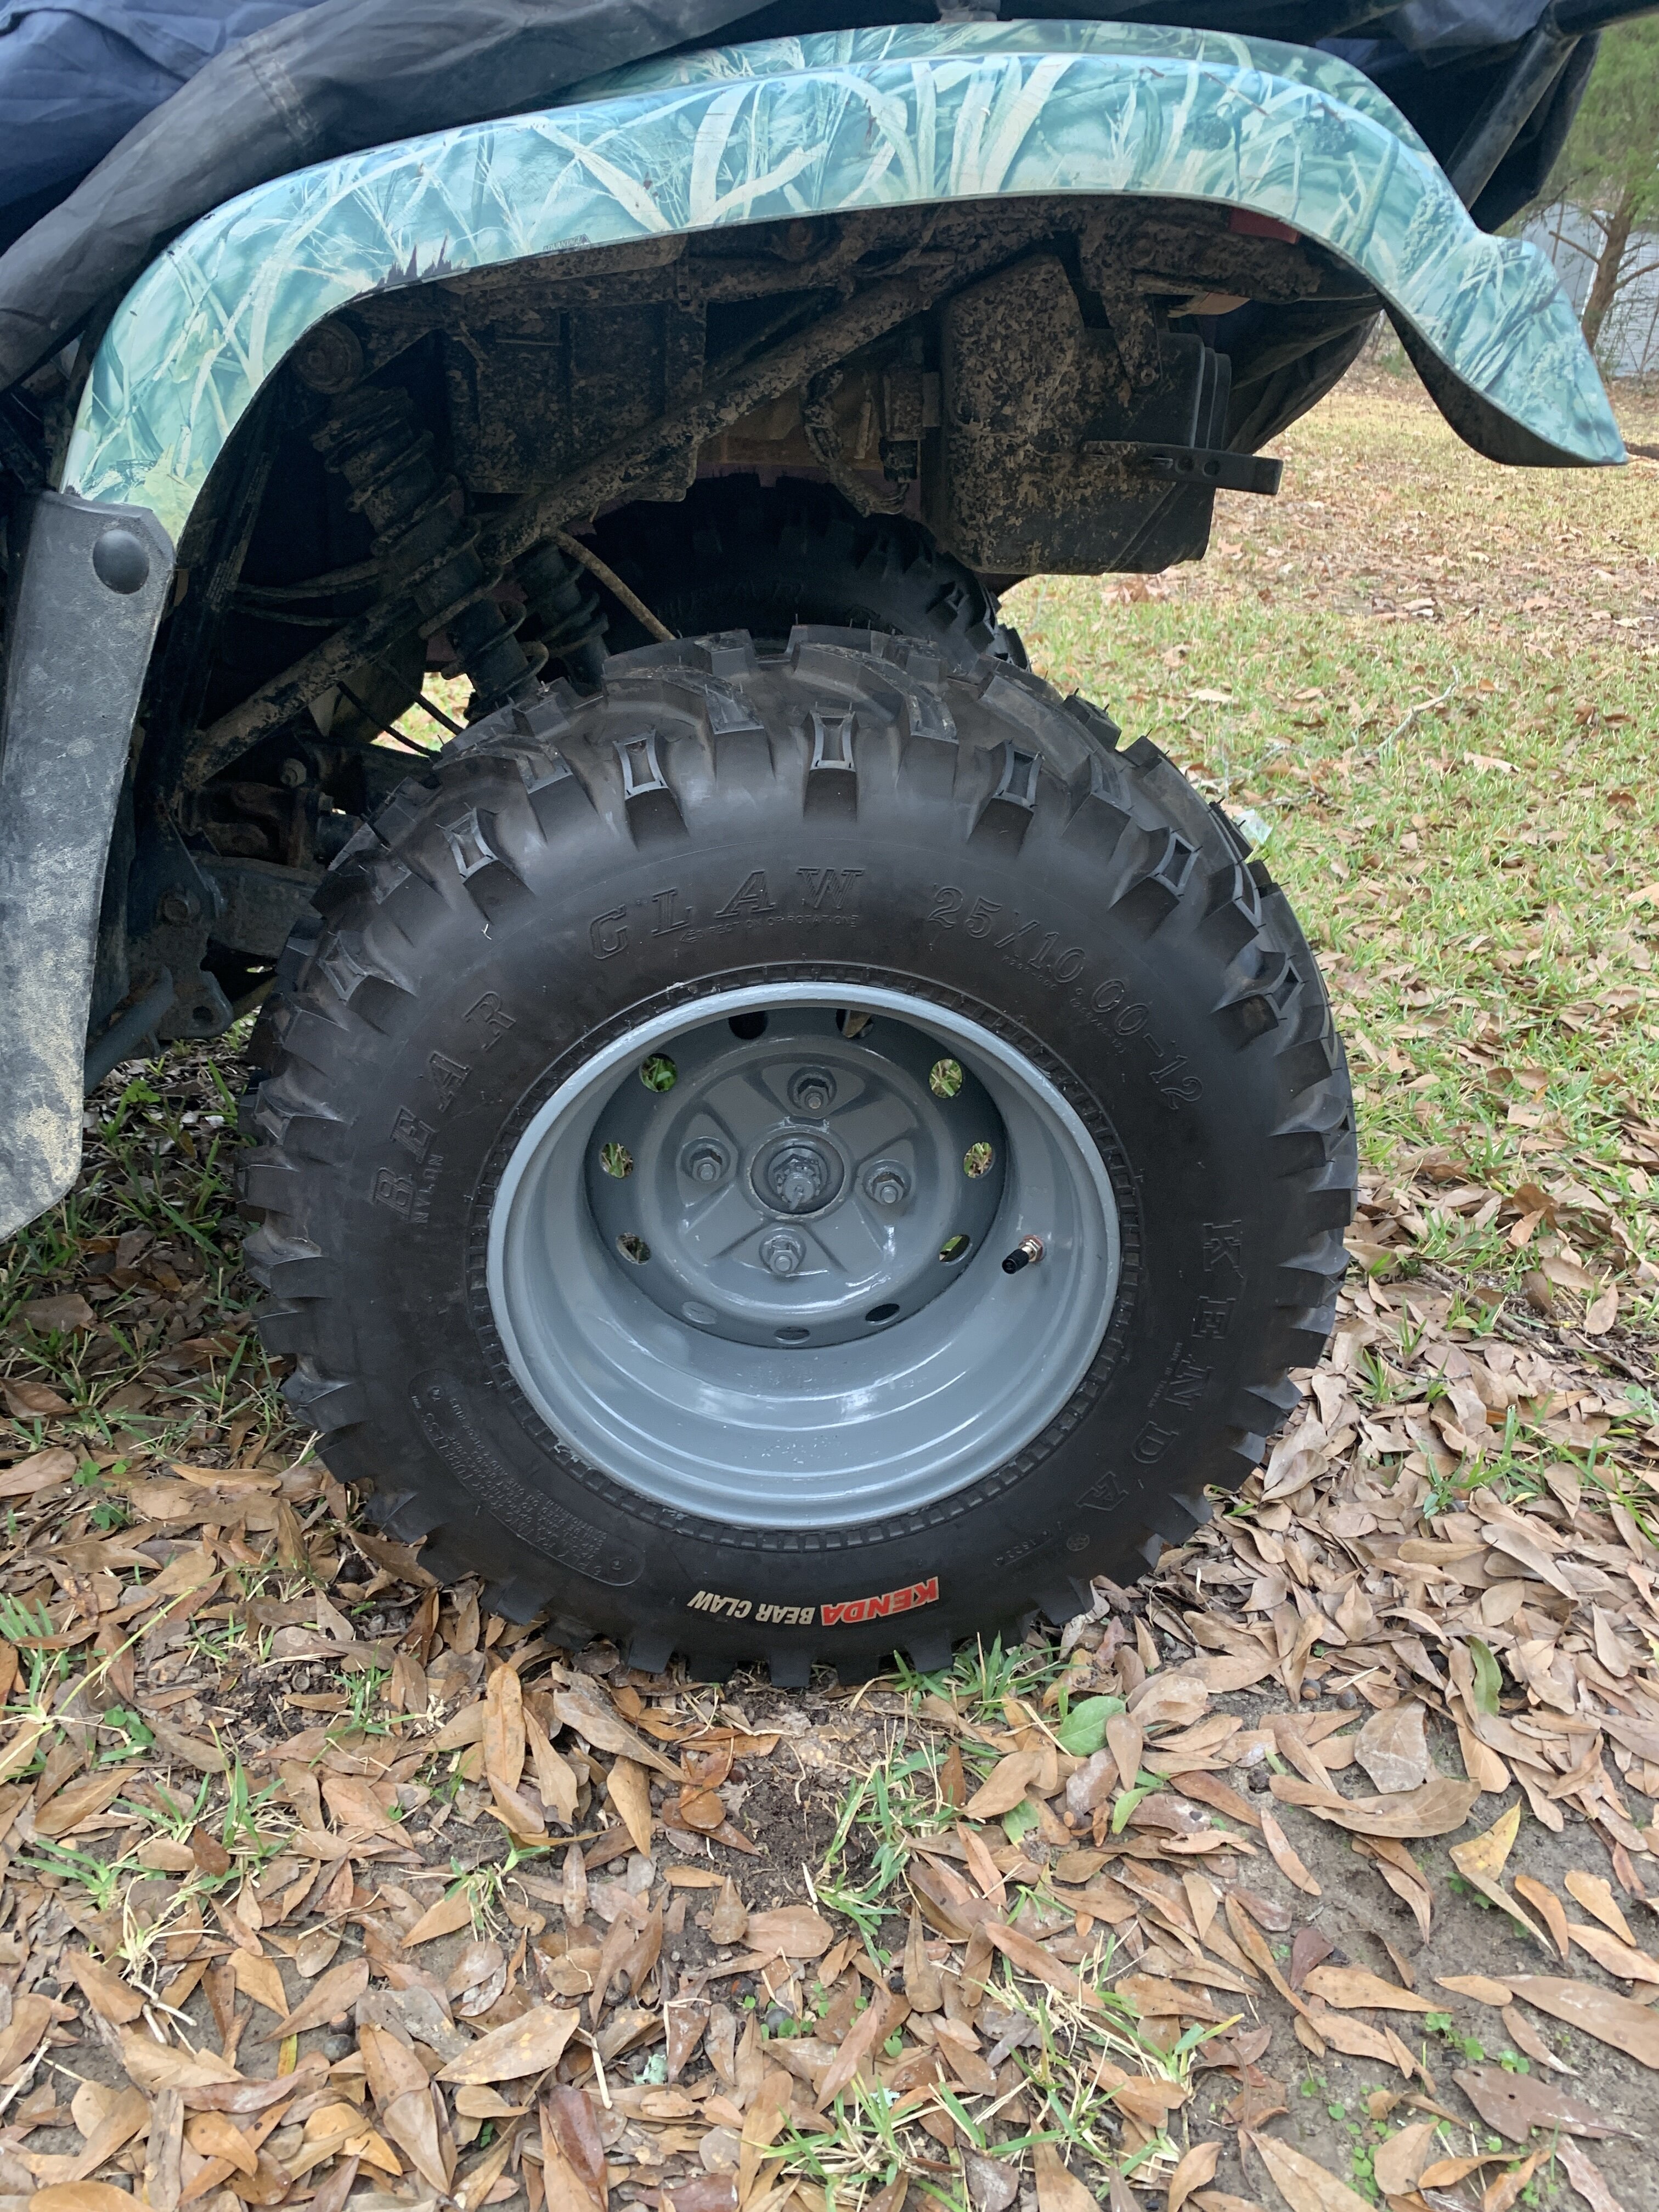
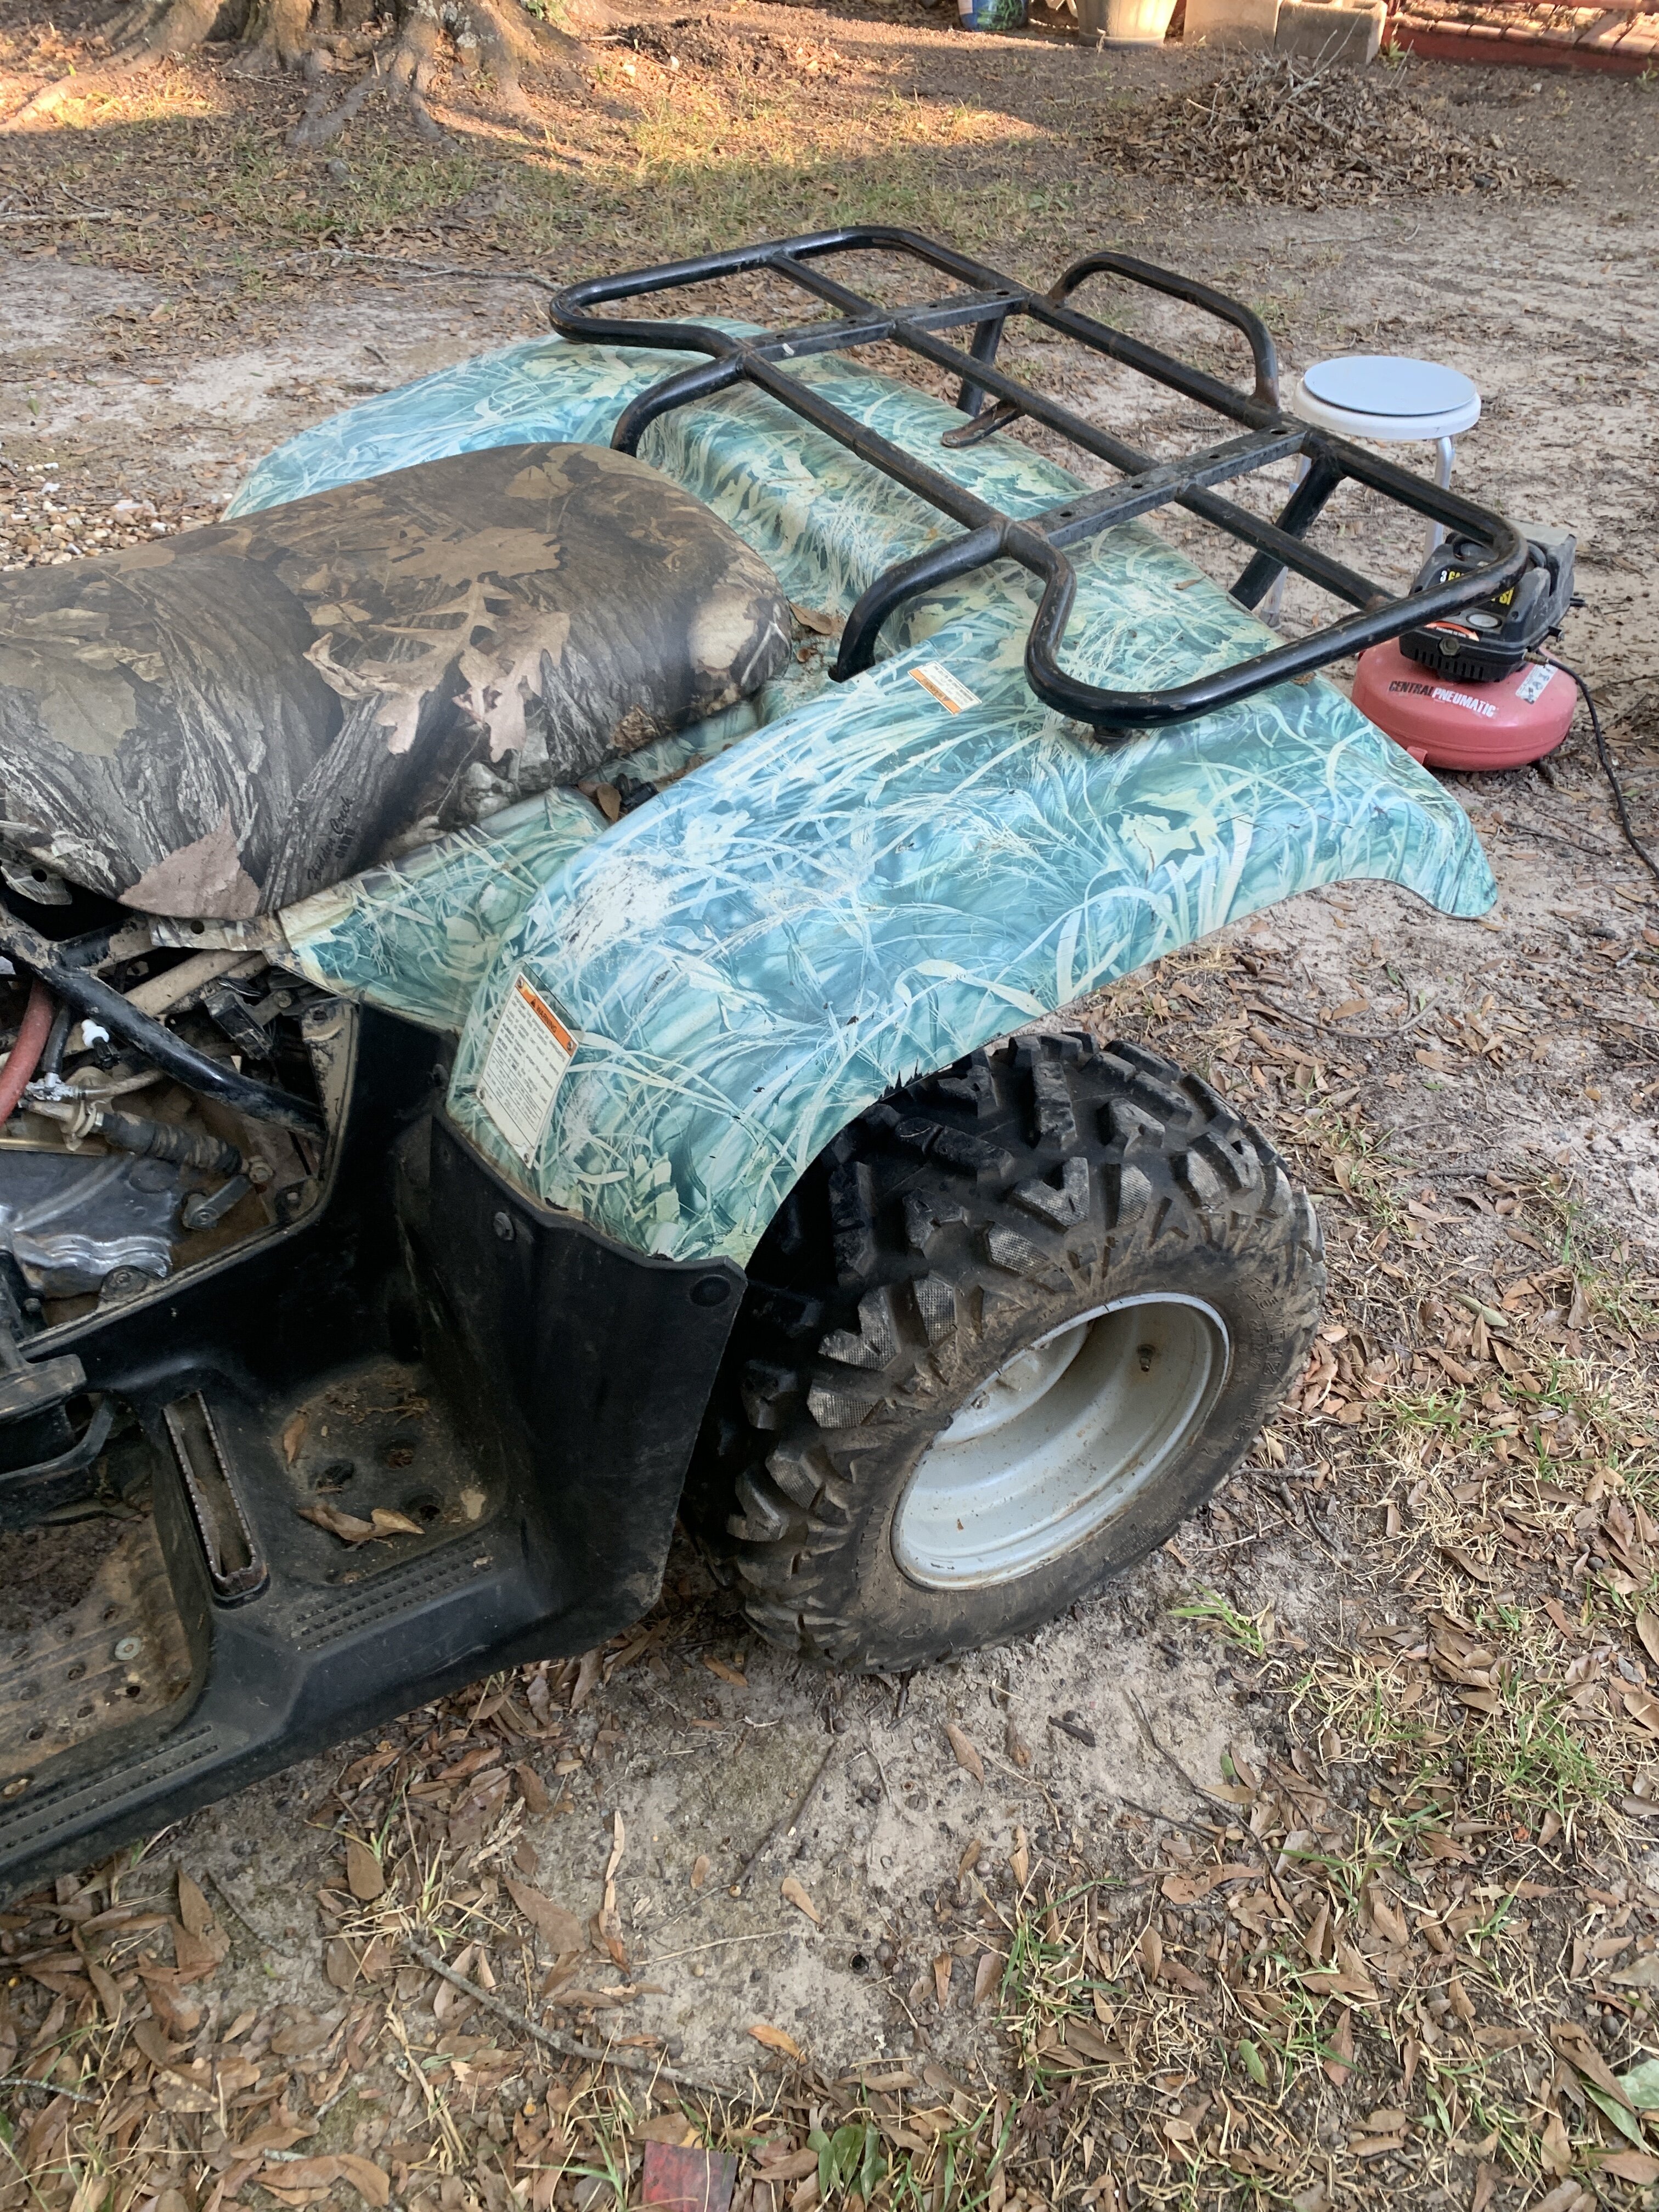
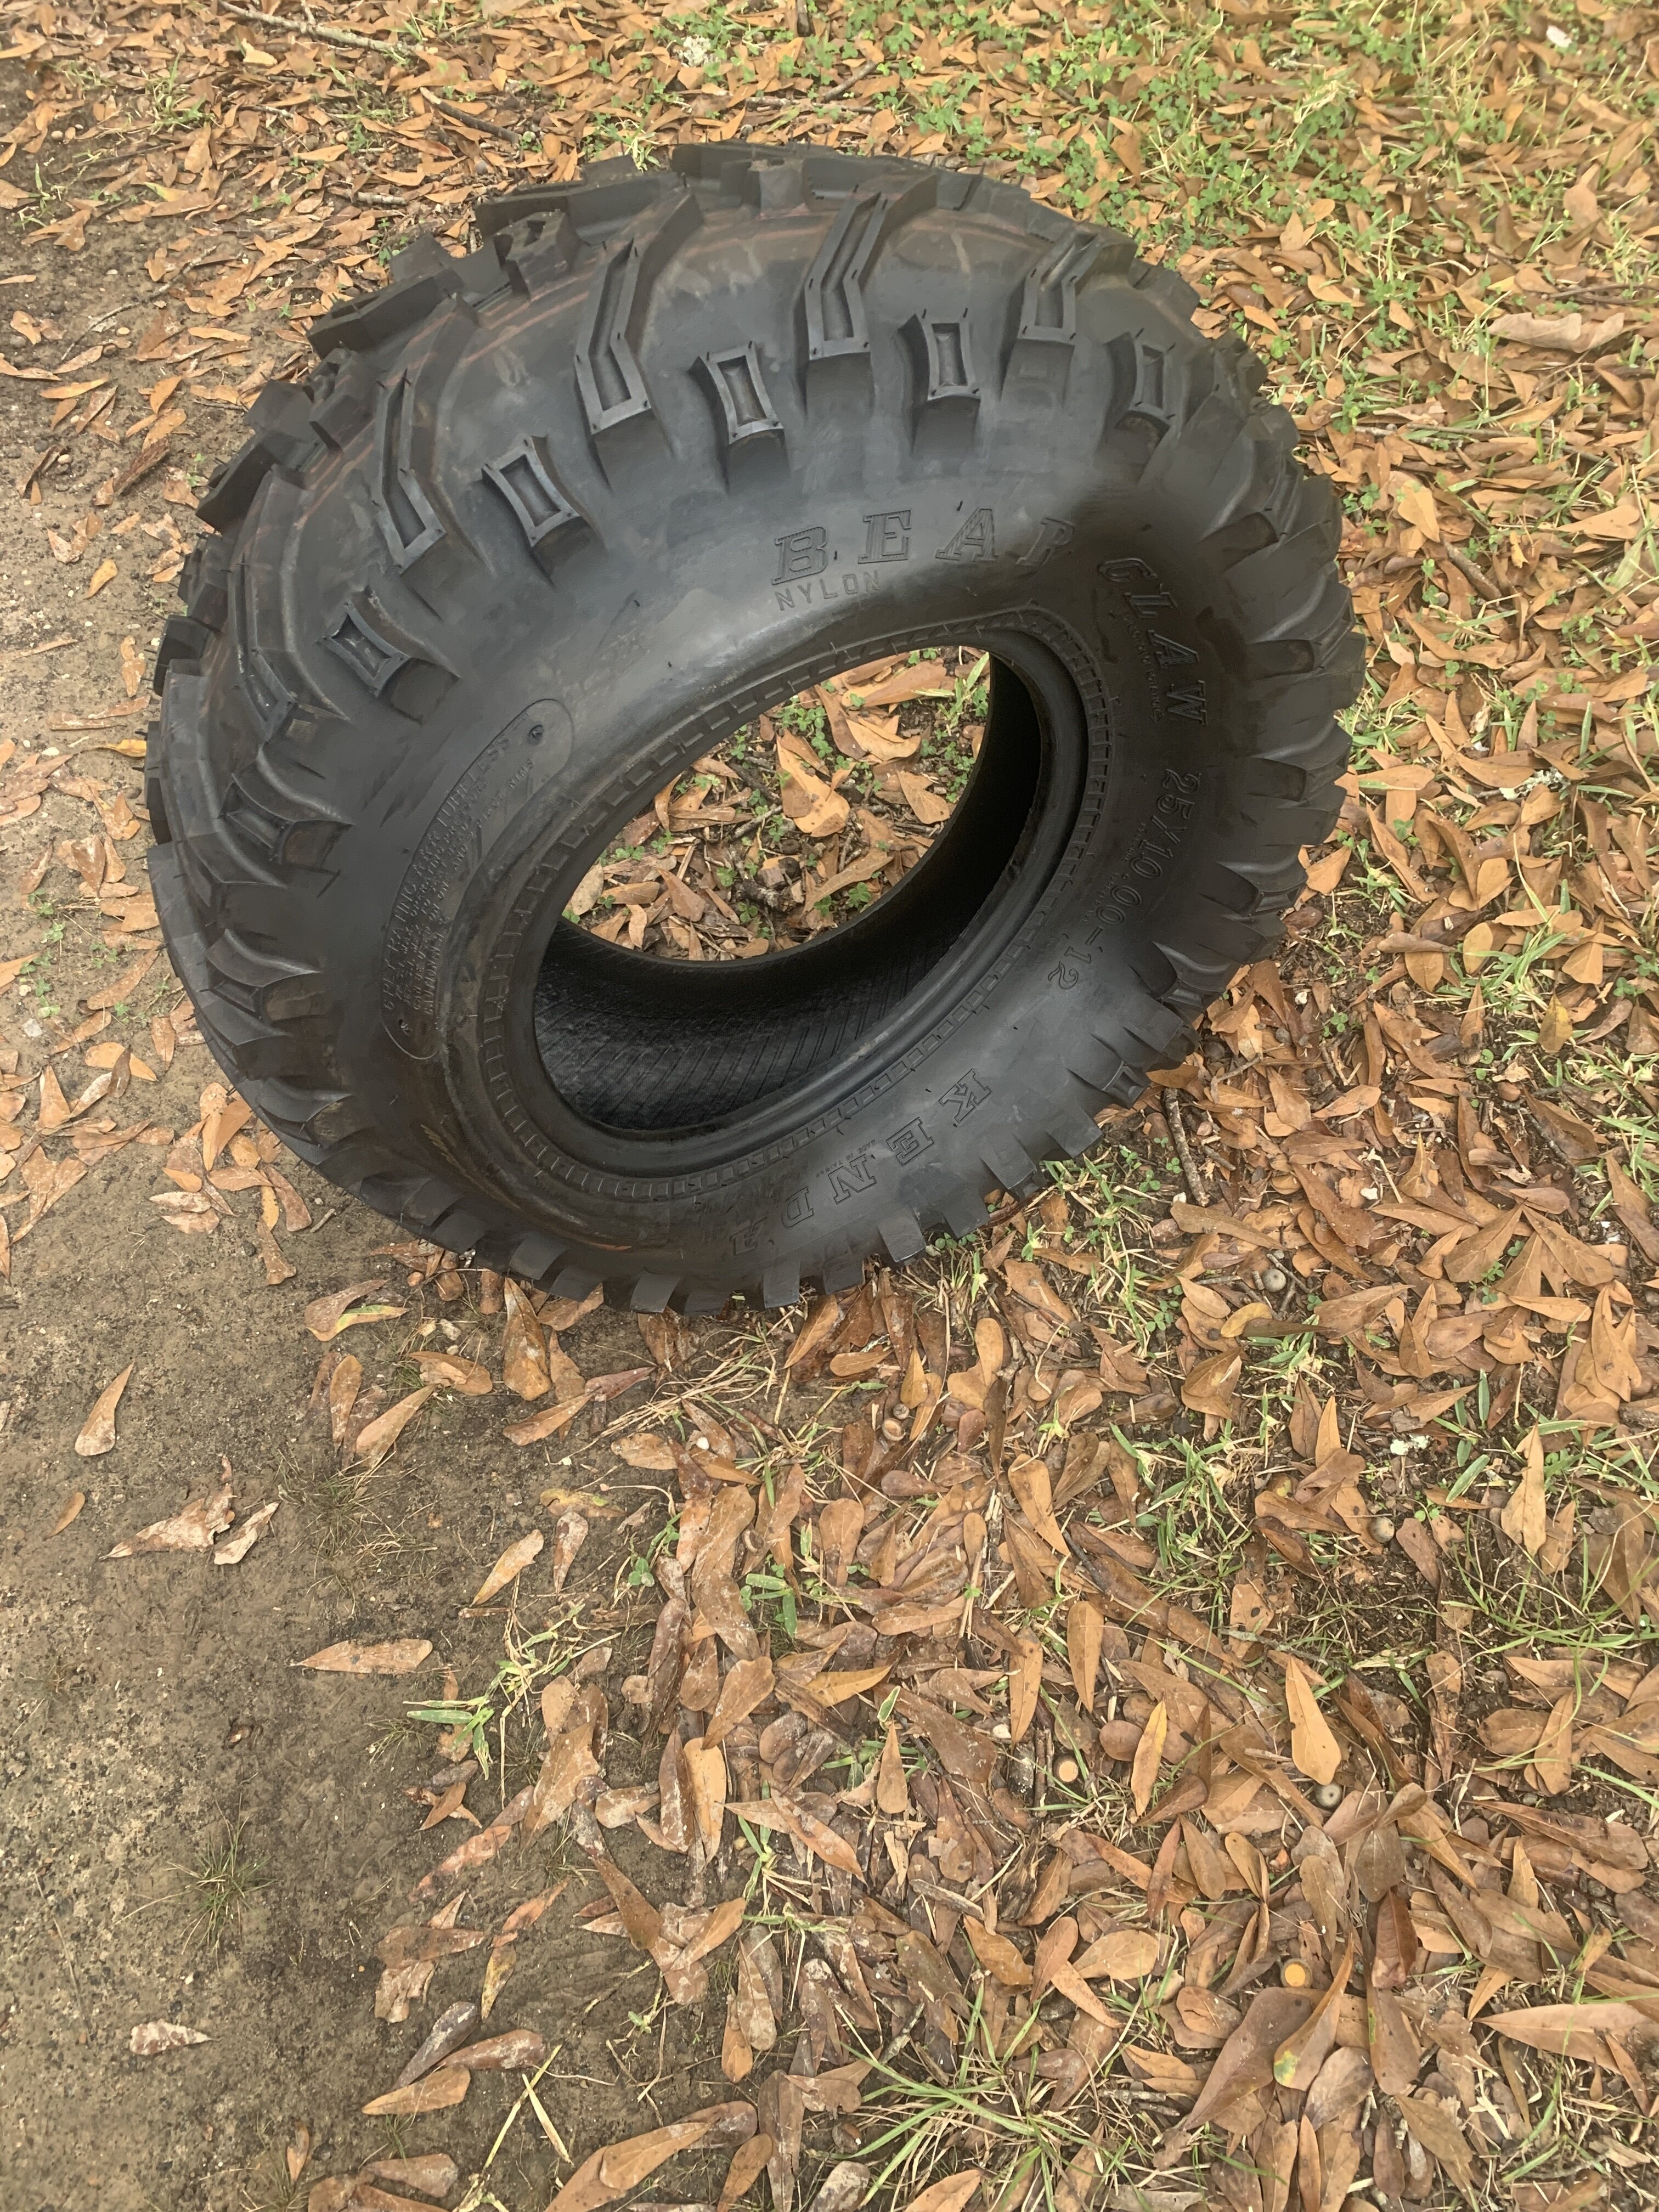
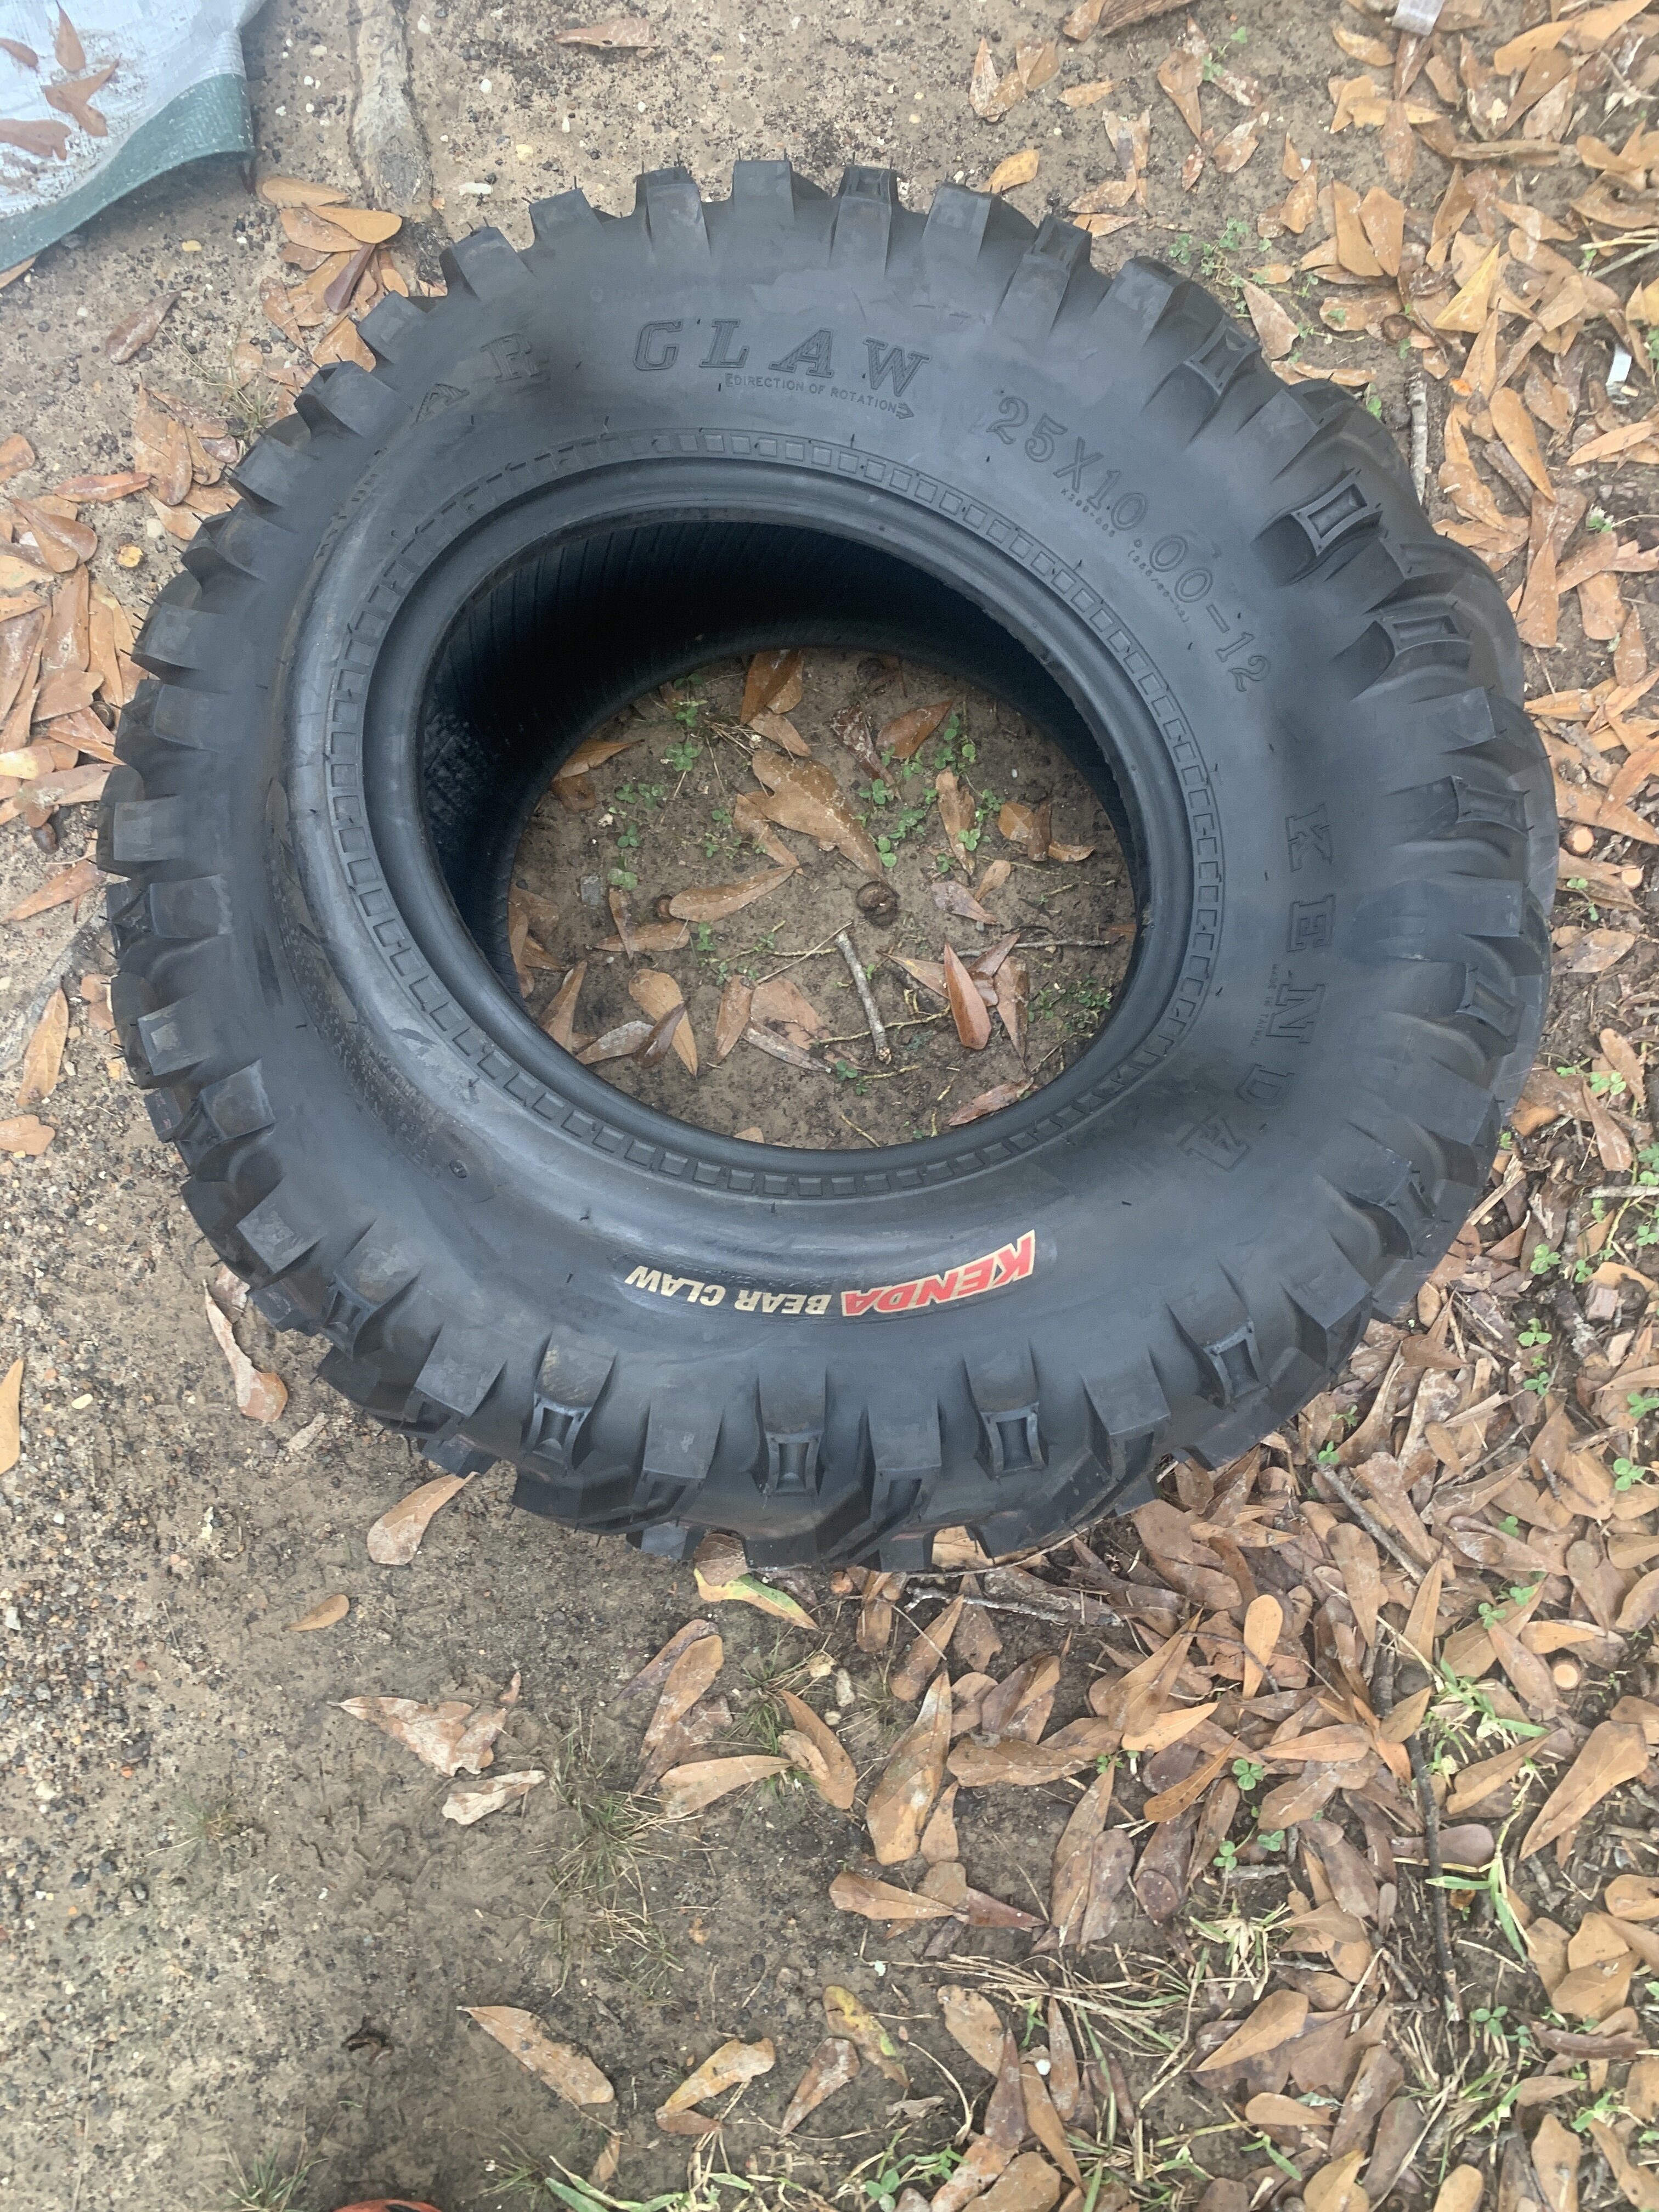
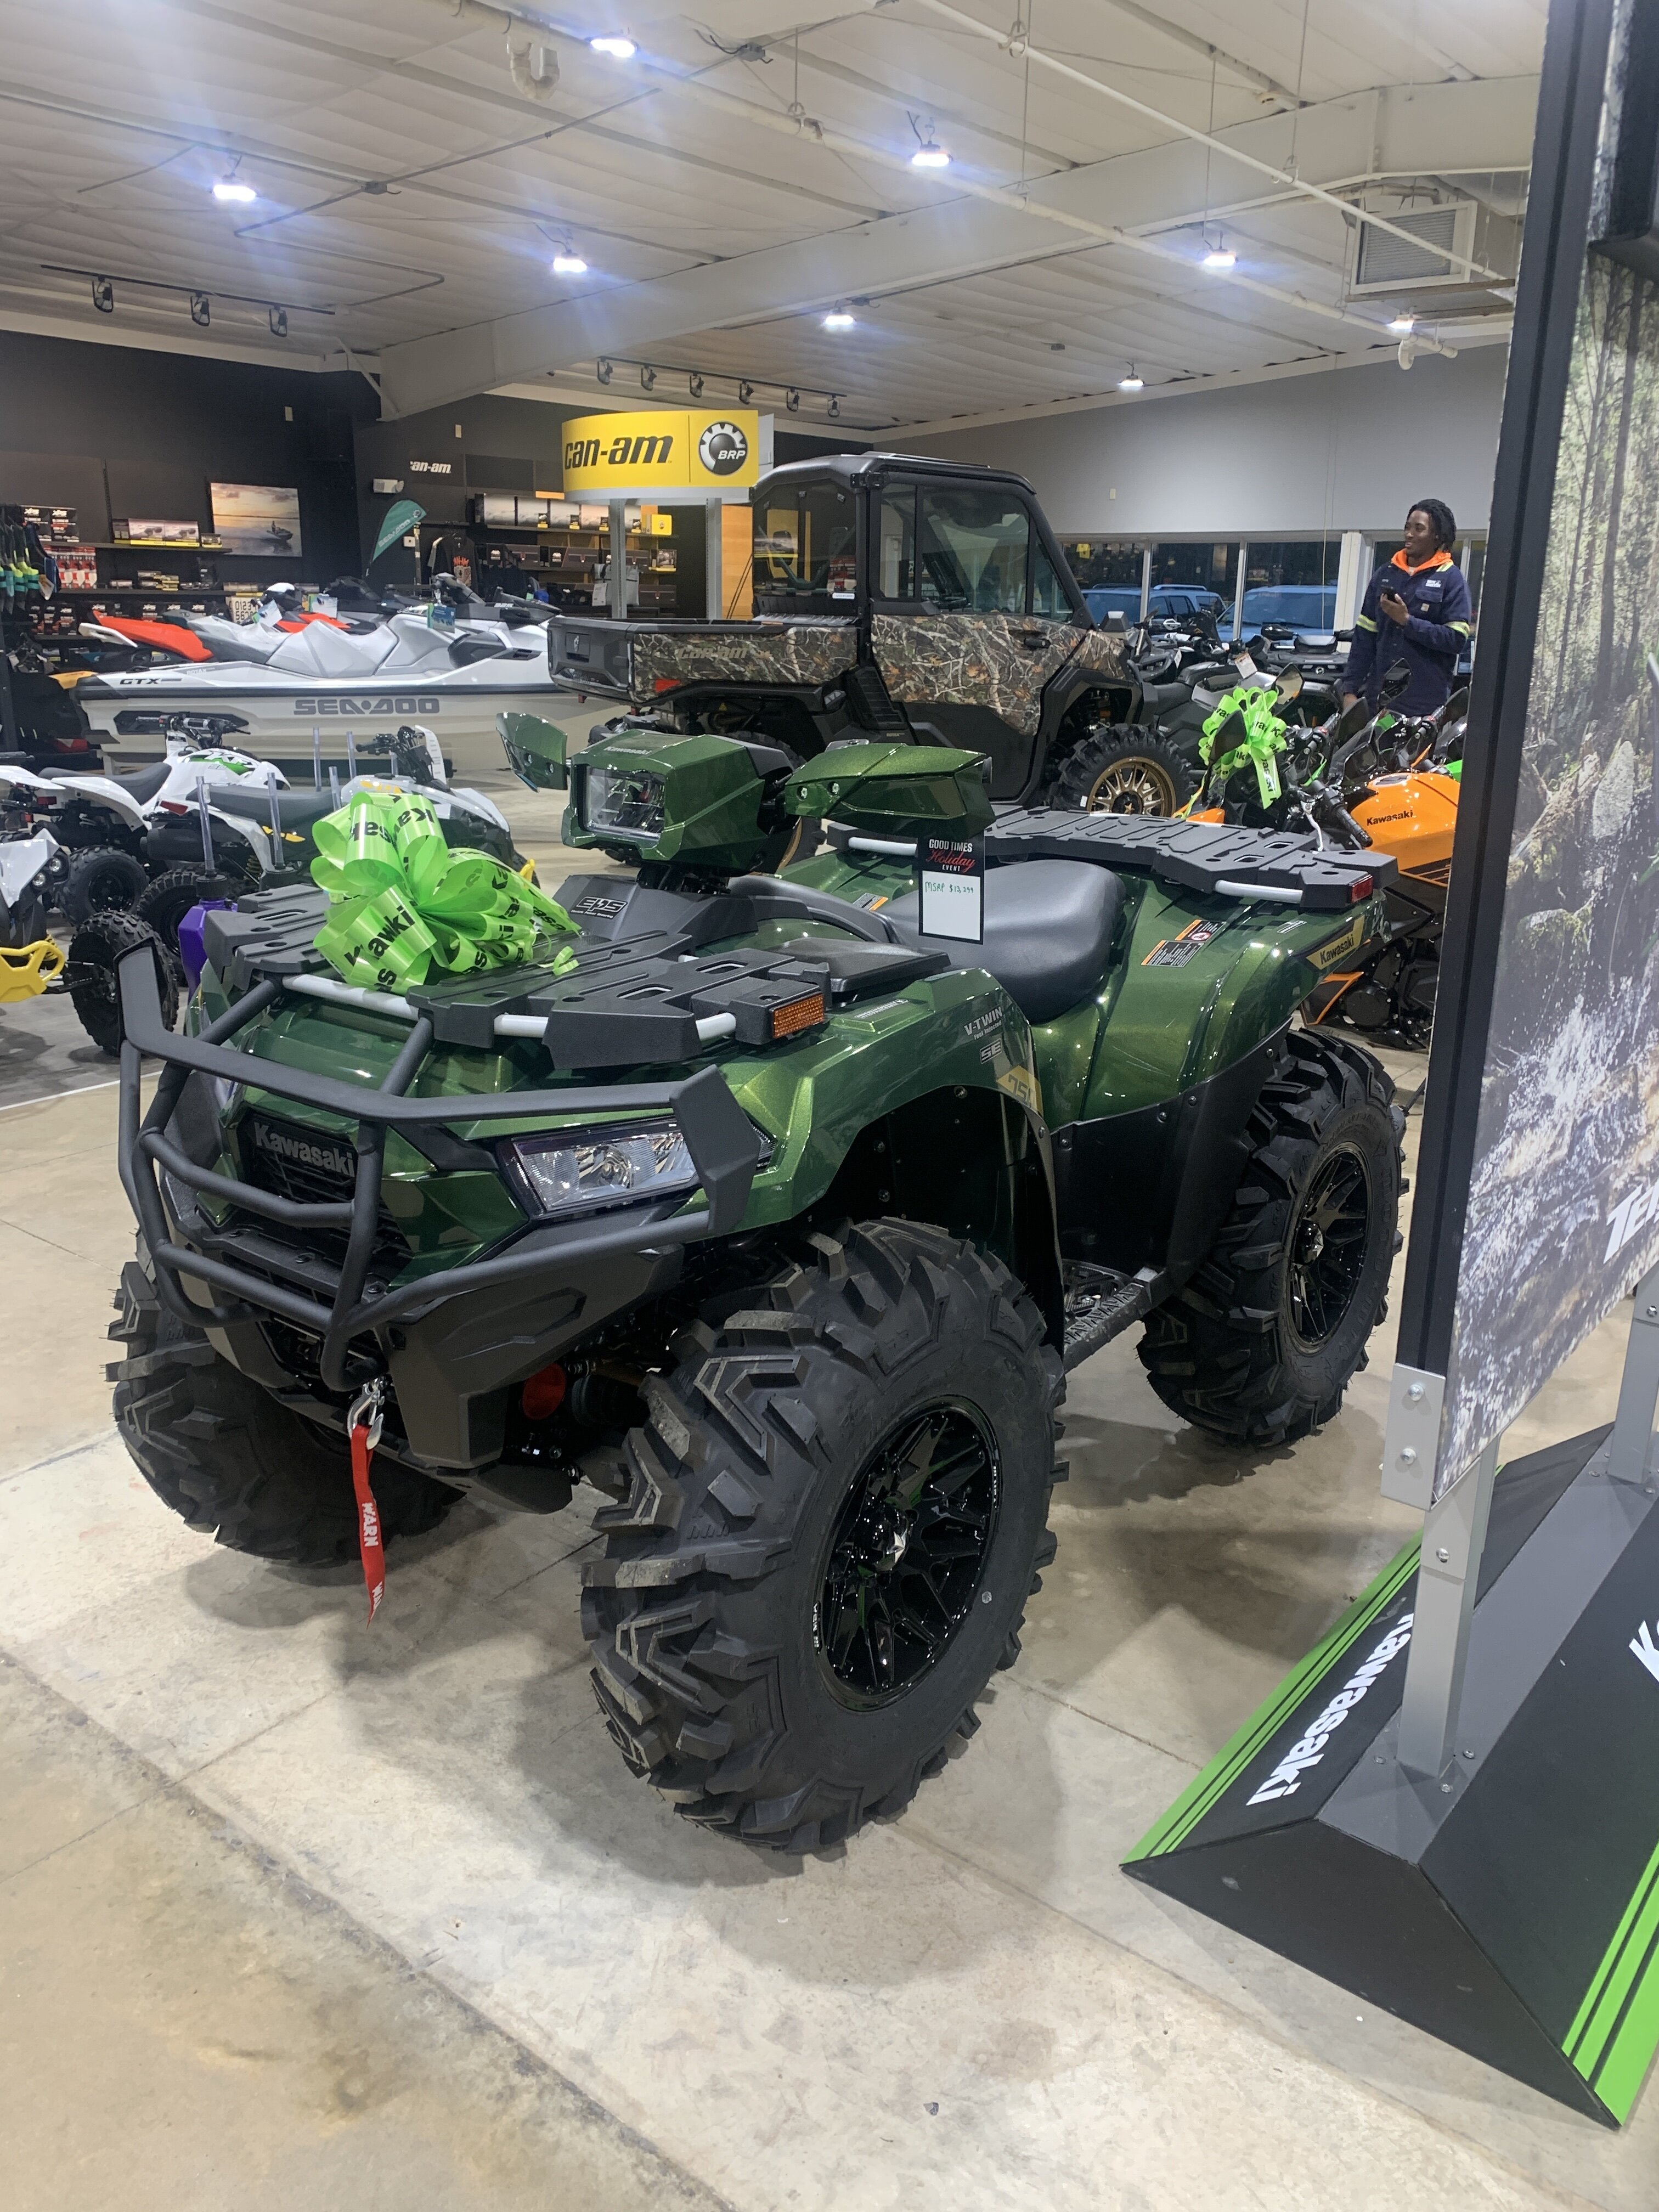
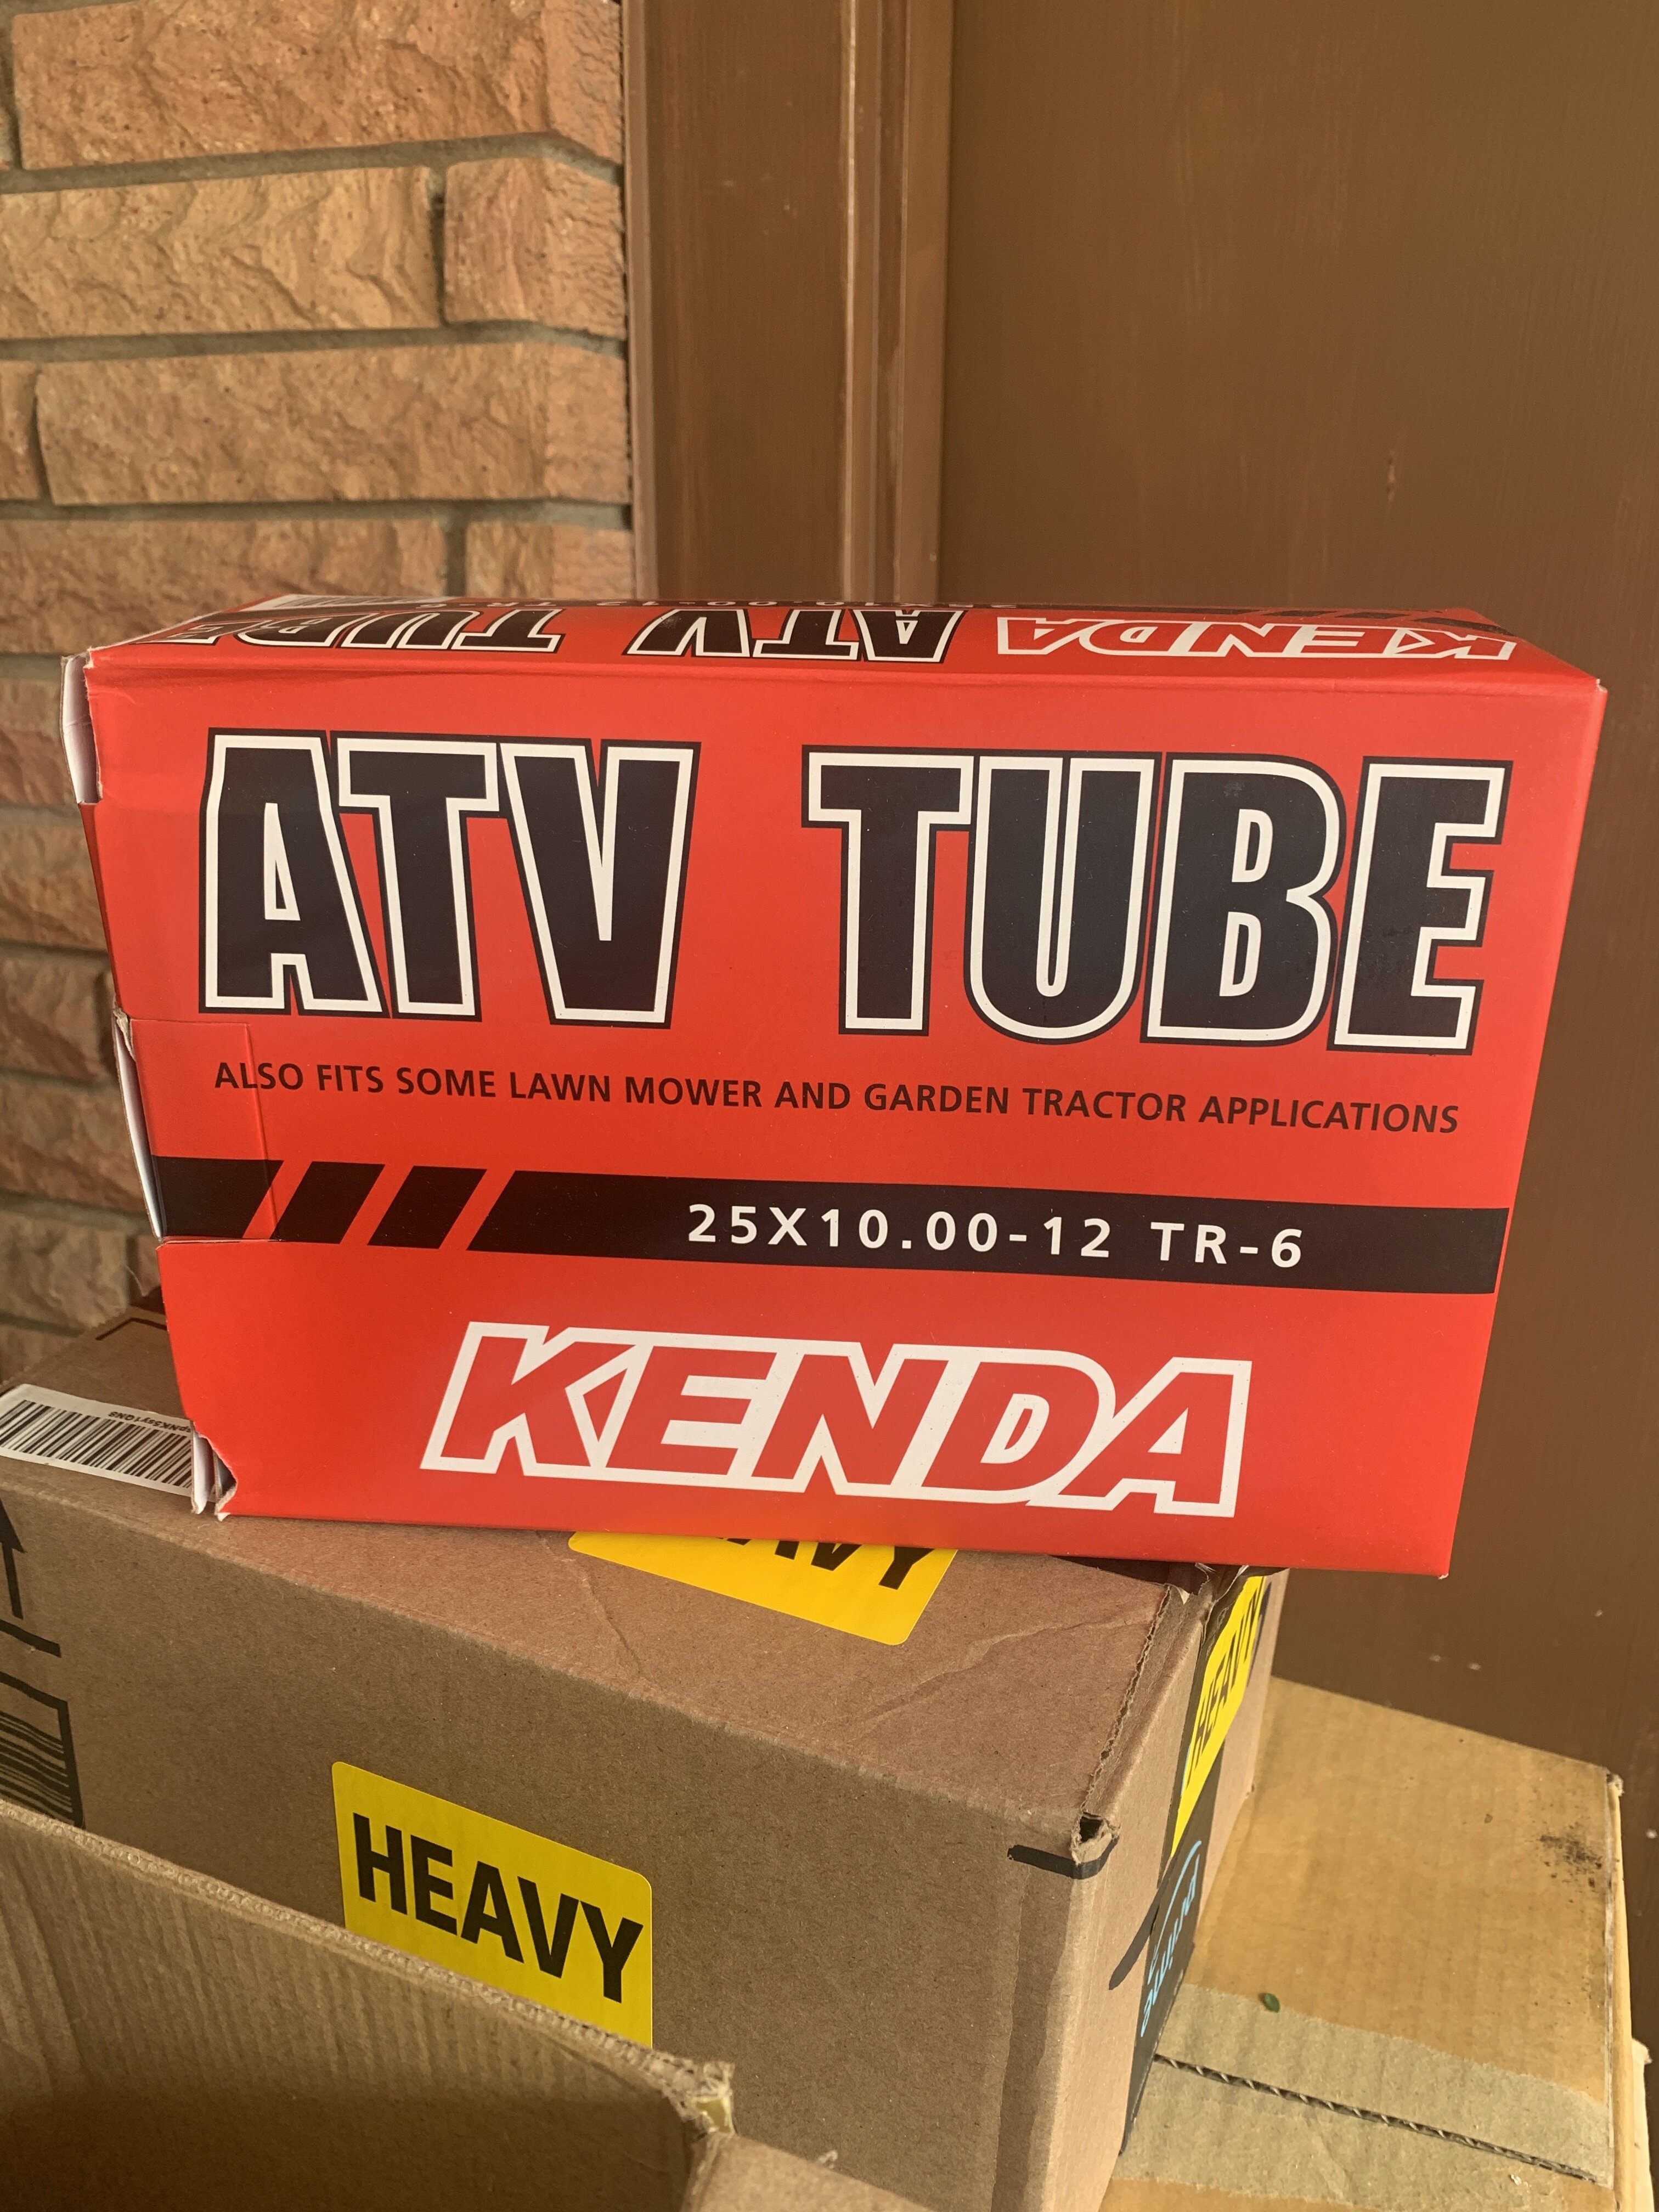
I had 2 more new tires i decided since i was already set up to go ahead and install them on the other machine since the rears were leaking down, tired of airing them up everytime i needed to move it. They were still descent probably just valve core. The first one went fairly easily so im finally getting the hang of this. Then i got to this one. You can see it was damaged from packaging and shipping and warped all the way around. I could not get it to bead on that side i pulled i pryed it up i used starting fluid, way too much, i tried to film it , but couldnt hold the camers, light it and run at the same time, still wouldnt do it. The side walls on these Kenda K299s are so stiff. So itried stretching the bead back into place. After a few ays sitting like this i went through the whole process again.Still no go. Admitting defeat decided to take it to the dealer. I watched 2 guys work on this thing for 30 minutes with very professional equipment and they couldnt get it seat either. Made me feel a little better about my failure, but still didnt have my tire mounted. While i was there waiting looked at some nice machines. It looks like they only have the Brut Force ATV now. Wicked! Very nice ride. I ordered these from a very reputable company, so i contacted them to get a replacement, none available and since i had tried to mount it already they wouldnt take it back and offerd no help whatsoever. I will never order from them again. So trying to decide what to do i ran across a hole in the wall tire place looked like it had been there 100 years. Took it in the nicest gut you ever want to meet, took it right away and i watched him work on it for 30 minutes with fancy equipment plus old school know how and still nothing. Trying to decide which direction to go next i decided to order a tube, i relly dont like messing with tubes plus they are expensive, half the price of the tire. Should be a good tube. Broke the tire back down to install the tube, all that messing around hadnt helped at all. Got the tube in aired it up, max pressure was 35psi i went to 40 still wouldnt completely pop the bead almost there i bounced it up and down i jumped on it i sprayed my yamaha slicky spray would not completly pop i had i/2 inch gap on one side. Let it sit overnight still didnt pop. I aired it up to 45 thought it might blow, still didnt pop. One option i thought of but hadnt tried, i put it in the sun not thinking that would do anything went to check it in 5 minutes and it has poped into place, i immediately aired it down to 30 psi for a while and then down to 20. Still have air 3 days later. Im done mounting tires for a while. What an ordeal! Messed up my freshly painted rim but tires on and rolling, i wouldnt want to go very fast on it because im sure its out of round but will see how it works.
-
No this has one carb. The mercury colums were used on your Kawaski 4 cylinder to sync all the 4 carbs together to make sure they were all doing the same thing at the same time. You can also do it with a vaccum guage but mercury is more accurate.
-
Spark plug should be NGK D8EA or compatable. It does sound like it is running very rich.
-
The aftermarket carbs come with their own plunger which is a little different from the OEM one if it wasnt installed when the carb was put on that could be your running problems, if the choke plunger is too long or to short, you could either be to rich or to lean. You could try putting the choke in part way no screw all the way down and see if that makes a difference.
-
It could also be user error i have only used it a couple of times, the first time went very smoothe the next the tim bead was out of shape from shipping and was a little tough so maybe not the duckheads fault at all. The one that says it works for ATV UTV it may not be any different but thought i would try it. https://www.amazon.com/gp/product/B0F9W2FZLM/ref=ox_sc_saved_title_4?smid=AQJSZVV7QMP3E&psc=1
-
Thanks for the tip Quad4, i did get one of those very similar to the link you sent. It worked, not quite as well as i thought. The duckhead didnt seem to fit the small ATV rim like it should it seemed to be designed more for the larger car rims. I did find a duckhead that claims to be for an ATV rim but havent got around to ordering it yet.
-
The electrical wire appears to be hooked to a carb heater but cant really tell where the other wires go. I thought it might be to an anti drainback valve but i dont see one on the carb unless its internal. I dont see how that would affect the neutral light unless it was grounding out the whole system in which you should notice other more serious problems. I have never seen one with the neutral wire wired into that circuit.
-
There should be a vent line coming off the transfer case, but if you can stick your finger in the hole and touch fluid you are ok.
-
I agree with Dave, trace the black wire and you will probably find your problem. Probably shorting out.
-
Oh! I have on of those bought it for trips many years ago, mine never kept drinks very cold but better than nothing. I would usually just put some ice in there, i like really cold drinks, just below freezing. Hopefully they have improved them over the past 25 years.
-
A liitle behind the times, im not sure what a car refrigerator is.