Leaderboard

Popular Content
Showing content with the highest reputation on 06/08/2018 in all areas
-
I just bought a 2018 Can Am 570 Outlander and was hoping to try to find a way to convert a Can Am 2-up seat that I picked up on Craigslist to my new machine in some fashion. No way to do it without the seat sitting up 8-9 inches above the main seat. Scrapped that Idea but decided to try to convert it to my Honda Rancher. Also in a way that would allow me to remove it quickly and allow access to my battery compartment if necessary. Here's what I came up with. Since the seat has two fork like protrusions on the front underside I needed to come up with something that they would lock into. On rear underside there is a spring loaded handle that allows it to lock onto a 3/8" round bar. I wanted the bar that the front part of the seat locked into to also be removable so I came up with a design for the bar that would slide onto the front side of the rear rack and pin into place using the rack itself as the mounting base. Then I welded a couple pieces of 3/4" pipe to the rear part of the rear rack with a piece of 3/8" solid bar stock onto the front of the two pieces of pipe that were welded to the rear section of the rack. The forks of the seat lock into the front bar, the pipes at the back not only support the rear part of the seat but act as a centering guide for the two locking mechanisms that lock onto the 3/8" bar stock. When it is locked into place it is extremely solid and has no way of coming loose except when I release the spring loaded handle. And it actually doesn't look too bad when installed either. Plus, the front side of the rear seat acts as a back rest for the small of the drivers back, pretty cool.1 point
-
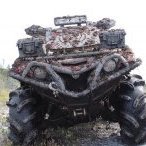
Just a few clips of yesterday with the NL Mudjunkies!1 point
-
1 point
-
1 point
-
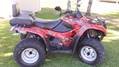
Thanks, Always fun to see a thought come to fruition, wasn't exactly sure how it was going to come out but I couldn't let the 2-up seat pass by and not try to put it to use. I had been looking at them on line and they were between $565.00 to $585.00 USD. So when I saw this one on Craigslist for $60 I jumped on it. I bought $20 worth of metal and the welding didn't cost me anything but time. Having a jump seat so to speak made for the Can Am and I'm modifying a backrest from an office chair to mount to the rear rack of the Outlander. When done it will look good and will be easily removable as well. We don't always ride double on our machines and it is nice to be able to take those things off with the least amount of effort. Will post some pics when it is done as well. But for now here is some pics of the New Can Am. I found it on Craigslist as well, it only had 50 miles on it, and still under warranty, The guy got into trouble with his wife for having so many toys, He wanted a new ski boat and she said something had to go so he decided that the brand new 2018 ountlander was the item he would part with. Plus he brought it all the way from Boise Idaho to me, (500miles) saved me 16 hours of drive time. Looking forward to getting out with it, trails open up here on the 16th, hope to have my seat back before th en so I can get my back rest finished up, The upholsterer is doing the back rest as well. My brother brought over his little Suzuki Ozark, this is how my 570 would probably look parked nose to nose with an Outlander 1000😁1 point
-
You might be able to find some rubber cups the right size in automobile parts and just hone / clean up your old cylinders rather than try replacing them with new . Here is an ad on Amazon.com for rebuild kits for your cylinders .. Pricey at $39.95 a side though . https://www.amazon.com/Front-Wheel-Cylinder-Repair-OCP-06-502/dp/B00Z70L2LY There are also other advertisers on the Amazon.ca site listing them , but at US prices and of course insane shipping charges from the US. If you're in Canada , get a friend inthe US to order them for you and they get free shipping . Shouldn't cost a bundle for them to parcel post on to you; or if you can do down for a visit and pick them up there .1 point
-
When I clean a pickeral I make the following cuts. * angled but verticle from belly to behind head. * from behind head to rear dorsal with knife ripe only following the rib cage not cutting through it. * at rear dorsal penetrate knife through along spine exiting in bottom center line tail side of the anus * follow spine to remove fillet to tail. * back to head of fish, feather (follow ribs) our the rib cage. Remove fillet from carcass. * skin the fillet. * at this point laying the fillet flat running you hand along it you will still feel bones. These can be removed by making a VERY narrow V out of the fillet just above and below the lateral line about the length of the rib cage This leaves the fillet looking “forked” at the shoulder to about half way back on the fillet but boneless. ive seen other techniques that seem to be faster where they slab off the side ribs and all lift the first few ribs and pull them out which also removes these additional bones, then skin it. It seems way faster. I tried but seem to rip off too much meat1 point
-
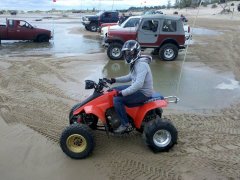
We've highlighted some of the wheelie photos in our gallery posted by members. Check out some of the photos and be sure to post your wheelie photos here!1 point
-
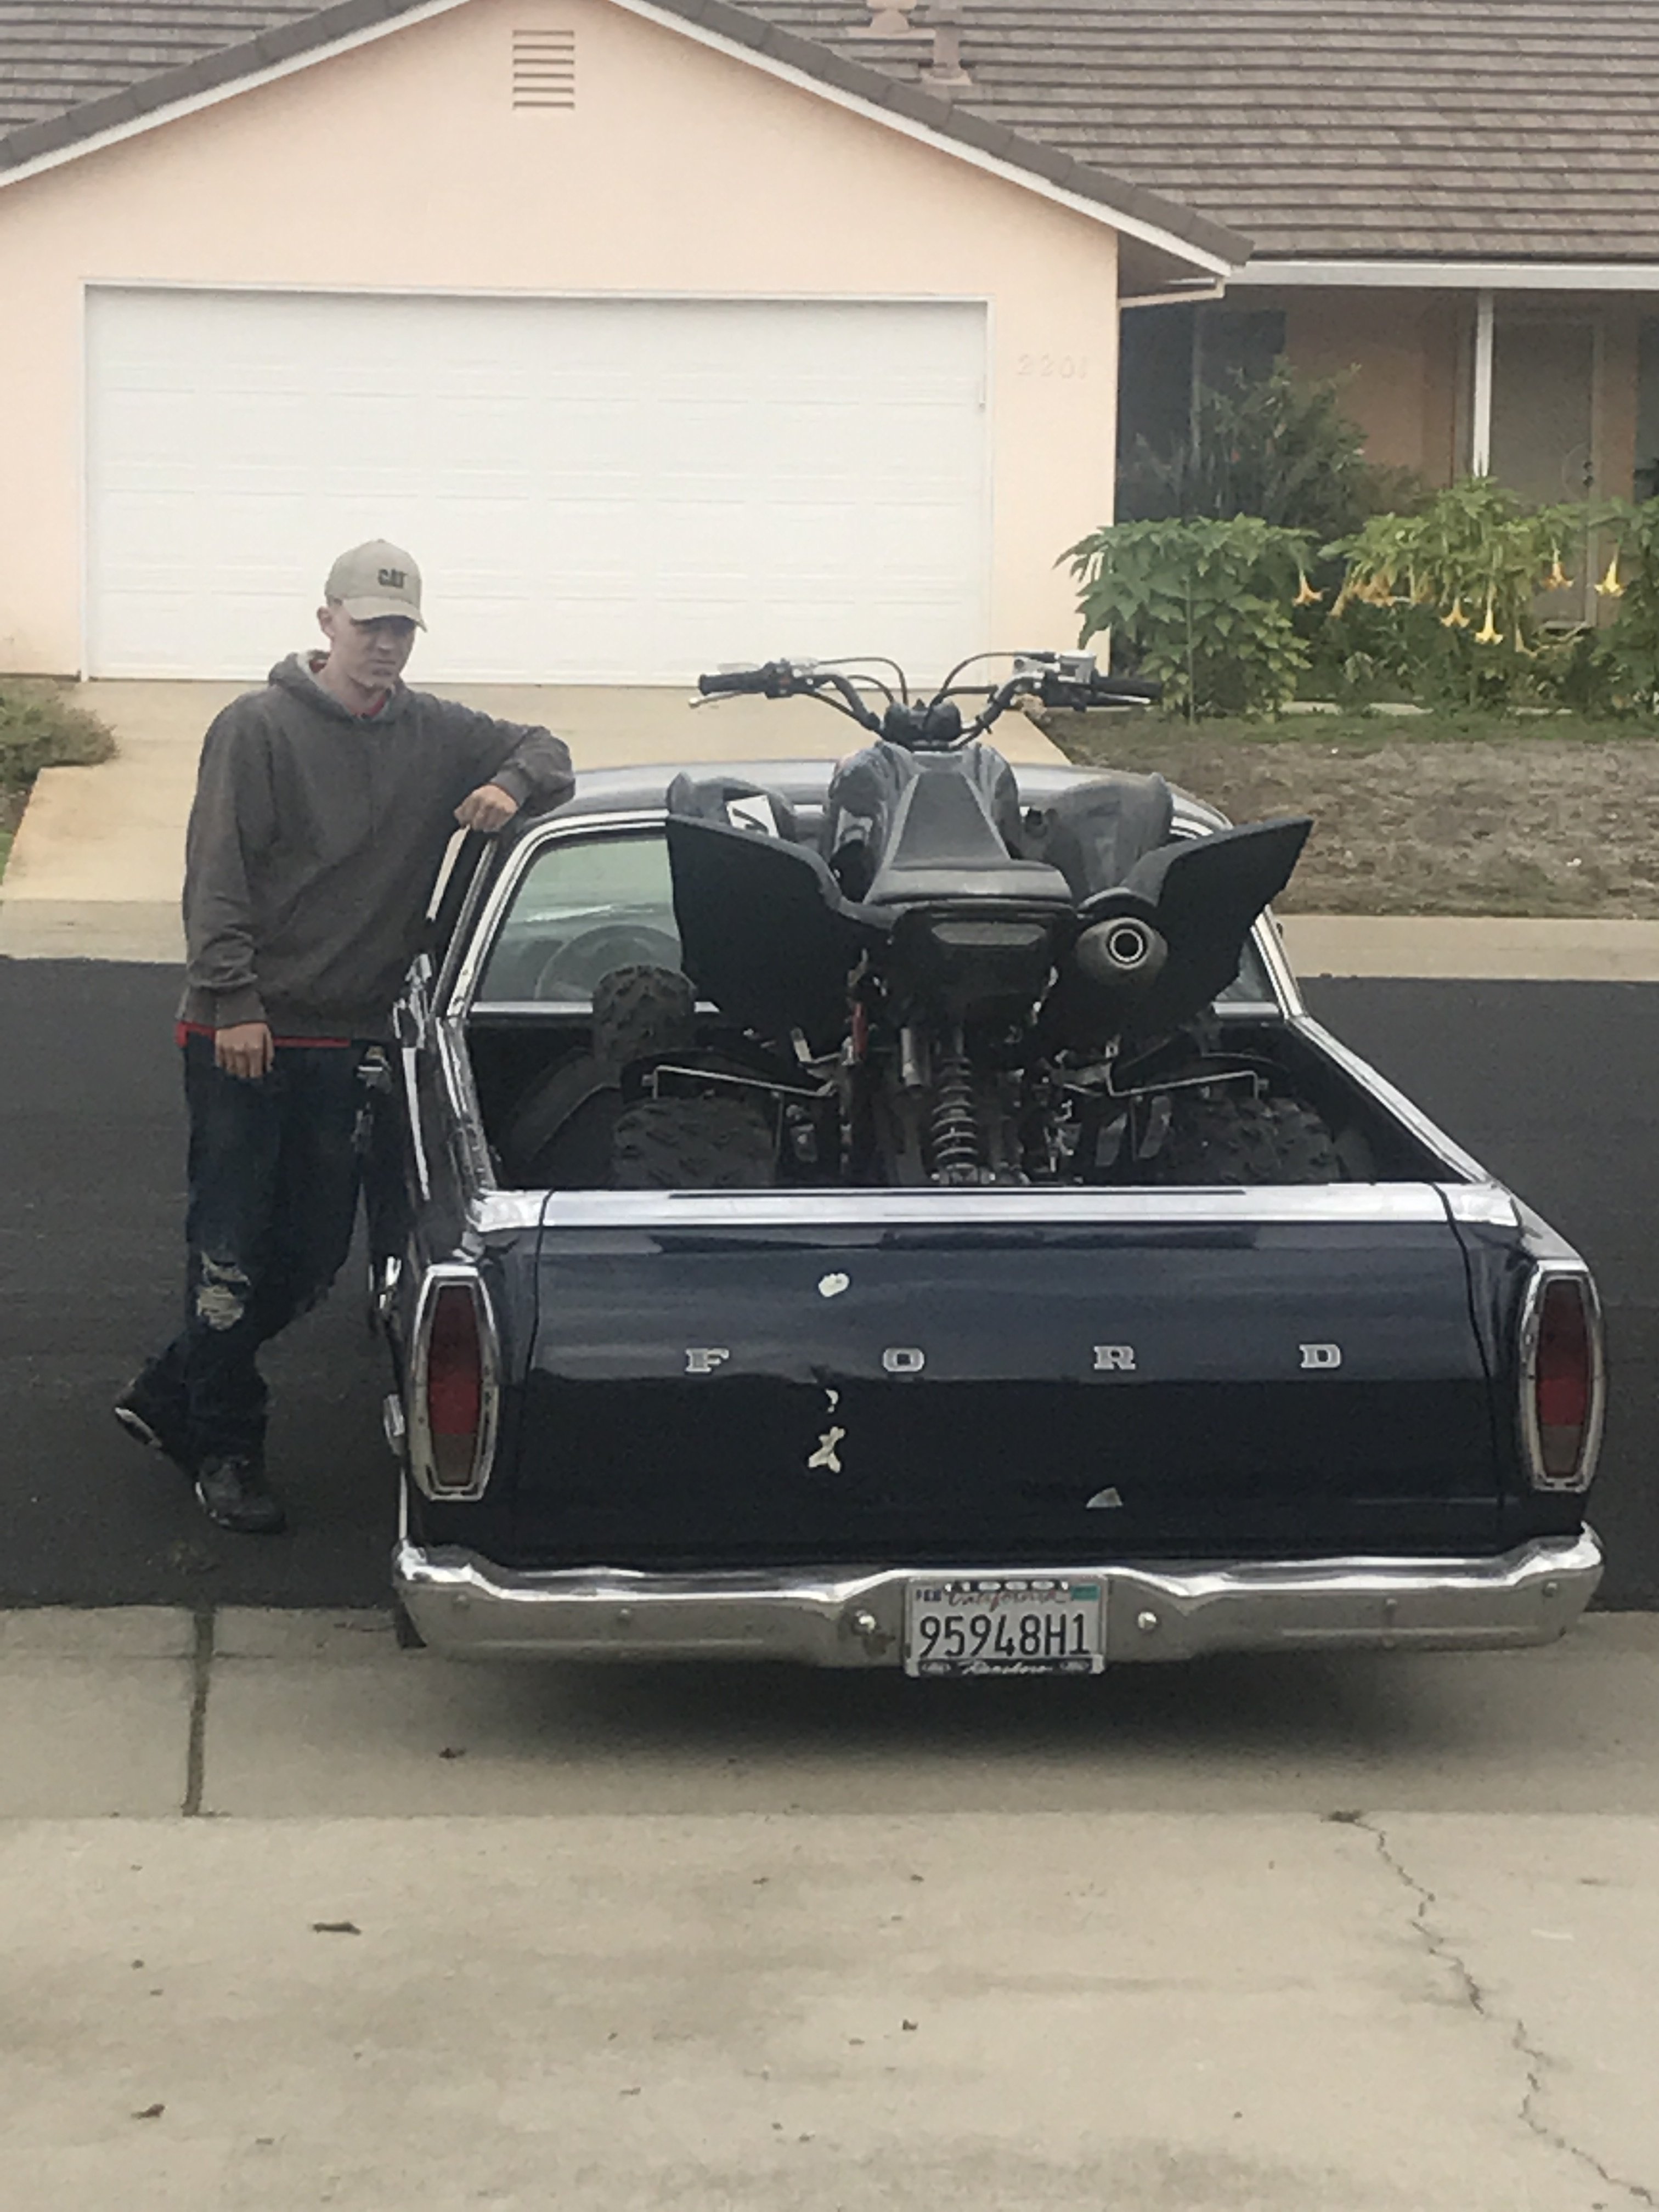
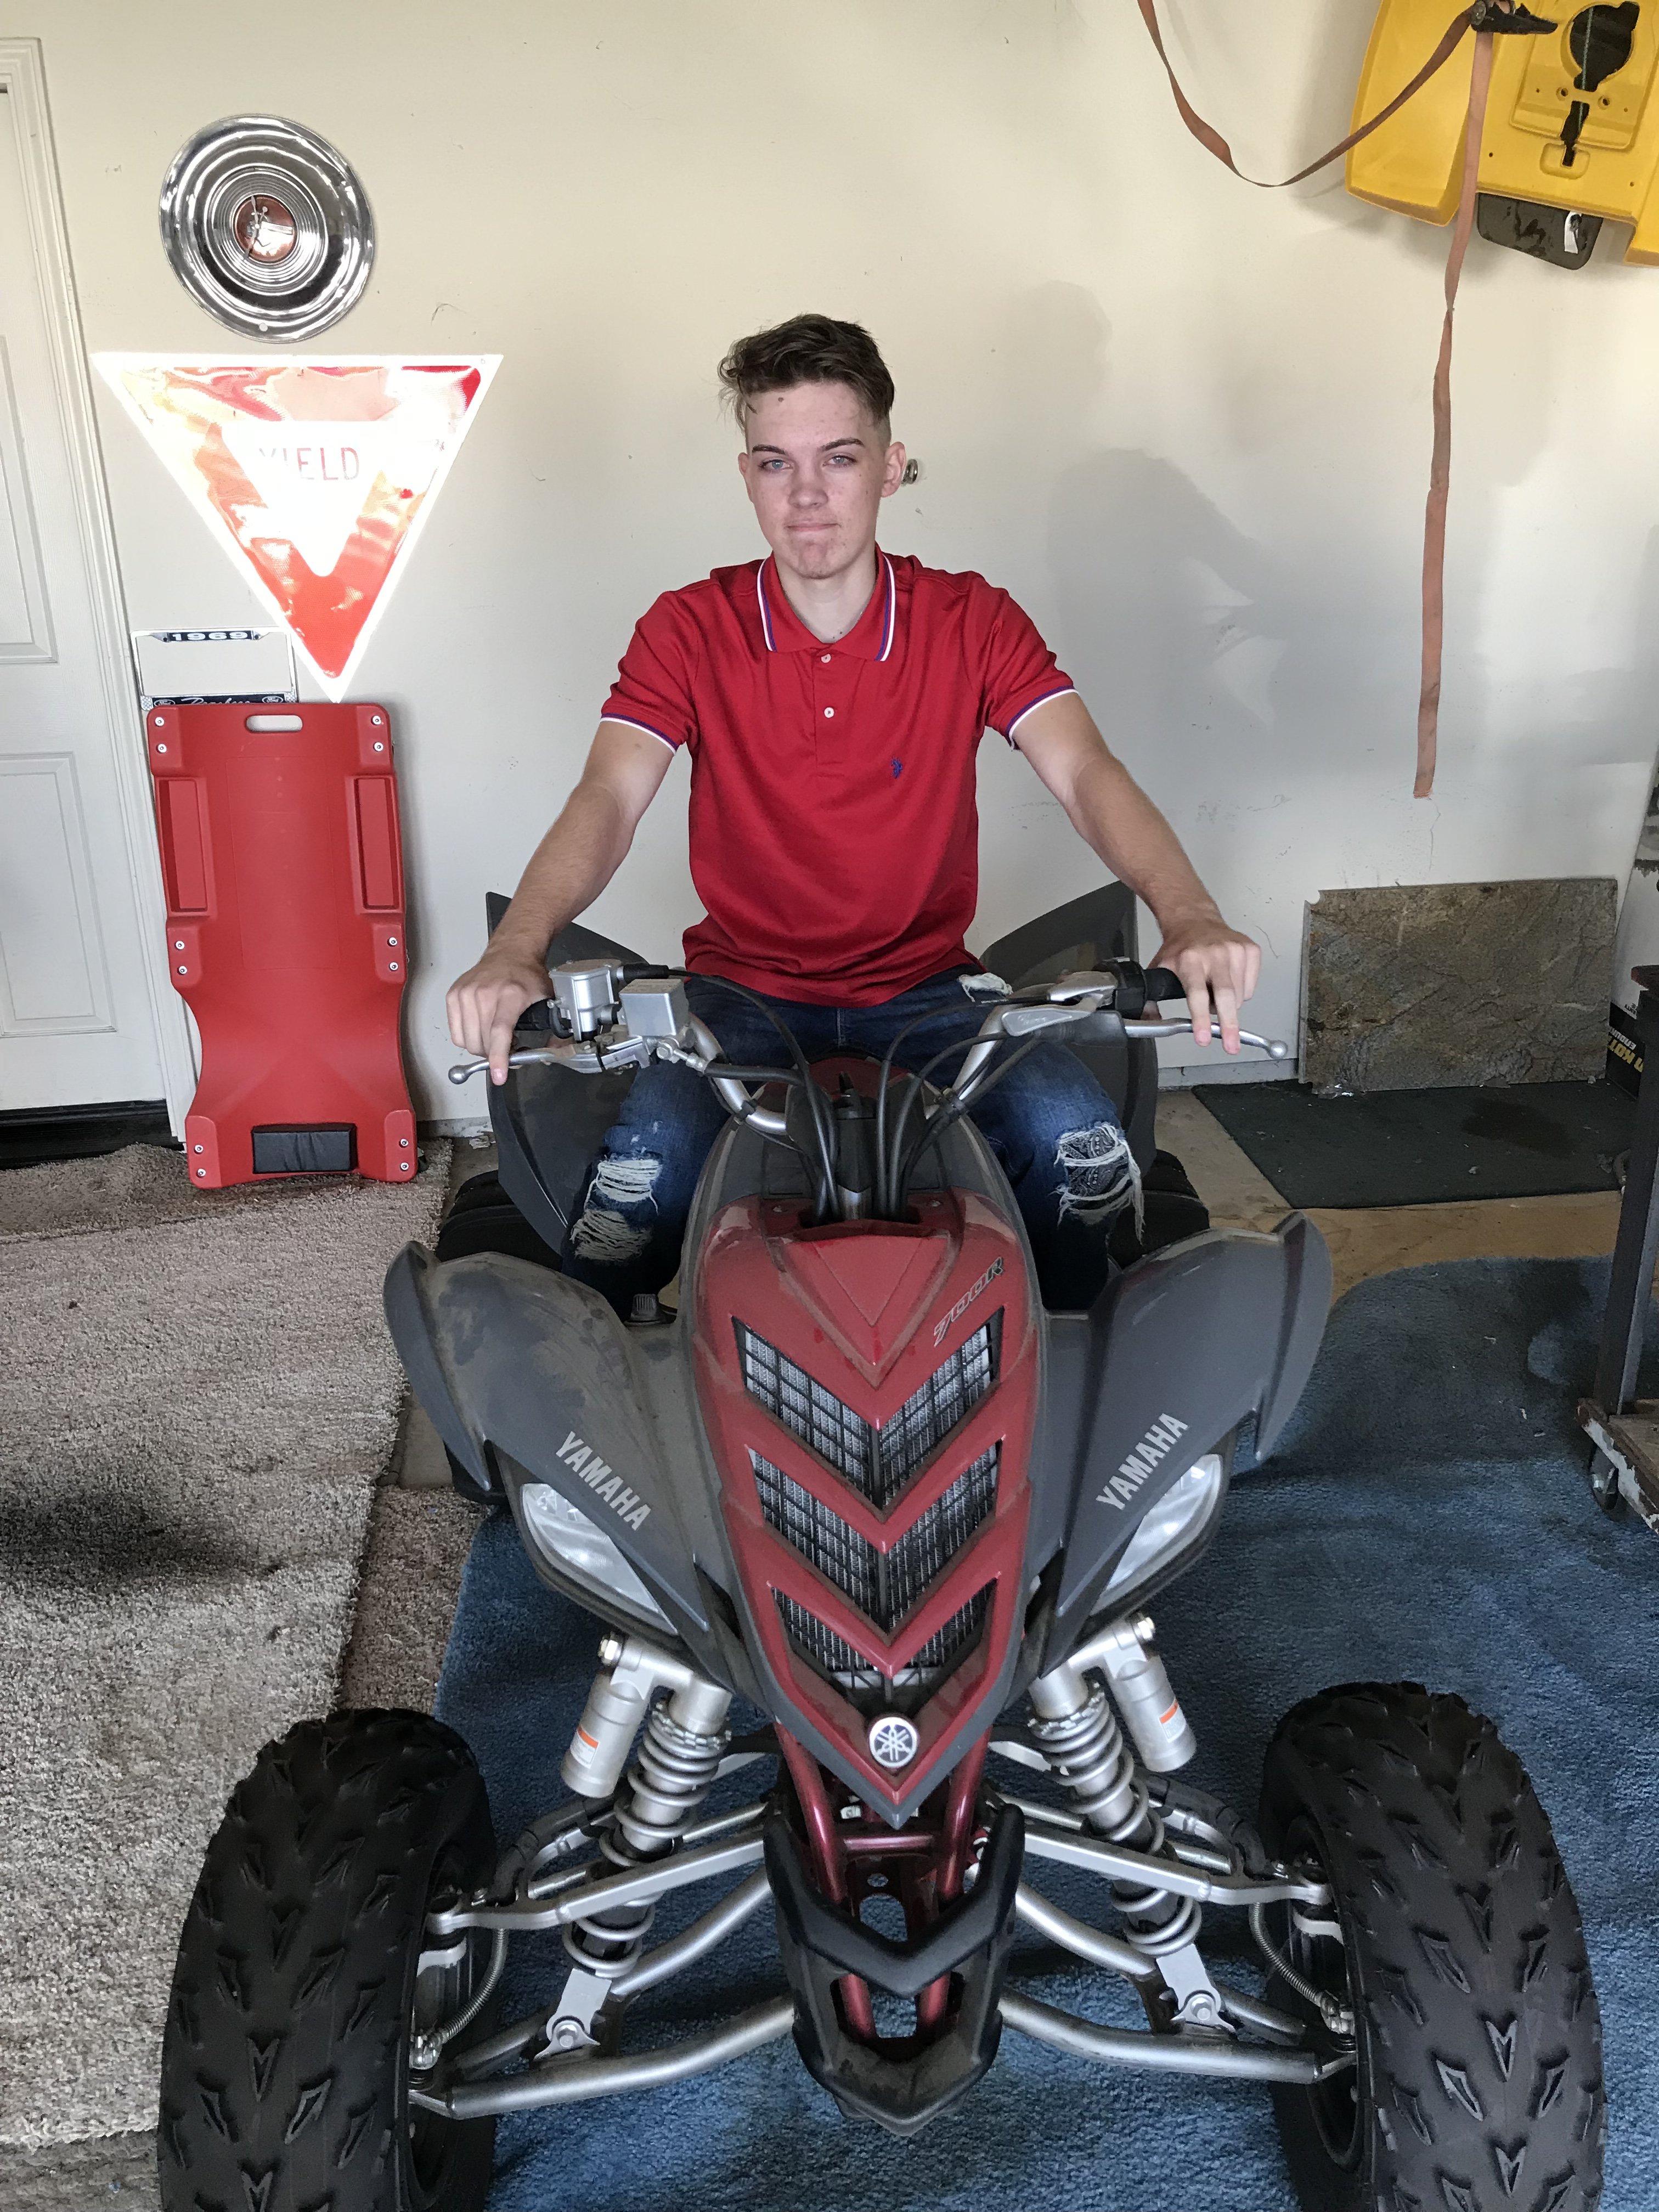
When he turned 16 I gave him the Raptor 700R. We had to basically rebuild the fuel pump, install new injector and new battery. Fired right up!! That POS had been in the garage untouched since 09. I hate that thing. He loves it though.
 1 point


This leaderboard is set to New York/GMT-04:00

-
Topics
-
-
Gallery