
Frank Angerano
-
Posts
3,925 -
Joined
-
Last visited
-
Days Won
209
Content Type
Profiles
Forum
Gallery
ATV Magazine
Events Calendar
Downloads
Store
Community Map
Everything posted by Frank Angerano
-
Wow that’s filthy !!!! I would wash it down as best possible and start checking things out. Make sure there is oil and the fluids are good. 1. See if the engine turns by pull starter or crank. If the engine cranks then that’s a good sign. Pull the spark plug to make it easier, and spray some WD 40 into the spark plug hole. If it’s seized up then it’s a problem and the heads going to have to come off at the very least. 2. Drain the oil and inspect it for metal particles that could be from a blown crank bearing. 3. Take a compression reading (if possible) 4. Pull the carburetor off and rebuild/clean it and put it back on and see if it will fire up. (But this only applies if the motor turns) You can connect a battery and jump it If you want so you can really crank it over as well. If the previous owner said the engine is dead it could be from a blown piston or a main crank bearing or the transmission is blown. So the engine may run but the bike does not move or vice versa.
-
I don’t think it would advantageous to do that since the harness does not have that feature built in. The heater comes on based off of a thermostatic sensor that tells it to turn on and off. It’s manageable to do and could be done I guess but it’s prob not worth the effort especially based on where you live.
-
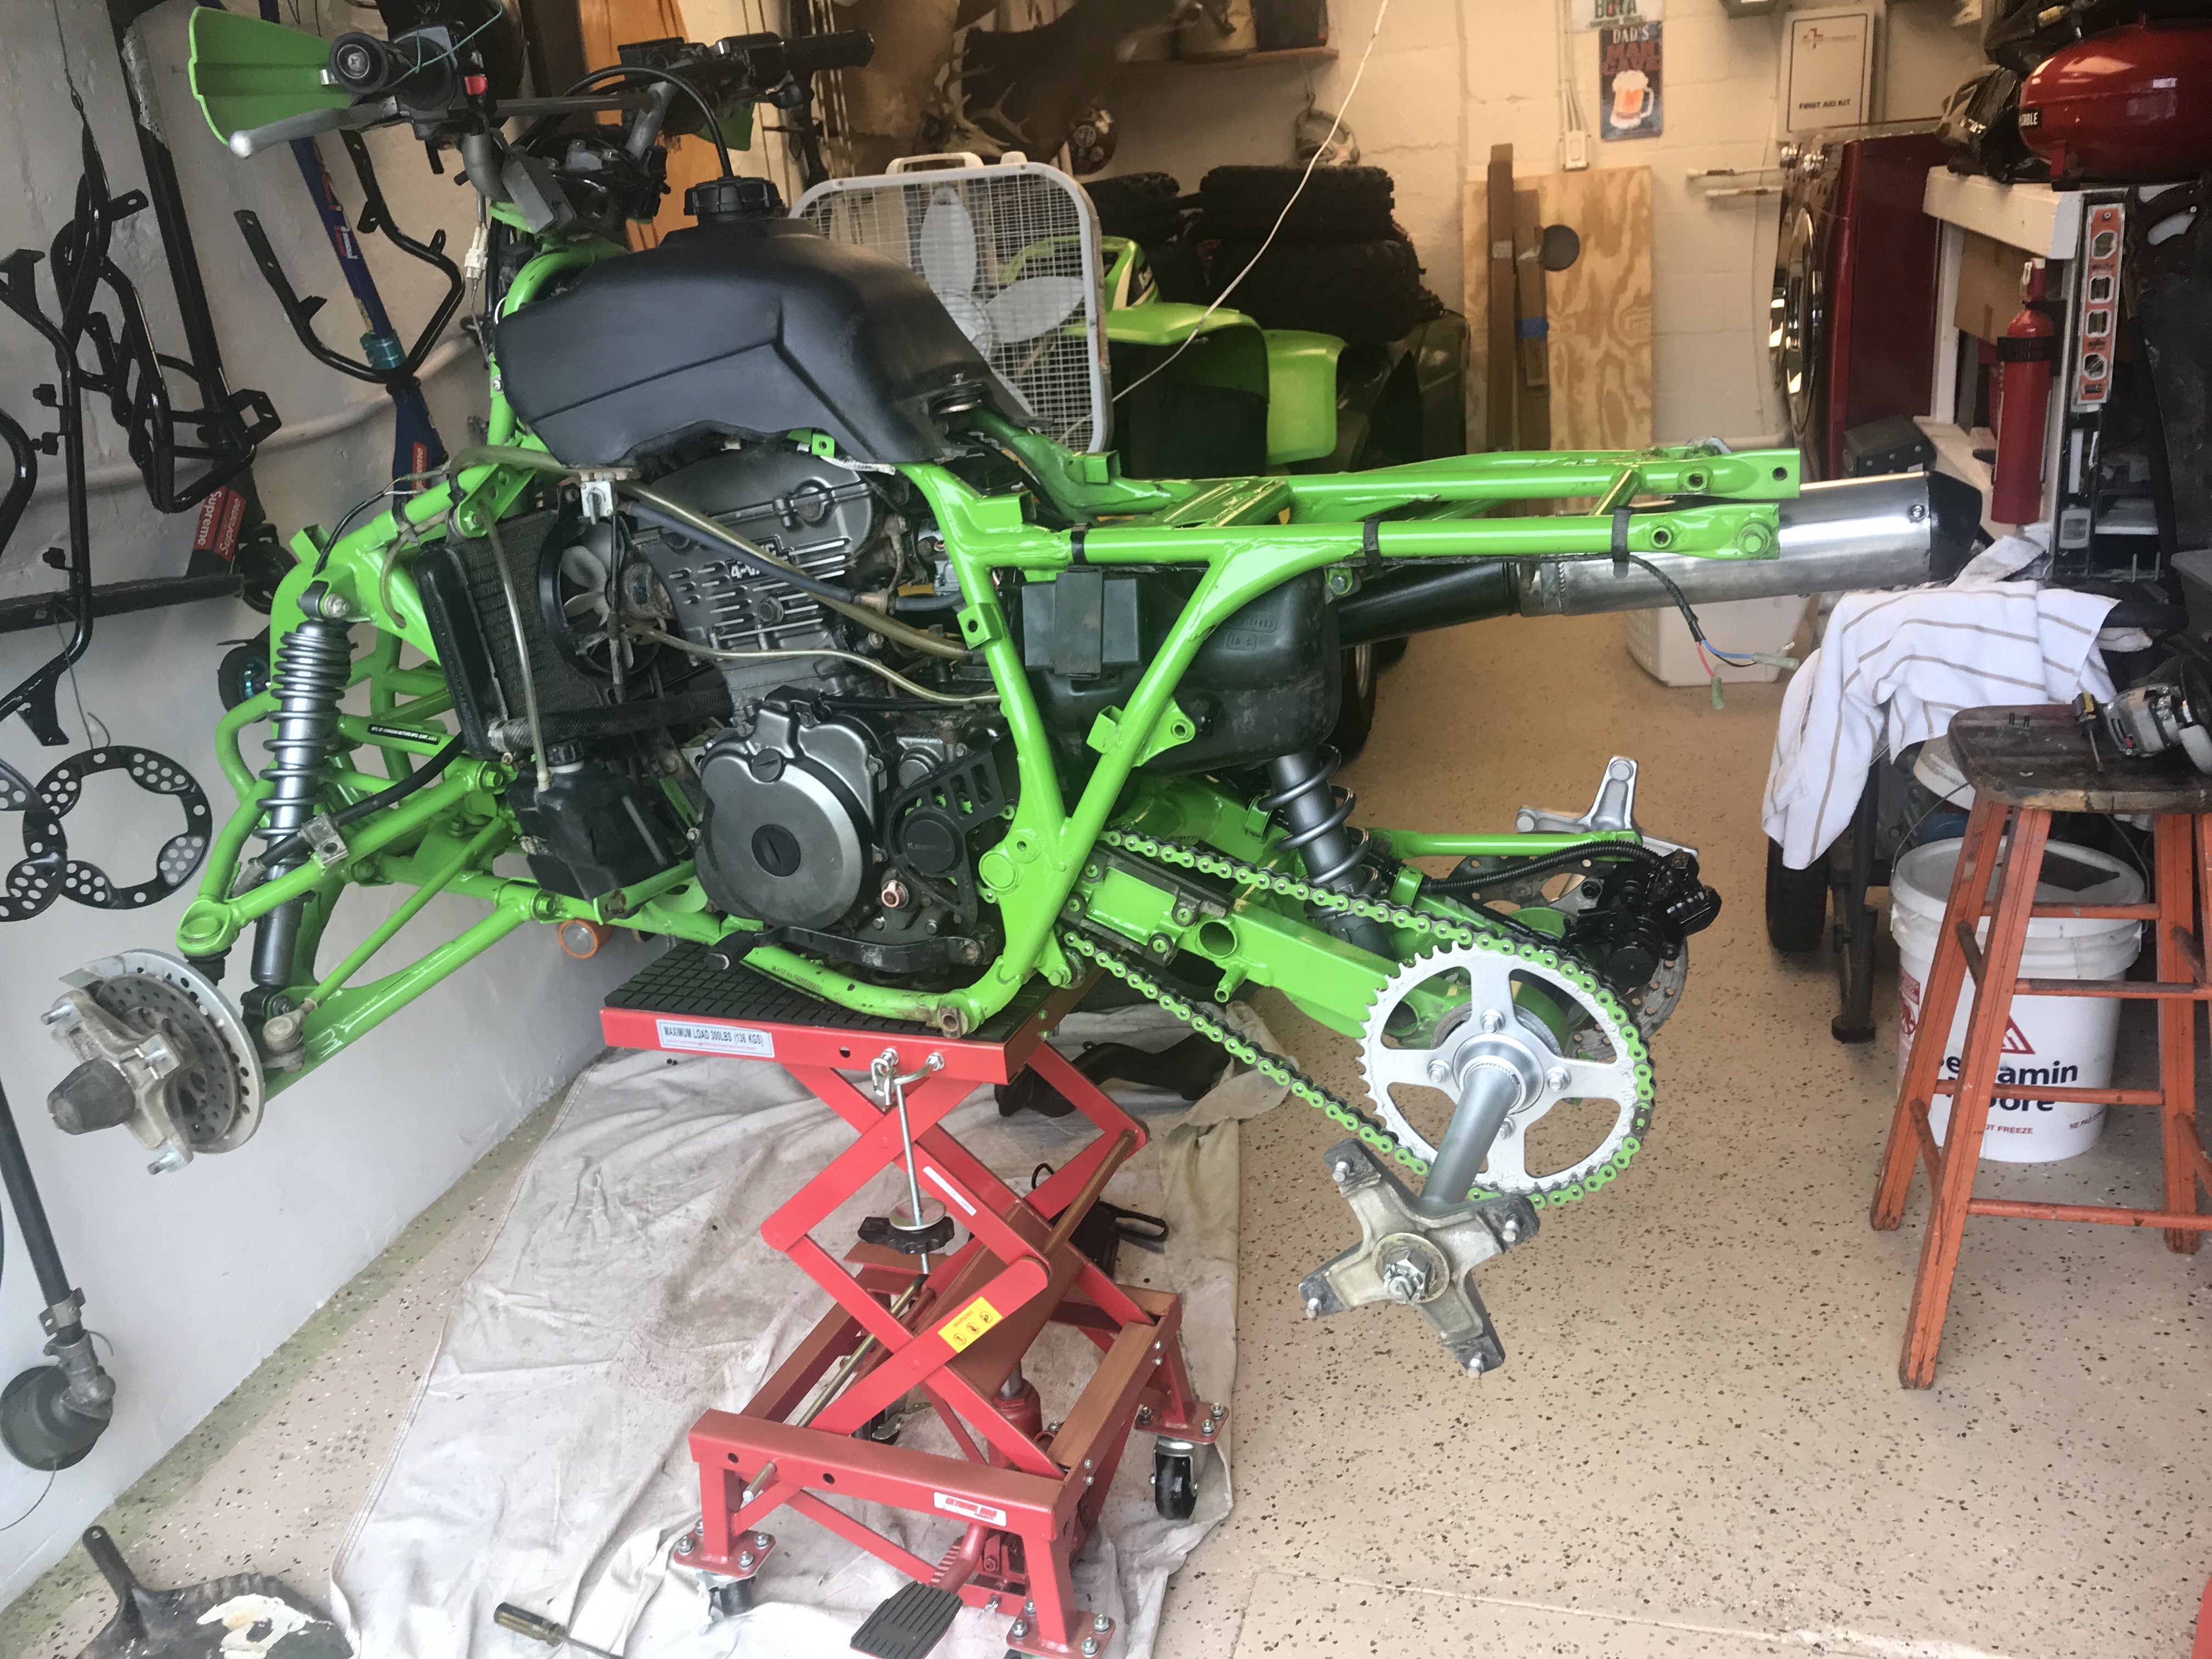
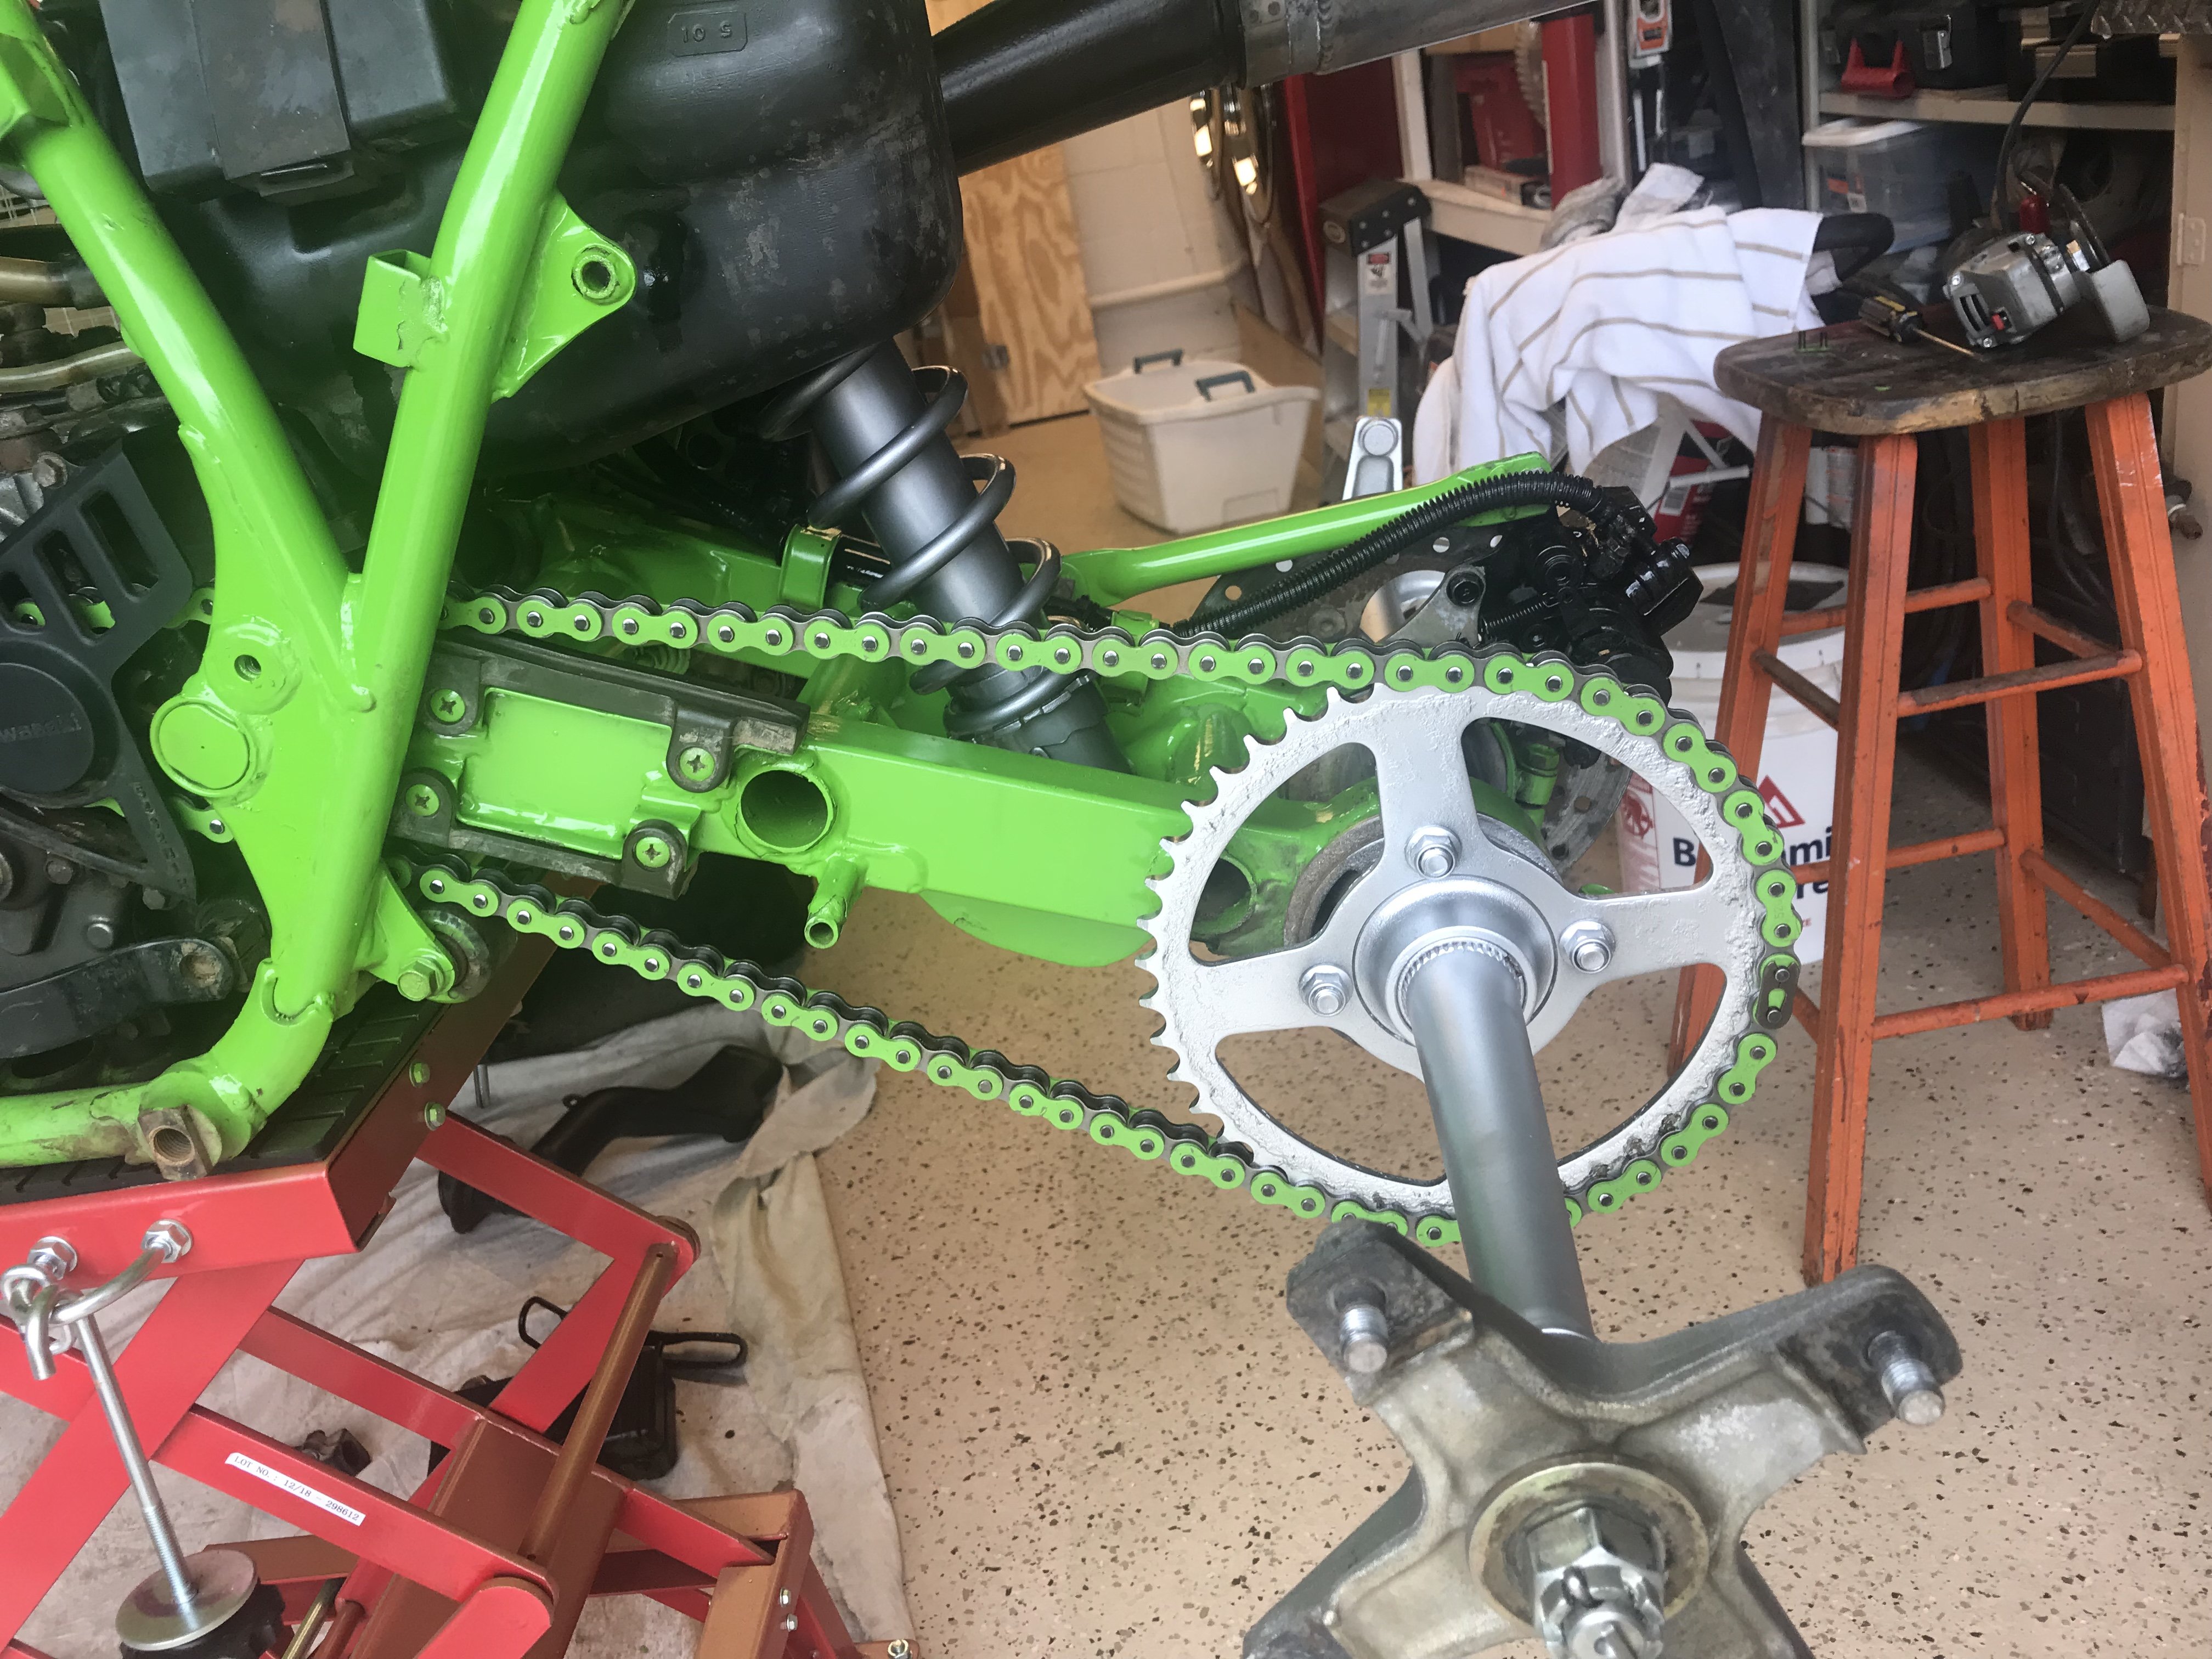
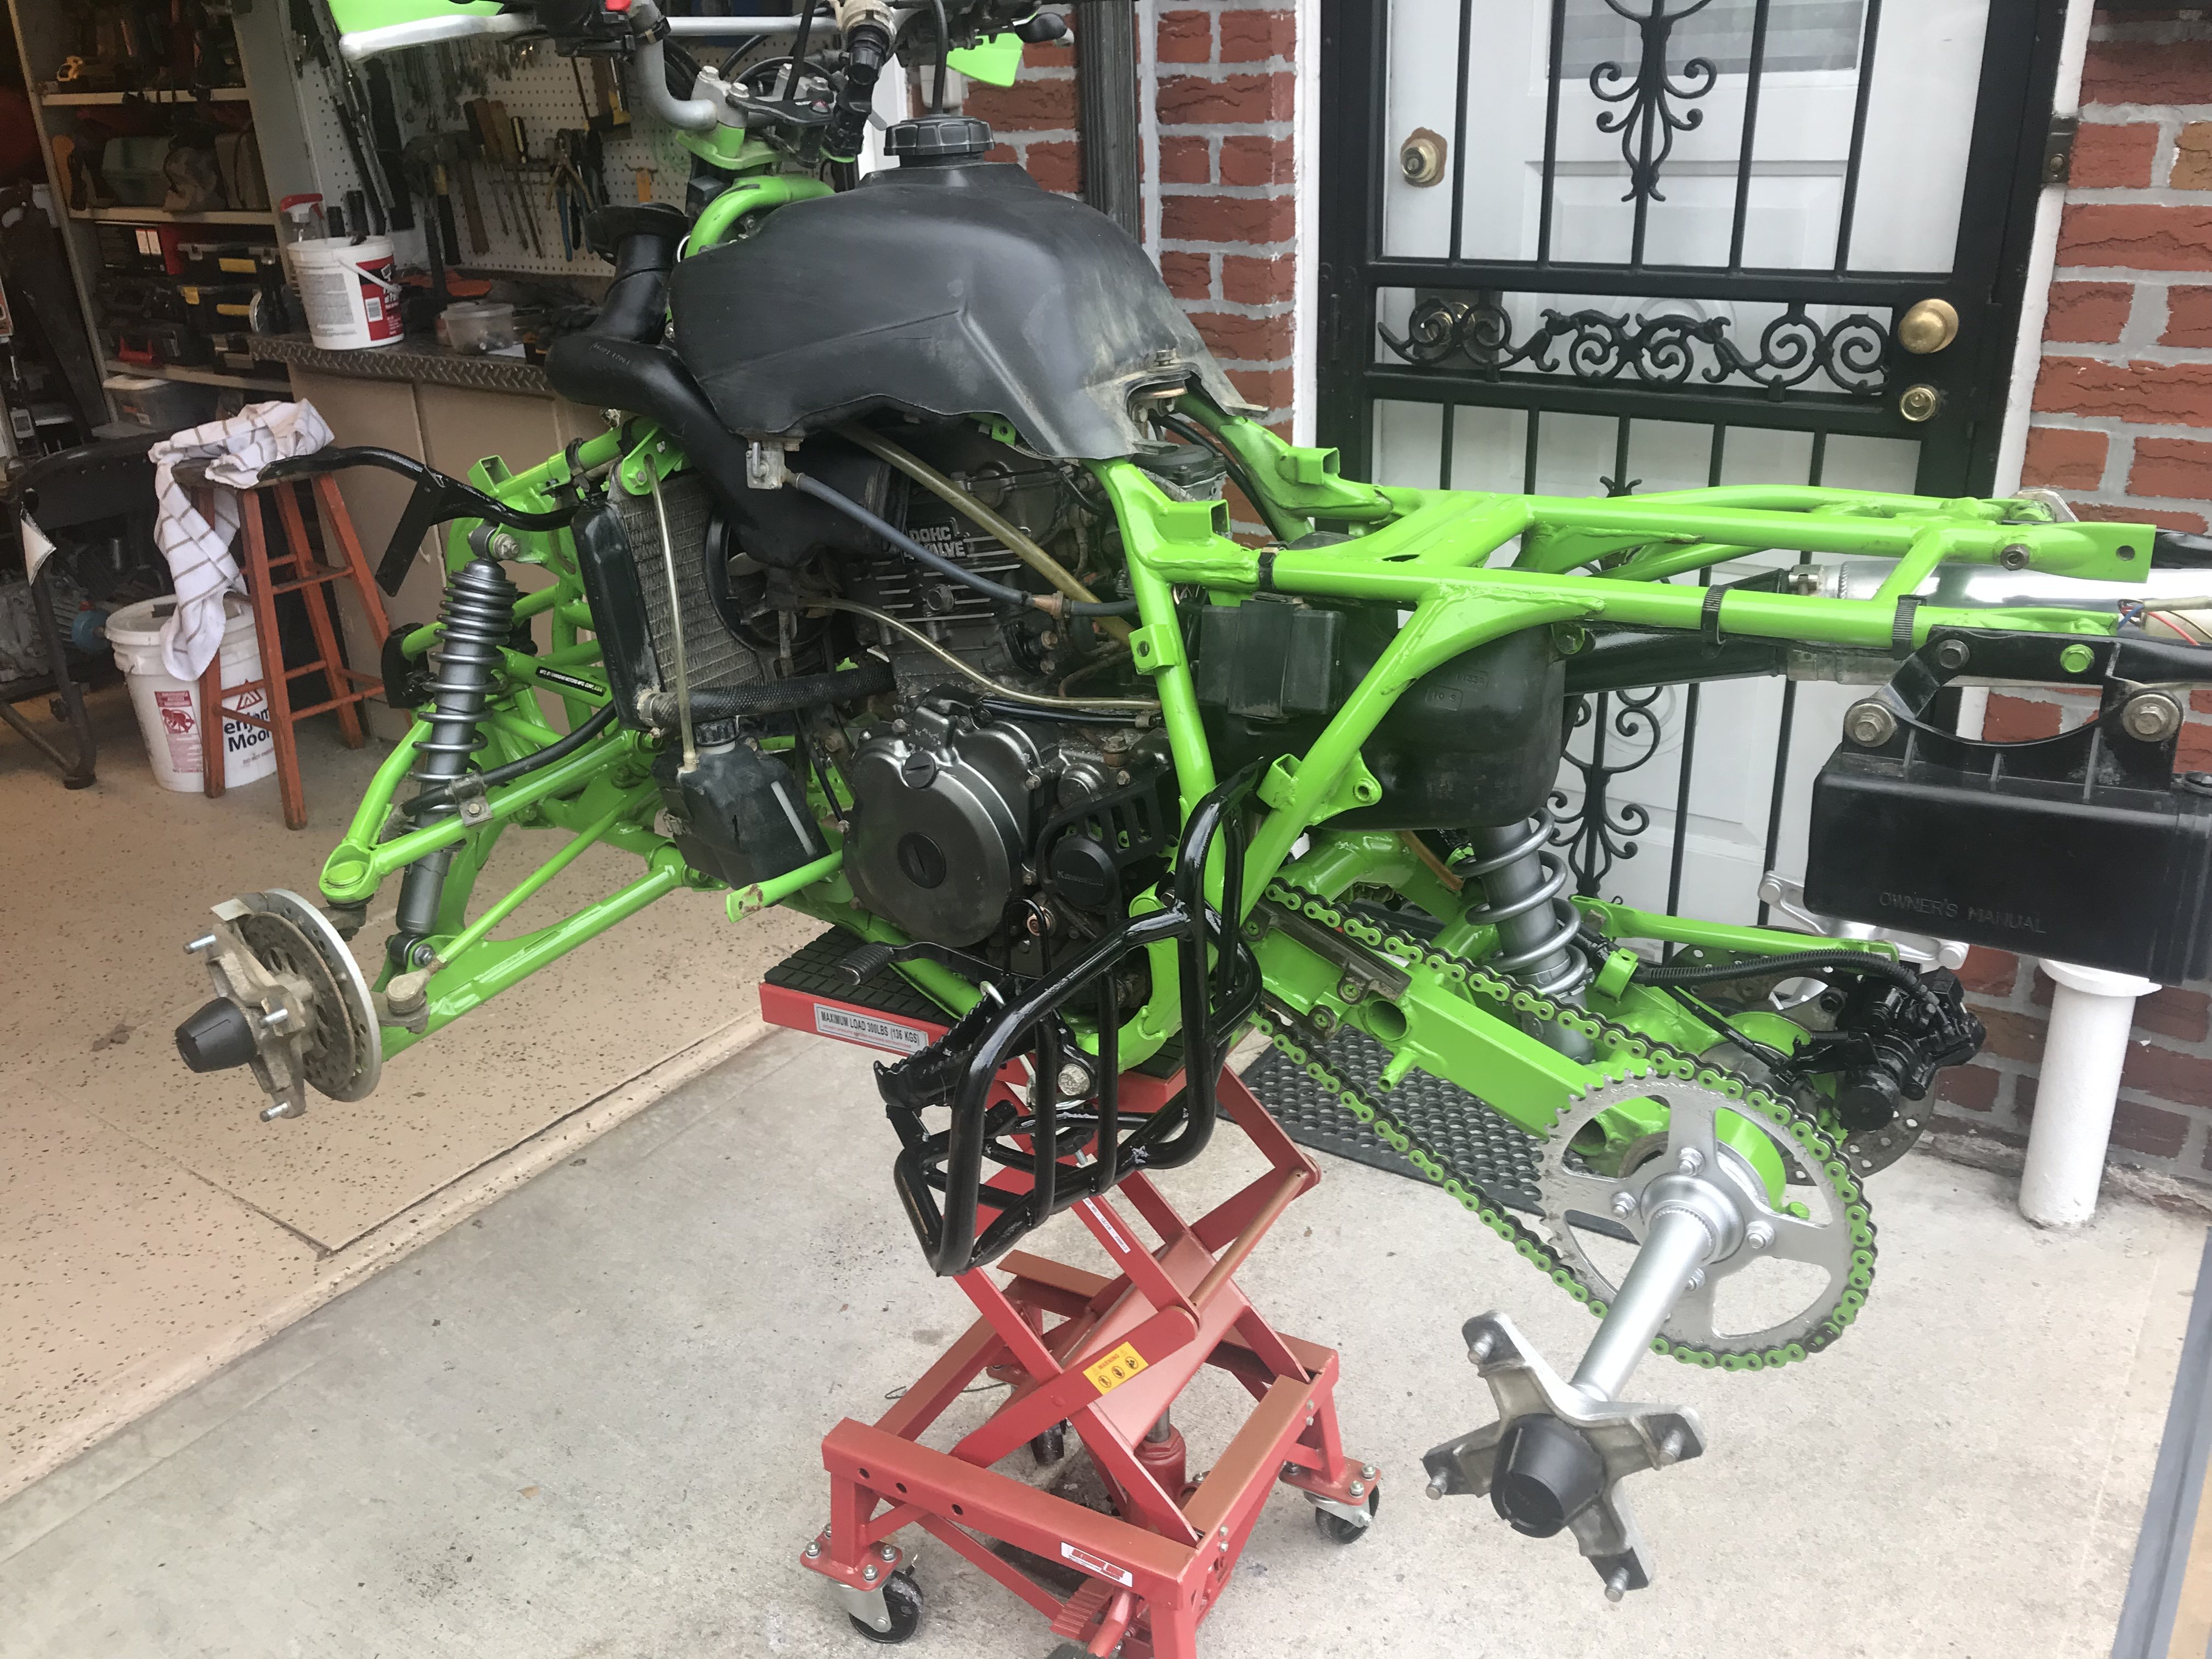
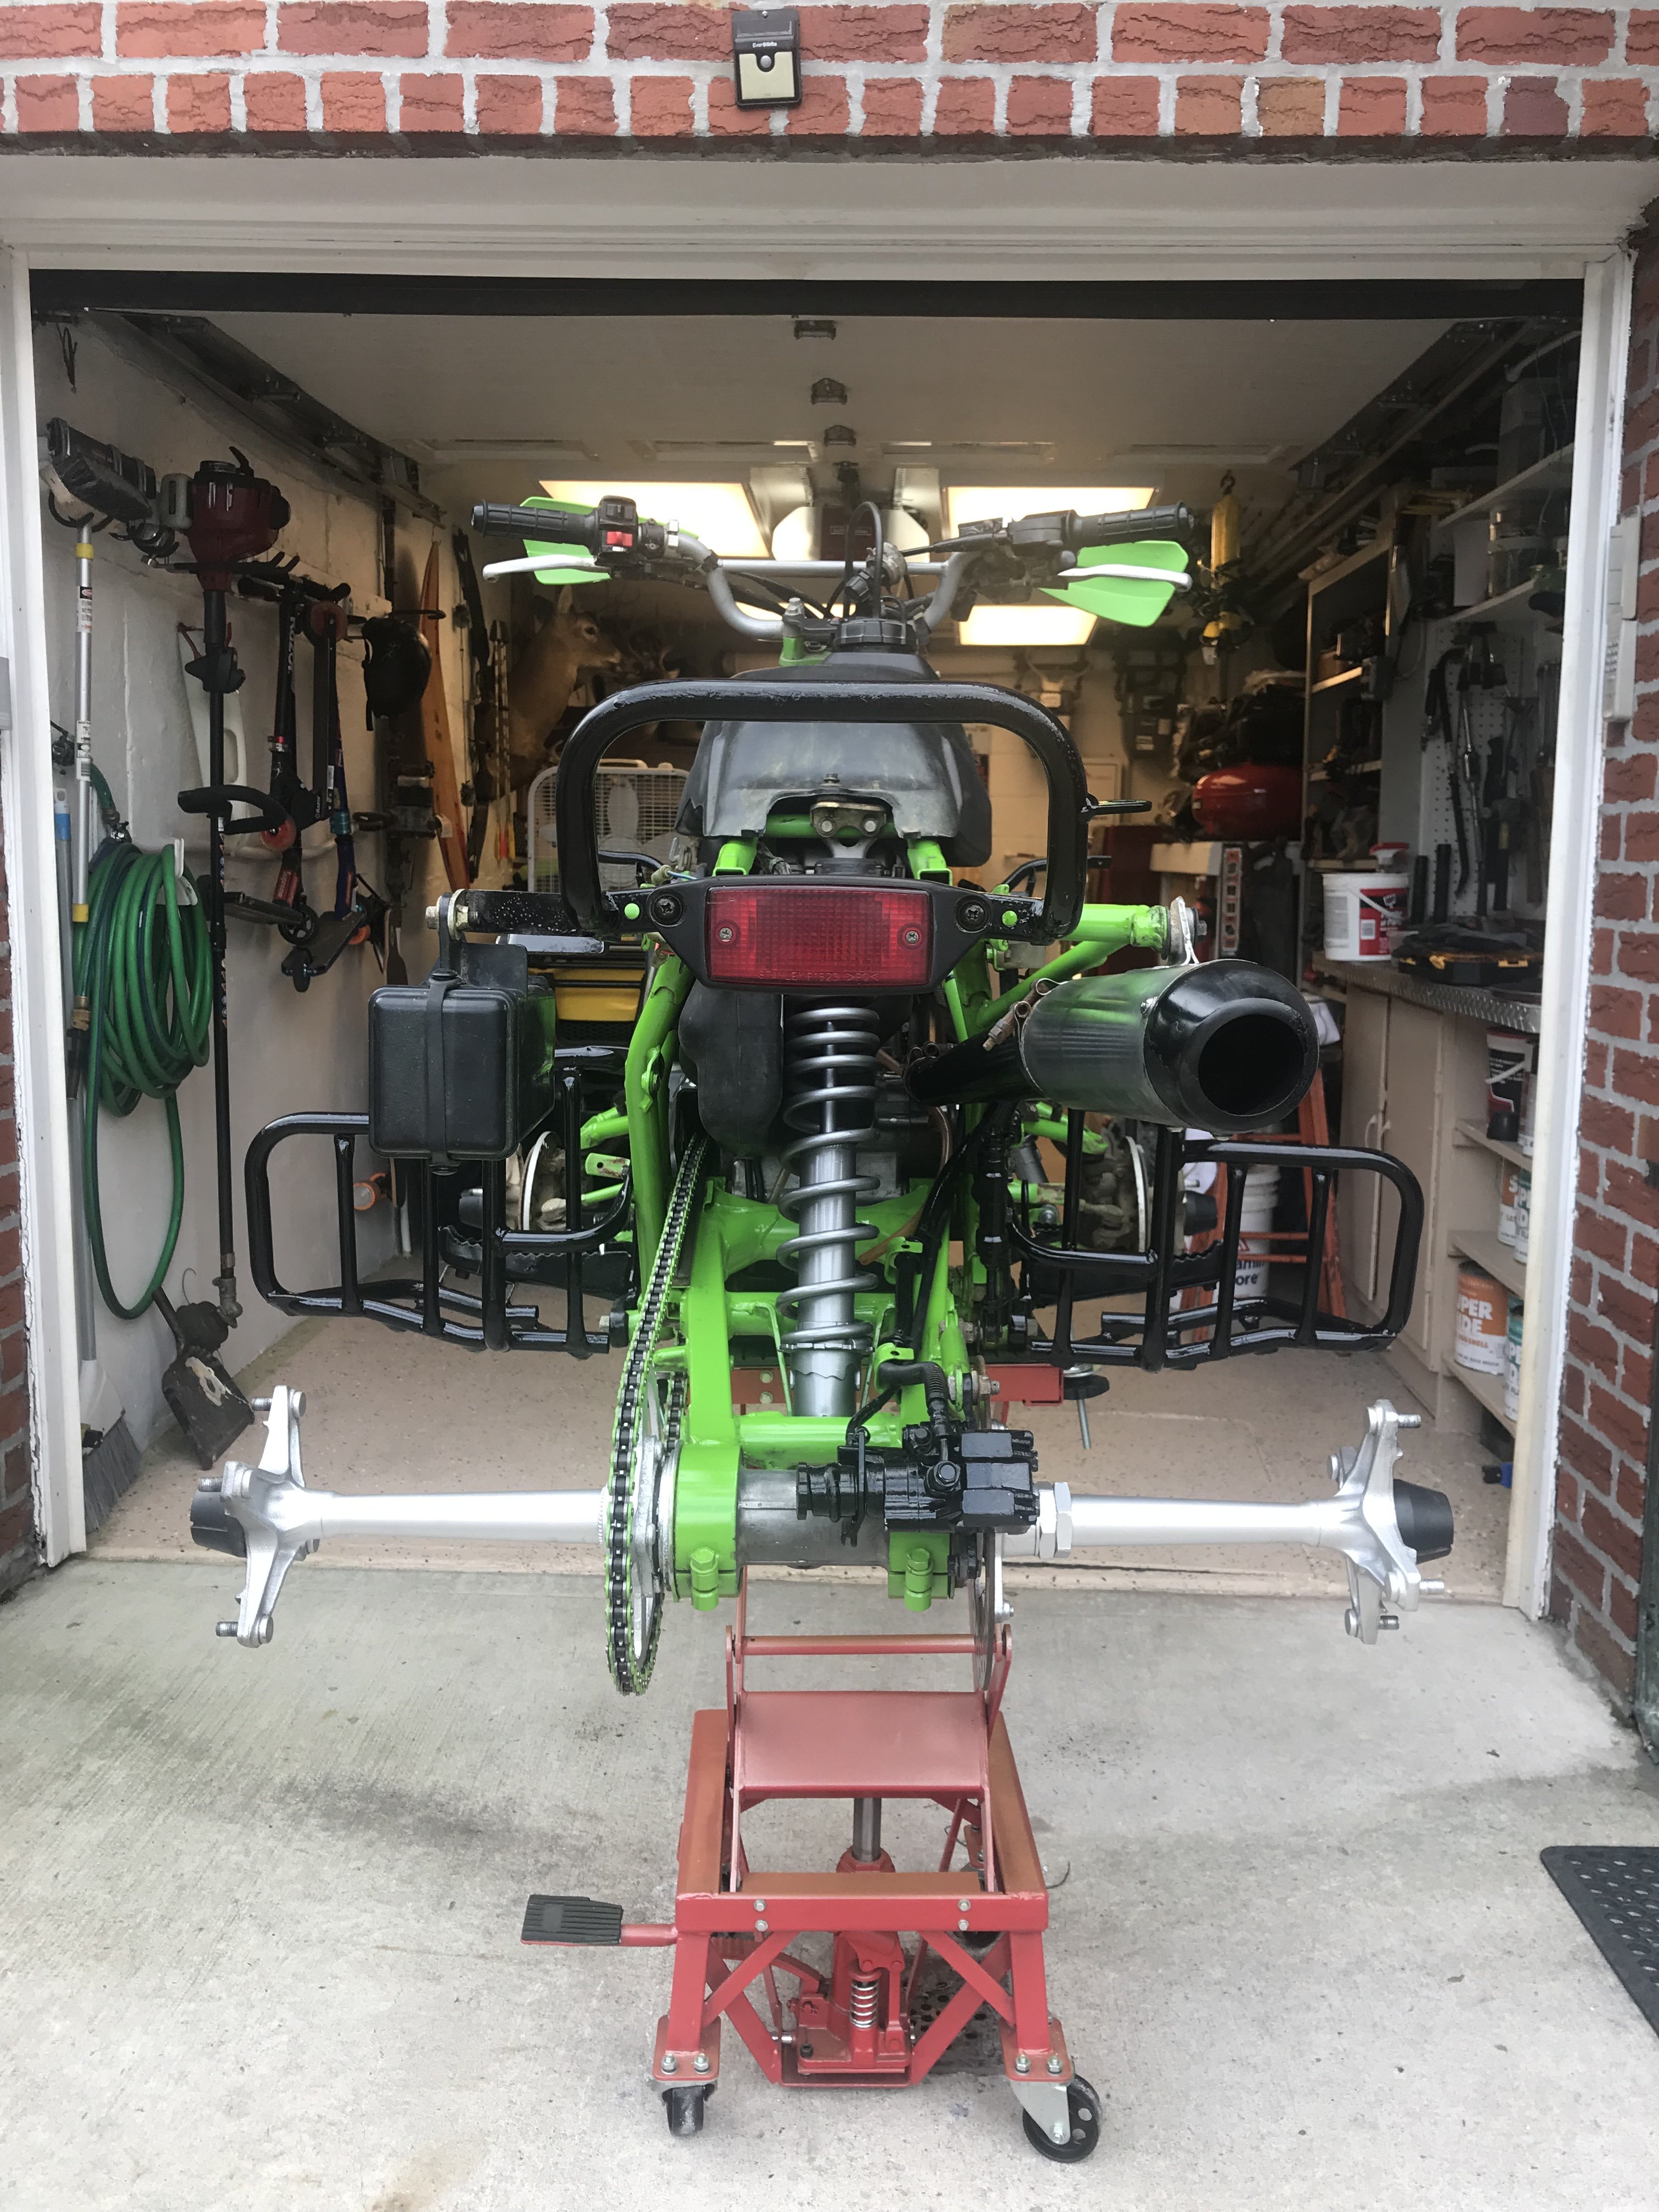
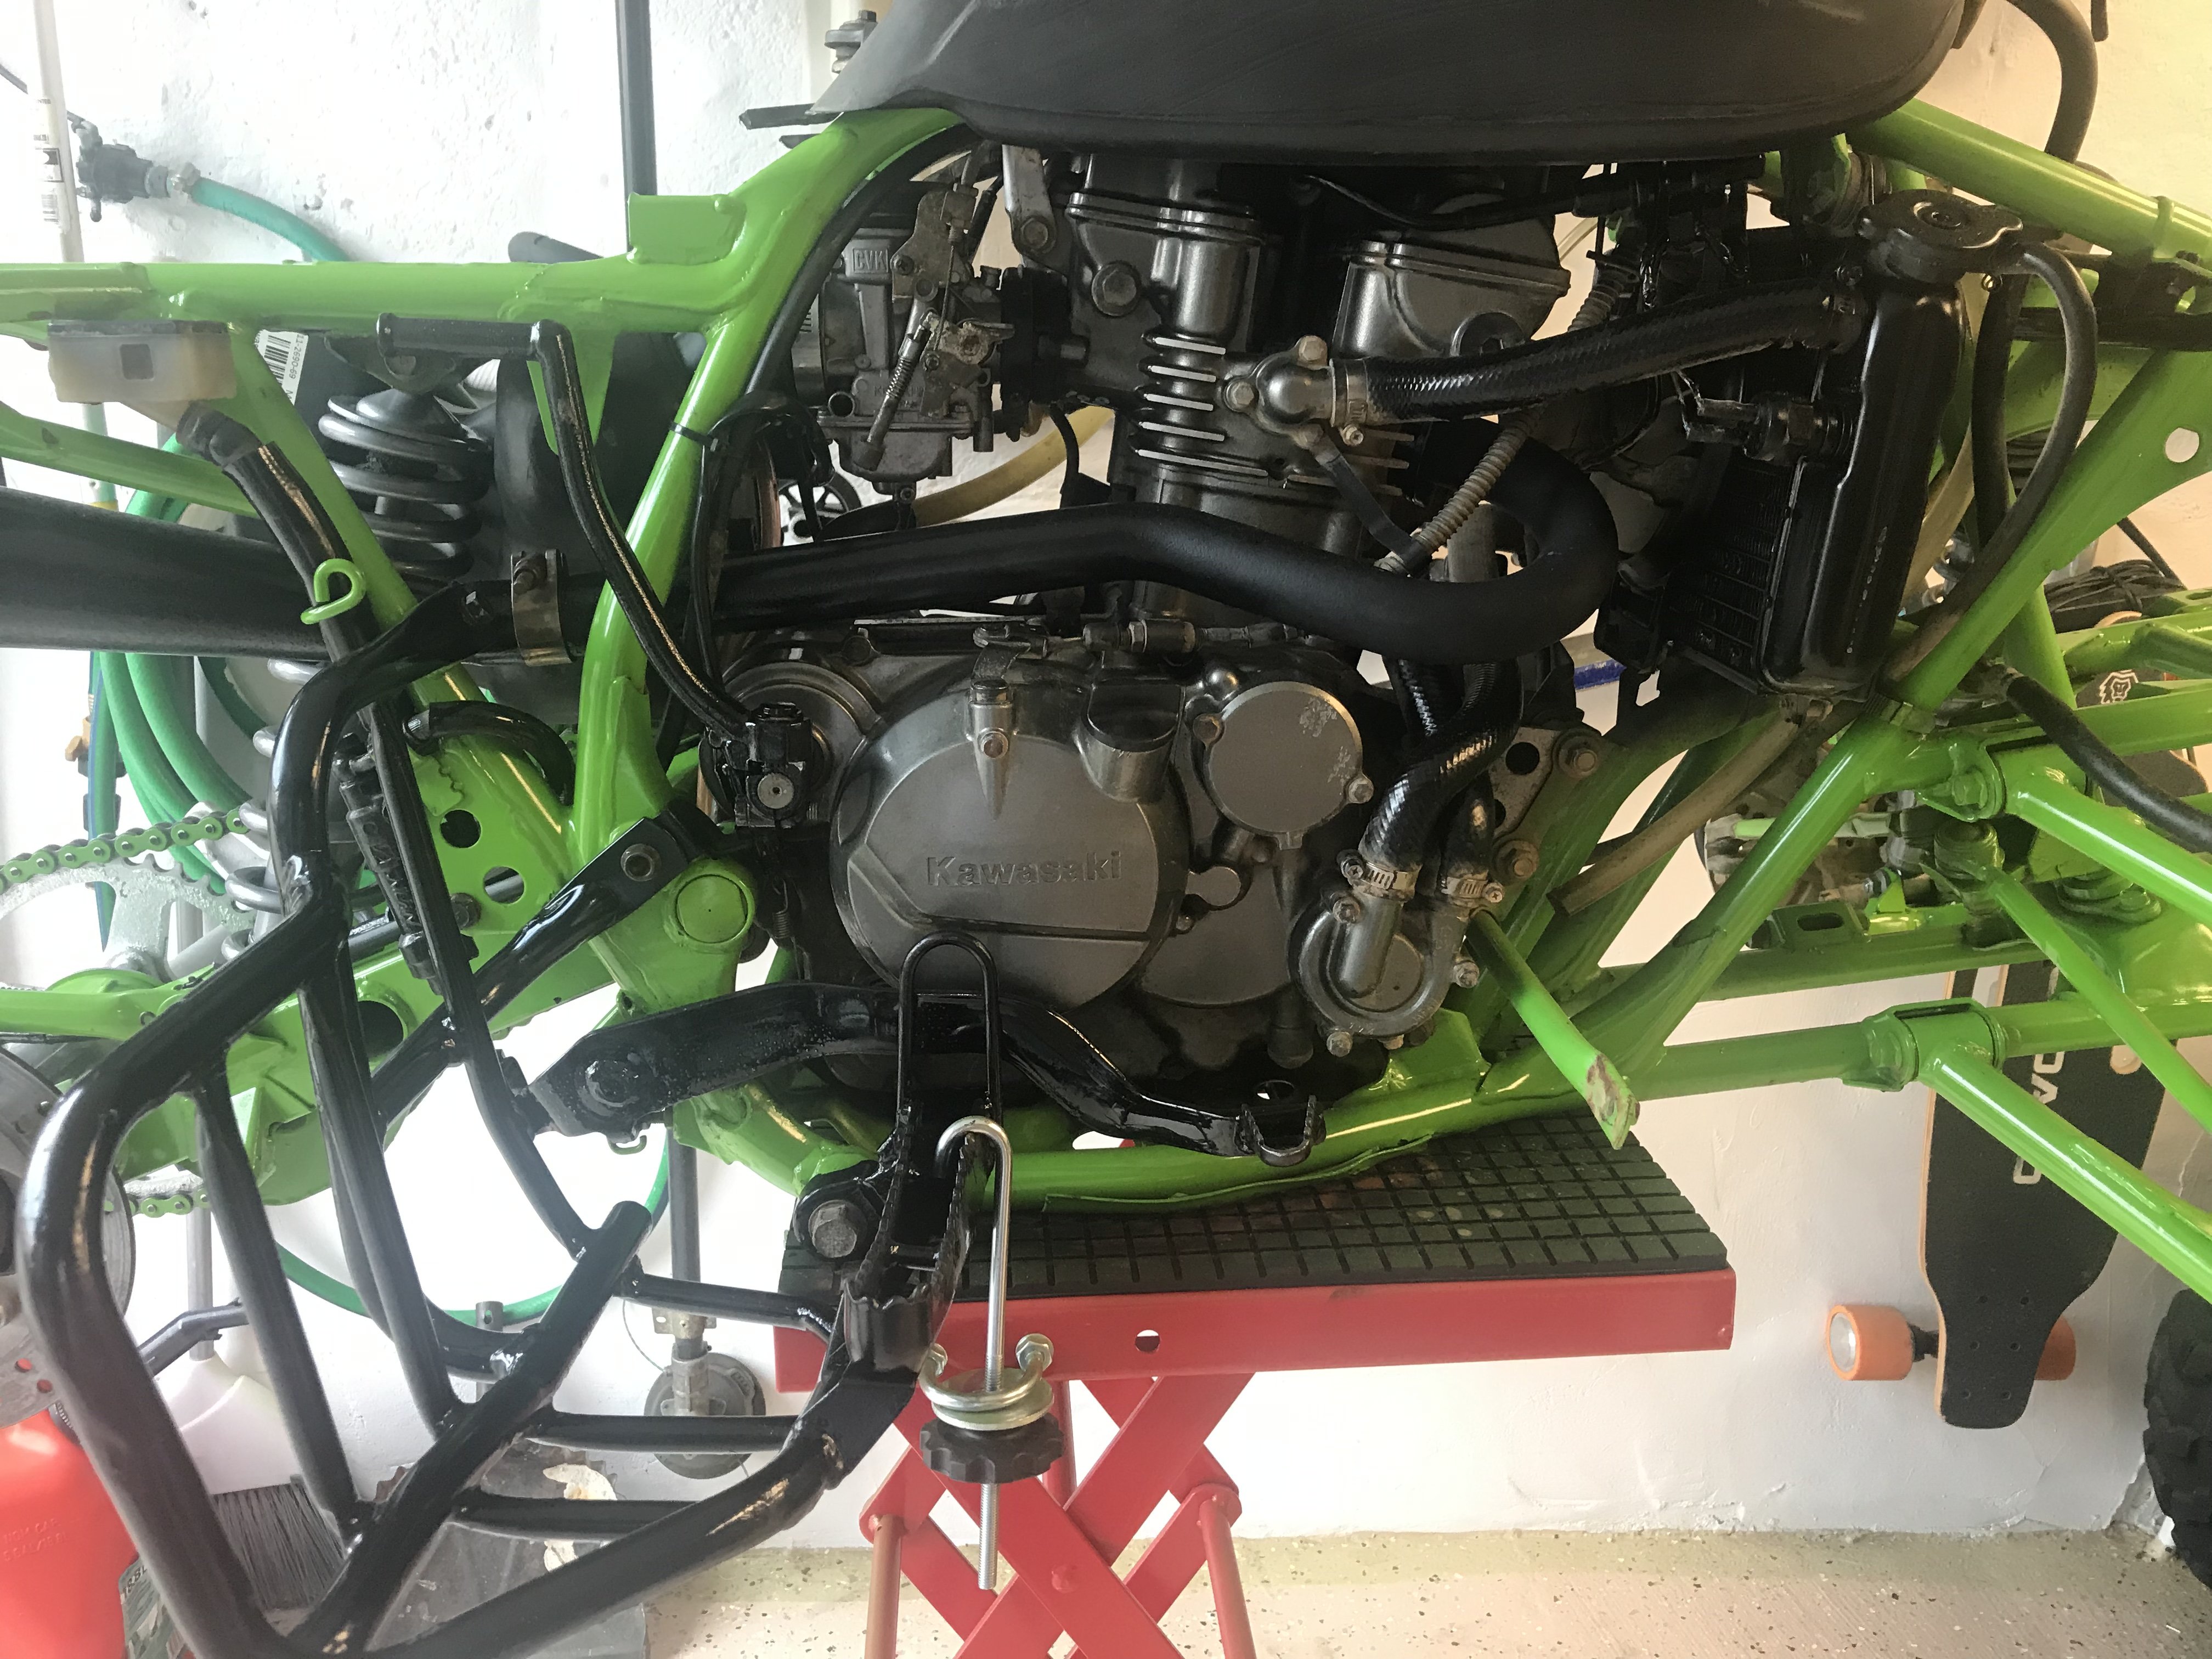
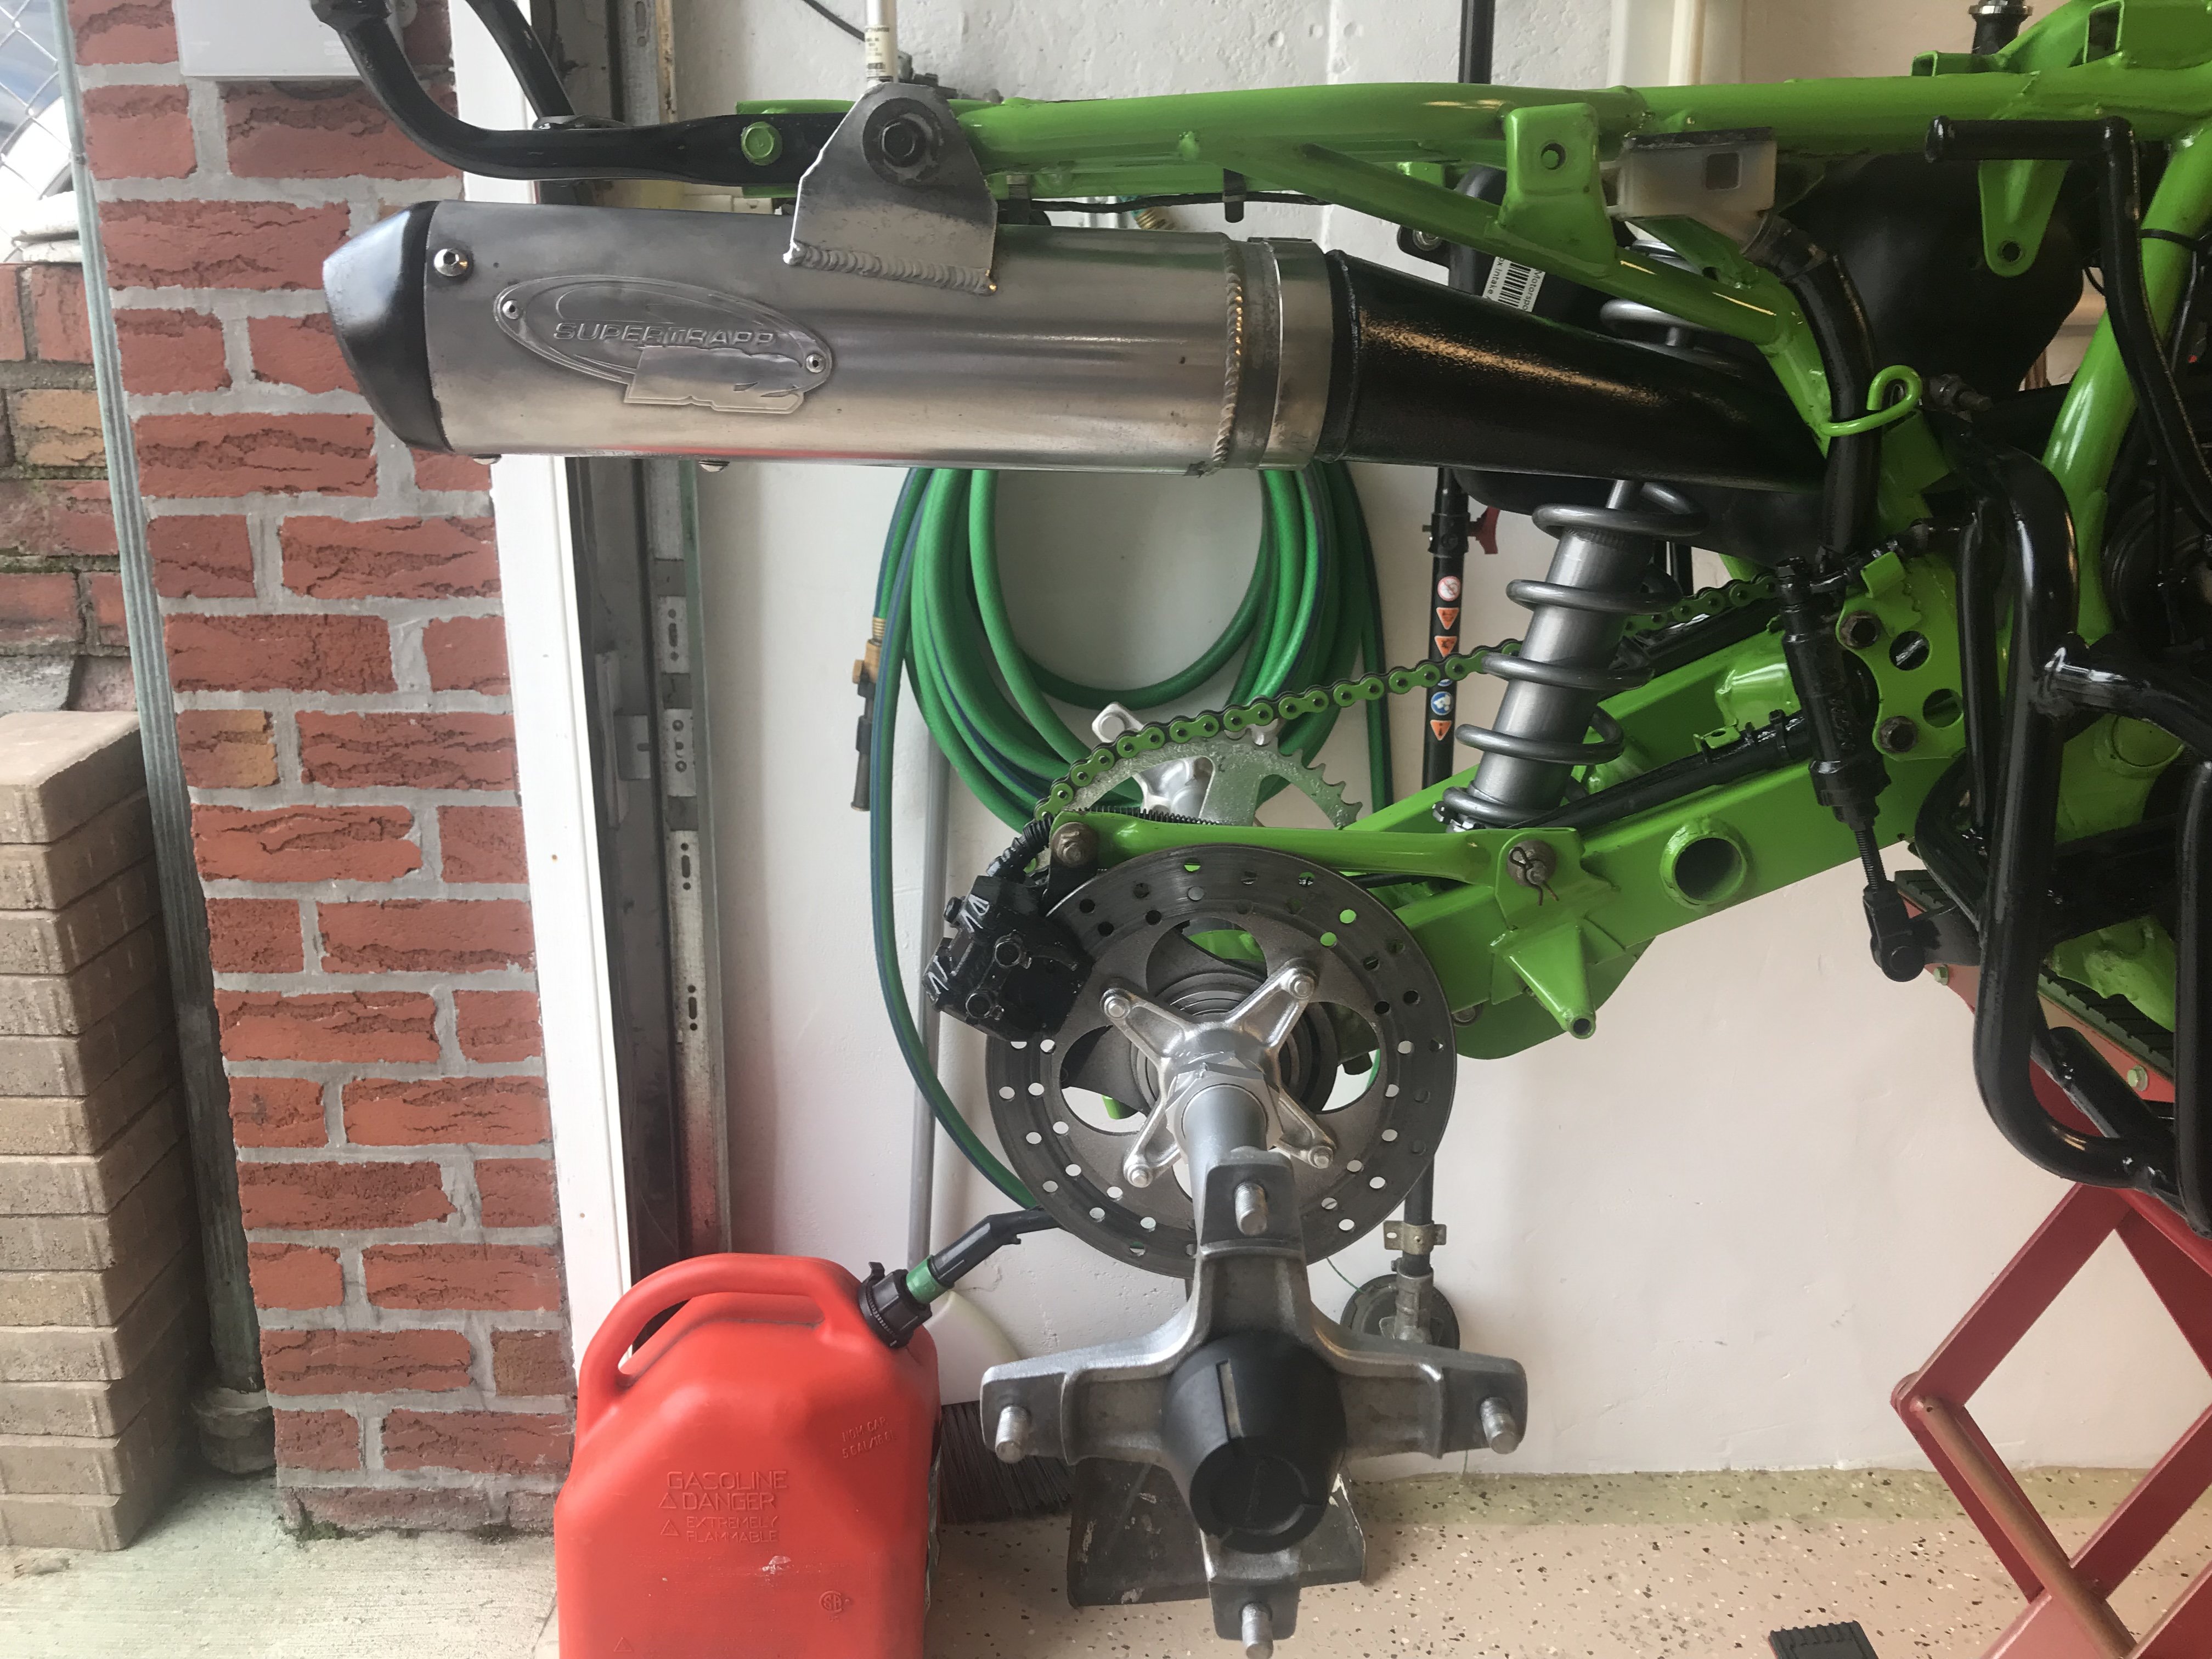
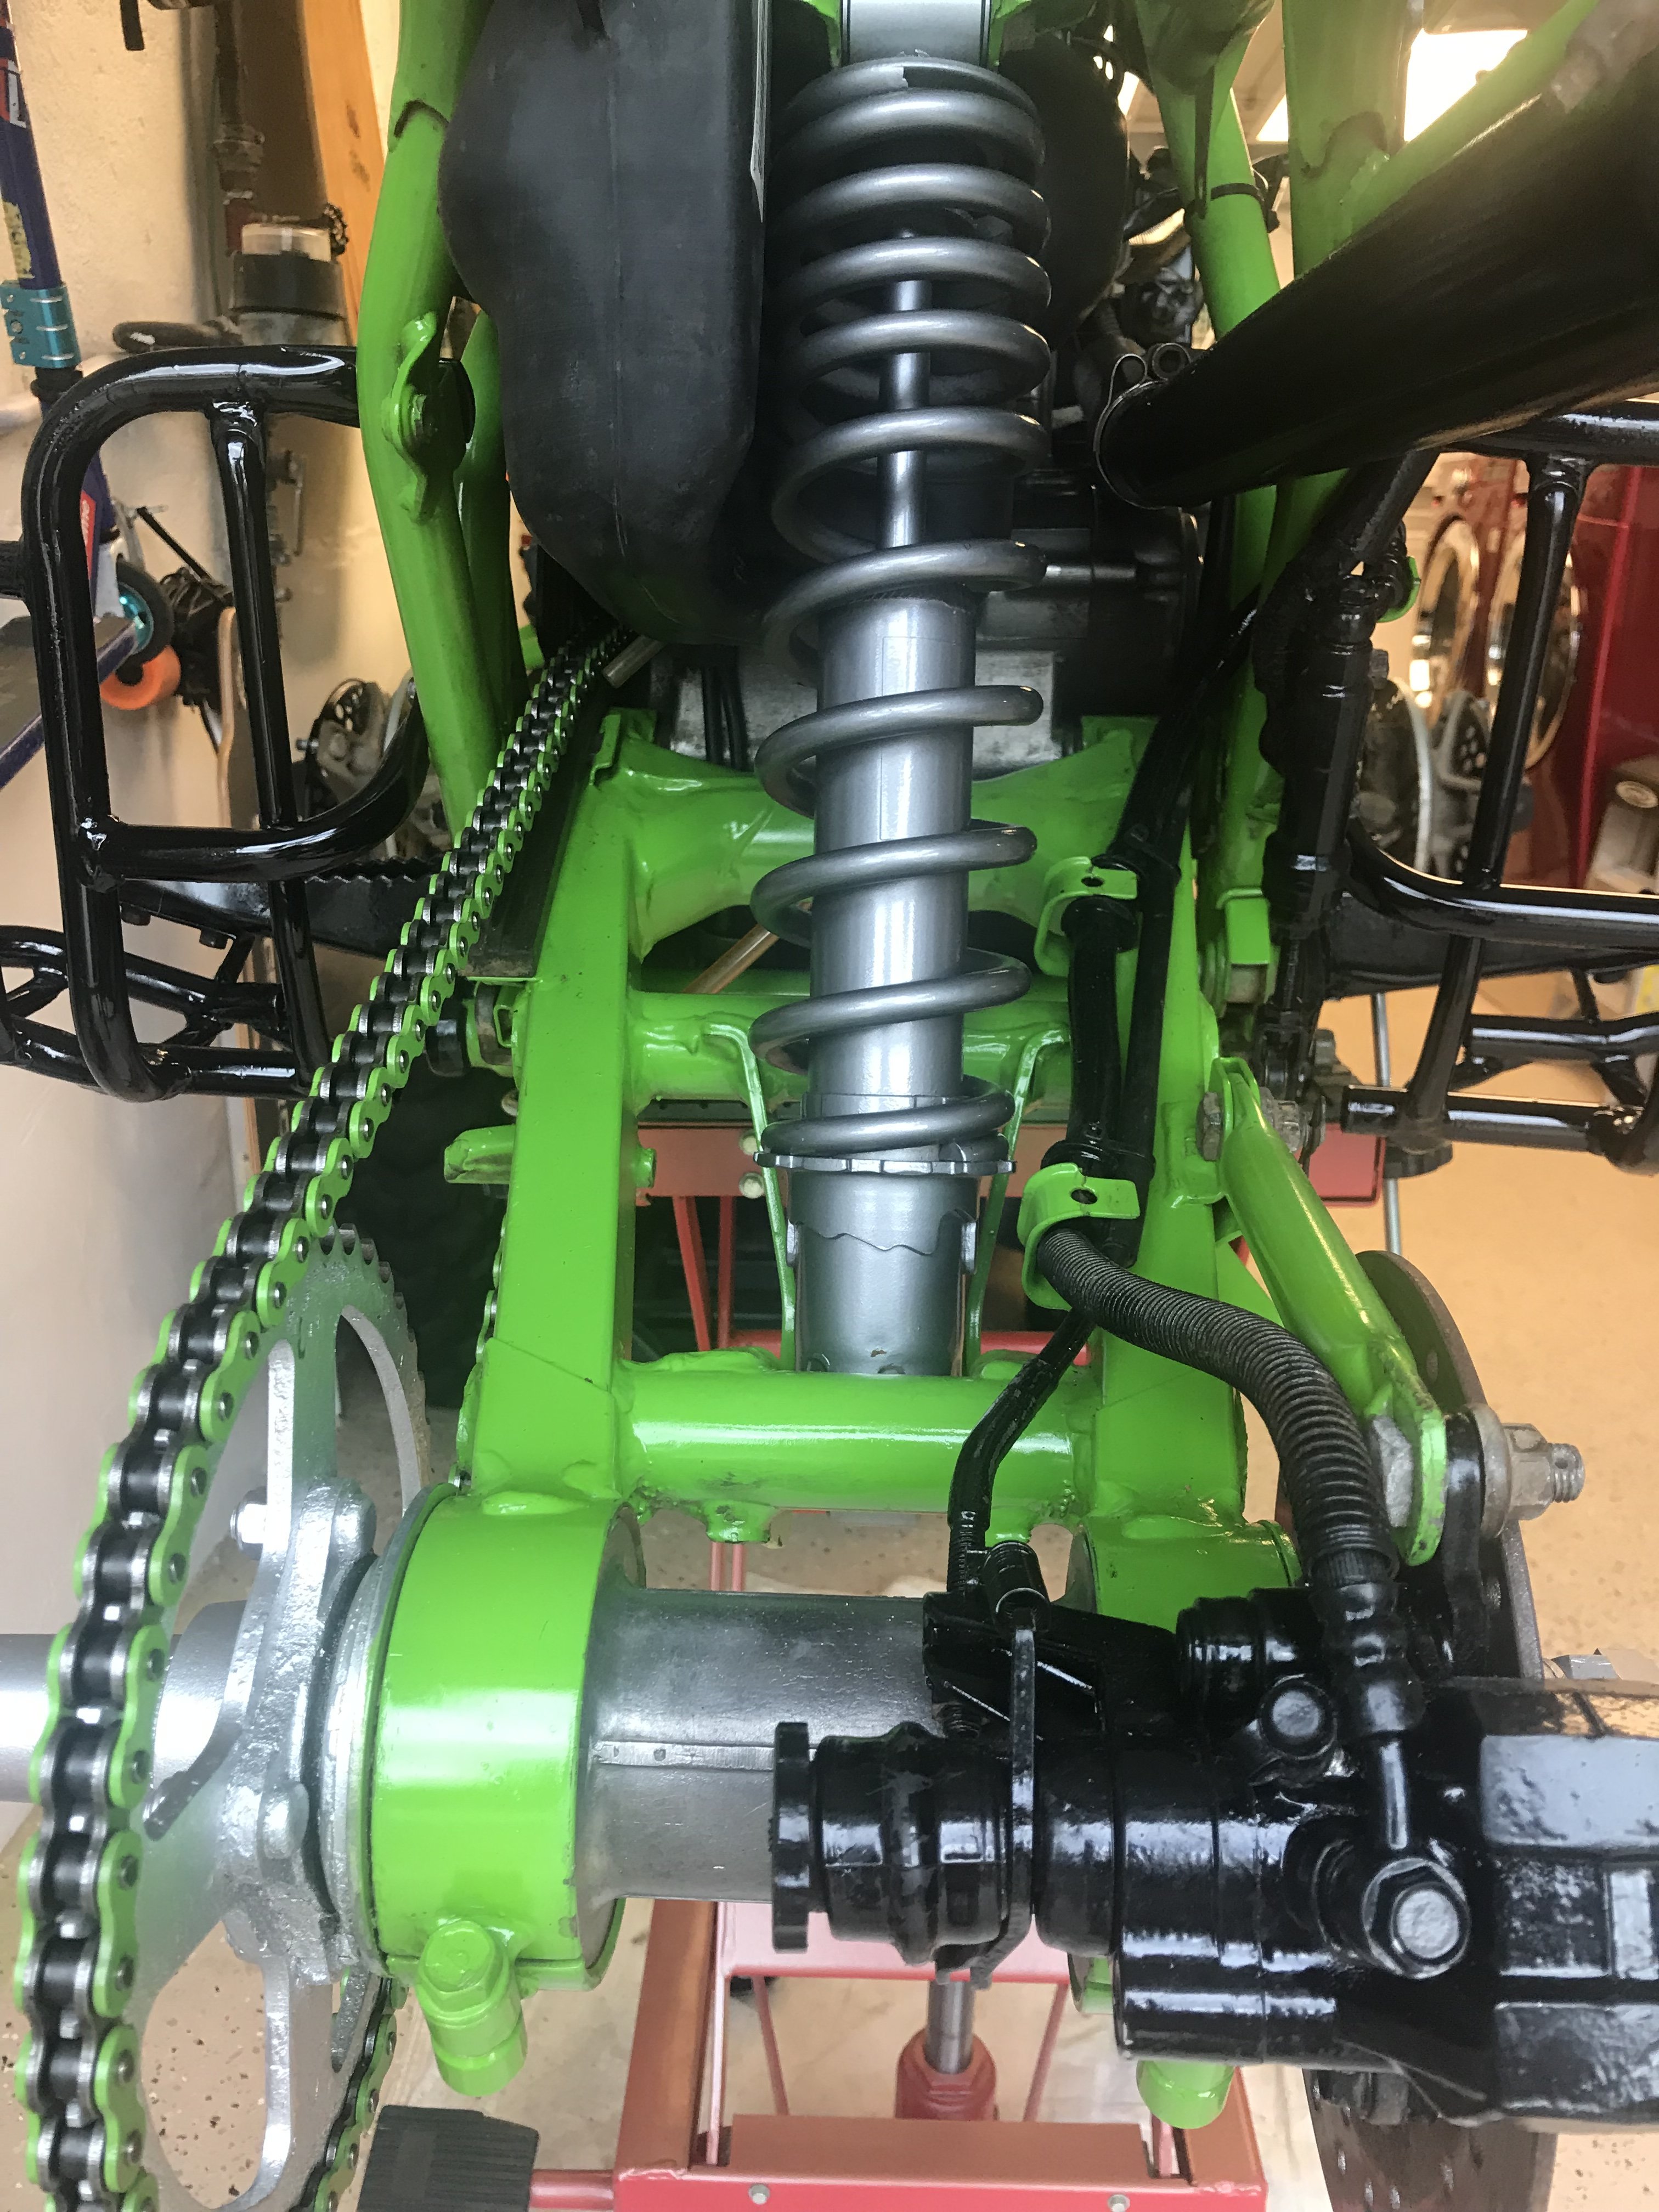
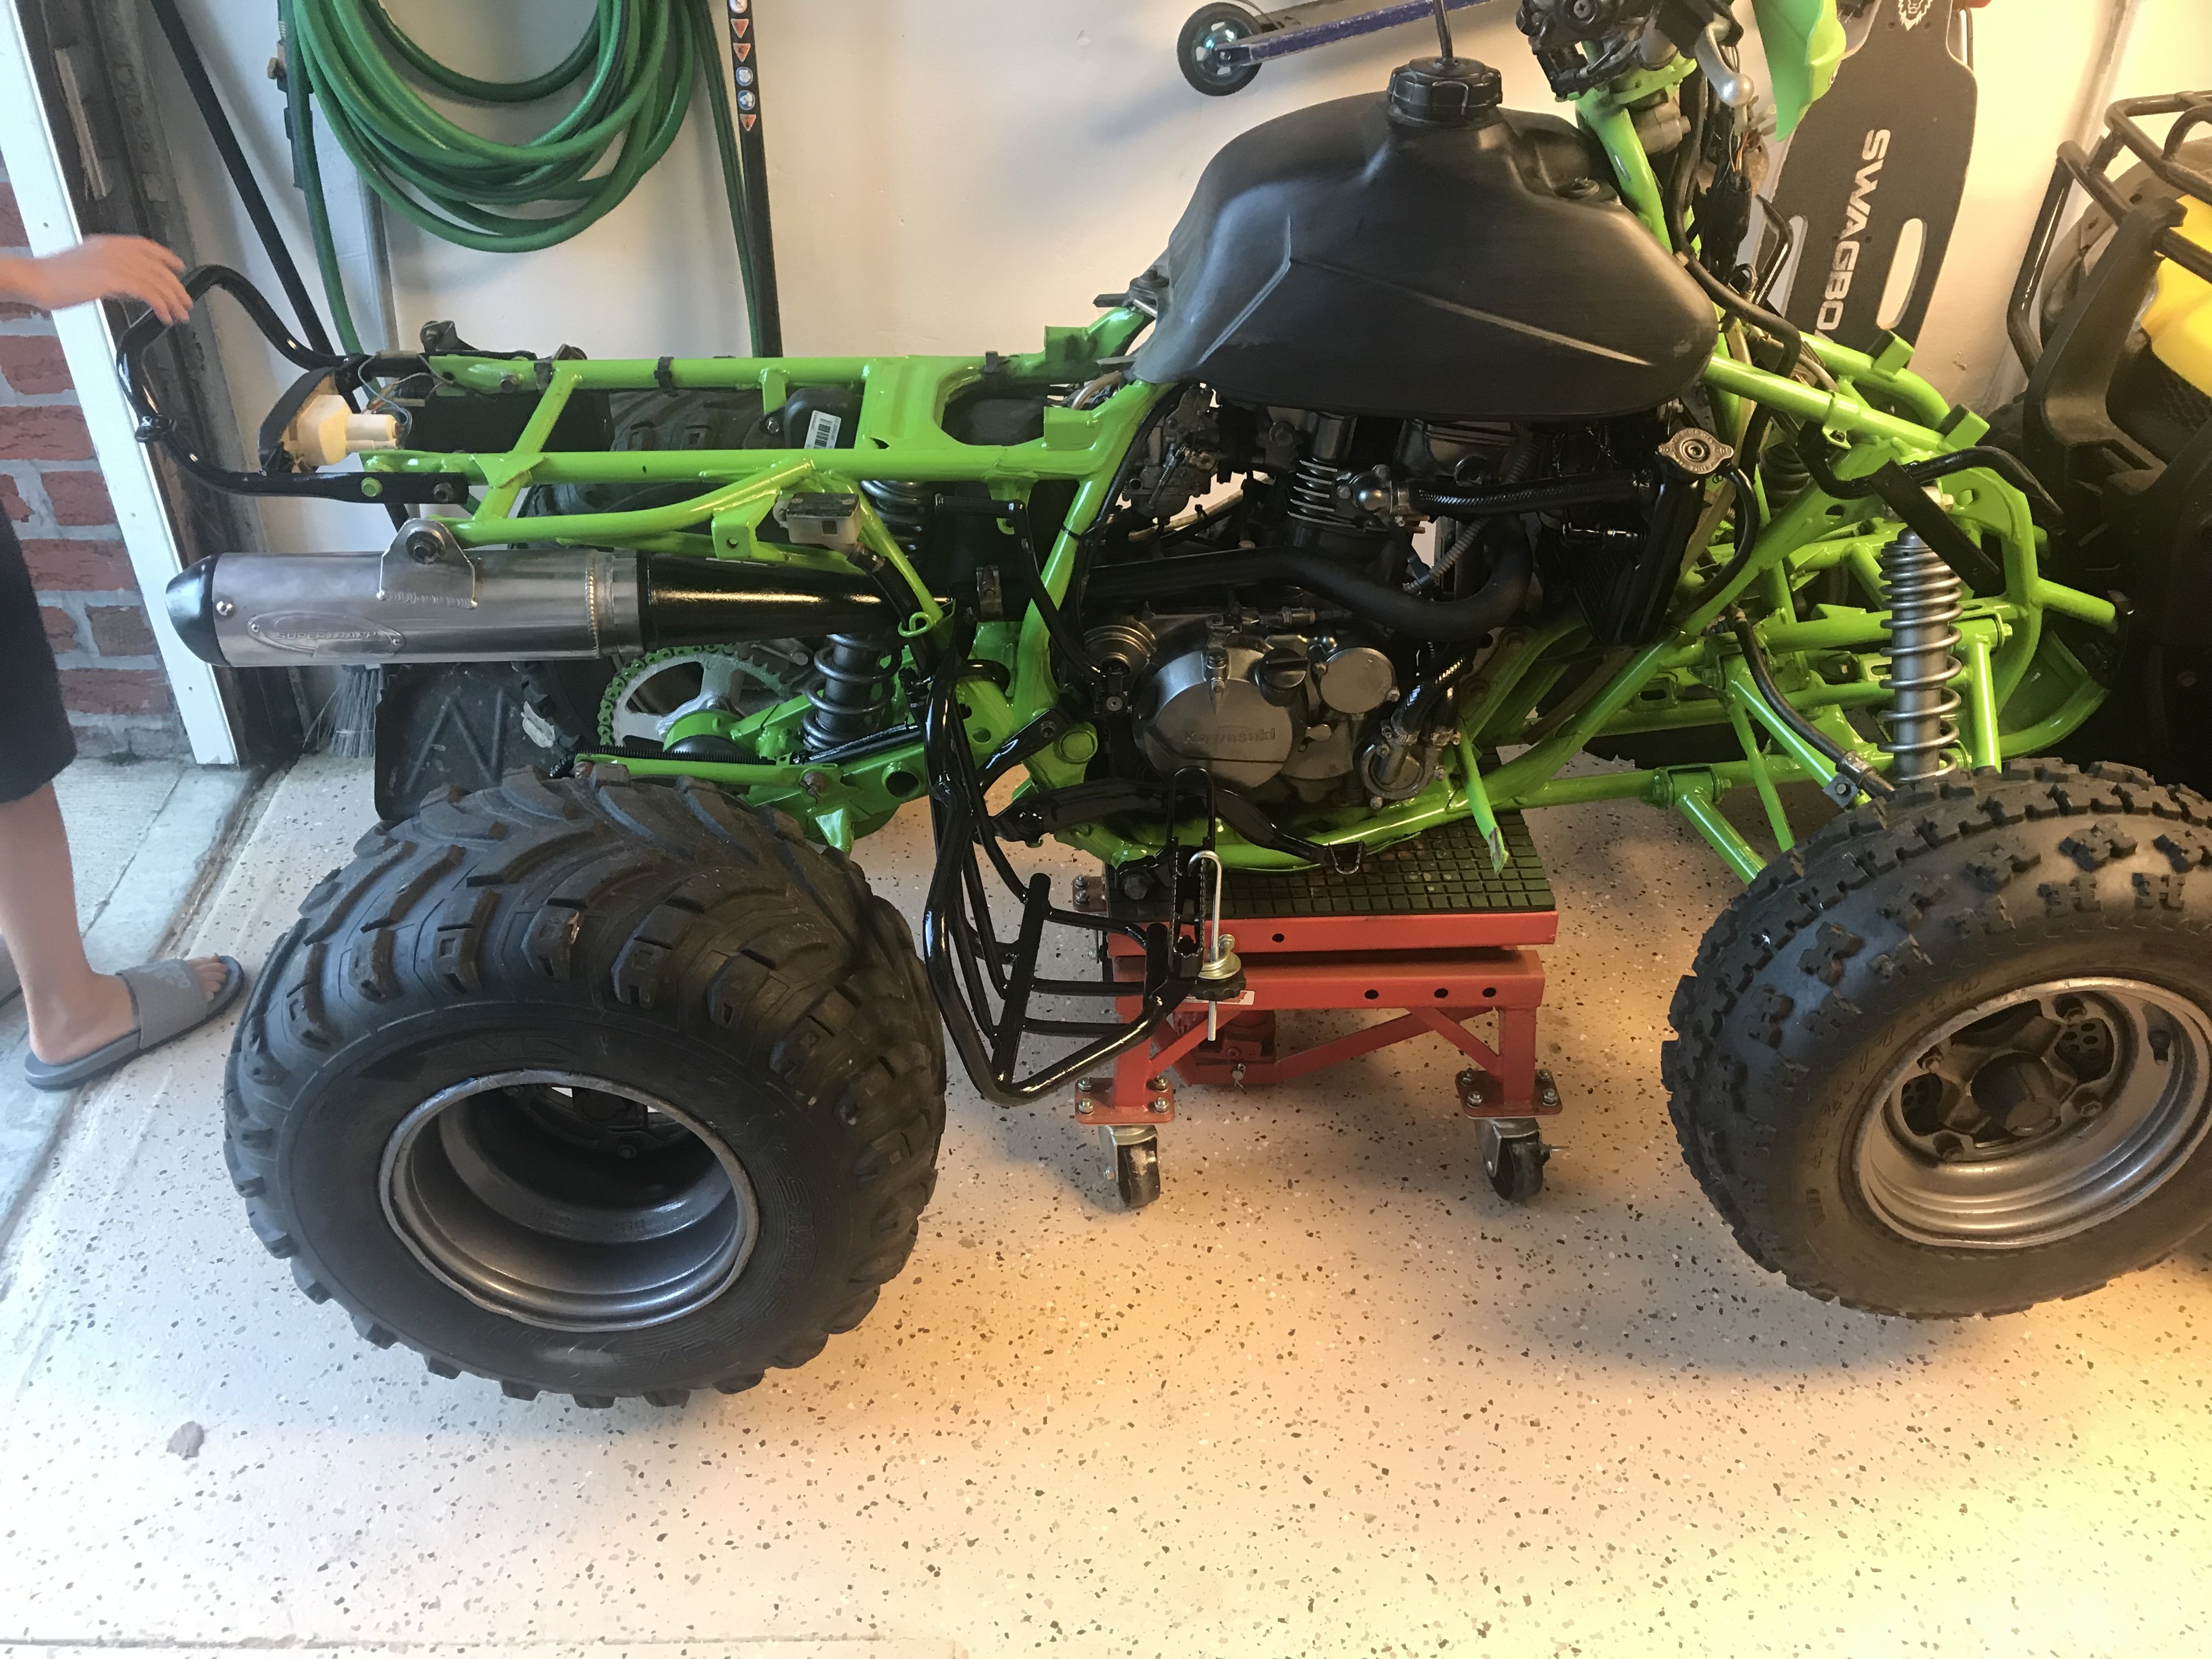
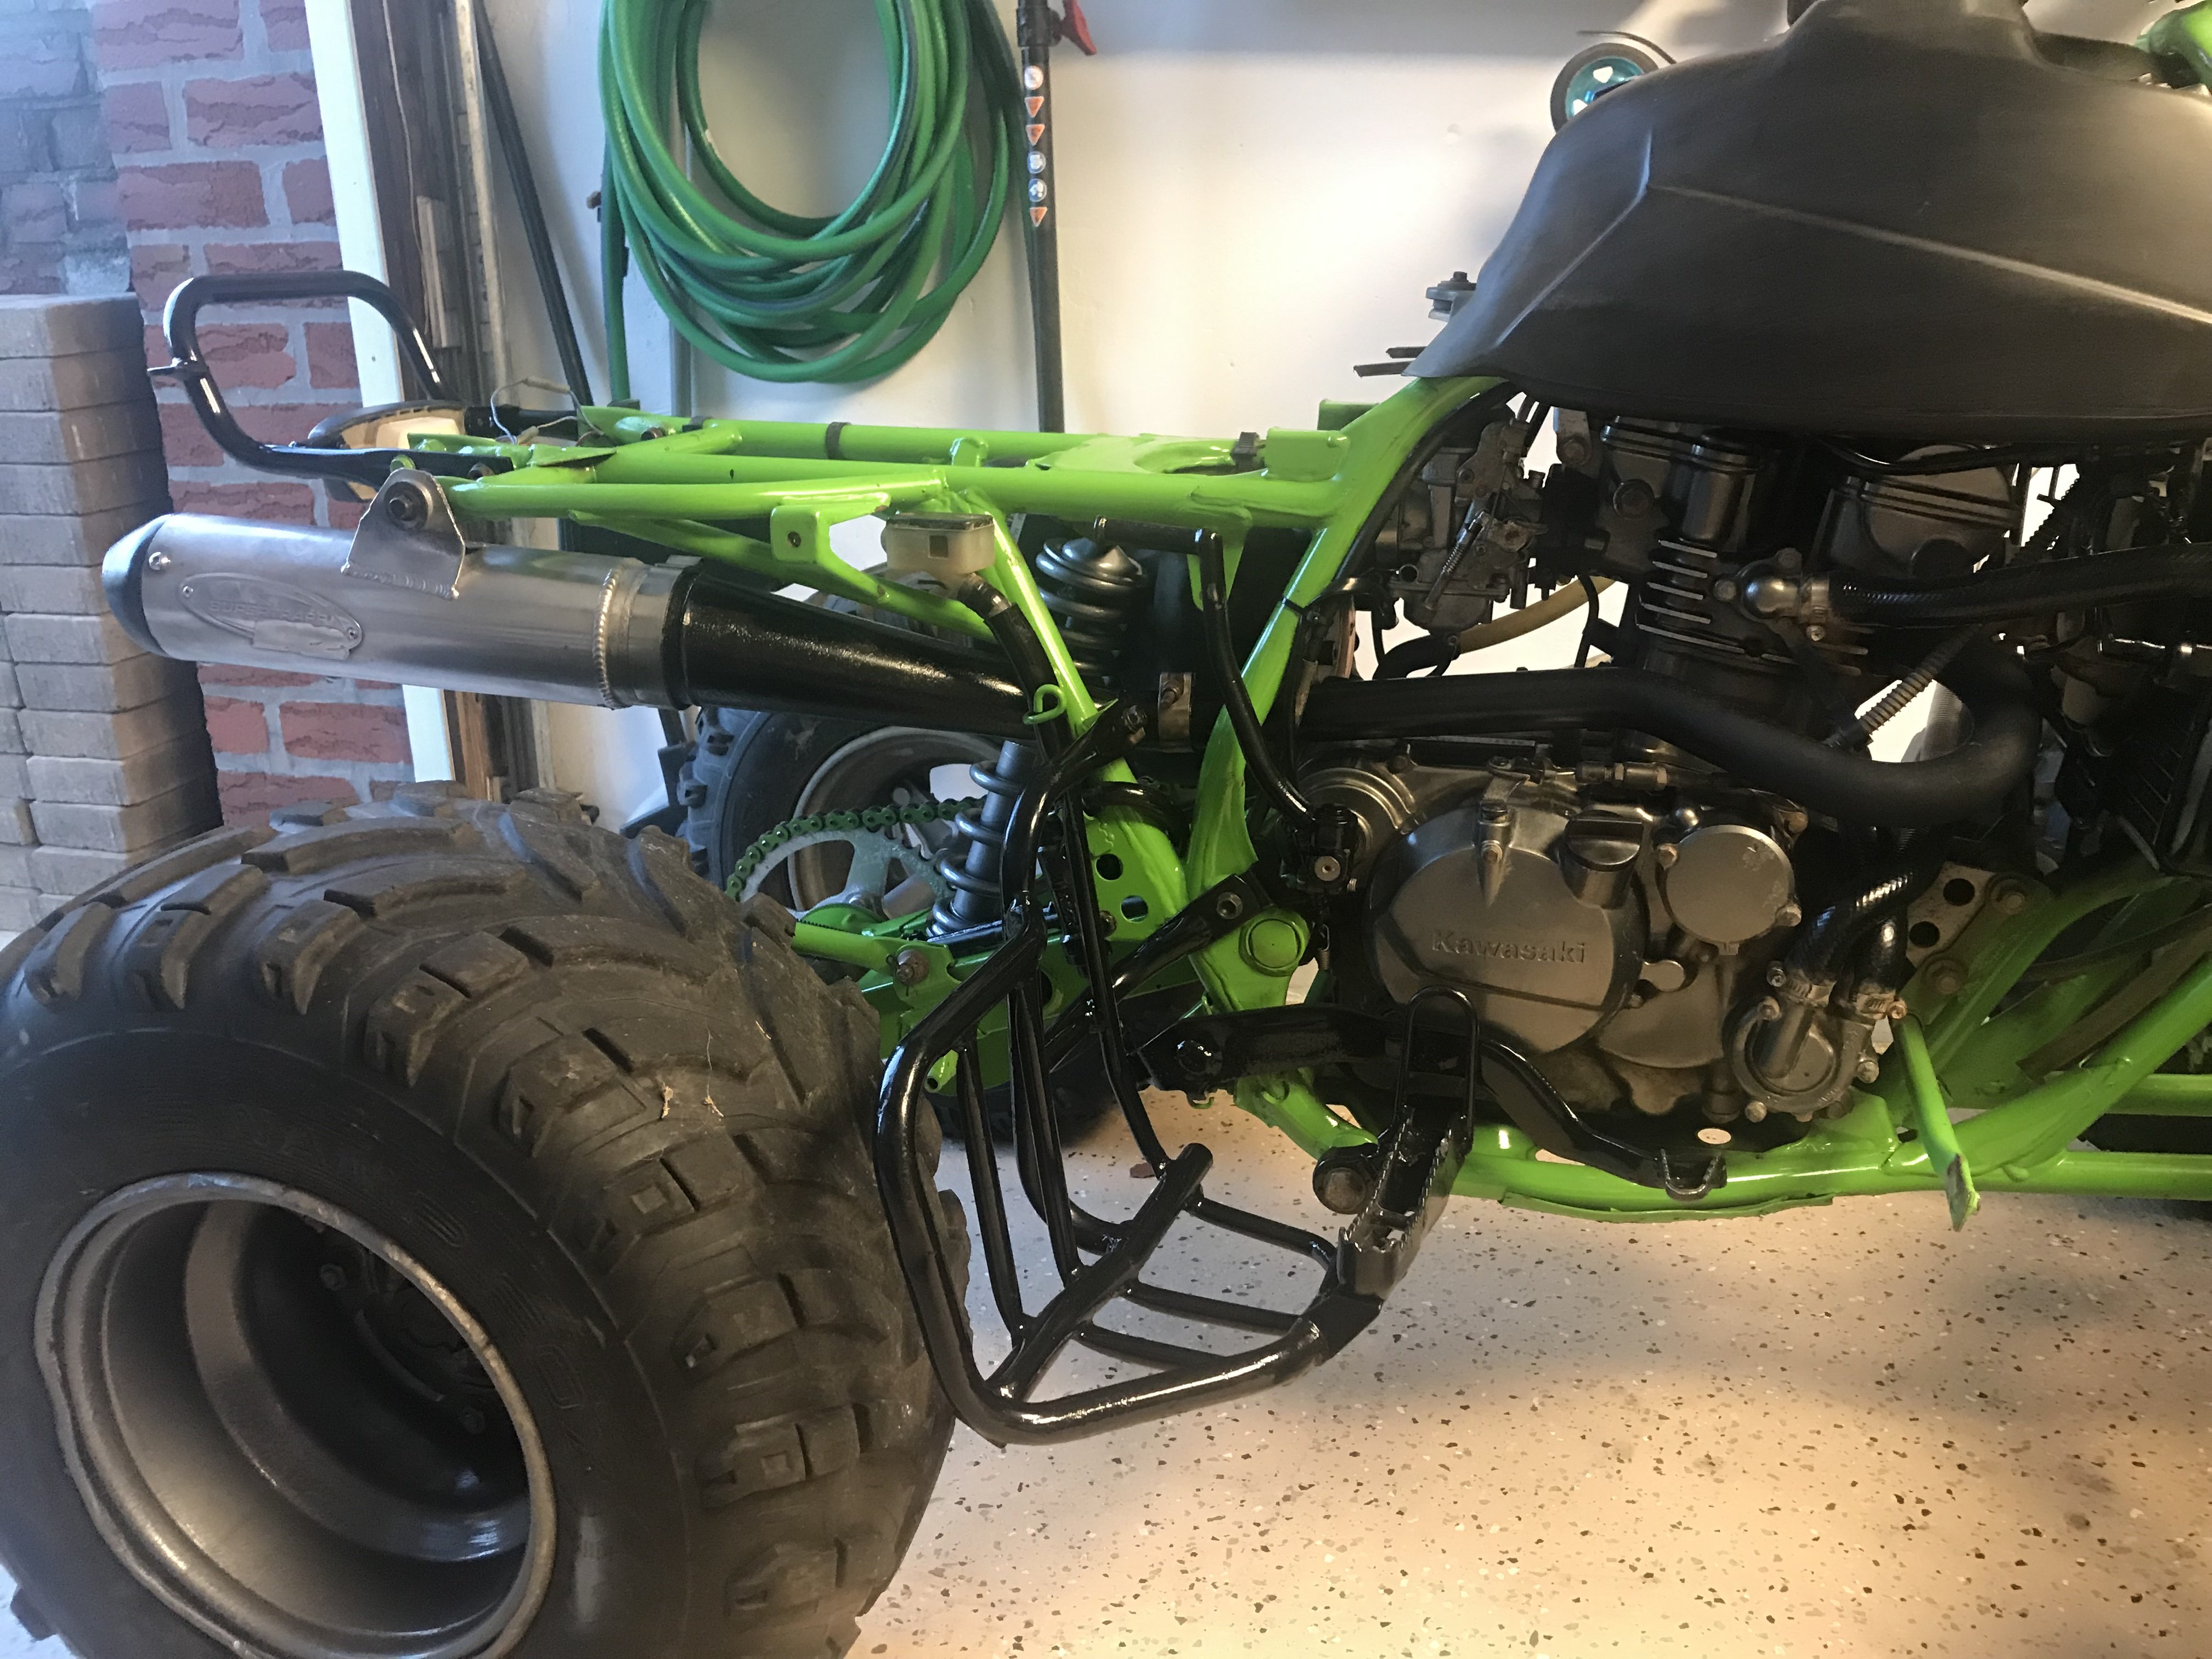
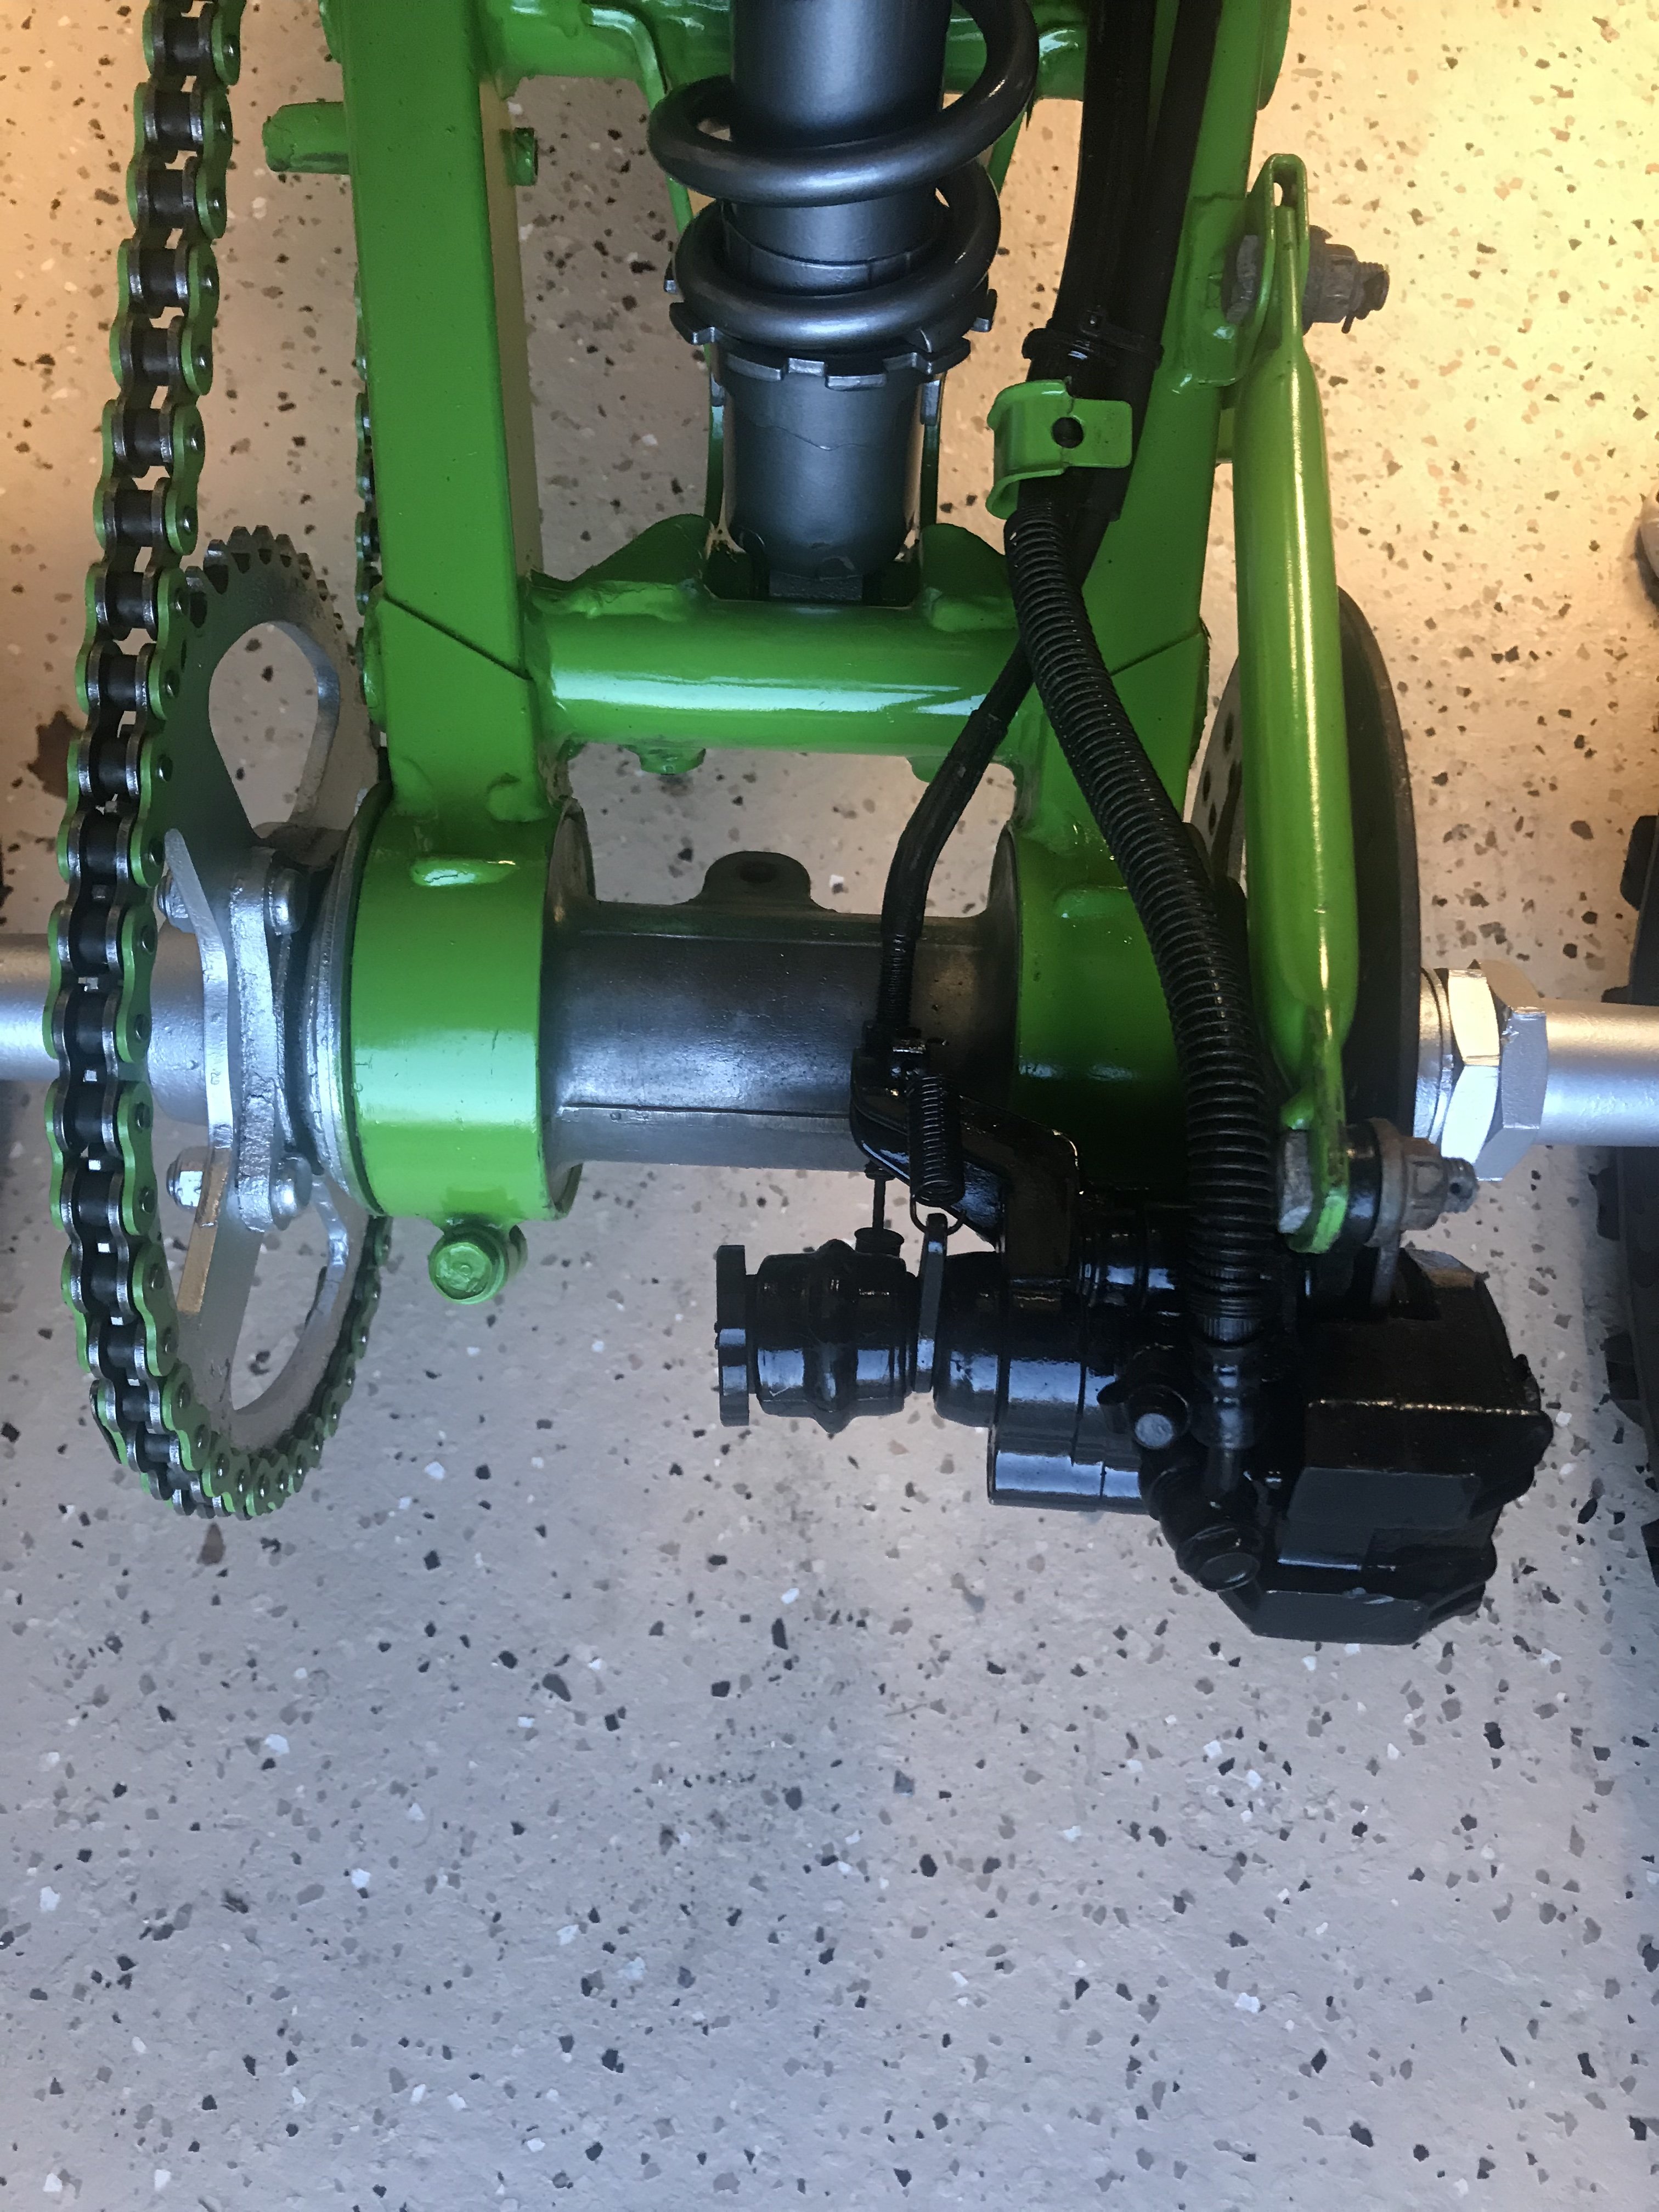
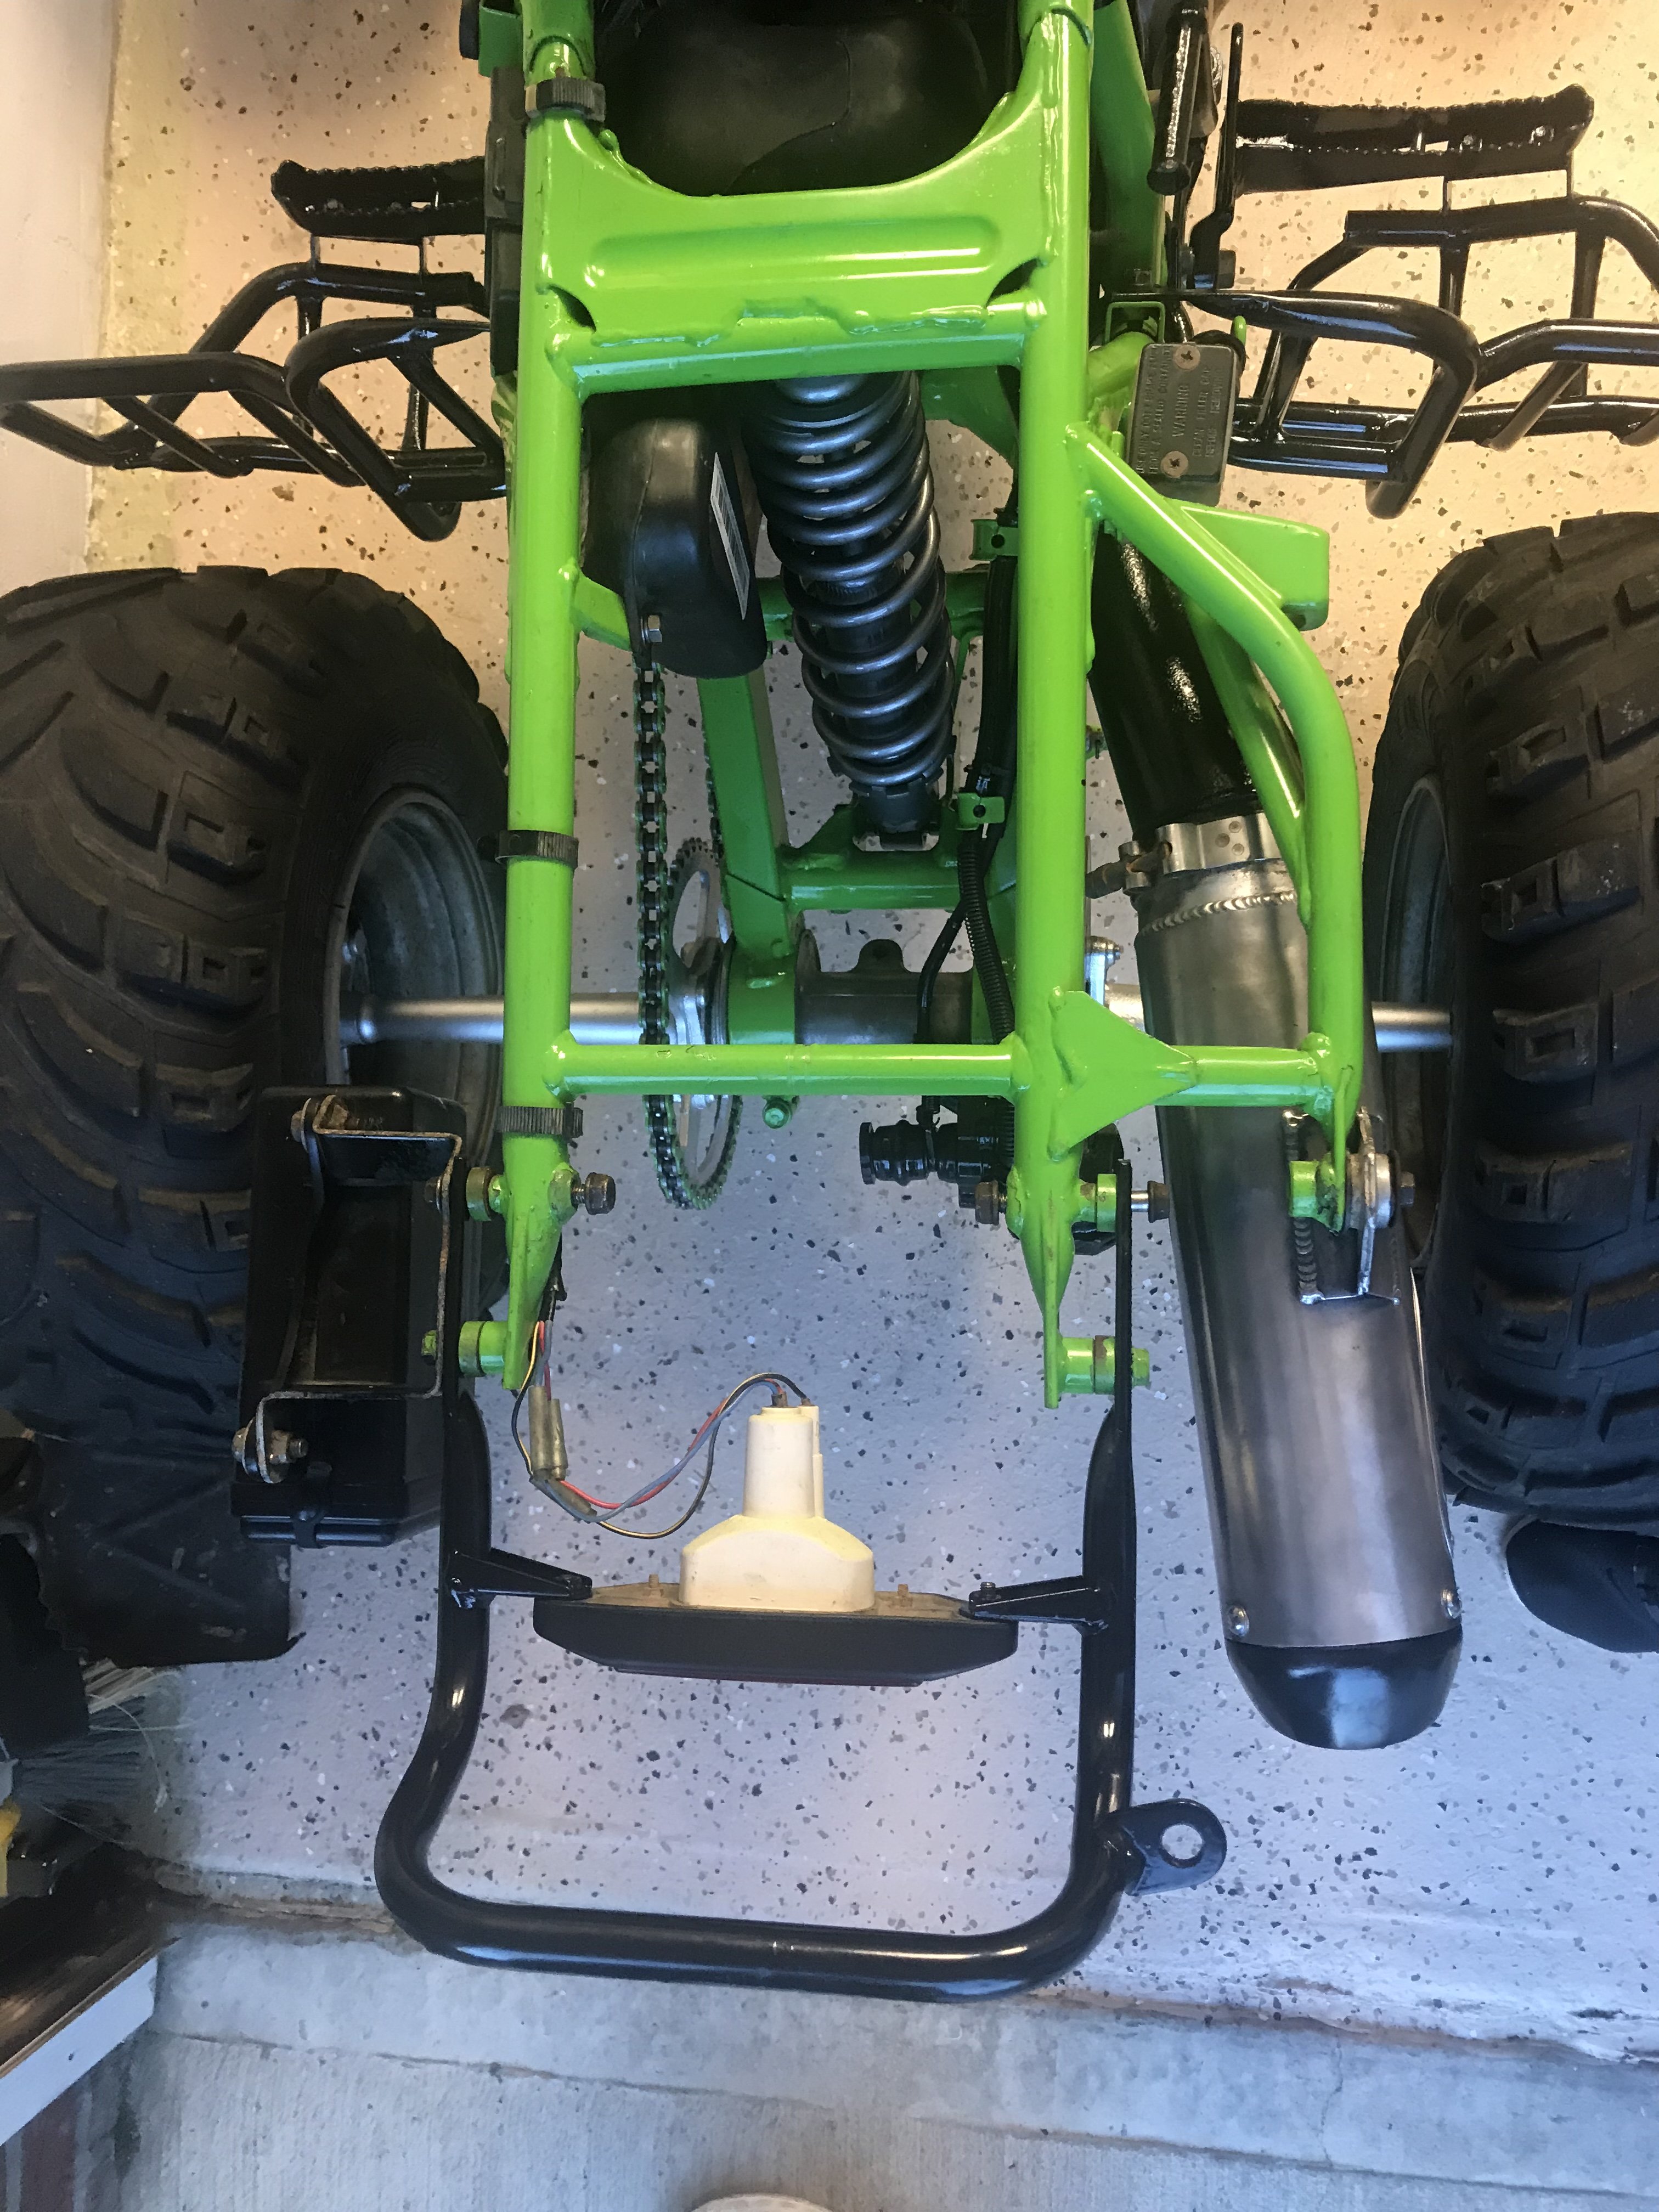
So it’s alive and well. Wrapped up the mechanical end today and she fired right up. I made a foolish mistake while rebuilding the carb. After it was running and idling great it would not throttle up! So I broke the carb down one more time thinking the beat up jets could be the problem. I found that I put the pilot jet in place of the main jet and the main jet in place of the pilot jet! 🤦🏻♂️. The thread is the same so it’s easy to make that mistake. Anyway I swapped it out and it runs like a champ. Very happy with the sound and condition of this machine. I know it’s only a 250 but it’s a little beast!!! Should get the plastics on tomorrow or Monday and see how it runs when it’s on the ground. After that maybe let my oldest run with it for a while or post it and move it along to the next owner!

-

Polaris 500 sportsman give it gas stalls
Frank Angerano replied to Flipper Tiffany Roper Jones's topic in Polaris ATV Forum
Why is because Ricky stators are well built. They make stators that are equivalent to oem stators. You get what you pay for however I have used Caltric and have had luck. Plugged right in and worked great. Never used or ordered one for a 500 like yours but I did use one on my old Polaris Phoenix and worked without any issues. I believe you 100% when you say you know what your doing when it comes to doing this work. We always get that one problem child that will drive you bat sh** crazy!! So see this pain in the as* through and move it along. Keep us posted please and @JacobSlabach you also through me for a loop with that color thing ??? -
Nice work, Quadcrazy members are on fire this last week or so with some crazy projects!!!! I’m going to post some updated pics of my little Mojave project in the next few minutes. Ride safe.
-
Always something! Both bearings done ?
-
Polaris 500 sportsman give it gas stalls
Frank Angerano replied to Flipper Tiffany Roper Jones's topic in Polaris ATV Forum
Wow just got in from working on my project bike you guys covered a lot. Great topic discussion. So I’m assuming your going to order a new stator as discussed earlier and I think that’s going to solve this erratic voltage problem. We see a lot of people asking about wiring in an aftermarket stator that does not match up like an oem part. Hopefully this will solve your problem. Nice work so far and @BuggyMasters great input!!!! Keep us posted! -
Polaris 500 sportsman give it gas stalls
Frank Angerano replied to Flipper Tiffany Roper Jones's topic in Polaris ATV Forum
That still would not make sense for the voltage to jump all over the place like that. Even if some of the magnets are gone OR the newer flywheel with the additional magnets was in place the voltage should be stable if the engine is spinning at a constant rpm like it was explained? It jumped from 18v to 22v at idle ? How could the voltage change if the rpms did not ? My money would be on a bad stator. I do however find your information on the flywheel a very interesting point. -
Die grinder has become my new best friend. Wheel bearings and differential fluid/maintenance is often overlooked. That’s a lot of time spent on one side without loosing your cool though. Let’s hope the other side goes better. Good luck.
-
2001 Yamaha Warrior YFM350x Clanking Noise
Frank Angerano replied to Chase Cook's topic in Yamaha ATV Forum
When you have the head off again try to move the crank up and down to see if there is play in the bearing. Not rotating but move up and down. Any play in that direction and it a blown main bearing. Side to side is ok. -
Polaris 500 sportsman give it gas stalls
Frank Angerano replied to Flipper Tiffany Roper Jones's topic in Polaris ATV Forum
Hmmm possibly the wrong stator. But was it running ok before all this happened ? The wires don’t match ? The plugs fit up or spliced wires? -
Polaris 500 sportsman give it gas stalls
Frank Angerano replied to Flipper Tiffany Roper Jones's topic in Polaris ATV Forum
Test your stator out put. That’s extremely high! -
Great work brother, ride safe.
-
So it’s alive and well?
-
cranks but won't start
Frank Angerano replied to bradleyheathhays's topic in General Talk - Anything Goes!
Yep seen that in the first post. I’m still sticking with my original diagnosis of a coil, wires and plugs. -
1994 Bayou 220 Neutral safety switch
Frank Angerano replied to Arizona's topic in Kawasaki ATV Forum
Yes you have to replace that reverse cam stopper while your in there. The neutral safety switch is not really a switch. It’s just two contacts on a board. All I did was sand the surface down of the switch and replace the cam stopper. Put a sh** load of grease on the bevel gear and shaft before you reassemble. When you put the drive shaft back the four bolts, tighten them in a crisscross pattern and use a little thread lock or a dab of silicone on the nuts when they are tight. Nice work and great pics. -
1994 Bayou 220 Neutral safety switch
Frank Angerano replied to Arizona's topic in Kawasaki ATV Forum
No worries. Most likely not the neutral safety switch. It’s the reverse cam. Read that post and you will see the contact point on the revers cam that’s spring loaded. The spring loses its bounce and the contact rod has a problem grounding the switch. Just be sure to sand the switch a bit before you reinstall. Good luck. -
1996 Kawasaki Mojave KSF250 No Spark
Frank Angerano replied to Chris2018's topic in Kawasaki ATV Forum
I’m not sure what test you performed on the cdi because I’ve never seen one testable so that’s kinda throwing me off a bit. But the coil yes you can test that. -
1996 Kawasaki Mojave KSF250 No Spark
Frank Angerano replied to Chris2018's topic in Kawasaki ATV Forum
The re wire will not work. Don’t waste your money. If your not getting a reading on the ignition coil wouldn’t you think that’s the problem ? -
1996 Kawasaki Mojave KSF250 No Spark
Frank Angerano replied to Chris2018's topic in Kawasaki ATV Forum
Ok well maybe it truly is your cdi. Here my crazy trick in mentioned earlier It works! If your cdi is damp inside this truck will fix it temporarily but allows you to see if this is the problem. I did it before and it worked. Don’t laugh. Do exactly what is shown here then go install it and give it a shot. -
1996 Kawasaki Mojave KSF250 No Spark
Frank Angerano replied to Chris2018's topic in Kawasaki ATV Forum
So no ignition ? The ignition is a two wire system. Have you located the wires and what did you do with them ? -
cranks but won't start
Frank Angerano replied to bradleyheathhays's topic in General Talk - Anything Goes!
I would guess that your coil is getting moisture inside and that’s why it’s been getting worse. I would throw a new coil and wires with some new plugs. Def check fuel as @davefrombc said as well. Maybe a new fuel filter wouldn’t hurt too! -
1994 Bayou 220 Neutral safety switch
Frank Angerano replied to Arizona's topic in Kawasaki ATV Forum
-
1996 Kawasaki Mojave KSF250 No Spark
Frank Angerano replied to Chris2018's topic in Kawasaki ATV Forum
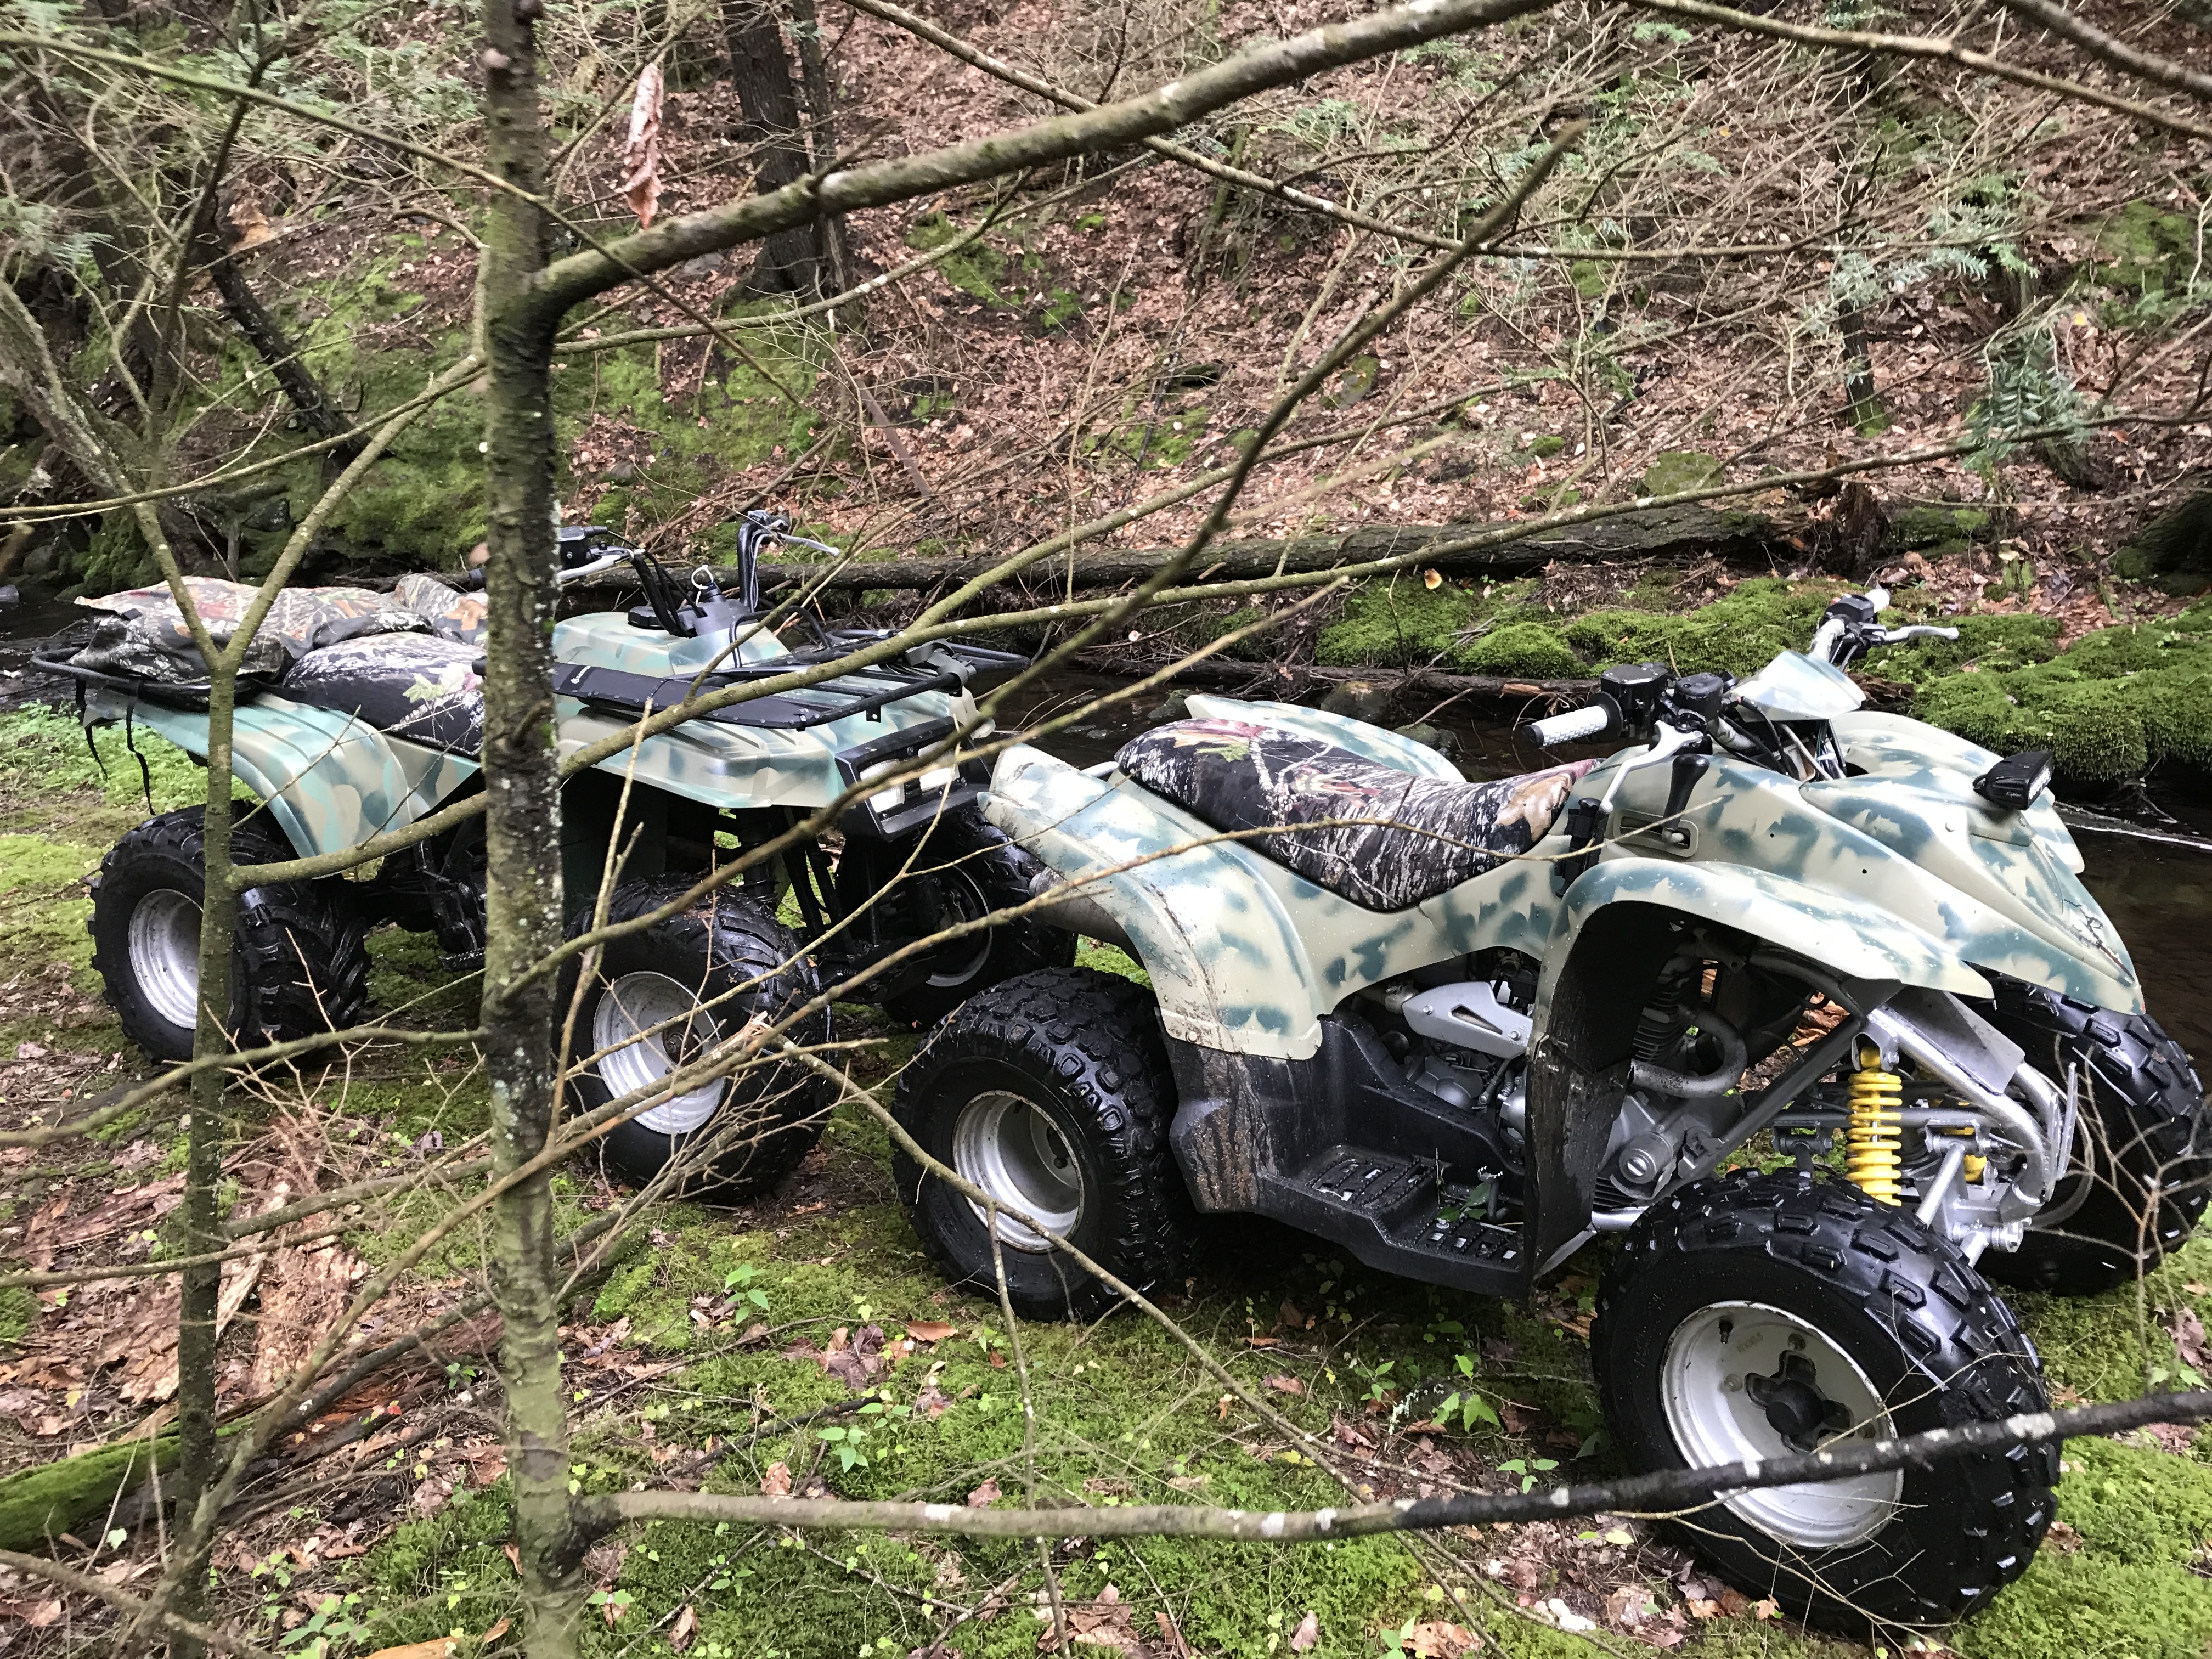
I did pick mine up in good condition. I have a check list and a few tools I bring with me whenever I buy a bike. I actually posted a topic on buying a used bike here on Quadcrazy. God only knows where that post is but it’s helpful. I like to go through the basic fundamentals on an engine and check for spark, compression and bolts that have been wrenched to death. None of which would be deal breakers but will significantly lower the value from my standpoint as far as paying. As far as tearing them down that’s going to happen whenever I buy one. Paint etc is standard for me to clean it up and plastics off so I can really see what the machine looks like mechanically and the wiring. My oldest loves to take them apart so that makes my life a little easier. On another note I did find a guy on letgo with a Mojave that wants very little money for. So if you wind up needing anything major or a cdi etc this machine looks to have everything on it except the front plastic. I can put you two in touch if need be. -
Next project in the shop...1998 big bear
Frank Angerano replied to MarkinAR's topic in Yamaha ATV Forum
Sounds good. I like to try to wrap up one before I touch anything else. Otherwise you get over run with half finished projects.