
Frank Angerano
-
Posts
3,925 -
Joined
-
Last visited
-
Days Won
209
Content Type
Profiles
Forum
Gallery
ATV Magazine
Events Calendar
Downloads
Store
Community Map
Everything posted by Frank Angerano
-

99 Polaris Xplorer 400. Vapor lock?
Frank Angerano replied to 06kfx440's topic in General ATV Discussion
I would pull the gas line off and replace with a direct line from tank to the carb w out the filter. See what it does. It’s good to see you back on the forum brother ! @06kfx440 hope your feeling well. -
Metal shavings in crankcase of Baja Storm 125
Frank Angerano replied to Adrian Ciotinga's topic in General ATV Discussion
Your very welcome. I’m glad it’s up and running, be careful and get aquatinted to the bike. These things are great but dangerous! Ride safe brother. -
99 Polaris Xplorer 400. Vapor lock?
Frank Angerano replied to 06kfx440's topic in General ATV Discussion
It’s possible about the fuel line thickness but I don’t think it’s likely. I would remove the fuel filter and run a direct line to the carb without the filter. Just to see how it runs. The filter is directional so it should go on the line on the right direction, have you checked that also ? -
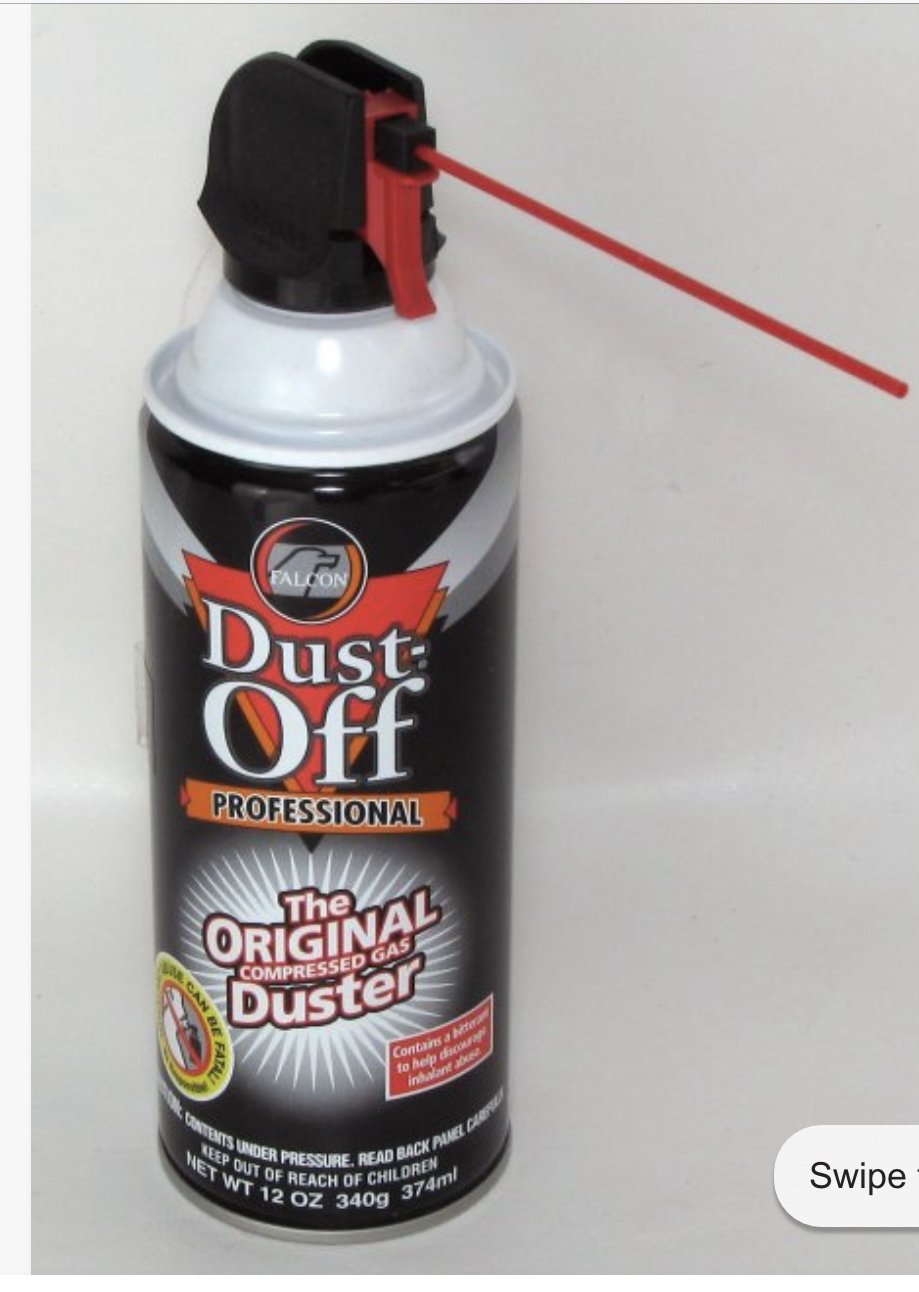
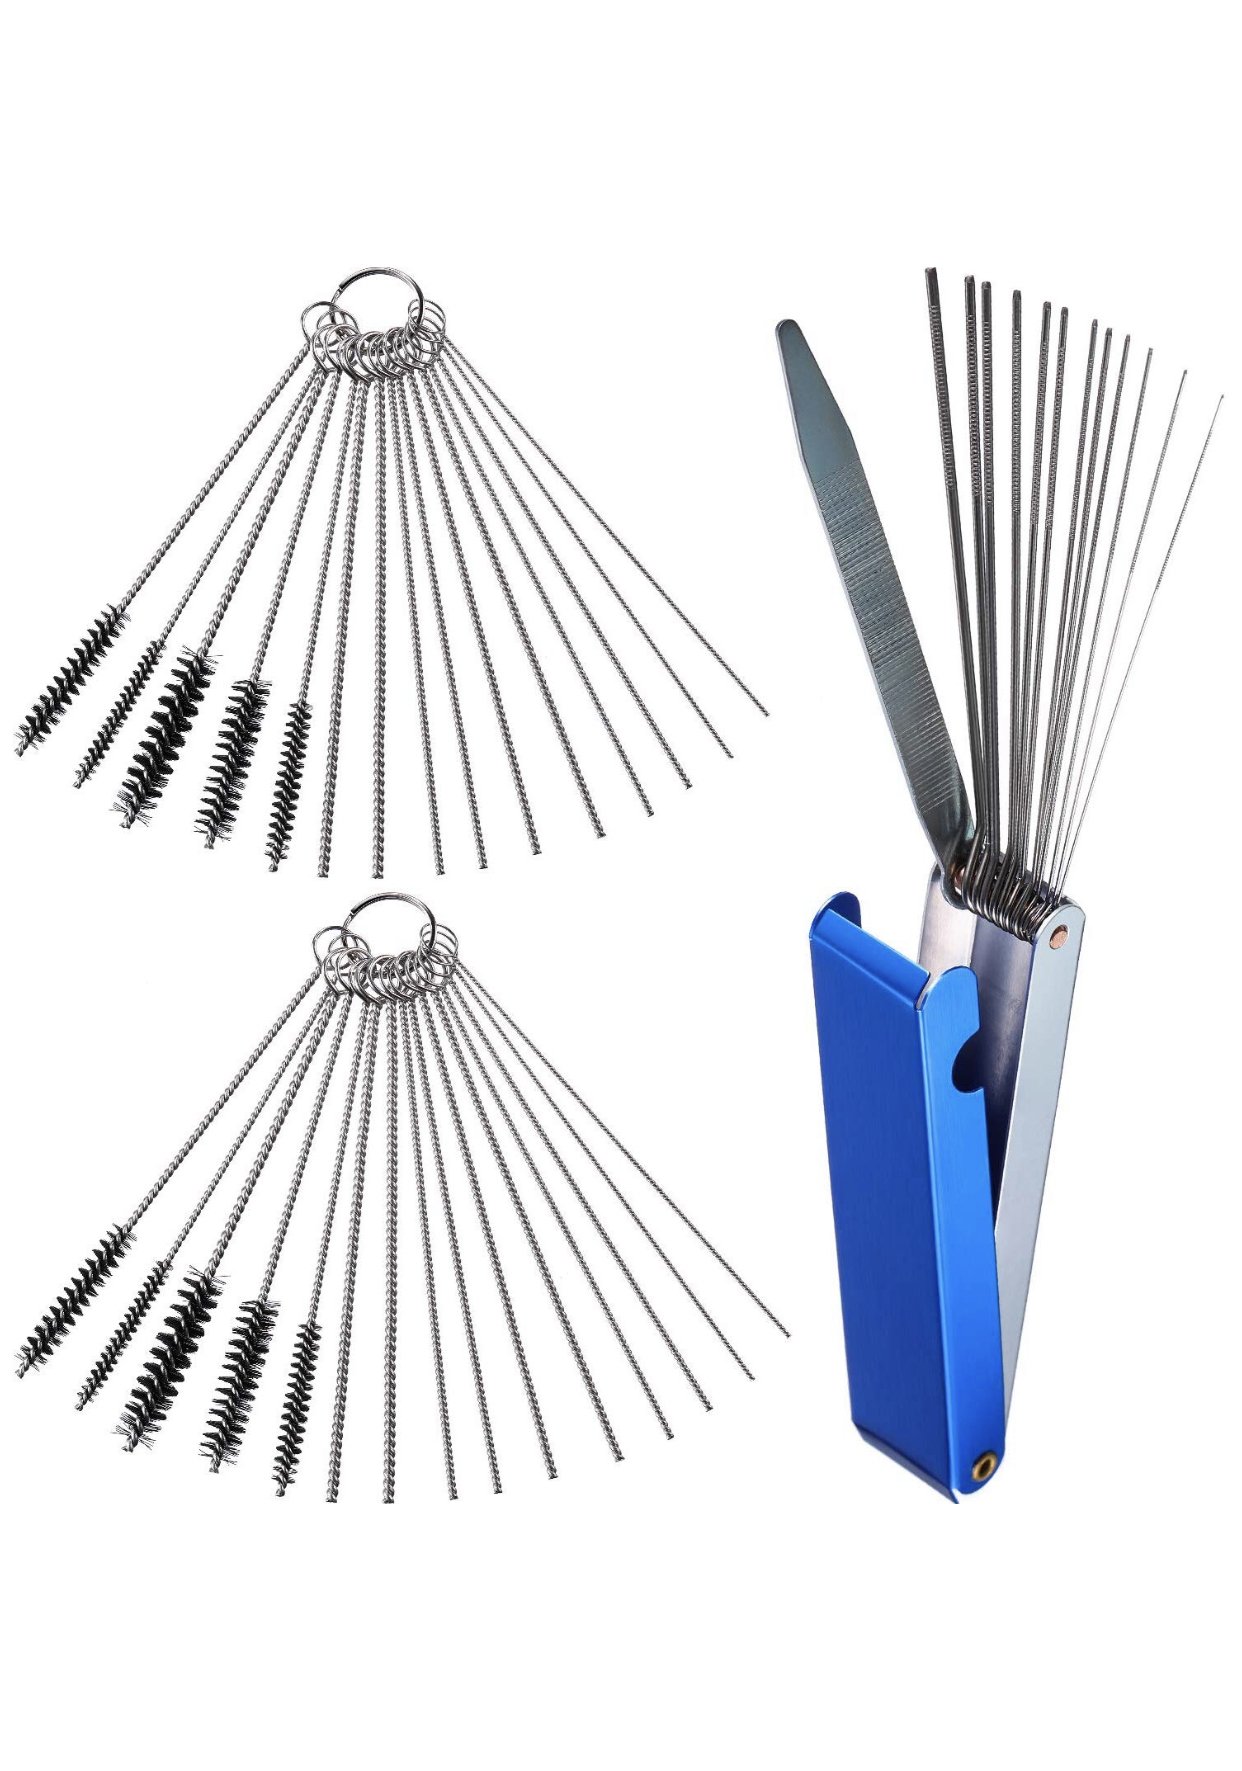
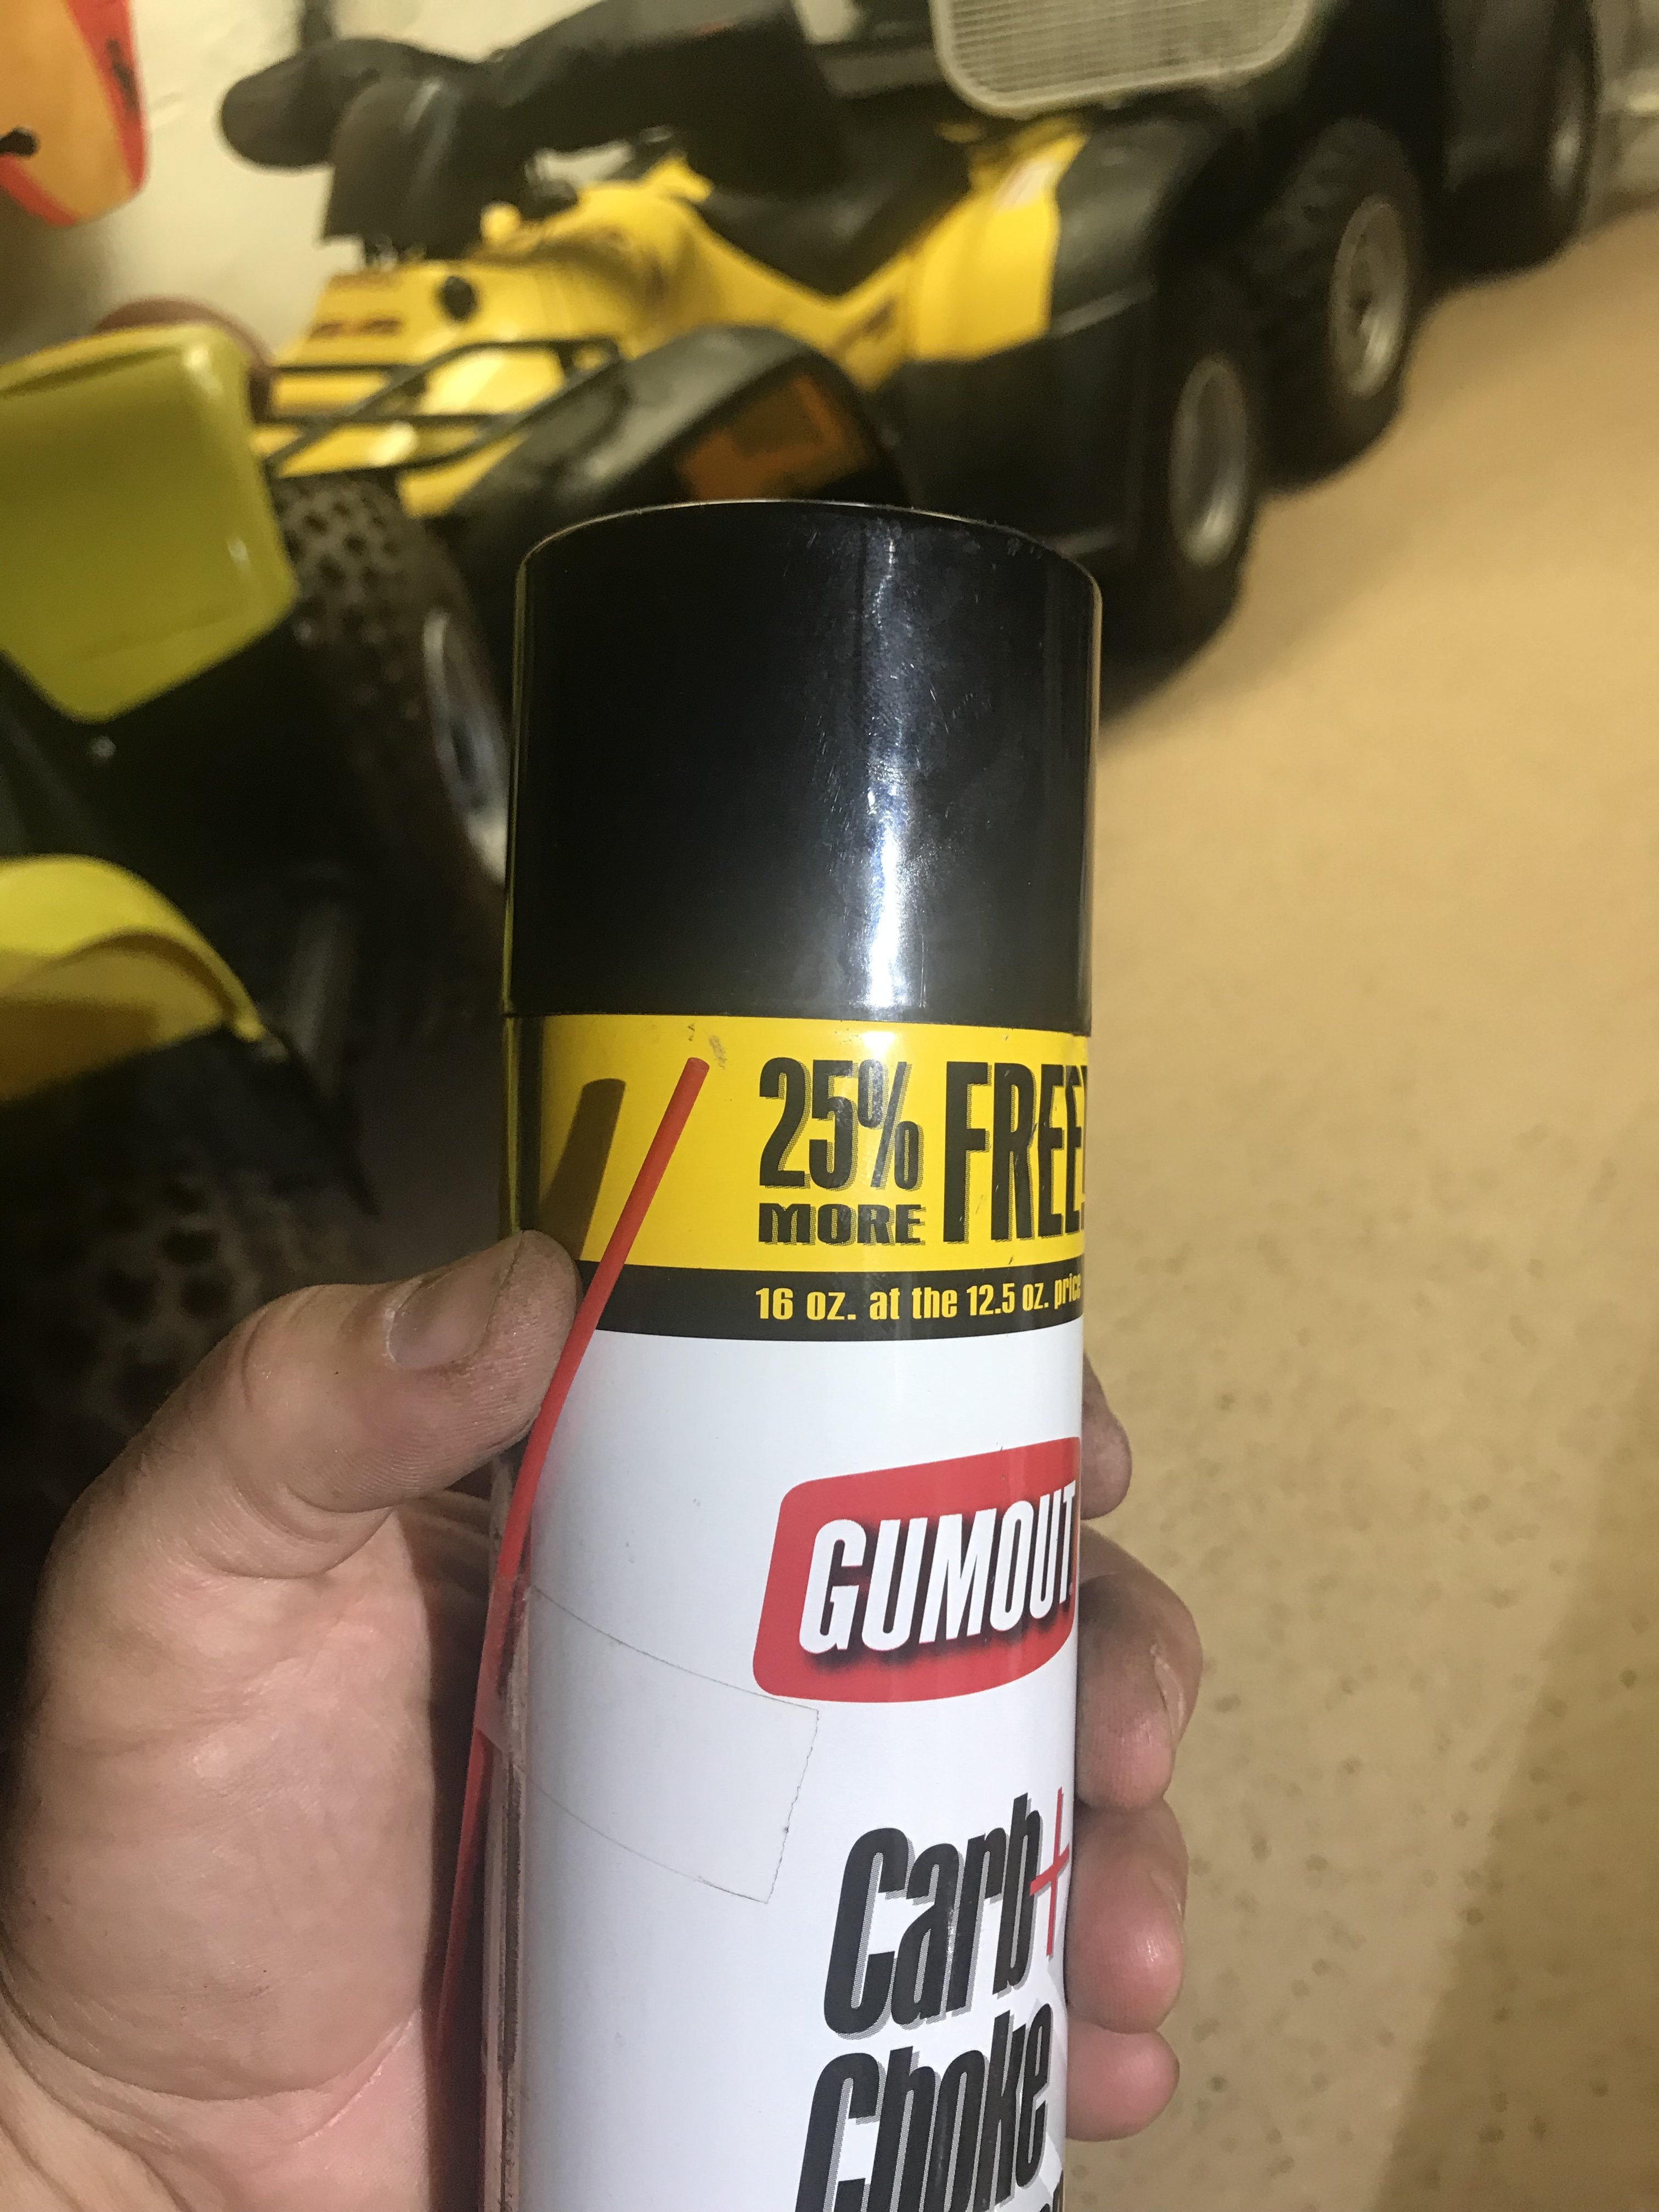
I’ve decided to post a thread on the process of cleaning a carburetor and what’s needed in order to do it properly. There are some members that are new to this and are not very versed in doing so. I want to help and feel this might explain things better. I would hope this helps you along. We all have our own little tricks of the trade so I’m sharing my process on how i break a carburetor down, clean, reassemble and adjust it to peak performance. I welcome any other members input on this topic. List of things I use: Safety glasses !!! Rags. I like to use old white Tee shirts or I buy and always have a few white pillow cases from the dollar store on hand. The cheap ones. I like to use a frisbee turned upside down like a bowl to keep the liquids to a minimum on spillage to the work bench. A set of cleaning picks and brushes or a piece of bicycle break cable, I separate the strands and use them to clean out the tiny holes in the jets. (Pic attached) A can of gum out carburetor cleaner with the small red tube that attaches to the spray tip. (Pic attached) A can of compressed air, the kind used to clean out keyboards on computers. It also has the small red tube that attaches to the spray tip. Or a compressor if you have one with a blow out tip. (Pic attached) A piece of clean hose that I can connect to the fuel line port on the carburetor to test the float operation. About 10 inches long. A few Q tips. The process: I like to put the pillow case down on the work bench and spread it out flat. This really helps in being able to keep track of parts. Especially because it’s white. I use the frisbee because it’s small enough to keep parts contained and durable enough to deal with the chemicals and any gas that will come out of the carburetor while opening it up. It’s important to make sure you keep track of where everything came off and where the screws and parts all go back. I like to start at the bottom and pull the bowl off. I immediately spray the inside of the bowl down with carb cleaner until its about half way full and set it aside. Then I take the float out and check it for any fluid inside. If it’s a white color float you can hold a flashlight under it and see through it for any fluid inside. If it black just shake it up and listen for fluid inside. No fluid inside is a good thing ! When the float comes out the fill valve needle will come with it. I take that needle and put it in the carburetor bowl that I filled with carburetor cleaner. This way it soaks for a bit. I do the same thing with the jets also once they are unscrewed and out toss them into the bowl to soak. Take the air/fuel mixture screw out and soak that as well. Side note: the air/fuel screw should have a screw, spring, washer and o ring. After all the jets and parts are out and soaking I like to take the carburetor cleaner, use the small red tube and stick it in all the little holes/ports on the carburetor and spray. I do this while it’s in the frisbee. This way there is no mess. I look to see where the spray pressure comes out on the other side of that port. Once this is all done I start running my brushes and cleaning tips gently through all of the holes/ports and spraying it again with the carb cleaner. After I feel I’ve seen a clear flow of fluid through all the openings I spray them with the can of air the exact way I did with the carburetor cleaner. This will blow out any left over junk that’s still in the carburetor. Check the choke operation is working properly and spray it clean. Most choke devices are easily cleaned up so hit it and move on since they are mechanical and it’s just a matter of freeing them up, spraying with cleaner and lube. There are multiple types of chokes but many of them for the most part are mechanically operated. Once this is completed I wipe the entire carburetor down good and blow it clean and set aside. I then start working on the jets one by one. Start by running the cleaning tips and brushes through all the tiny holes making sure they are all clean. Hit it with the carburetor cleaner and then air. I hold a flashlight to it when it’s done so I can make sure all of the holes are clear. I set all the jets aside on the work area. Do the same thing for the float needle and air/fuel screw. Now once this is all complete you can set the frisbee aside and start to reassemble the carburetor on the clean white surface. I start by running a Q tip in where the fill needle sits into the carburetor. Some carbs have a small o ring that needs to be clean for proper seating of the fill needle. Carefully reinstall the jets where they came from and do not strip or over tighten the jets and use the proper size screwdrivers when removing and reinstalling the jets. Reinstall the air/fuel mixture screw and set it to what’s called out in the manual for that bike. Install the float and fill needle assembly. Now in order to test that float I like to take that piece of hose I mentioned and connect it to where the fuel line gets connected to the carburetor. I then turn the carburetor over to the upright position and blow into the hose. You should hear air coming out of the bottom of the carburetor. While blowing, lift the float up and the air should stop. Let it go and the float should fall down opening the fill valve and you should hear air again. The air should stop about 3/4 way up when raising that float while your blowing air into it. If so then your good to go. If not make an adjustment Set the carburetor down, take the bowl and empty it. Clean it out and scrape/wipe any old junk inside and blow it out good. There is a screw on the outside of the bottom of the bowl. Remove it and clean it out and reinstall. Turn the carburetor over and reinstall the bowl. Tighten the screws in a crisscross pattern so the bowl seats evenly. I like to put the hose on one more time and do a float test to make sure it’s opening and closing properly. All you have to do is blow into the hose and run the carburetor upside down to see if the air stops. Reinstall the carb and you should be good to go! All pics of the items I use are attached below. If you understand this great. If not ask away! Don’t be shy and don’t cut corners. You will only wind up pulling the carburetor off of the bike for the third and forth time before you get it right. The last thing to be discussed is dialing in the air/fuel screw when your finally put back together and running. This is a relatively easy task. Again I hope this helps! Frank.

-
Metal shavings in crankcase of Baja Storm 125
Frank Angerano replied to Adrian Ciotinga's topic in General ATV Discussion
The carb needs to come off of the engine. Take it completely apart and blow out all orafaces with tye carburetor cleanser and even a small piece of wire to stick in the holes. You should be able to blow into that fuel line and it should come out of the bottom of the float area where the needle is. -
Sounds great brother. Nice work, post some pics when she’s all back together and let us know how she runs. Ride safe.
-
Metal shavings in crankcase of Baja Storm 125
Frank Angerano replied to Adrian Ciotinga's topic in General ATV Discussion
You have to take the carb apart! Cleaning a carburetor means taking the carburetor off of the bike and dissembling the carburetor. You can’t just spray a cleaner into the carb or under a needle valve etc and hope it works. Take it off clean it properly and make sure ALL paths are clean. Then reinstall and you will be fine. -
Metal shavings in crankcase of Baja Storm 125
Frank Angerano replied to Adrian Ciotinga's topic in General ATV Discussion
So most likely the vent on the carb is still clogged. Try to Blow into the vent hose on the gas cap. This may clear the vent line in the carb. Make sure your gas petcock is in the right position and and blow into the hose on the gas cap. Try your reserve as well. That petcock may not be working right. -
Kill switch yamaha 450cc wolverine year 2006
Frank Angerano replied to Romain Catinaud's topic in Yamaha ATV Forum
Not sure about this one. Can you try to explain in English? I’m sorry I don’t understand. -
Metal shavings in crankcase of Baja Storm 125
Frank Angerano replied to Adrian Ciotinga's topic in General ATV Discussion
Yes 100% take a can of carb cleaner and spray all tye ports out. I have a feeling the float is stuck closed. Also the main and pilot jets should be taken out and sprayed.
-
King Quad 700 not getting fuel pressure
Frank Angerano replied to David Land's topic in General ATV Discussion
Bitter sweet brother. Might as well do them both. Check eBay out for axles. -
Metal shavings in crankcase of Baja Storm 125
Frank Angerano replied to Adrian Ciotinga's topic in General ATV Discussion
Only for sweating your as* off it makes a difference. If you have any starter fluid spray it into the air intake as you are trying to crank it. If it fires then the engine is obviously starved for fuel. If you don’t have starting fluid put a drop of gas in the head where the spark plug goes and and put the spark plug back in and try to fire. If all that works then you failed someplace on the carburetor cleaning. Maybe a stuck float or the fuel port coming from the needle is clogged. It happens. -
Metal shavings in crankcase of Baja Storm 125
Frank Angerano replied to Adrian Ciotinga's topic in General ATV Discussion
It is a single phase stator so it would need a good pull to generate spark. Try it with a battery and see what happens. -
Metal shavings in crankcase of Baja Storm 125
Frank Angerano replied to Adrian Ciotinga's topic in General ATV Discussion
As far as the headlight goes that may be localized to just the front light. Is the left side headlight working ? As far as spark goes you have to go back and look. Chances are you missed something. Also have you checked that all the wires are connected to the battery correctly and nothing was left unconnected? kill switch all good ? Ground wires connected? -
2006 Suzuki LT-Z250 QuadSport Z Rev Limited?
Frank Angerano replied to mike costa's topic in Suzuki ATV Forum
Hey mike. That bike should have plenty of power for your wife and for you! My guess is it’s just a matter of cleaning the carburetor better and tuning it the right way. I would do that and double check the air intake box for any nests or behaves or blockages. As far as the exhaust I’m assuming it’s clear and nothing is obstructing it. Get yourself a good can of carb cleaner with red tube on the nozzle to get inside the small holes. A can of compressed air with the same red tube and a set of cleaning tips from amazon. Remove the carburetor and set yourself up a nice clean area to work. Take it all apart and take your time. Ask as many questions as you want and post pics if need be. Once that’s all done and you dial in that air/fuel screw my guess is that she will run like a champ! When it comes time to dial in the air/fuel screw let us know. Talk you right trough it. Throw a fresh spark plug in as well. No need for adding a better exhaust, re-jetting etc. Sumind Carburetors Carbon Dirt Jet Remove Cleaner, Includes 13 Wire Torch Tip Cleaner Tool, 20 Cleaning Needles and 10 Nylon Brushes Tool Kit for Motorcycle ATV Moped Welder Carb https://www.amazon.com/dp/B07KQYWGGD/ref=cm_sw_r_cp_api_i_wdhsDb48SW7AV- 1 reply
-
- 1
-

-
King Quad 700 not getting fuel pressure
Frank Angerano replied to David Land's topic in General ATV Discussion
That’s what Quadcrazy is all about! Good luck. -
King Quad 700 not getting fuel pressure
Frank Angerano replied to David Land's topic in General ATV Discussion
Your very welcome but I could be incorrect on this so don’t thank me yet! Also keep in mind about bench testing that pump. -
King Quad 700 not getting fuel pressure
Frank Angerano replied to David Land's topic in General ATV Discussion
Keep me posted. I’m curious. Good luck. -
King Quad 700 not getting fuel pressure
Frank Angerano replied to David Land's topic in General ATV Discussion
Maybe this will help I just looked on YouTube and found this. Let me know if it helps. Not sure if it matches your bike but worth a shot. -
King Quad 700 not getting fuel pressure
Frank Angerano replied to David Land's topic in General ATV Discussion
I’m not 100% familiar with this bike but if I’m not mistaken theres a screen inside the tank on the sending unit. I would pull the tank agin and take that sending u it out and double check all of this. Did the pump come with a screen ? -
2000 Suzuki King Quad vapor locking problems
Frank Angerano replied to Andrew Serrano's topic in Suzuki ATV Forum
Have you checked to see if you have spark when this happens ? I know the plug would be wet etc but take a look for sh*** and giggles when the bike won’t start if spark is there. Secondly I would do a compression test before and after the engine is hot as well as take the temperature of the cylinder head. You can do this with an infrared point and shoot thermometer to see how how hot the engine is getting. -
King Quad 700 not getting fuel pressure
Frank Angerano replied to David Land's topic in General ATV Discussion
I know you said you cleaned the tank but you replaced the pump did you also change the pick up filter at the sending unit and double check that the hose connections were on correct ? -
King Quad 700 not getting fuel pressure
Frank Angerano replied to David Land's topic in General ATV Discussion
I would go back and look at the intake portion of the fuel system and check that the petcock, supply lines are clear and no cracks in the lines where you could be sucking in air. Take the fuel pump off and bench test it also if you can. -
King Quad 700 not getting fuel pressure
Frank Angerano replied to David Land's topic in General ATV Discussion
Ok I thought it was a vacuum pump. No pictures needed. So that new pump is an oem or aftermarket? Have you primed the fuel lines and checked that there is no obstruction coming from the tank ? Was it a direct replacement and plug right in? -
This could be one of so many things. Engines that blow the bottom end can still run. They knock like a son of a bi*** and will run until the bottom end completely blows apart. If there was very little oil then you must have a leak someplace and that could have caused this ? Check the oil plug and any seals as well as any oily places on the engine. Second item is the timing could have jumped and slammed the valves and piston together either putting a hole in the piston or bending a valve. Third item is the compression release has failed and that’s all it could be ? Based on the low compression I would feel theres a hole in the piston or a big crack somewhere or a blown head gasket. Pull the oil cap off, put the spark plug back in. Do not put the spark plug wire on! Crank the engine and see if you have air pressure coming from where the oil fill cap is by holding your hand lightly over it. If so you def have compression leaking into the engine. You can also spray the engine down with a soapy water solution and crank the engine and look for bubbles. I would do these simple tests first and go from there. Hope this helps.