
Frank Angerano
-
Posts
3,925 -
Joined
-
Last visited
-
Days Won
209
Content Type
Profiles
Forum
Gallery
ATV Magazine
Events Calendar
Downloads
Store
Community Map
Everything posted by Frank Angerano
-
It can also fry the stator coil.
-

1995 Polaris magnum 425 will not run with airbox hooked up
Frank Angerano replied to Kurt Reiser's topic in Polaris ATV Forum
The only thing that comes to mind is there is possibly a constant pressure that the fuel pump delivers keeping the carburetor properly fueled. I would do exactly what you said and start with putting the new pump in and go from there. See if that corrects the problem. Is not you will have to go a few steps further and maybe make some adjustments or check the carburetor for an obstruction. Keep in mind yiu have to prime that pump before you hook it up to the carburetor. Keep us posted. Good luck. -
Help Identifying Honda Rancher TRX350TM3
Frank Angerano replied to Jeff Taylor's topic in Honda ATV Forum
Nice job! Check eBay you might find a good set of used rims there. -
1995 Polaris magnum 425 will not run with airbox hooked up
Frank Angerano replied to Kurt Reiser's topic in Polaris ATV Forum
Was any of this going on before the fuel pump went bad ? -
1995 Polaris magnum 425 will not run with airbox hooked up
Frank Angerano replied to Kurt Reiser's topic in Polaris ATV Forum
Also how is the bike running if the fuel pump is bad ? If it’s still running and the pump is not delivering the proper amount of fuel then maybe that’s the cause but I’ve never really seen a partially broken fuel pump. -
1995 Polaris magnum 425 will not run with airbox hooked up
Frank Angerano replied to Kurt Reiser's topic in Polaris ATV Forum
There are air intake openings on the air box. Have you checked that they are all clear? Also the filter may look clean but may be clogged. -
Tattoo that thing on. No more worries !
-
Start to look at the wire harness for any loose or broken wires. Kill switch may have an issue. If not there then the stator coil or secondary coil. If you know how to use a tester you can eliminate those parts to avoid buying them.
-
Best bang for your buck Utility Quad?
Frank Angerano replied to Nick Martini's topic in General ATV Discussion
Agreed on the jumping a utility quad. Not good, it’s like a ton of bricks coming down. If you ask any of the members here we would all have different opinions. Im a fan of Honda’s and will always be. I’ve worked on everything except the Suzuki’s. Polaris would be my least favorite choice as I’ve seen some repetitive problems. But they all have little nuances that we’ve heard. -
2004 Polaris Sportsman 500 Reversed Terminals On Battery
Frank Angerano replied to JacobSlabach's topic in Polaris ATV Forum
That’s a great video @davefrombc 👍 good find. -
2001 Kawasaki 300 bayou shifter shaft
Frank Angerano replied to ronwv48's topic in Kawasaki ATV Forum
@JacobSlabach if you ever come across and old bike laying around that’s shot. Pull the motor and split it open. I did this with my son on a beat up xr80 we found. He split the engine just to see how things work. I explained as much as I knew and in addition he learned how the clutch worked etc. It was a great learning experience. -
2004 Polaris Sportsman 500 Reversed Terminals On Battery
Frank Angerano replied to JacobSlabach's topic in Polaris ATV Forum
It’s a bi*** but two things have to happen. 1. You must have the air filter on as if the bike was ready to ride. 2. You have to make up a small screw driver to get in to the adjustment spot. I’ve done it I bought a flex driver which is a small flexibile shaft screwdriver. Or make one up. -
2004 Polaris Sportsman 500 Reversed Terminals On Battery
Frank Angerano replied to JacobSlabach's topic in Polaris ATV Forum
It’s a 500 so right out of the gate you know 1-3/4 will be the minimum. Start there and adjust out. Keep the idle as lows as possable to keep the bike running. As you adjust the fuel/air mixture screw the bike will rev up as you get better. While this is going on you will have to lower the idle. Keep adjusting until the highest point of reving. That means at some point the engine will not continue to rev higher but start to act up. Once you hit that point you have passed the sweet spot. Back it down and make final adjustments. The highest revs mean the bike is getting the most out of fuel and air. -
Oil drain plugs quadzilla 2008 320 e
Frank Angerano replied to Gary Patch's topic in General ATV Discussion
Ok Mr Gary we need to figure this out. I know @Ajmboy is a Suzuki guy. Maybe he has some input. But I would think there has to be a drain plug. Have you checked the lower sides of the case ? Maybe instead of the bottom ? -
Oil drain plugs quadzilla 2008 320 e
Frank Angerano replied to Gary Patch's topic in General ATV Discussion
The only other thing I can think of is it has to be pumped out. But I doubt that. Is there a fill plug for that tranny? -
Oil drain plugs quadzilla 2008 320 e
Frank Angerano replied to Gary Patch's topic in General ATV Discussion
That transmission plug should have a hex head flush type drain plug and it should be on the bottom same side as the fill cap. Some of the engines on other manufacturers bikes had the gear boxes built right into the engine where the engine oil was also the gear box oil. Both pros and cons . I believe your bike has a separate transmission, locate the fill cap and look under the bike in the same area. -
Is the carb that beat up that it’s byond repair? A valve adjustment would prob help for other reasons but not this problem. The timing is pretty straight forward as your 300 is. Cam sprocket and T mark on the flywheel. Double check that the choke is not stuck. And also check for good spark and a fresh plug. Also my 220 ran best on a 1-1/2 turns out on the air fuel mixture screw.
-
1997 Kawasaki Bayou 300 2x4 (klf300b) Runs Bad
Frank Angerano replied to JacobSlabach's topic in Kawasaki ATV Forum
That is a great question. It could be that your spark is breaking down at some point and soaking the plug because no or poor spark. Definitely a good possibility. @06kfx440 👍 -
Oil drain plugs quadzilla 2008 320 e
Frank Angerano replied to Gary Patch's topic in General ATV Discussion
That plug is usually up in one of the holes on the skid plate. It’s definitely there so you are going to have to really get under it and feel around. Even wash it out. I had a Yamaha with a skid plate. It was packed with dried mud. After a little hosing down and looking I found it. As far as the oil level there should be a sight glass or an indicator level on the oil plug almost like a dip stick but one or the other it’s there. As far as oil a good 10w40 will be fine. There was actually a topic on this today in the forum about oils. Take a look. Be gentle with that oil plug when removing and reinstalling. You over tighten it and it strips or even worse crack the engine casing where the threads are. -
1997 Kawasaki Bayou 300 2x4 (klf300b) Runs Bad
Frank Angerano replied to JacobSlabach's topic in Kawasaki ATV Forum
Your float in the bowl may be getting a little jammed up allowing excess fuel to get into the engin/head thus flooding out the sp. The float has a pivot point where it mounts to the carburetor. Either it’s getting stuck on the way up or the pin that the float pushes up is getting stuck. I know the over flow would show signs of fuel dumping out but it may not be so severe that it’s showing. Also one more thing. The top of that pin has a rubber tip on it. Take a look and maybe replace the pin if needed. Check that the pivot point on the float looks straight and nothing is restricting its travel. -
Awesome. Any problems let me know.
-
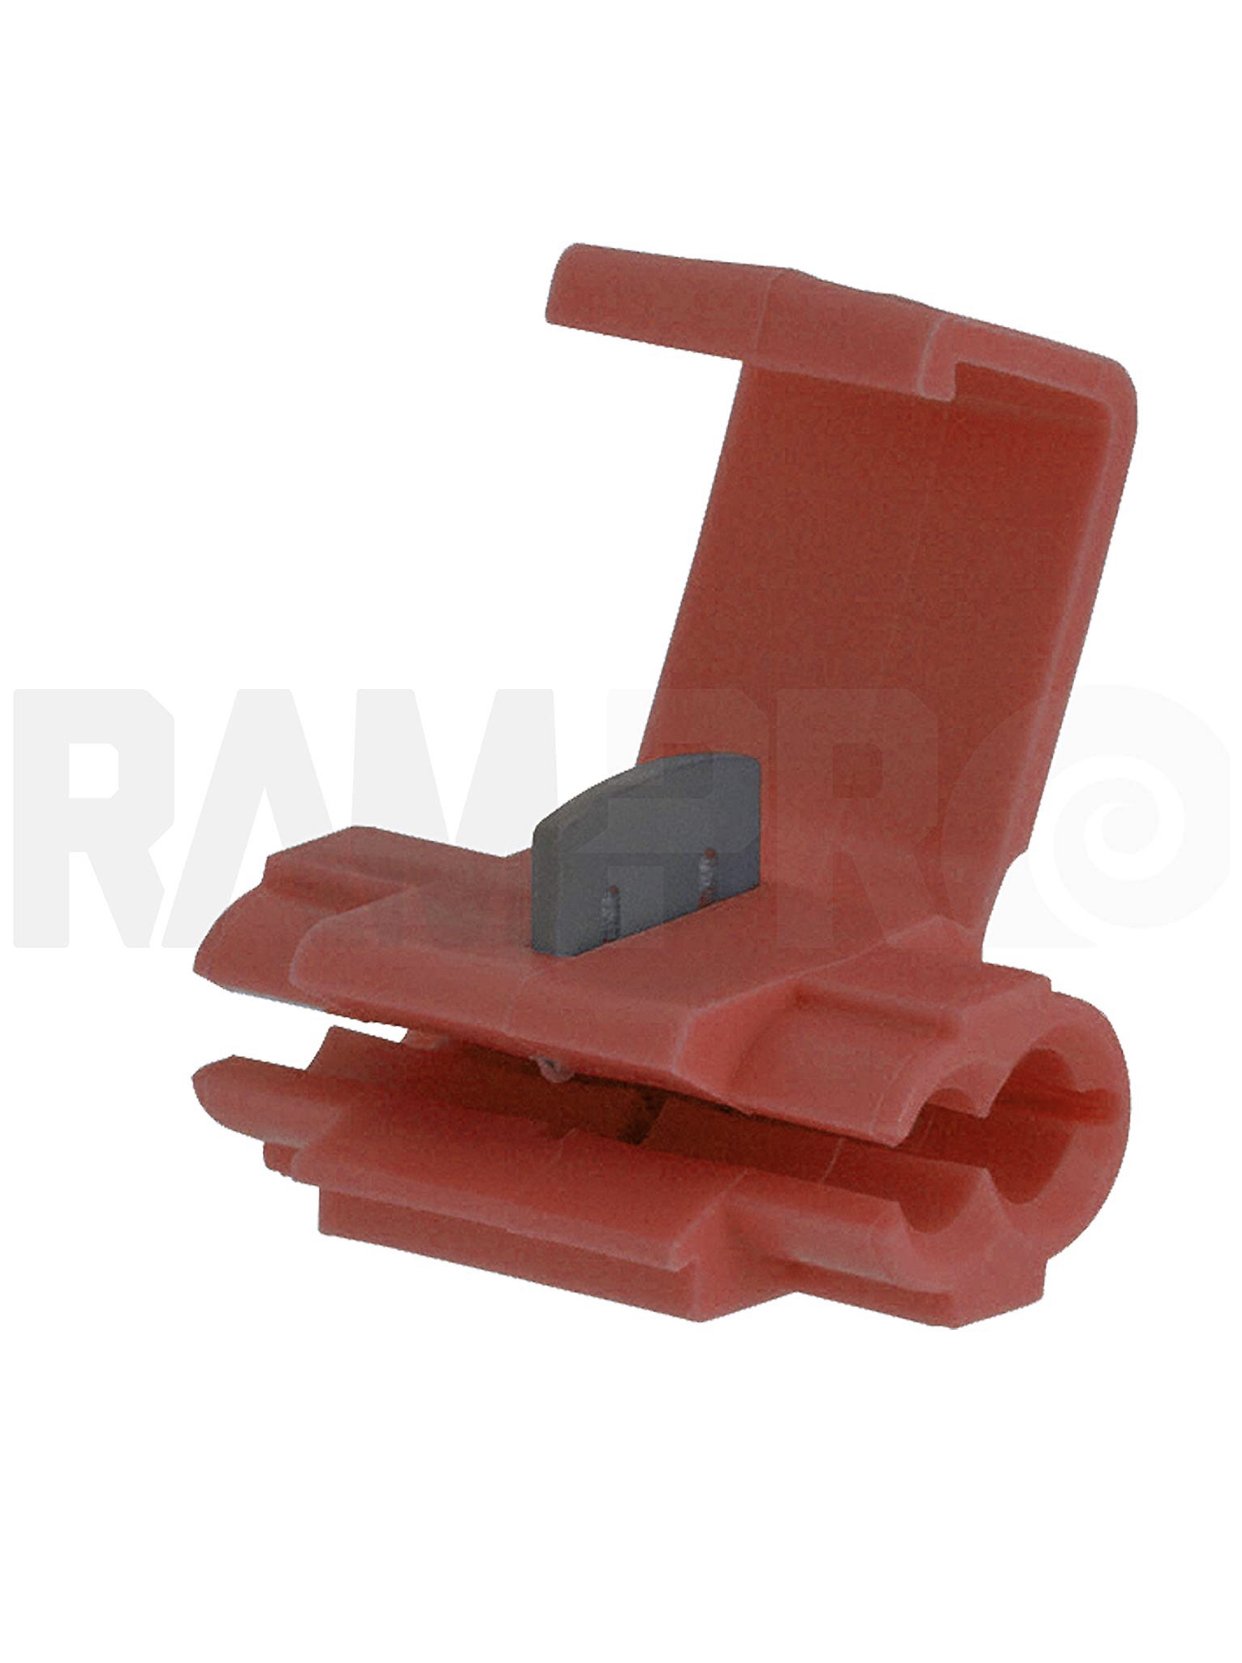
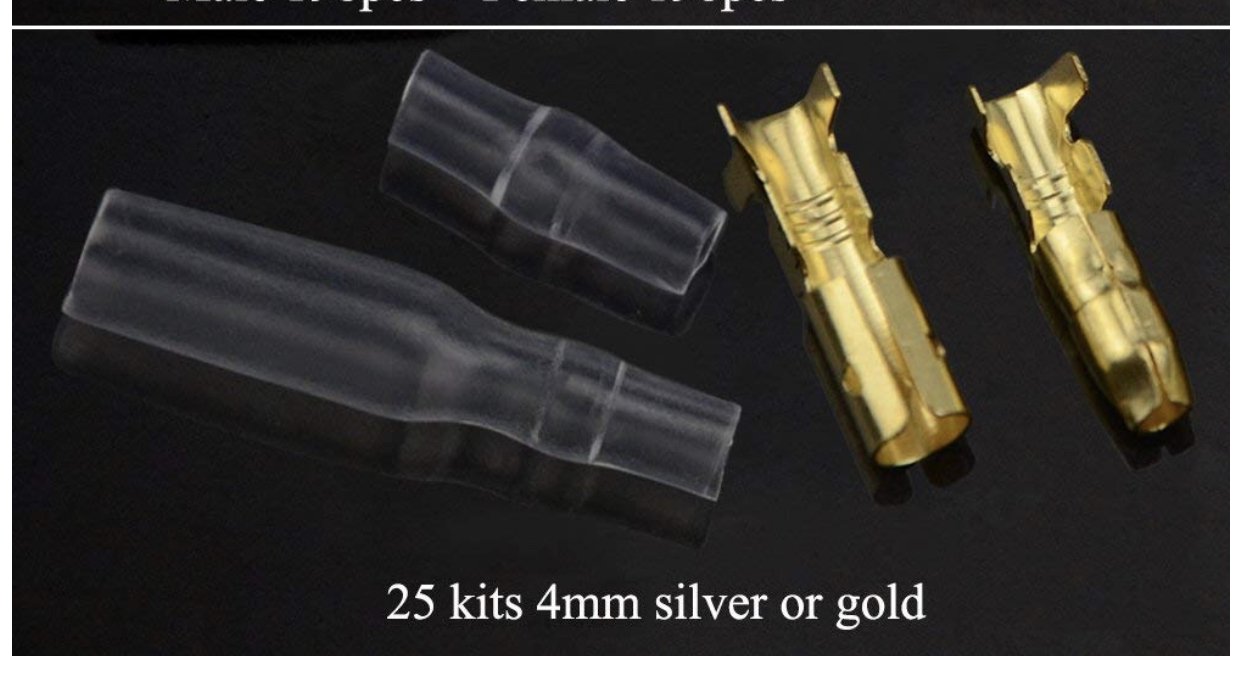
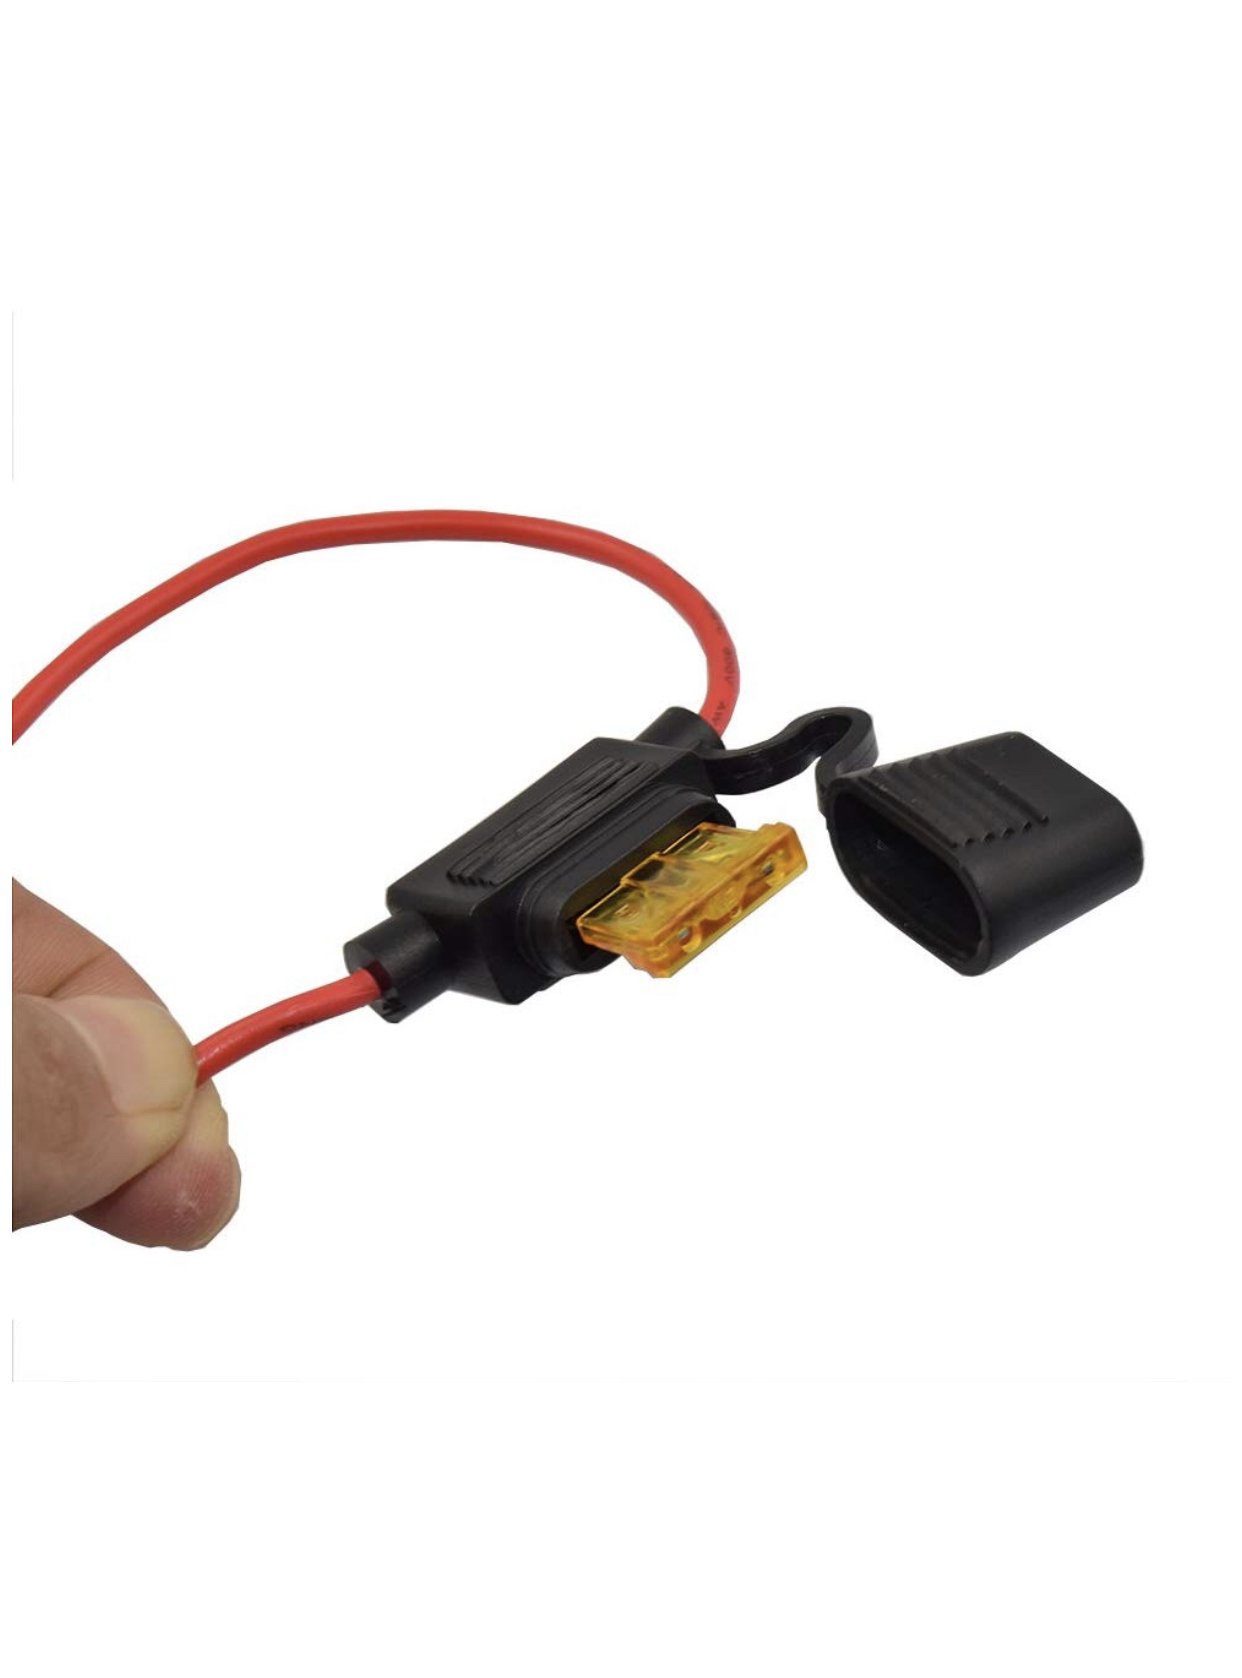
Here are the connectors you should need

-
Yea it’s pretty simple. The low beam light should have a small plug on it right behind the light assembly. Pull that off and leave it be. Just need a few feet of 14 gauge stranded wire red preferably and one inline fuse and a crimper. And they sell connectors that will plug right back into the light fixture plug for your new wire. Your wire should have the new plug connector on one side and the inline fuse and a tap connector at the area of the ignition.
-
Simple solution is go to the ignition wires with a test light and find the wire that goes live (12v) when in third position and tap that with a wire connector and extend to your hid wire (fuse in between) right where you tap it. This way they are always on with the key. You have to disconnect the existing wire that’s feeding the hid now though.
-
2001 Kawasaki 300 bayou shifter shaft
Frank Angerano replied to ronwv48's topic in Kawasaki ATV Forum
That’s a good question. I would refer this to @wanrep He’s got some good info/knowledge on stuff like this. Maybe he can help.