
Frank Angerano
-
Posts
3,925 -
Joined
-
Last visited
-
Days Won
209
Content Type
Profiles
Forum
Gallery
ATV Magazine
Events Calendar
Downloads
Store
Community Map
Everything posted by Frank Angerano
-
Welcome to Quadcrazy! So that fan should only come on when the engine gets hot enough. It not supposed to run all the time. 1. Have you ran it long enough to see if that’s the case ? 2. It’s meant to turn on by a heat sending sensor that should be screwed into the head someplace. Should have a single wire connected to it. When the fluid in the head gets hot enough that sensor kicks in and brings the fan on and will stay on even after you turn the bike off until it’s cool. That could be bad. If your not sure take some pics and post them and we will point it out for you. You can take it out and clean the sending unit also making sure the head is not clogged up with sh** by the sensor. 3. Is there a light for the engine being to hot on the dash anywhere? A high temp light? 4. lastly have you checked all the fuses and connections for corrosion/dirt and unplugged sprayed contact cleaner and reconnected?
-
 One other thing I didn’t address was the screw at the bottom of the carburetor. That screw should remain tight. It’s meant to drain the bowl. There is a black hose attached to the bottom of the carb that is an over flow. That would allow fuel to flow out of that hose if the float fails and keeps filling the bowl up it would drain there instead of filling the engine with gas. There should be a hose connected to the upper side of the carb as well. That’s a vent line. Make sure that hose is clear. Pull it off the carb and send a little air through it.
 -
1997 Kawasaki Bayou 300 2x4 (klf300b) Runs Bad
Frank Angerano replied to JacobSlabach's topic in Kawasaki ATV Forum
Other then the additional pain when you smash your knuckles with wrenches 🤬I would say no! Maybe when it comes to any silicones or gasket adhesives.... they recommend temps above 50 deg to use but I would think you are good to go! Maybe a small heater, they have plug in type and the small desiel salamander type. Sh** maybe a small pellet stove would be cool ! -
Welcome to Quadcrazy Austin. The new carb that you purchased was it an oem carb or aftermarket? There should be no reason to have to replace a carburetor unless it’s cracked, stripped screw holes , or damaged beyond repair. But most of the time its prob just in need of a good rebuild kit including the jets. The aftermarket carbs are not really so good unless it’s a really good production aftermarket company that specializes in carburetors and that would cost you just as much as an oem carb. Especially since it was just a bad gas issue. There are multiple tiny ports/holes in the carb AND the jets that need to be unscrewed and cleaned as well. There are small holes in the jets, on the sides, down the middle etc. As far as the air/fuel screw I would turn it all the way In until snug, not super tight and then come back out two and a half turns out. Once the bike is running you can adjust in or out a bit on the screw to dial it in. I would also change the spark plug. It could be fouled up as well.
-
1997 Kawasaki Bayou 300 2x4 (klf300b) Runs Bad
Frank Angerano replied to JacobSlabach's topic in Kawasaki ATV Forum
A few ppl posted compression test videos on YouTube saying to open the throttle. It should make no difference. Ok brother when you are ready to tear into that thing we are here! -
1997 Kawasaki Bayou 300 2x4 (klf300b) Runs Bad
Frank Angerano replied to JacobSlabach's topic in Kawasaki ATV Forum
I’ve tested both ways and got the same readings. Not sure why it’s said that it makes a difference. But I’ve done it all my life with the throttle open or closed. No difference in the reading. -
Impressed with the amount of manuals
Frank Angerano replied to Alan Callison's topic in General ATV Discussion
You should be impressed. Quadcrazy is the real deal when it comes to atv forums. The problem solving, general talk and the manuals that are here thanks to the members and Quadcrazy make this site the place to be when it comes to ATV’s. 👍 You get out of Quadcrazy what you put into Quadcrazy. Just here for the manuals does not work here ! 😂 -
1997 Kawasaki Bayou 300 2x4 (klf300b) Runs Bad
Frank Angerano replied to JacobSlabach's topic in Kawasaki ATV Forum
Sorry for the brief post I was at work. The needle is located in the slide. Pull the small V shaped clip that holds the needle inside the rubber/plastic slide The needle will come out when you turn it upside down. That needle should have a round e clip and small grooves as well. It’s self explanatory at that point. Just need to figure out where to set it and remember where it was before you pull the clip off. Let me know if you see that. As for the top end the symptoms you are having what sounds like the typical dead top end problems. This is caused by either beating the sh** out of the bike by over reving or pushing the bike to hard in the wrong gear. For instance going up a hill in a higher gearing. Over time these things will hurt the engine. That’s my guess as to what’s going on. Have you ordered the parts ? -
1997 Kawasaki Bayou 300 2x4 (klf300b) Runs Bad
Frank Angerano replied to JacobSlabach's topic in Kawasaki ATV Forum
So yes I would proceed with the top end work. There is def something going on as well as low compression. As for the needle in the carb. The blown up detail may not show the clip adjustment. Pull the vacuum slide out and the needle. There should be an “E” clip and a few grooves. -
Are you able to clean that number up and verify that it’s correct ? It’s not coming back with anything. Other then the year.
-
Can you post a pic of the vin#
-
The only thing that would be left is the pump. It may look ok but prob the culprit. Have you checked the pump drive to the pump. There is a shaft that drives that pump. You need to pull the pump and crank the engine to make sure the shaft is turning.
-
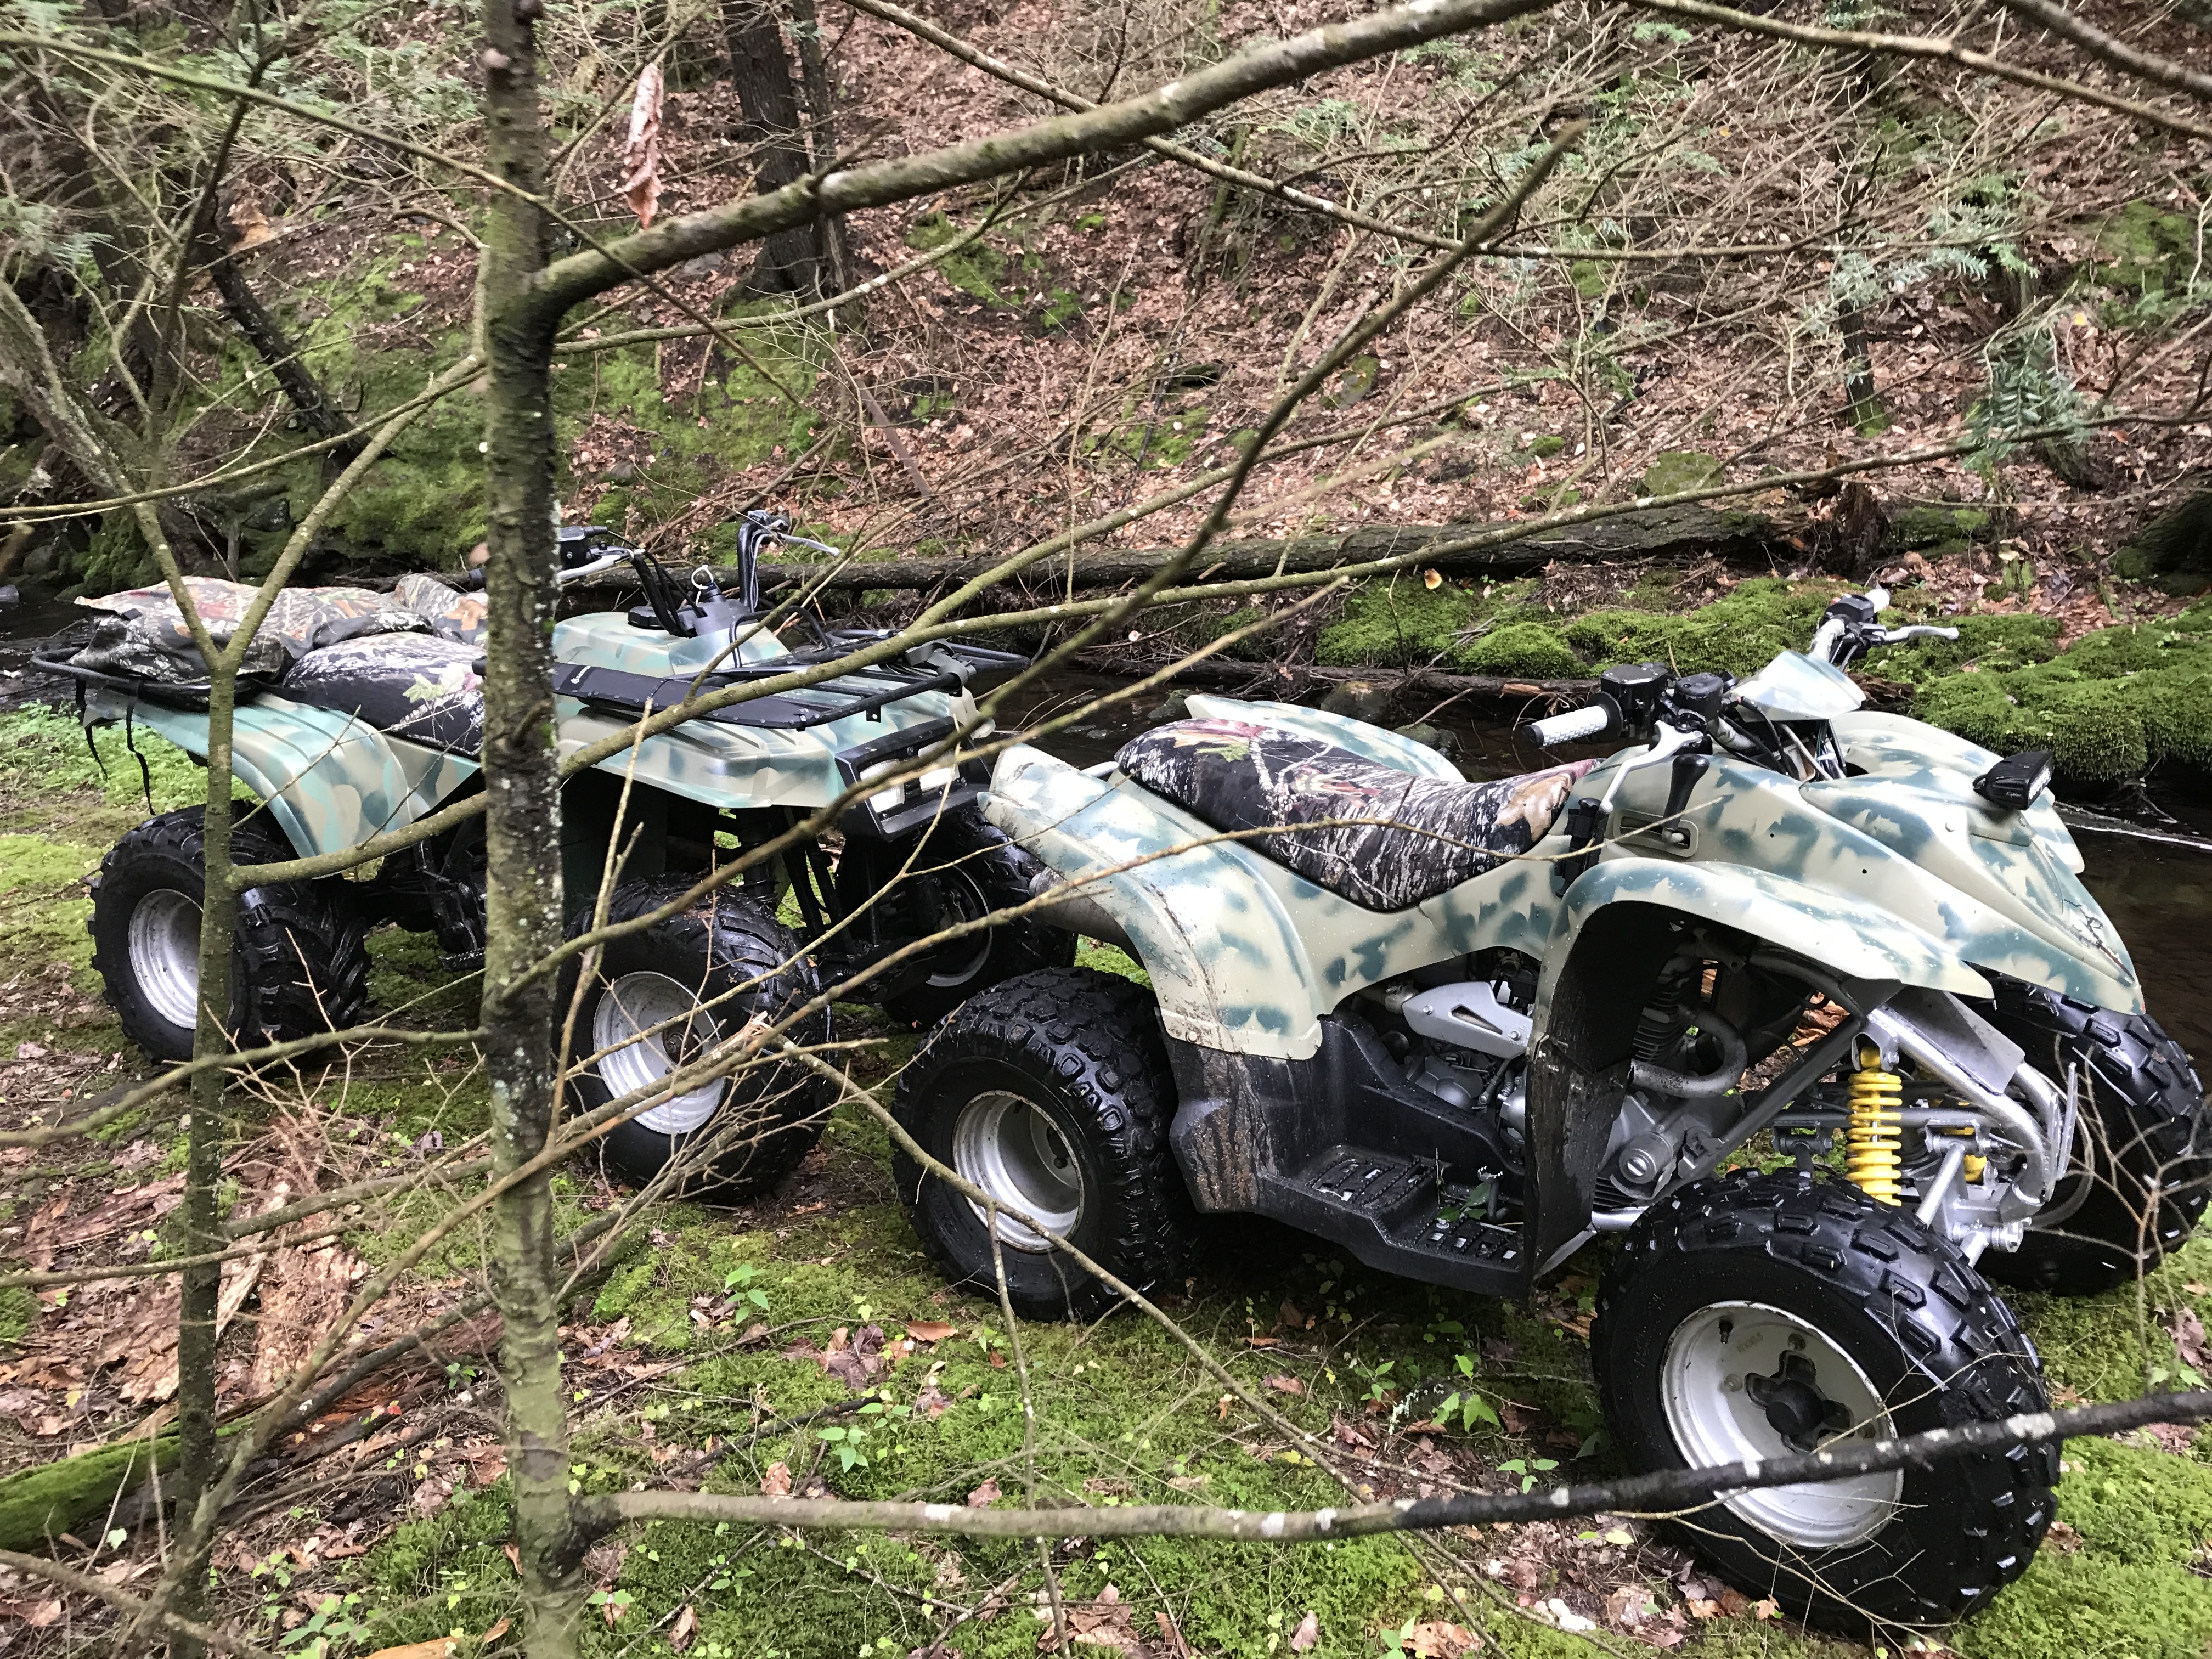
I would get a rear storage bag and load it up! I would equip the bike with a 12v accessory plug for a cigarette lighter type plug for a tire compressor and a USB port to charge the phone, a tire plug kit, and a jumper pack, spark plugs and a small socket set. Electrical tester and flashlight, small shovel. Tow straps and a good rope. Always good to keep a snatch block as well and a few bottles of water.

-
Good idea on a second cleaning of the carb. Fuel in the bowl of the carb does not alwsys mean the fuel is getting where it needs to go. There is a main jet that allows fuel to get into the carb from the bowl. This jet is most likely blocked. Have you sprayed starting fluid into the air Intake to see if the bike fires up ??? Also have you checked that the fuel has not gotten water in it ?
-
Has the bike been sitting ? Have you checked fuel is getting into the engine. Get some starting fluid and spray it in the air intake and crank. If the bike starts then it’s. A fuel problem. Couod be bad gas, dirty carburetor etc
-
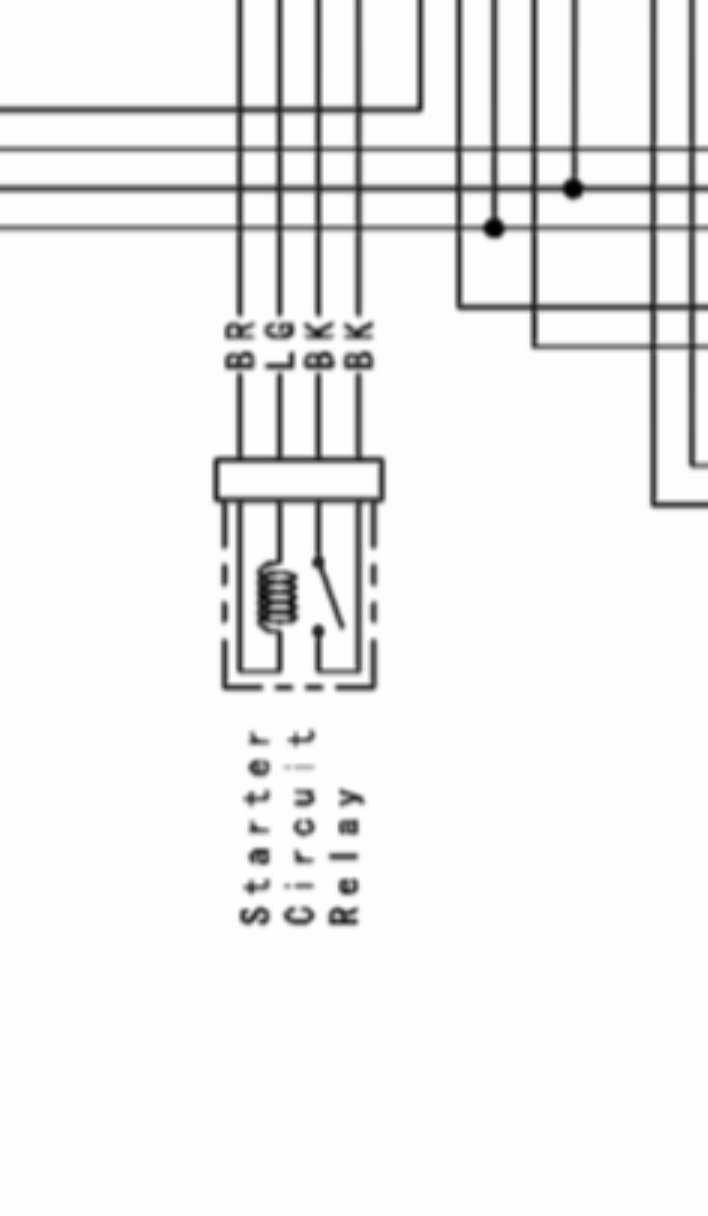
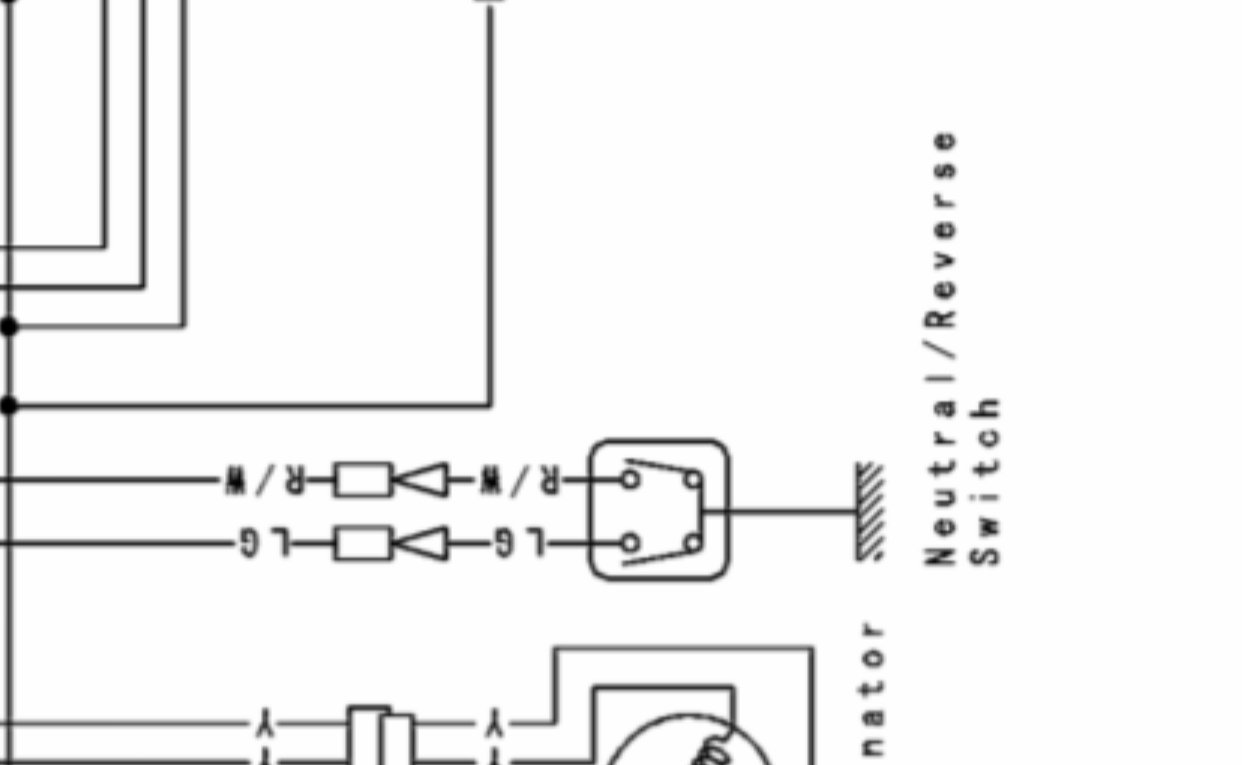
Good. That’s the first thing I do is wash the filth off! I always pull the plastics as well. With regard to wiring any help you may need let me know. I just spent the last few days absorbing the wiring manual for that bike. Should be a good machine when you get it all back together!
-
Nice job on the history of the bike. The original carb is the best bet to get back to. You can buy the rebuild kit with the jets for that year included with the kit What modifications were done to the throttle cable ? Maybe a new one is in order if your going back to the original carb. Good luck and any questions you have surely can be answered here! Be sure to post some pics. 👍
-
Awesome thank you brother.
-
The cdi is definitely a factor. If it gets moisture in it or damaged it’s pretty much done. Have you looked at the entire wiring of the bike? Kill switches, safety switches etc. Test the stator to make sure that it’s good. Even though it’s new. Also the ignition coil. This can be done by referring to the manual. You need an electrical tester with an ohms setting on it. Then after that is done maybe consider a new cdi.
-
@wanrep hey quick question. I’m about to pull the trigger on the parts. The bevel gear cover gasket... what about where the rear drive shaft slips out of the bevel gear housing. It looks like there is a gasket on the back ?
-
Welcome to Quadcrazy! No problem with that. So how bad is he wiring and what questions do you have? There aren’t many wires to deal with so it should not be that difficult for you Put up some pics of the areas you have questions on.
-
Quadzilla starting issue
Frank Angerano replied to Gary Patch's topic in General Talk - Anything Goes!
Prob going to need the carb taken off and cleaned out. -
Quadzilla starting issue
Frank Angerano replied to Gary Patch's topic in General Talk - Anything Goes!
When you pull the plug is it black and oil fouled? Wondering maybe two or three things; if there is oil getting into cylinder head maybe fouling up the plug and after a bit of cranking it fires when the gas finally clears out the oil in the head? Second thing is if it’s a carbureted bike maybe the bowl on the carburetor is dry and has to re fill every time it’s been sitting ? Maybe due to a leak? Smell any gas ? if it’s an injected bike then maybe something is air bound in the fuel lines and has to crank until fuel reaches the head ? Those would be my guesses. -
Ok thanks. Just hope it’s the switch and. It deeper like u mentioned.
-