Ajmboy
-
Posts
6,288 -
Joined
-
Last visited
-
Days Won
157
Content Type
Profiles
Forum
Gallery
ATV Magazine
Events Calendar
Downloads
Store
Community Map
Everything posted by Ajmboy
-
Does he have the GPScape? 2009 FourTrax Rincon Innovations - Honda Powersports
-
Welcome to QUADCRAZY! What type of Suzuki (I'm assuming) atv are you riding?
-

Anyone as Ambitious as me????
Ajmboy replied to mywifeknowseverythin's topic in General Talk - Anything Goes!
LOL...is that a Christmas Ball? Or a large Mistletoe... -
This was taken a couple of years back on top of a reservoir damn.
-
 That's a great picture! I love his movies.
 -
Nice site. I like the look up by atv and tire size checker. Keep us posted on specials.
-
I can't believe that. Do you have any clue on who did this? Do you live in an area where this happens allot? What did they take off it, I see some plastic missing. How old where the people who did it? You need to get a shotgun or something! :shoot:
-
Best deal on ATV rear seat & saddle bags
Ajmboy replied to clarkgriswold's topic in General Talk - Anything Goes!
Welcome to the community! Try Motosport: ATV TANK SADDLE BAG MOSSY -
It was pretty funny....
-
Welcome to the community! All great advice posted. In your price range, it will be difficult to find something new with what you need. I went from a Kawasaki Bayou 220, to a Yamaha Kodiak 450, to a Suzuki King Quad 700 all within 3 years, because I just felt like I out grew them one by one. I've had plenty of passengers even on the Bayou, but nothing carried 2 passengers better than more power and 4WD. Eventually you'll want to ride solo. I would probably try and find a used 450-550 4WD utility atv to start. You should be able to find something decent for under 3k. I think that if you go with anything lower than that with 2 people, you will regret it, when it comes time to climb those hills and cross those streams. I would search on Craigslist. Here are some pics for $2-3500 in your area: 2005 honda rancher 350 Suzuki Quad Master 500 4x4 auto 2004 Honds Rancher 400 ATV (LIKE NEW) - $3500 2005 HONDA FOREMAN 500-------MUST SELL!!!!
-
Interesting and some good points, clearly written by a firearm advocate. My opinion is, if you have a gun loaded in your house, you are more likely to use it..
-
Welcome Brett! Go to your account section or just click on this link: Change Profile Picture
-
Just some pics I found online:
-
I went to BestBuy this past Friday, at 4 am in the morning to try and get this desktop that was $599 with 6GB of ram and 22" monitor. Got there and the line was HUGE!!! Got in there at like 5:10 am and had to get on another line to the GeekSquad desk, just to find out that the desktop was sold out. The funny thing is, this desktop was available online at 11 pm the night before, but I didn't want to pay the shippping...Should have done it, here's the item: HP a6614f Desktop with AMD Phenom™ X4 9500 Processor, 21.6" LCD Monitor, Inkjet Printer & Antivirus Now, Walmart had a $400 desktop as a door buster special, I checked and it was online at 3:00 am before I left. I said screw it, let me order it online before I leave so I have something, and still try and get the BestBuy one, and I did! It's not as powerful, but at least I got something..here it is: Walmart.com: HP Pavilion a6683w-b Desktop PC w/ AMD Turion X2 2200 Dual-Core Processor with 19" Wide LCD Monitor: Computers It's coming in the mail for $4 shipping! The lesson here is, next year, I'm getting up in the middle of the night and shopping online! I got all my presale info here: Desktops Sale Items - Black Friday @ GottaDeal.com Now onto CyberMonday!
-
Suzuki Twinpeaks 2wd/4wd Indicator light BLINKING!
Ajmboy replied to Naterenfo's topic in Suzuki ATV Forum
I know my King Quad acts the same way, gotta be real slow, back off the gas, or stopped. -
Suzuki Twinpeaks 2wd/4wd Indicator light BLINKING!
Ajmboy replied to Naterenfo's topic in Suzuki ATV Forum
I agree with outlander. Most 4WD utility quads need to be completely stopped or riding real slow to engage. Sounds normal what is happening. Check your owners manual. On another note, there is a recalll on the steering knuckle for that machine: The Official Site of Suzuki Motorcycles, Quadrunner ATVs and Scooters -
Yeah, Turkey makes me sleepy! Hope everyone fills up!!
-
Just wanted to wish everyone a happy turkey day! Just a couple of days away...Gobble Gobble!
-
Welcome to the community and congrats on the new quad! That thing is a BEAST! * Moved your thread into the New Members Forum
-
Your ATV wheelie pictures only please. Below is a buddy of mine on his Honda.
-
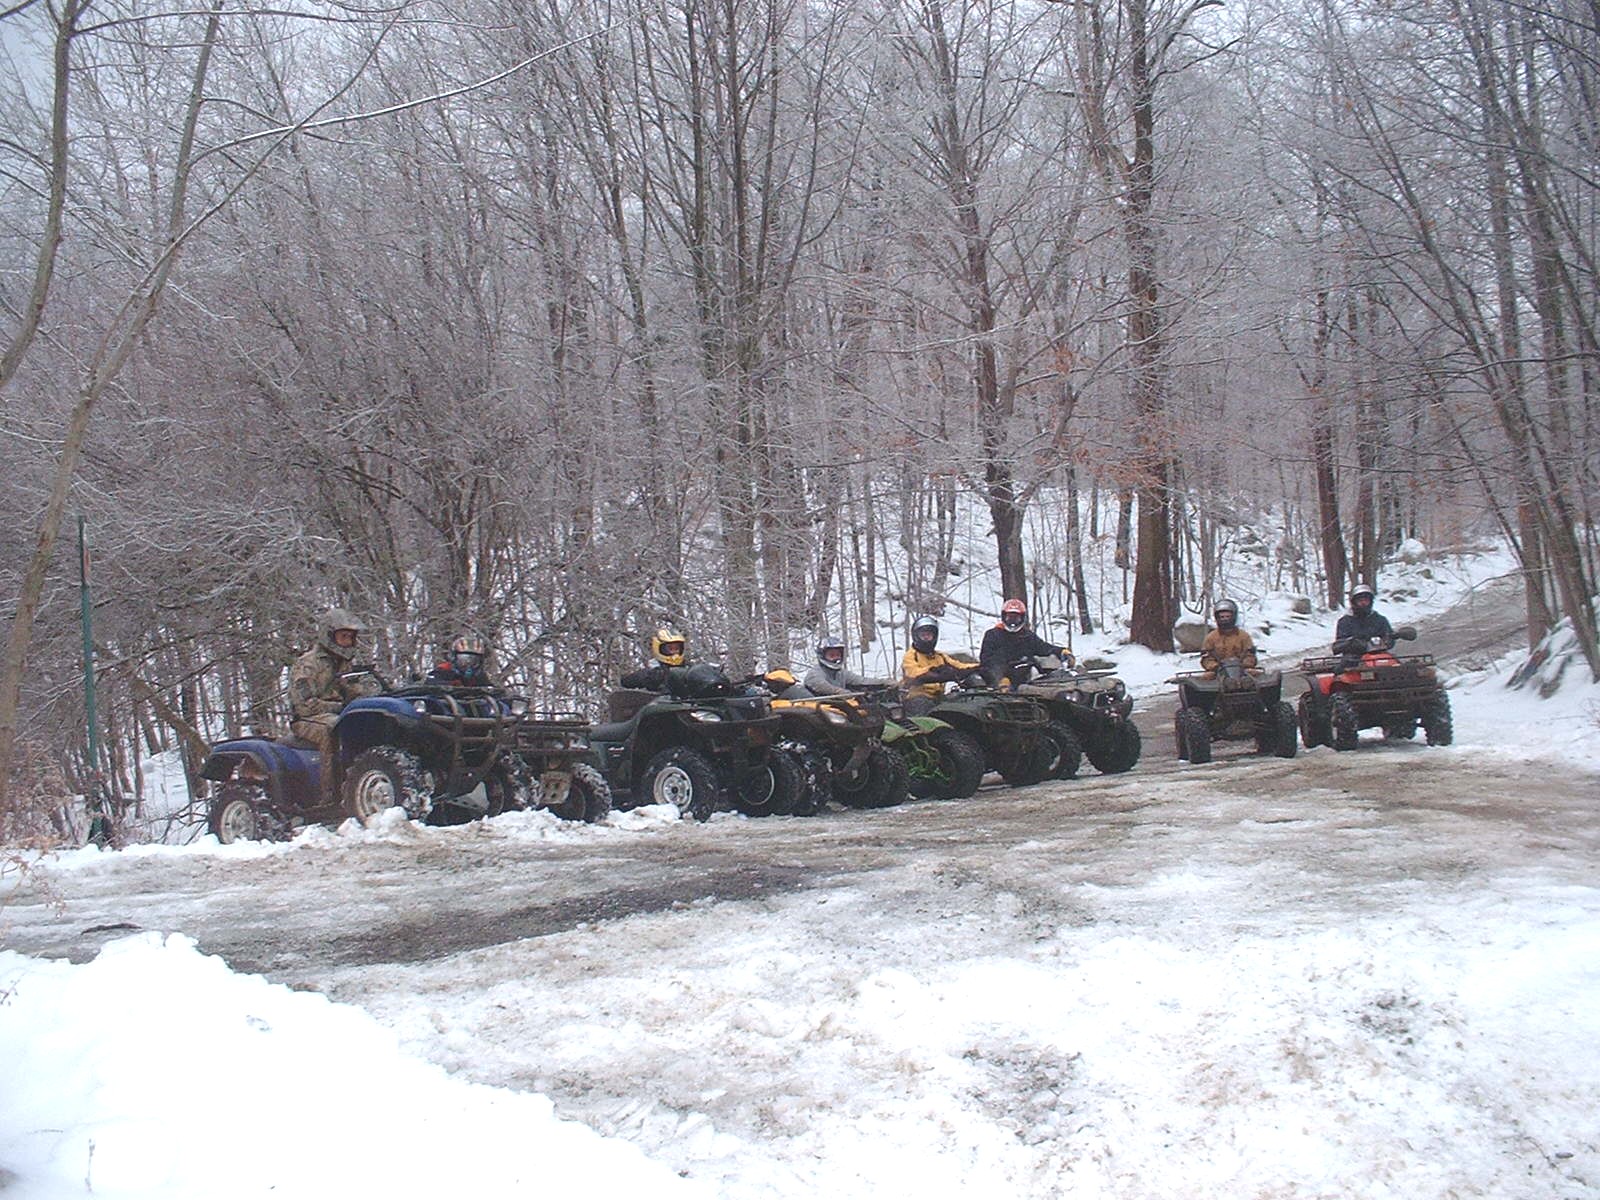
We shot these in the powerlines by us, a few years back:
-
I've never gotten into this, my friend used some camo tape or something I believe. I looked at that site, looks like it should work. Here's another site I was looking at: Deep Creek Camo - Camo Vinyl Patterns for Trucks, Guns, ATVs, Boats & More!
-
Those are some great photos! Here's a few more:
-
What Hauls your Toys and Why????
Ajmboy replied to mywifeknowseverythin's topic in ATV Trailers, Haulers, and Attachments
Has everyone in this thread entered this month's photo contest? Seems this thread is right inline with the contest. -
I like the sub forum drop down, but you loose the shoutbox. Maybe a link to it?
